VW Caddy Camper Conversion for $250
How to convert a van into a camper in for $250.

Last Updated: 20 January 2025
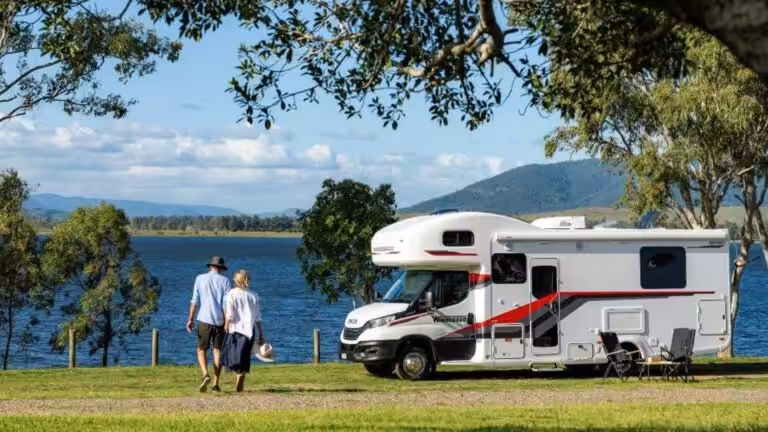
Earlier this year I hired a camper with a few friends to head down to Margaret River from Perth. We’ve camped together a few times over the years back home in NSW but being without our cars and wanting a simple camp setup we decided the best accomodation option would be the humble camper.
I was hooked immediately. Minimal setup. Weatherproof. Comfortable bed. Perfect!
I started fantasising about trading in my VW Caddy for a bigger van to turn into a camper when I realised I could just convert the Caddy! After many hours of Pinterest, Instagram and Google searches, I was confident that this wouldn’t be too hard and more importantly, that I could do it with a small budget and with mostly recycled and reclaimed materials.
So here’s how I did it.
I’m a visual learner so finding others who had already completed a camper conversion was the first step. I found Instagram pages, created a Pinterest board and watched countless YouTube videos.
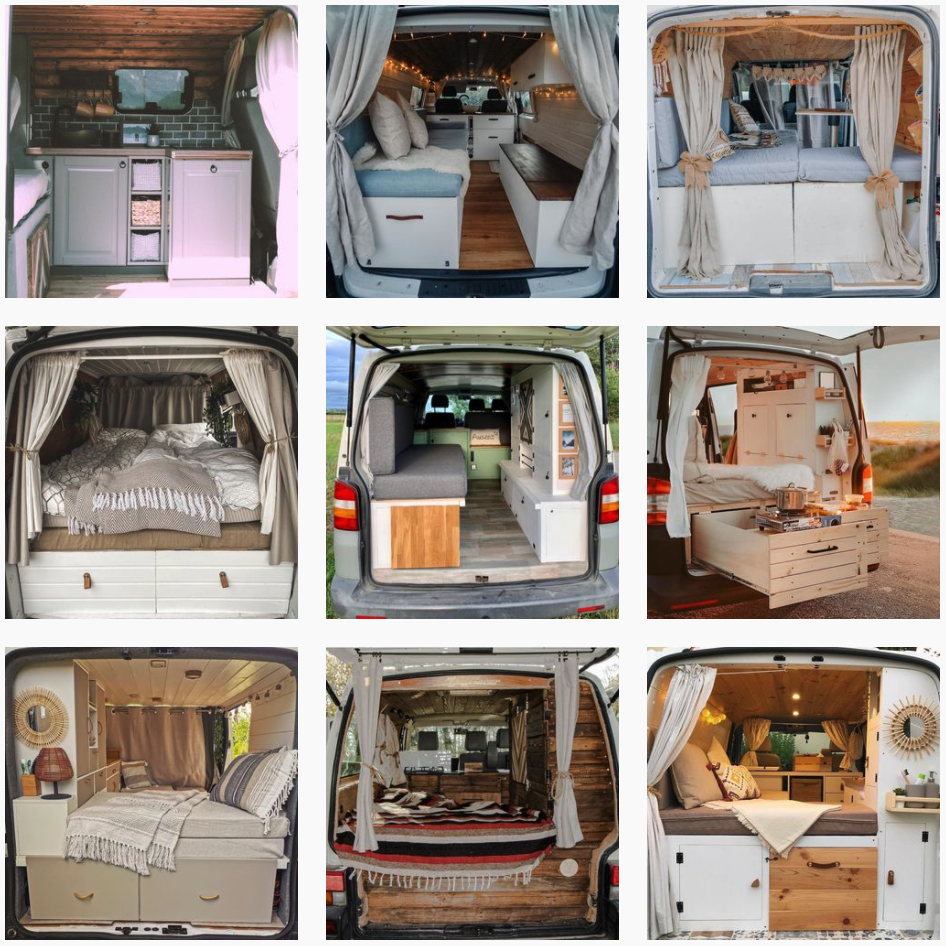
While I looked for local Caddy camper conversions, I couldn’t go past the German Instagram page Caddy Roamers. People across the globe share their Caddy conversion stories and have meet ups for those in Europe.
The Minivan Conversion page is an aesthetic delight! Also not specific to the VW Caddy so great for all van conversion inspo.
I found accounts by following a few hashtags on Instagram related to caddy conversions and camper conversions more generally including:
The mood board of the internet, Pinterest is a great place to get inspiration for almost anything. From home renovations to weddings, recipes to campervans, there’s not much you can’t create boards for.
You can search for a broad term like ‘camper conversions’ or get a bit more specific with something like ‘diy campervan beds’ to find what you need.
Your inspiration should help you work out what you can do but more importantly what you should do.
Take into consideration your skillset, your access to tools and your camping needs.
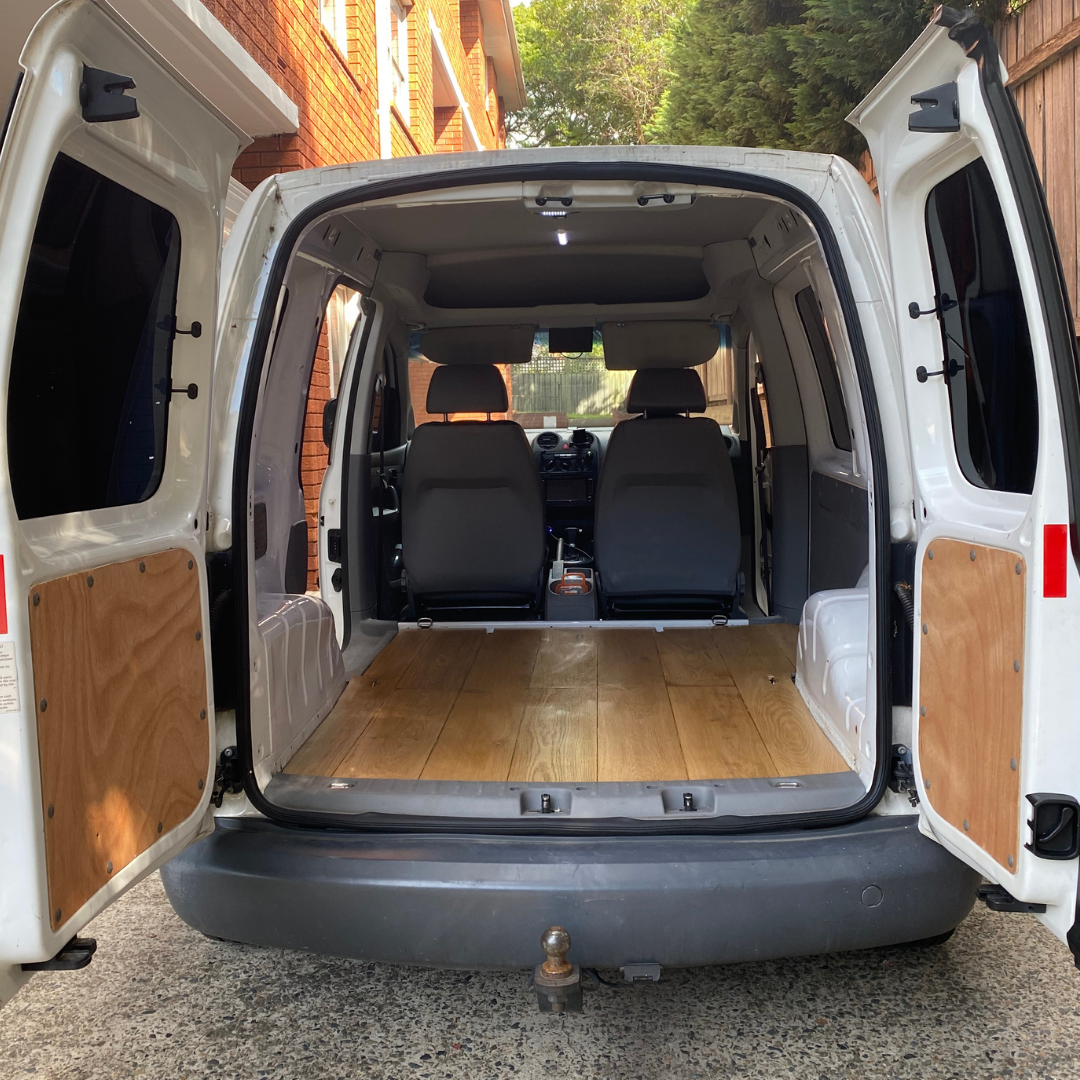
Once I figured out what I wanted to do, I set out to find the materials to do it. Where possible I went to Gumtree, Facebook Marketplace or my local reclaimed wood shop to find cheap or free materials!
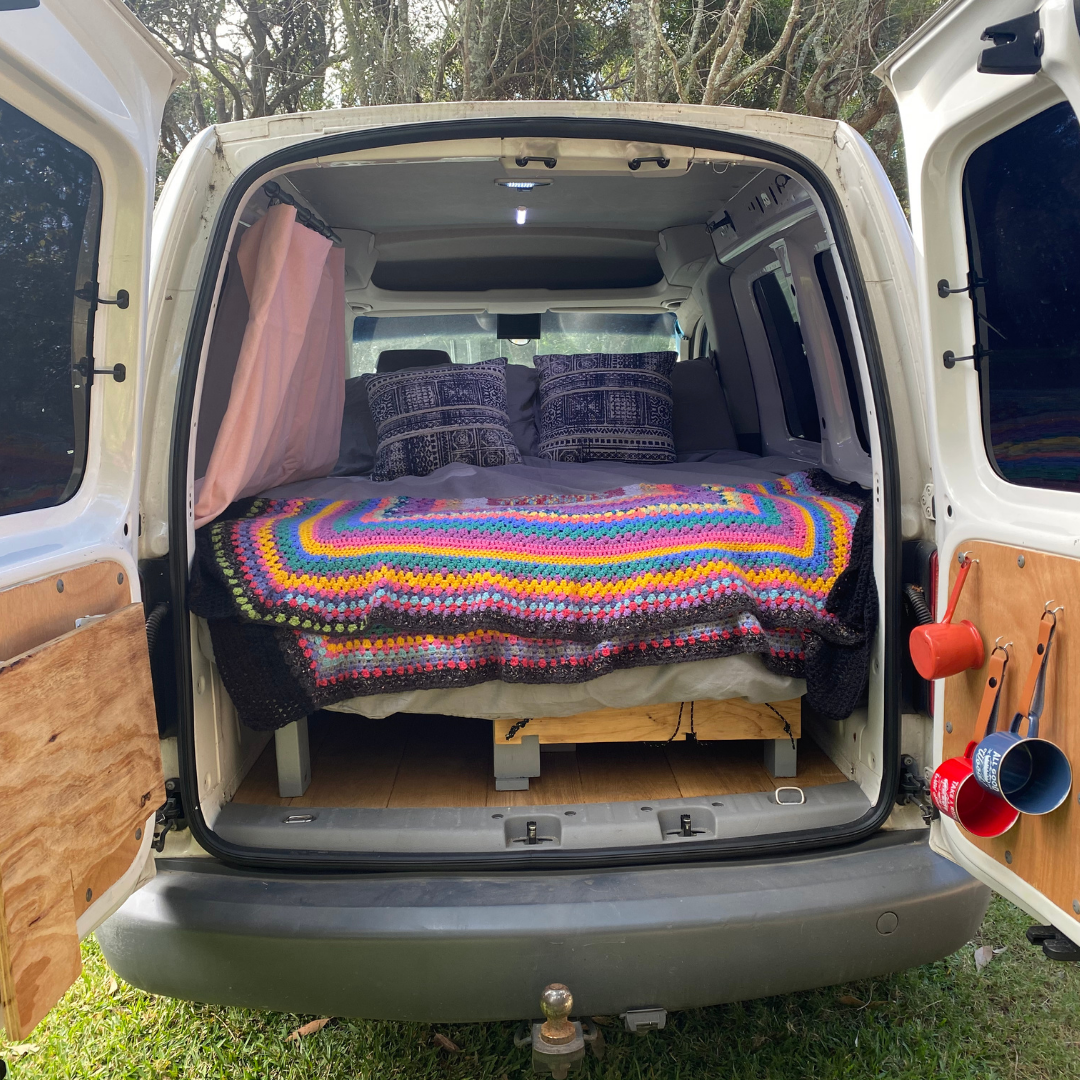
The floors
The reclaimed wood shop had floorboards and I was able to get more than enough for $50 to do the floors.
The cavity covers
For the side door, back barn doors and internal wall cavity covers I used 3mm marine ply gifted to me from my neighbour who had, luckily for me, bought the wrong size for a boat he was building.
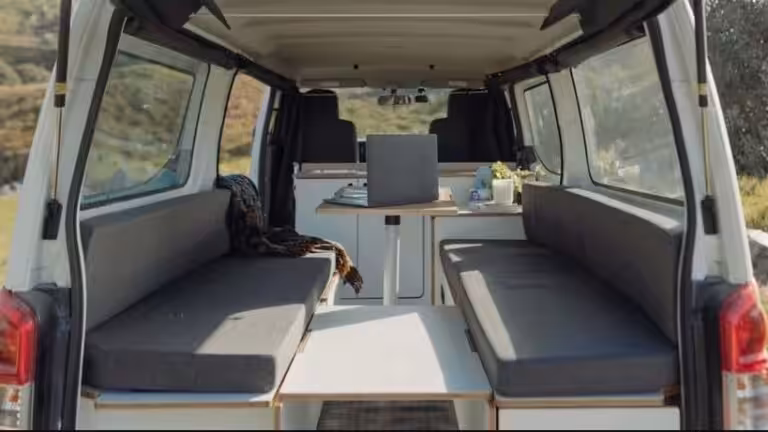
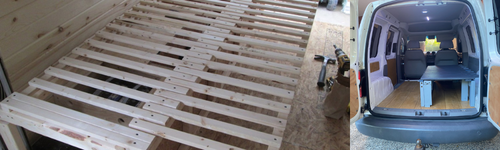
The bed
I’d decided I would go for the pull-out bed option (see below) that I’d found through my research on Instagram and Pinterest. I ended up using a wooden double bed base someone was giving away on Facebook Marketplace which might not have looked as pretty but worked perfectly!
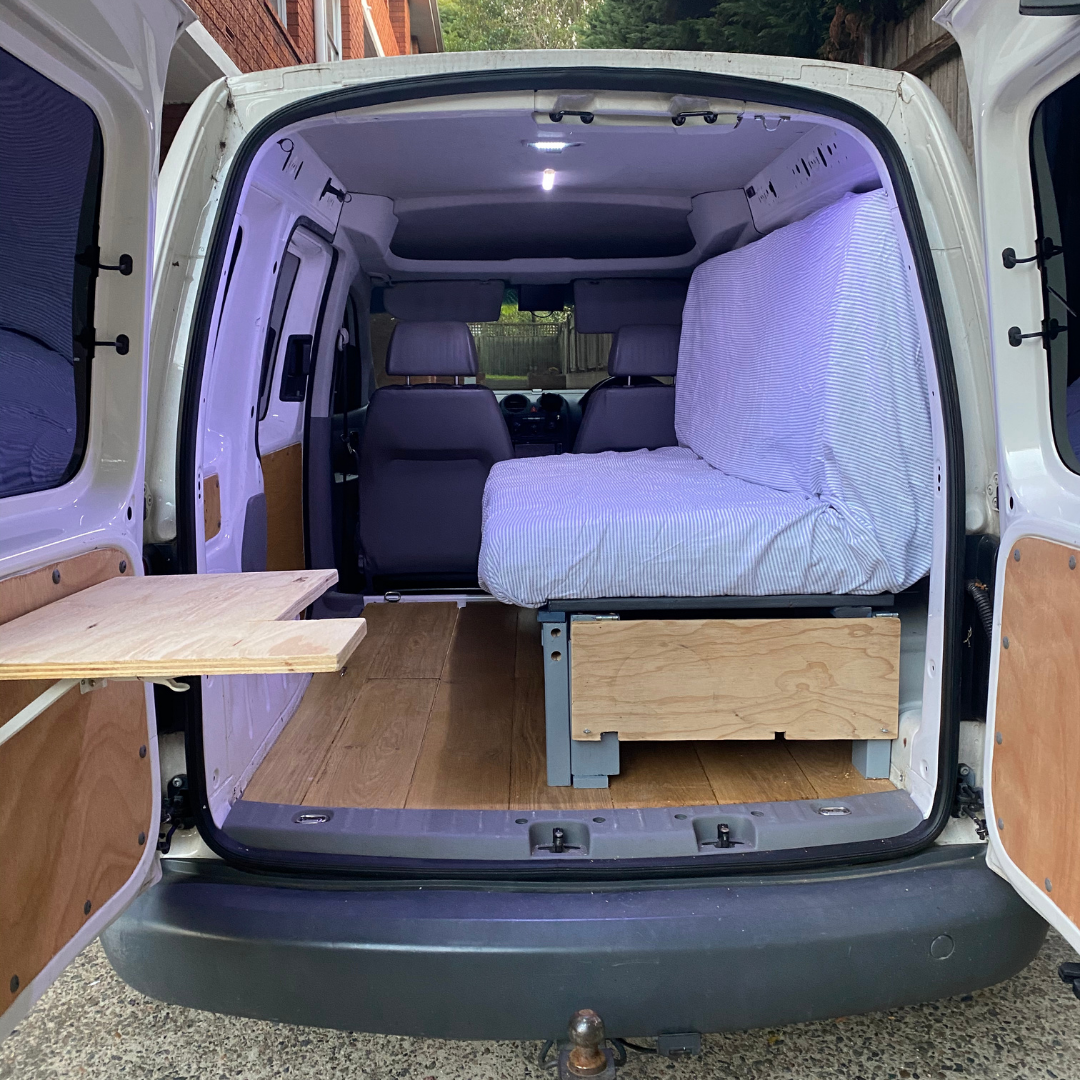
The mattress
The second item I had to pay for was the mattress. Again I went to Gumtree and Marketplace and ended up with a steal getting a barely used IKEA foam mattress which is surprisingly comfortable, for $60.
Paint & varnish
I’m constantly modifying or building something so I’ve made a habit of picking up paint from the mis-tint section at bunnings when I see it. Greys, whites and blacks are always useful and the occasional colour sample can be fun. Between the mis-tints and the (full-price) varnish, I spent around $40.
Curtains
This is probably where I wasted the most cash trying a few different things.
I got some fabric from Spotlight and tried a magnet trick I’d seen online only the strength of the magnets coupled with a pretty average attempt to attach them to the curtains saw instant failure. I then went for a curtain rod and clips that did the trick. Any area of learning for sure. The fabric set me back $25 and the magnets, rods, and clips around another $20.
Benches
Using scrap plywood I had around the garage I made a few fold out benches. One off the back door and another off the side of the bed. The plywood was free so I just had to buy some hinges and brackets which came to $30.
Misc. items
A couple of screws, some felt from Reverse Garbage and some lights later, we had everything we needed. This lot took me up the final $25 which capped my $250 budget!
Next time- the build and first trip!
Looking for more DIY inspo? Check out this ’81 Millard rebuild.