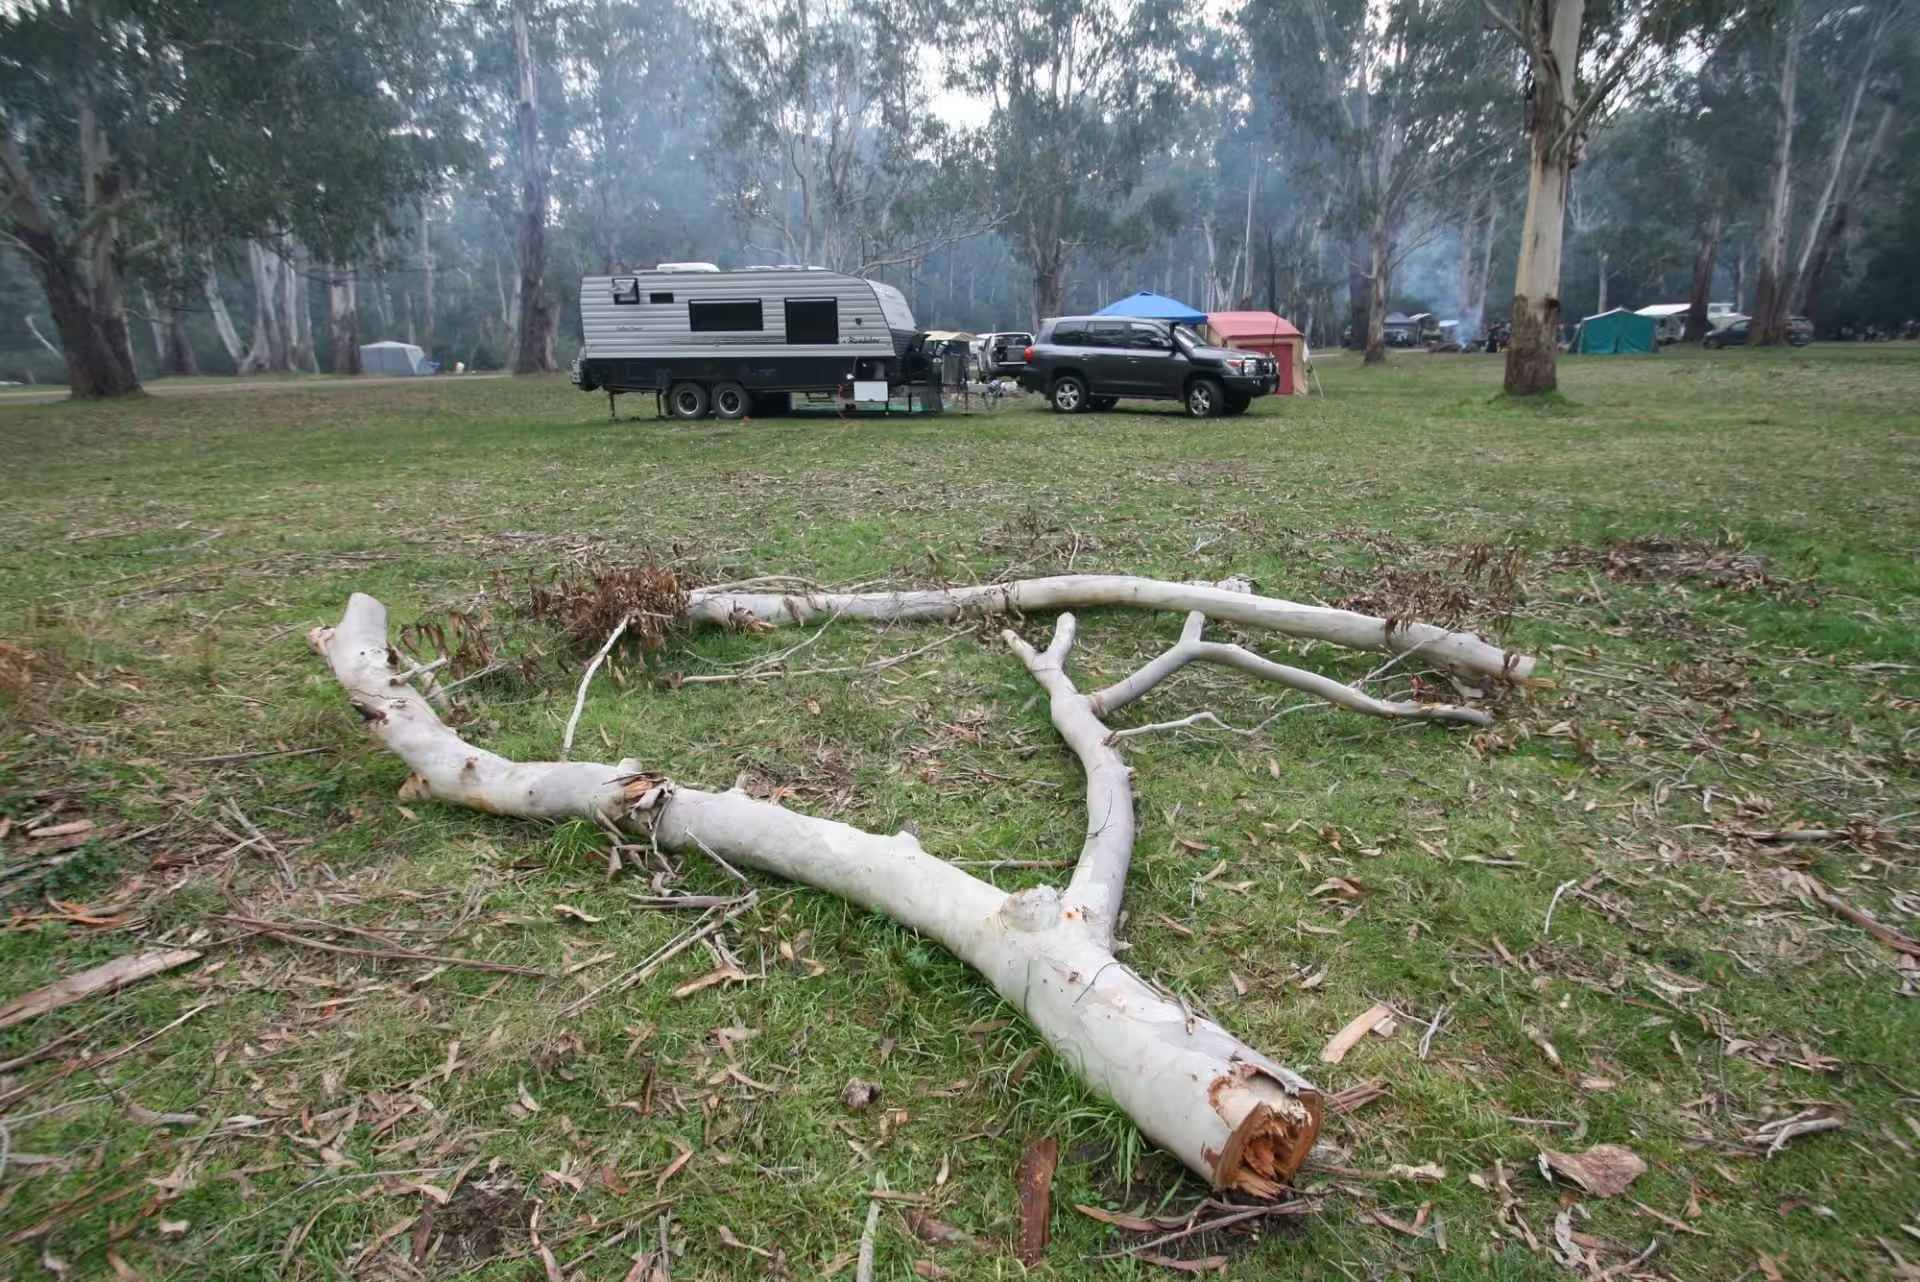
Now that most of the country is free to travel, many of you will be dusting off the caravan and heading out on a long-anticipated holiday. These quick pre-trip checks that you can do yourself will help you avoid your holiday turning into a headache.
Before you embark on an RV adventure, you must be confident your caravan or camper is in top condition. Critical systems like the brakes and wheel bearings should be serviced by a qualified mechanic serviced before you head off. There are also several simple checks you can do yourself that can make the difference between a disastrous trip and a memorable holiday.
Check your tyres
A blown tyre is one of the most common incidents that can occur if you haven’t used your van or camper for a while. Tyres can deteriorate over time and, if they have deflated, it’s possible that there could be some damage to the steel belts or sidewalls. The best thing to do is to check the air pressures and pump them up if necessary. If you can see any cracking in the sidewalls or any bulges appear, then it’s time for a new set of tyres. Remember, a tyre has a usable lifespan of about six years. Check the date stamp on your tyre sidewalls.
Check your spare tyres
How many times have you heard of someone getting a flat tyre and discovering the spare was flat as well? It happens more often than not, and it couldn’t be simpler to check before you head off on your trip; make it routine.

Inspect your tow hitch
Another often overlooked item on your trailer is the tow hitch, which is surprising considering it is the critical point connecting the trailer to your tow vehicle. It might shock you to know that many hitches are prone to failure because of the way the van has been constructed. Moisture can develop between the hitch and the trailer base plate causing rust. This often weakens the metal and the bolts holding the hitch on. Have a close look at your hitch, especially if the chassis on your trailer is painted rather than galvanised. If in doubt, remove the hitch and give it a good inspection. If your hitch has grease nipples, a couple of squirts with a grease gun won’t hurt either.
Inspect your safety chains
While you’re looking at the hitch, you may as well ensure your safety chains are in good condition and have not rusted or cracked. Pay particular attention to the D shackles and consider replacing them with new weight-rated items (they don’t have to be yellow).

Clean your toilet cartridge
If your van or camper has a toilet or you carry a portable toilet with you, you may want to give the cartridge a good rinse out and get it prepared with a little water and whatever chemicals you use. This will help prevent any stale smells in the van and give it a freshen up before you depart. Then it will be ready for that late-night emergency.
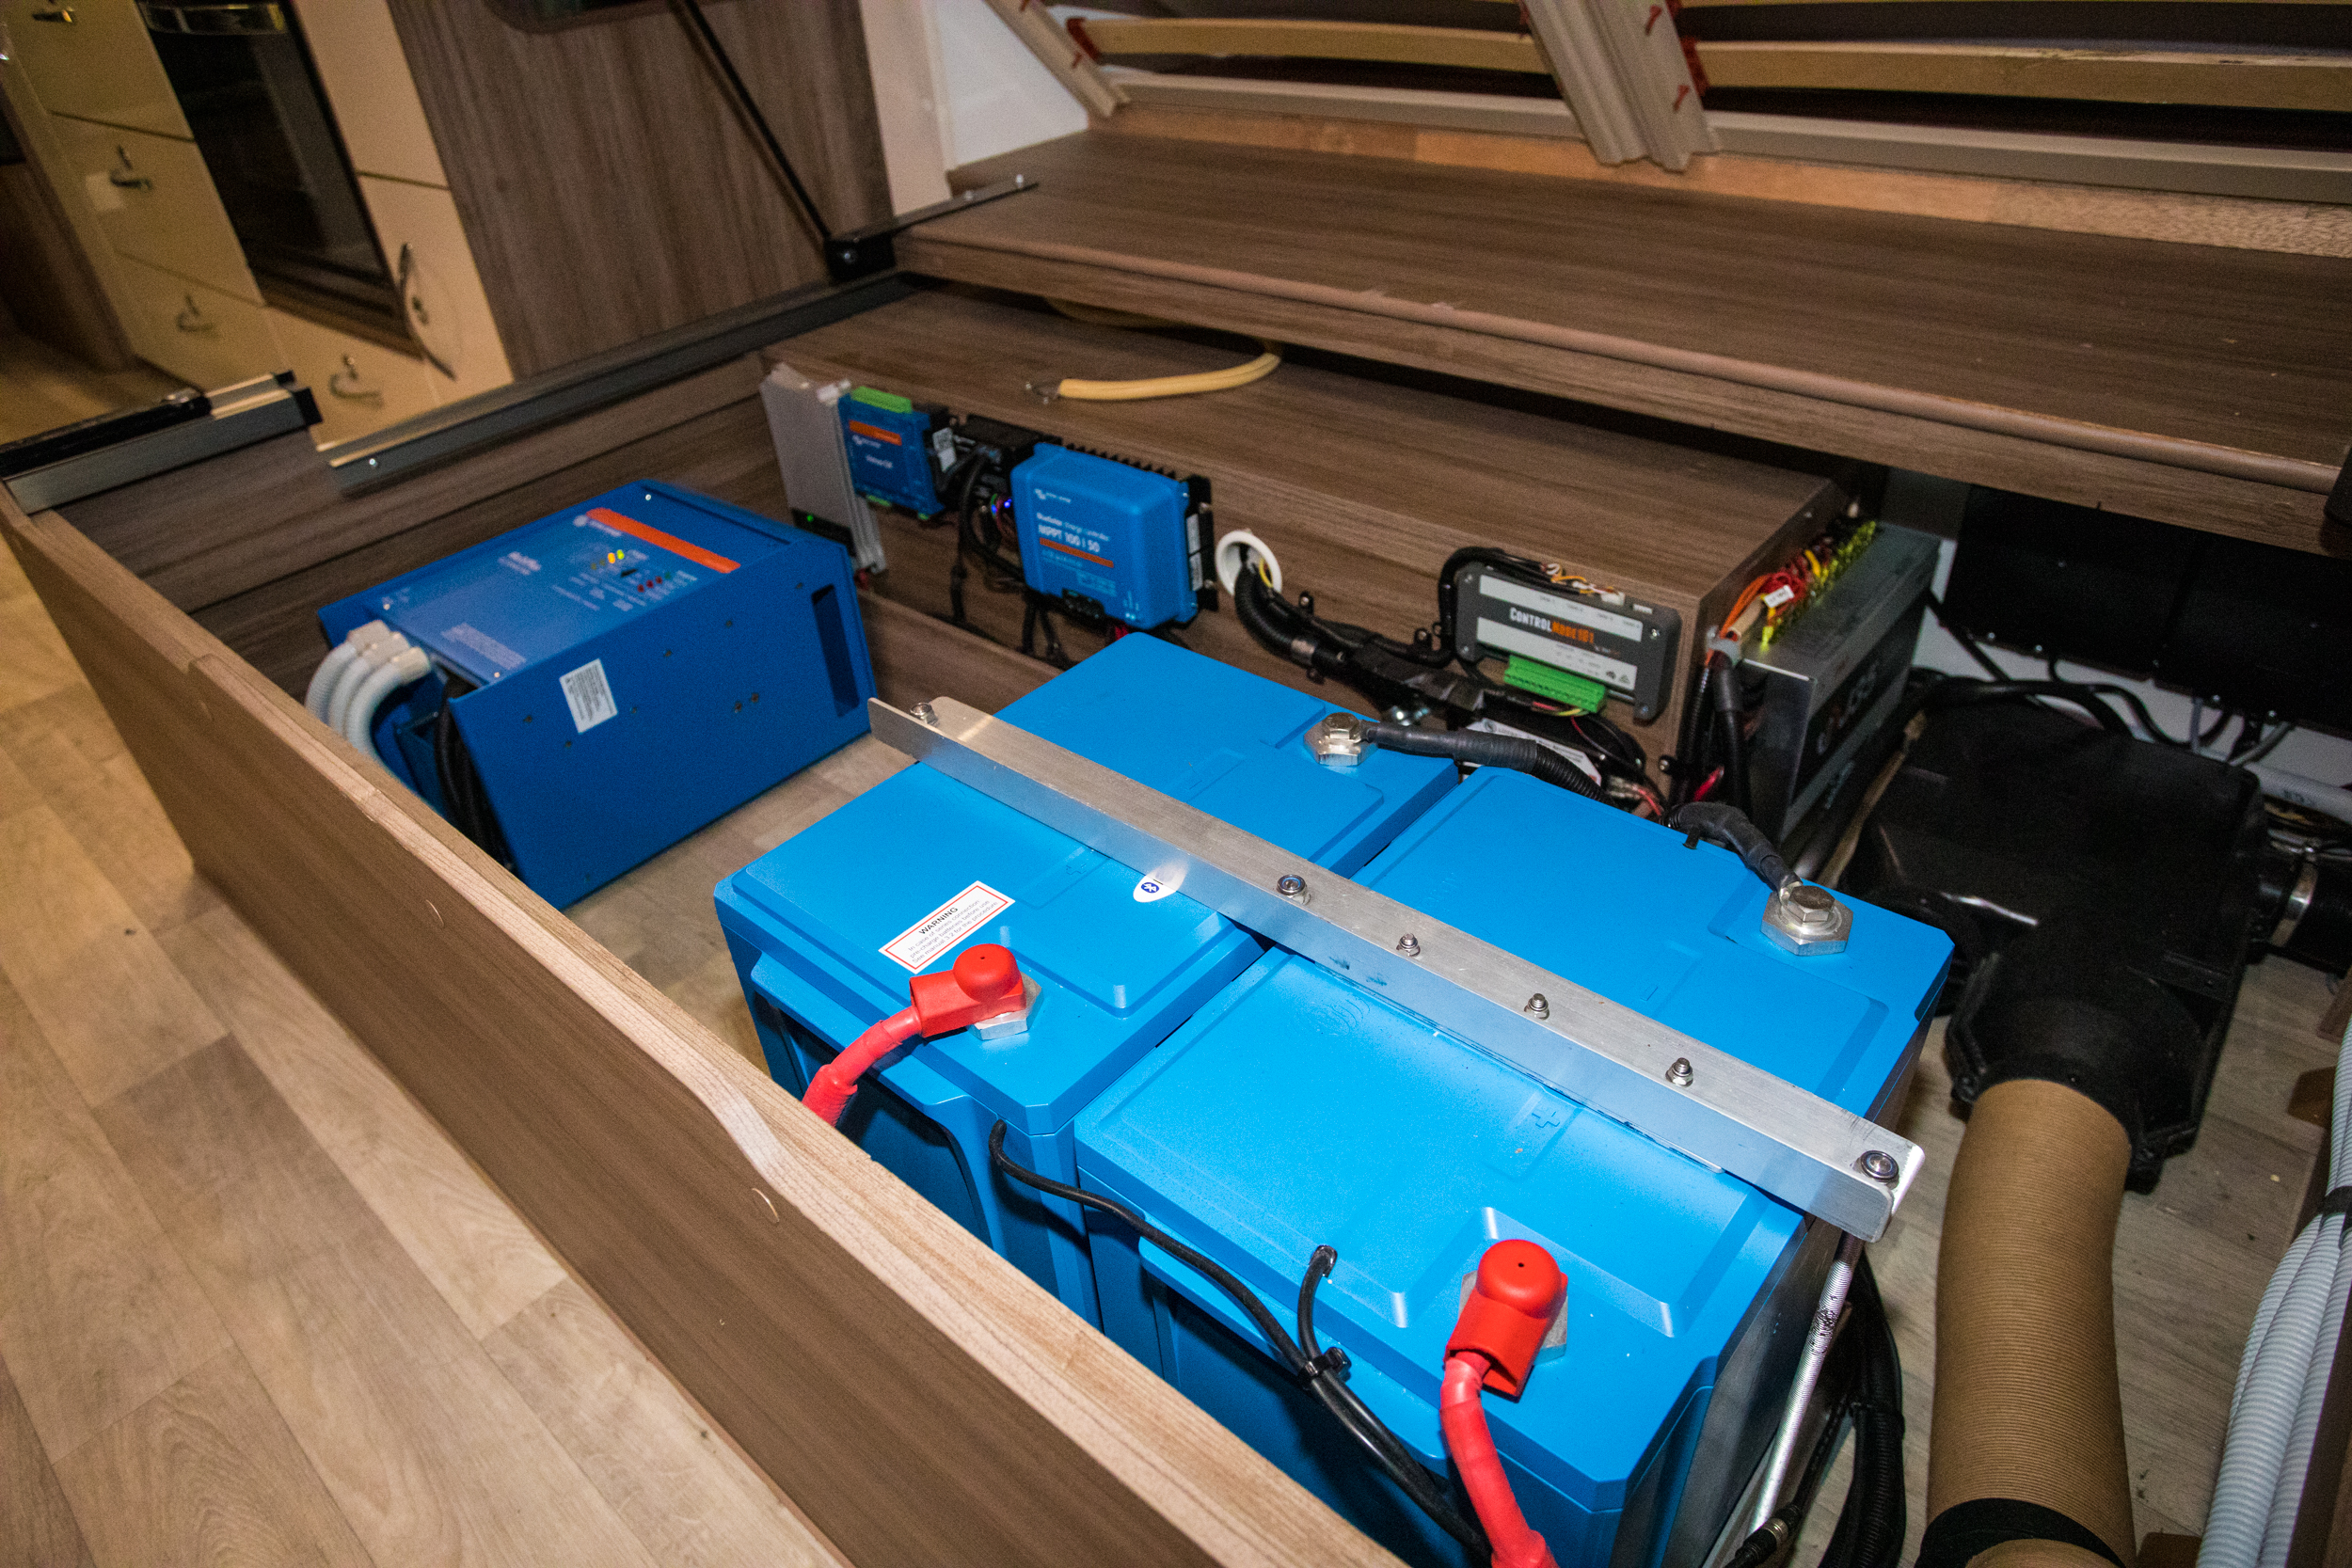
Check your batteries
If your van is equipped with a 12V system, it pays to check the condition of your batteries to ensure you have sufficient power for your holiday, especially if you intend to be away from 240v mains power. Batteries don’t last forever and they can deteriorate even if they have been left on a trickle charger. Turn off the charger and leave the batteries sitting without any load for about 30 minutes. Then, with a multi-meter, check the standing voltage. If they are in good condition, they should be showing a voltage of about 12.6 volts or more which equates to 100% State of Charge (SoC). If they are showing anything less than about 12.4 volts, there’s a good chance they are starting to deteriorate. If your charger has a ‘recondition’ charging cycle, you could give that a go. If they drop below 12 volts, they are definitely in need of replacement. If you have lithium batteries, they should hold 13 volts or higher after being fully recharged.
Check for mould
If you have any canvas sections or an awning, pull them out and check them for any mould. You’ll soon know because it will likely smell like old sweaty socks. You should be able to clean the mould off with hot soapy water or in severe cases, use Exit Mould but don’t leave it on the canvas for too long. Wash it off with soapy water once the mould is removed. Make sure it’s all dry before you pack it away. White vinegar is an excellent non-chemical treatment for mould, and you get to enjoy chip-shop ambience.
Check the trailer lights
Trailer wiring is prone to all sorts of issues. Dirt and water can work their way into the plugs and, in some cases, they are mounted such that they can be bent and damaged. Connect up the trailer lights and make sure they all work. If you have any problems, you may need to pull apart the plugs to ensure all the wires are connected to the pins. Click here for wiring diagrams for all plugs used in Australia.

Give the fridge a run
Whether it’s a 12V or three-way fridge, it’s a good idea to turn it on for a couple of days before you head off to ensure it is working correctly. There is nothing worse than arriving at your destination after a long day’s drive only to find a fridge full of ruined supplies. I’ve had this happen before, and I can tell you it’s not a pleasant experience, especially if you have to rush off to a camping store to buy a new fridge. If it’s a large fridge mounted in your caravan, you could be in for a long wait to get it repaired.

Test your safety switches
If you’re RV has a 240V system, it is very likely to have at least one safety switch or RCD. These should have a test button on them. Connect the van to the mains power and push the button. It should click off. Then you should be able to switch the power back on by resetting the switch. Try out some of your 240V appliances to ensure everything is working as it should. Sometimes small insects can get into these switches and cause all sorts of issues. If you have any doubt, get them replaced before you head off or get the system checked by a qualified RV electrician.
Flush out the hot water system
The vast majority of hot water systems fitted to RVs are the gas/electric tank systems. These are, for the most part, reliable; however, they are prone to a few issues. The biggest problem is the condition of the sacrificial anode. It is there to prevent the tank from rusting up. Unfortunately, these anodes don’t last all that long and they can deteriorate in a matter of months especially if the system hasn’t been used for a while. Further, as the anode deteriorates, it leaves a pile of calcium residue at the bottom of the tank. This can get into the plumbing of your van causing all sorts of issues like blocked tempering valves and pipes. The only thing to do is to remove the anode and give the tank a good flush with a hose. If the anode looks like it’s at the end of its life, replace it.

Flush the water tanks
It’s likely your RV’s onboard water tanks will need some attention. It might be a good idea to drain and give them a flush out by filling them up and emptying them again. If the water coming out tastes off, you may need to take more drastic action. The internet is full of remedies for making tank water fresh again, but the one that is the most popular is to pour a bottle of raspberry cordial in the tank and take the trailer for a drive. When you get home, flush the cordial out. This method supposedly leaves a clean, fresh taste in the water; it certainly can’t do any harm. While you’re looking at the water tanks, fill them up and look for signs of any leaks.
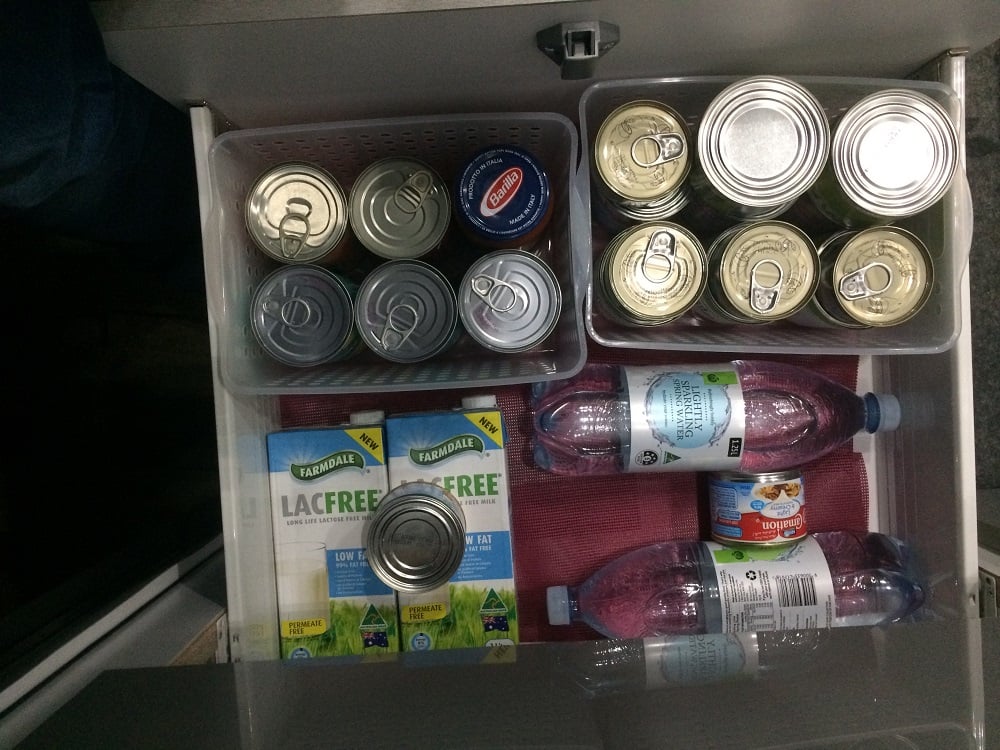
Restock your supplies
If you’re like us and you keep your van stocked up with long-life food in the cupboards, it might be a good idea to check these over and ensure you haven’t let any to go past their use-by date. Food in tins is not too bad, but food stored in jars and plastic wrap can go off. If in doubt, throw it out.
Pack an emergency spares kit
All the preparation in the world won’t stop Murphy’s Law coming into play. It pays to be ready to deal with those unexpected issues. Things like blown fuses and globes are easy to fix if you carry some spares. Keeping a selection of screws, nuts and bolts can fix myriad issues. We never travel anywhere without a good supply of wire ties, a couple of rolls of duct tape and a few small tubes of super-glue. We also keep some spare hose connections, a can of WD-40, an assortment of hose clips, wire connections, anything that is small, lightweight and easy to replace. You may not need any of this stuff for yourself, but you can almost bet there will be someone around you who will need some assistance. Click here for more information.

Check your fire safety gear
An out of control fire in an RV can be absolutely devastating. Your van should be equipped with at least one fire extinguisher and a smoke alarm. Check both to ensure they are working. Replace the battery in the smoke alarm if it has one. We also carry a fire blanket as a backup to the extinguisher.

Check your gas appliances
I like to give all my gas appliances a run before we go away for a trip. This ensures they are working and helps purge any air in the gas lines. If you have any problems lighting them or if you smell any strong gas odour, get them checked by a registered gas fitter. I also like to check the gas connections at the bottles for any leaks by ensuring they are tightened up and then pouring some soapy water over them. If there’s any bubbling in the water, it’s a sure sign of a leak that needs inspection by a professional gas fitter.

Final inspection
Once you’ve done all this, have a good look around and underneath the van for anything that looks out of the ordinary. Anything hanging loose or sitting where it shouldn’t be needs to be checked. Make sure the handbrake is functioning. Check the locks of all your storage compartments to ensure they can still be opened and locked. Make sure the trailer is sitting level on flat ground. Check the stabilising legs to make sure they will operate when you get to your destination. The more items you can check before leaving, the less likely you’ll run into trouble on your trip. There’s enough to be confused about right now, so make sure your van or camper isn’t one of them. Safe travels.
Checklists to download
Pre drive – inside
Pre-drive – outside
When hooked-up