DIY hitch maintenance – here’s what you need to do
While you might be busy with more adventurous jobs right now, don't neglect your DIY hitch maintenance. Learn more here.
Published on: 7 March 2025
While you might be busy with more adventurous jobs right now, don’t neglect your DIY hitch maintenance.
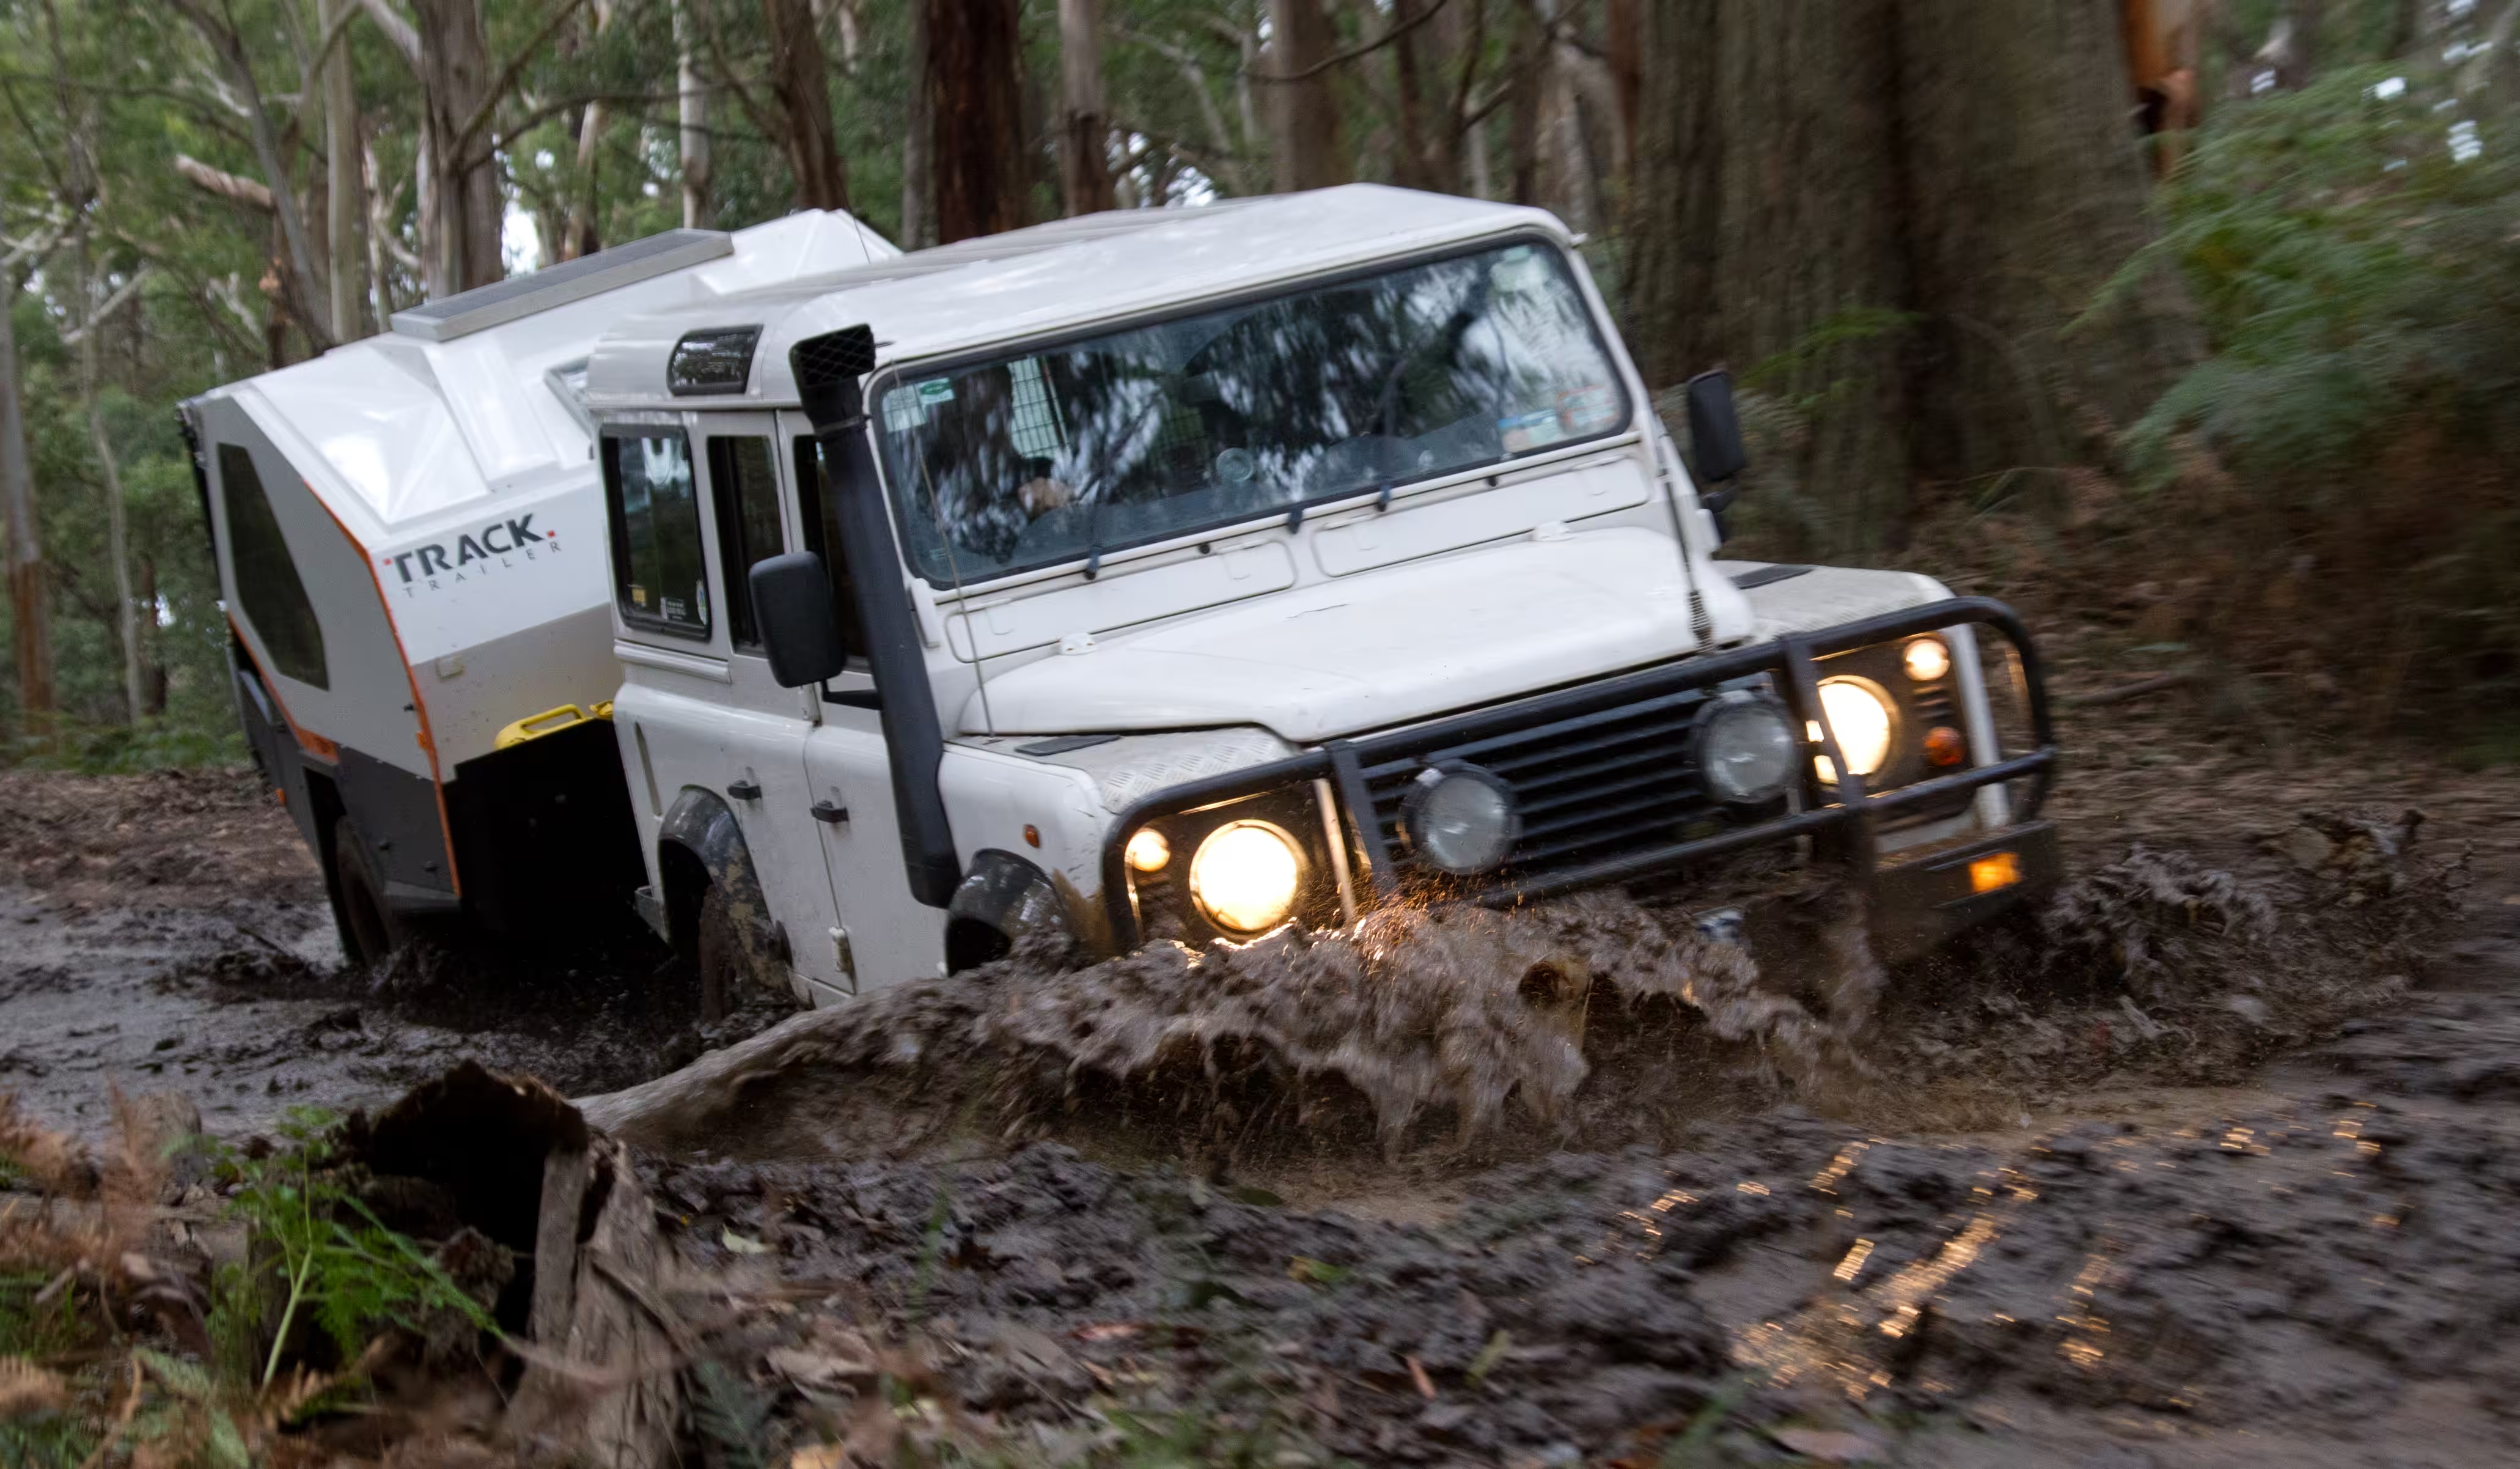
While filming the Are You RV Safe? series, our learners learnt how to carry out essential repairs on the road as well as some DIY maintenance tips. After all, prevention is better than cure. They learnt how to spot trouble before it starts, the importance of carrying spare air filters (and how to change them) and more.
But one important thing we ran out of time to discuss on air was hitch maintenance.
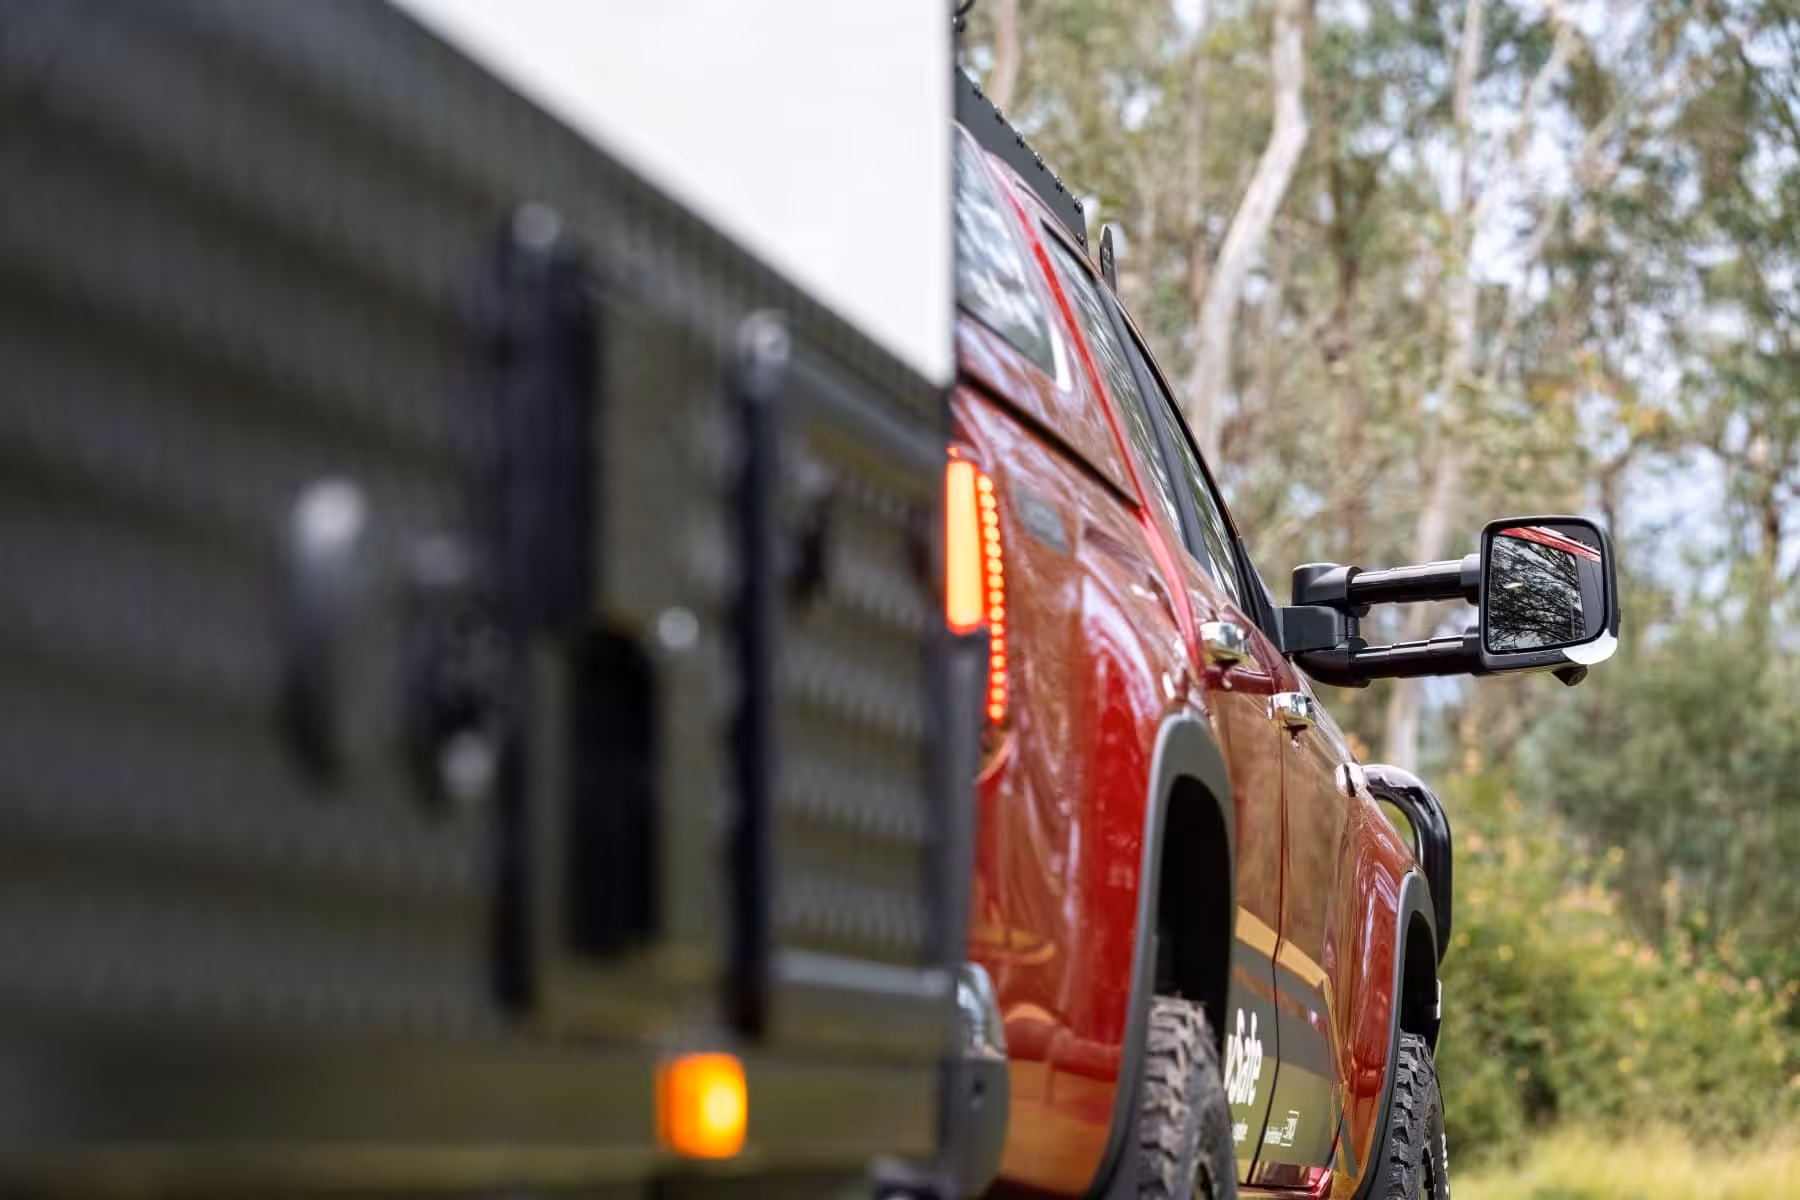
Arguably, one of the most critical pieces of equipment on our vans is the tow hitch. Yet, more often than not, it’s completely ignored, as just something that sits up the front of the van or trailer, and as long as you can attach it to the tow rig, she’s apples.
In this article, we’re going to talk about how to do a bit of maintenance on your hitch. So, without further ado, let’s go forth and grease…or not grease…depending on your hitch!
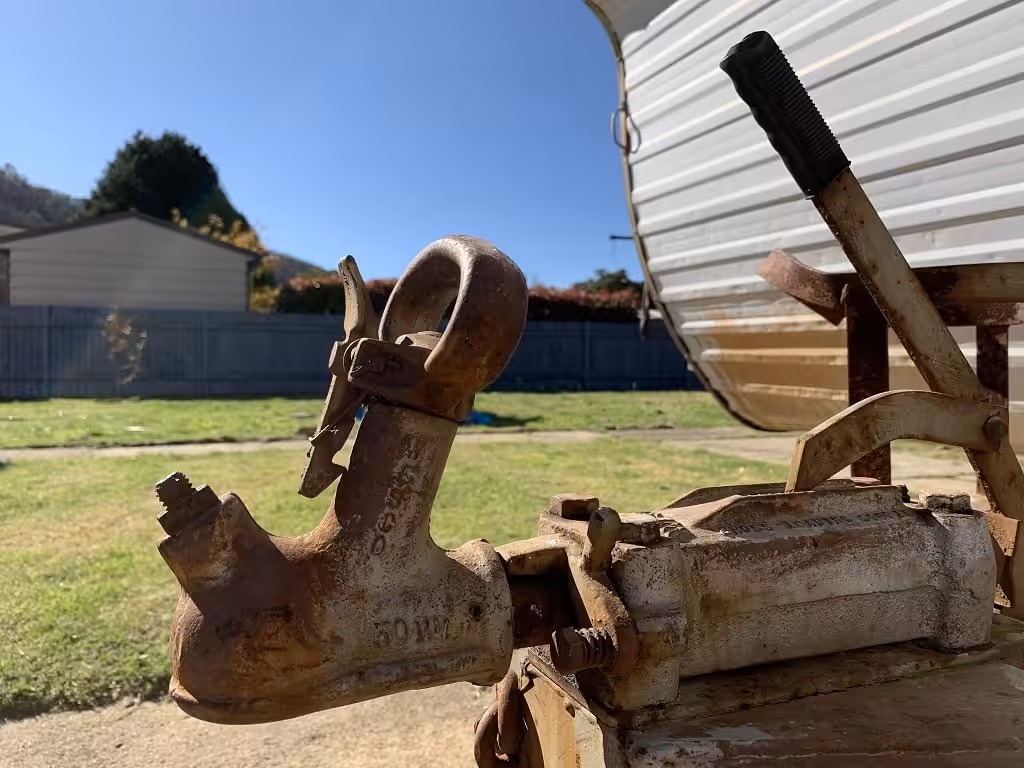
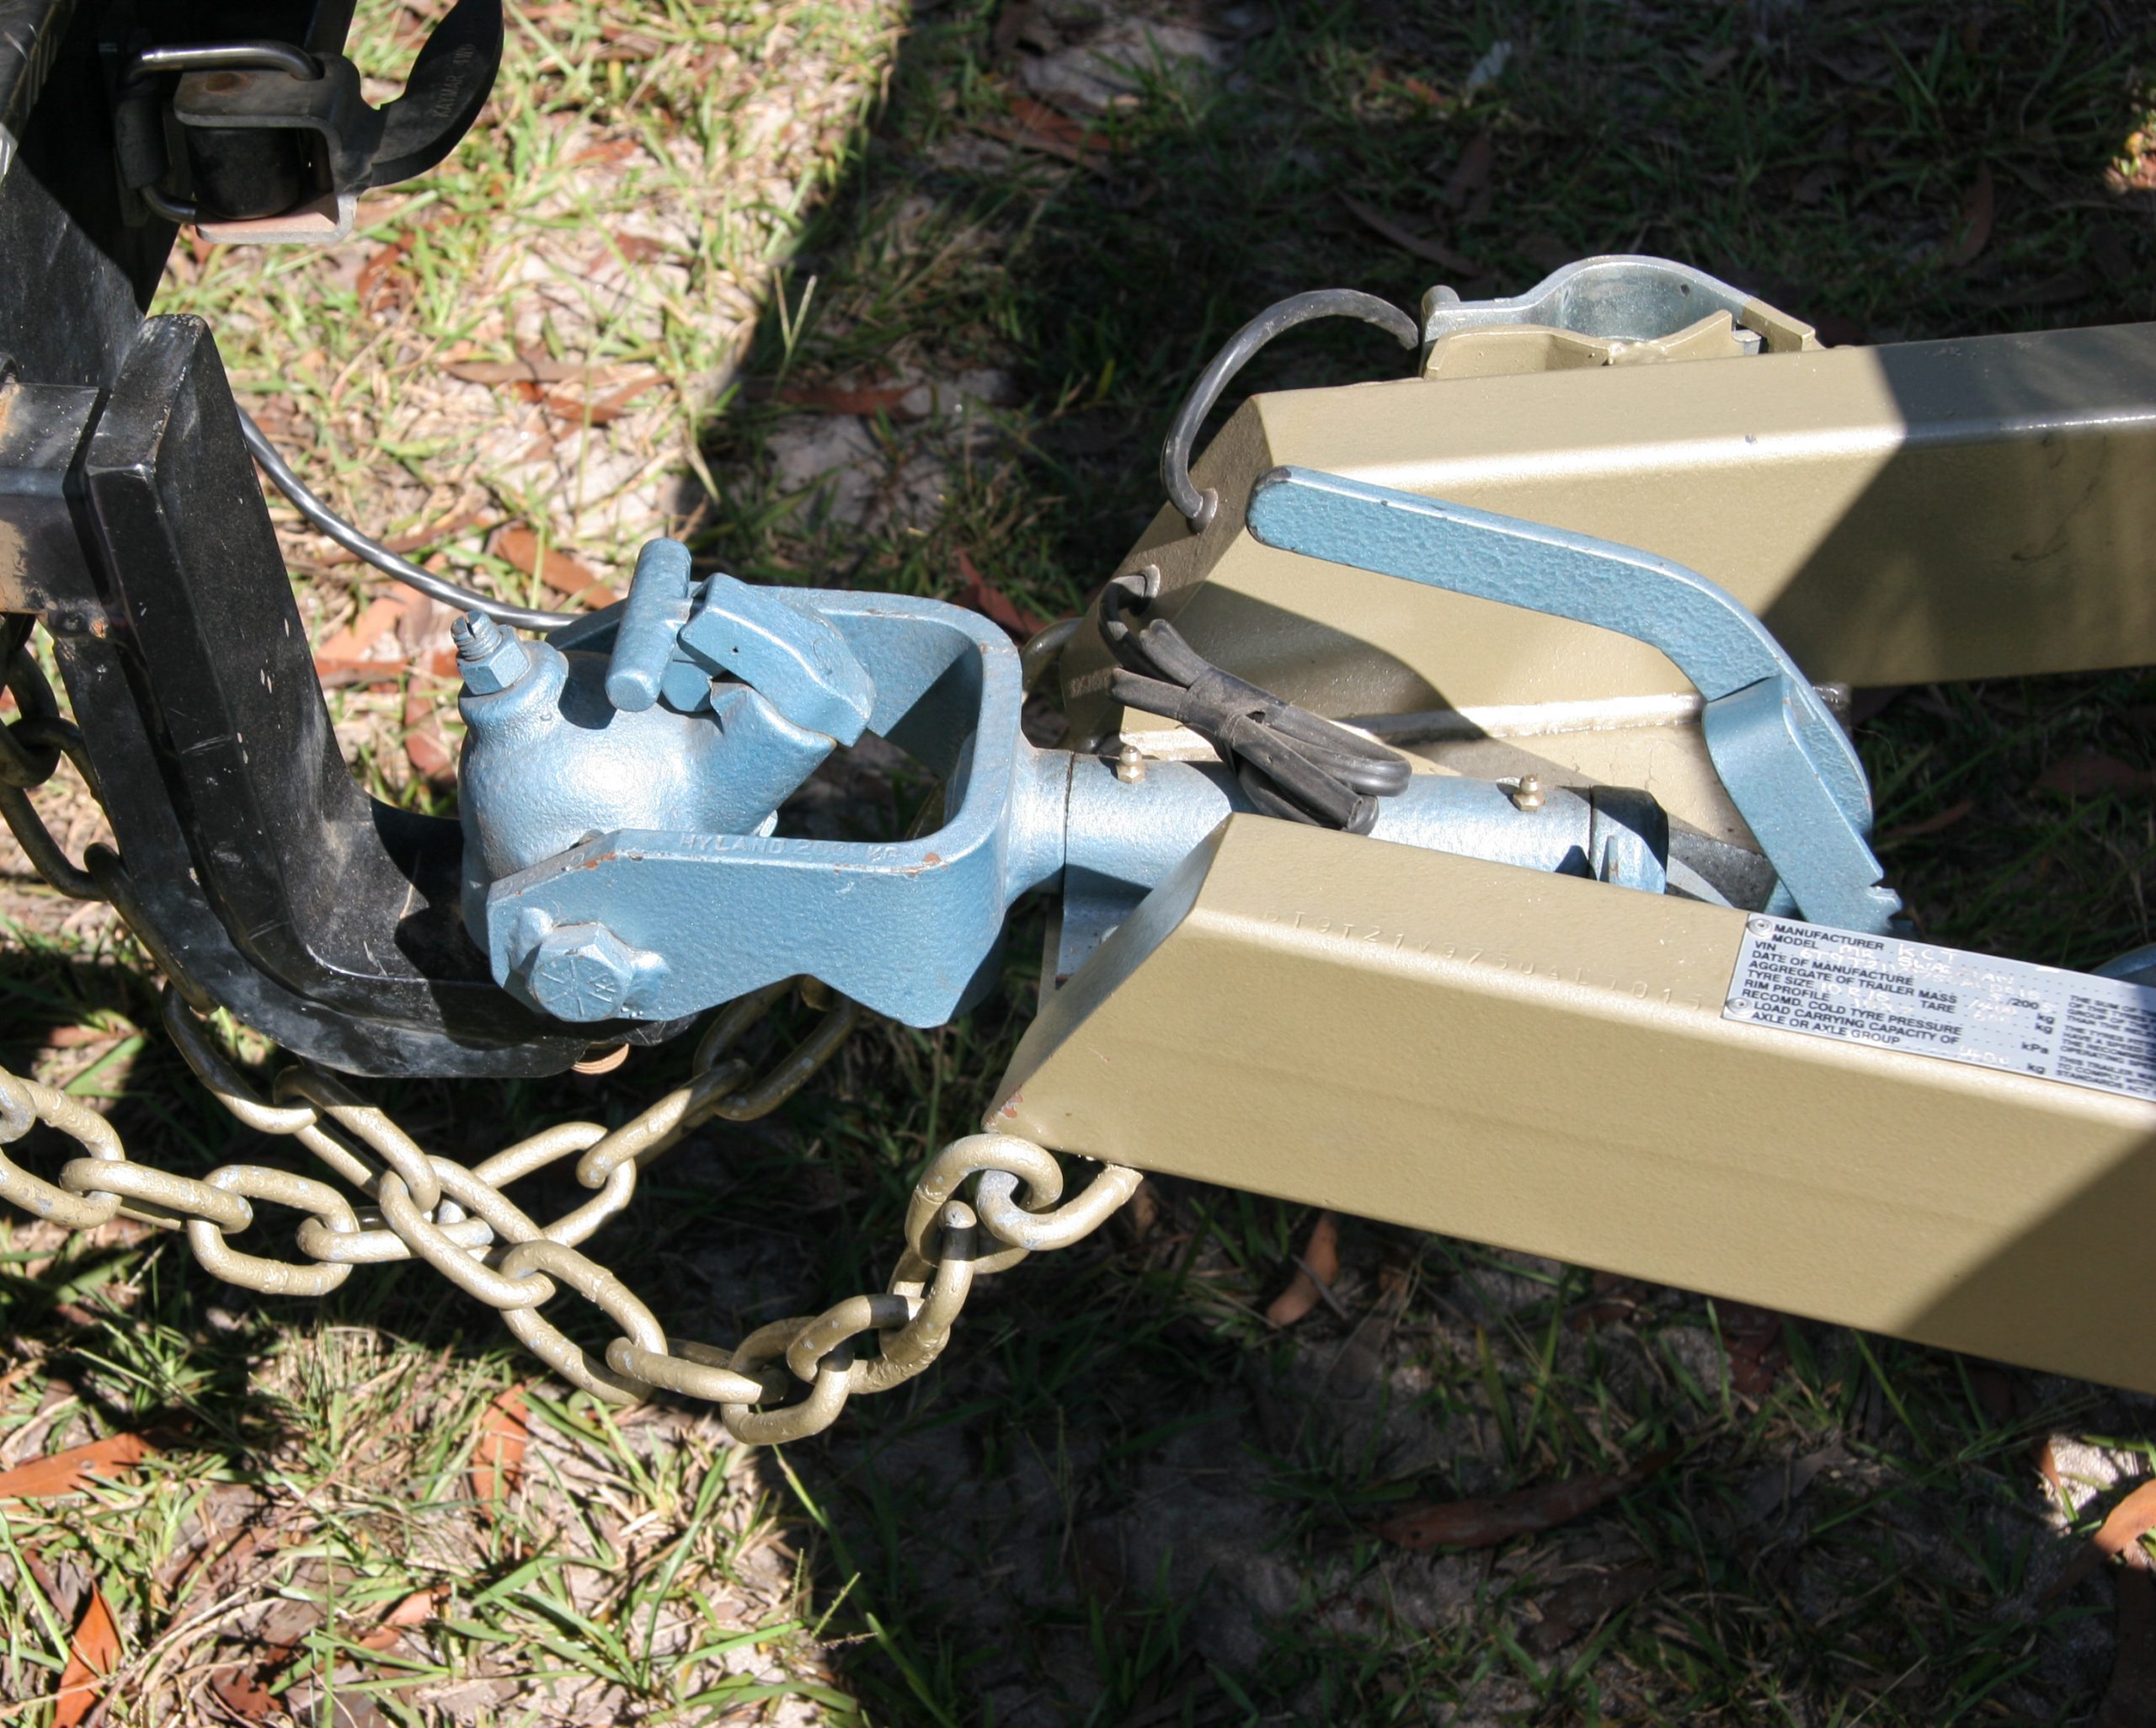
Regardless of the hitch you have (we’ll go into specifics a bit further down), there are a few things to look at. First off, how does it attach to the drawbar? Some are welded, some are bolted, and others are clamped. You’ll want to check how it’s attached.
Welded: Are the welds in good nick and show no signs of cracks? An easy way to help work out if there are microcracks is to look for slightly rusty spots in and around the welds. However, it’s important to remember that a lack of rust is not confirmation that there are no cracks.
Bolted: Are the bolts tight and not rusted? Make sure they’re properly tight and check if there is any play in them. Make sure the threads and nuts are in good nick and not rusted if you can put eyes on them.
Clamped hitches: Again, similar to being bolted, make sure everything is tight and there is no movement of the mounting hardware or the hitch itself.
As part of your maintenance, check that the hitch connection itself is tight and works smoothly. When you connect it to your vehicle, the mechanism should give a solid connection. If there is movement, you’ll need to adjust the hitch mechanism to bring it back tight. Think about adjusting the hitch receiver for a ball-type towing hitch. When it is appropriately adjusted, it should receive the ball and lock on to it, without any movement and with a nice solid, firm connection.
We don’t have the room to list every hitch ever devised, but we are covering off the most common models on the market. Should your hitch not be included, do a bit of detective work through Google and, chances are, you’ll find specifics on your hitch if it is still made by the manufacturer.
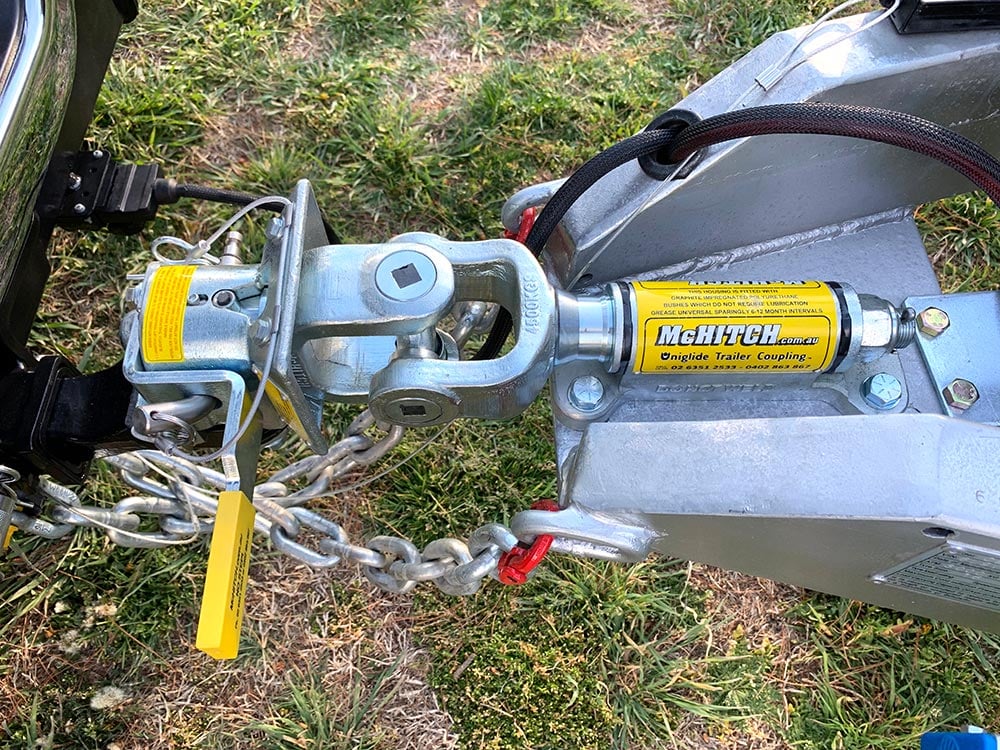
When it comes to hitch maintenance, the McHitch is possibly the easiest. All you will need to do is add ‘dry lubrication’, such as Dry Glide (with PTFE) from CRC. You’ll get it from most decent auto parts stores. It contains Teflon (PTFE) and creates a dry lubrication film.
You will need to spray this on the McHitch’s tapered pin and receiver only. Despite having a universal-joint (uni-joint), the minimal amount of movement that it will go means it won’t need re-lubrication over its life span, especially when considering the use they get on a driveshaft. Nice and simple, this one!
Regardless of the type of AL-KO hitch you’ve got, they’re all pretty straightforward. We’ll cover the standard 50mm ball coupling further down, but right now, we’re talking about the Off-Road Pin Coupling, which is AL-KO’s most common unit next to the ball hitch.
Hitch maintenance is just ensuring the tow head coupling is kept clean and clear of dirt and debris (which you can do with the hose), and the hitch shaft has a pair of grease nipples.
You’ll need a grease gun and some multi-purpose grease within. Simply connect up the grease gun to the nipples and pump grease in until you begin to see a tough of grease being pushed out of either end of the hitch shaft. Wipe off any excess and call it done.
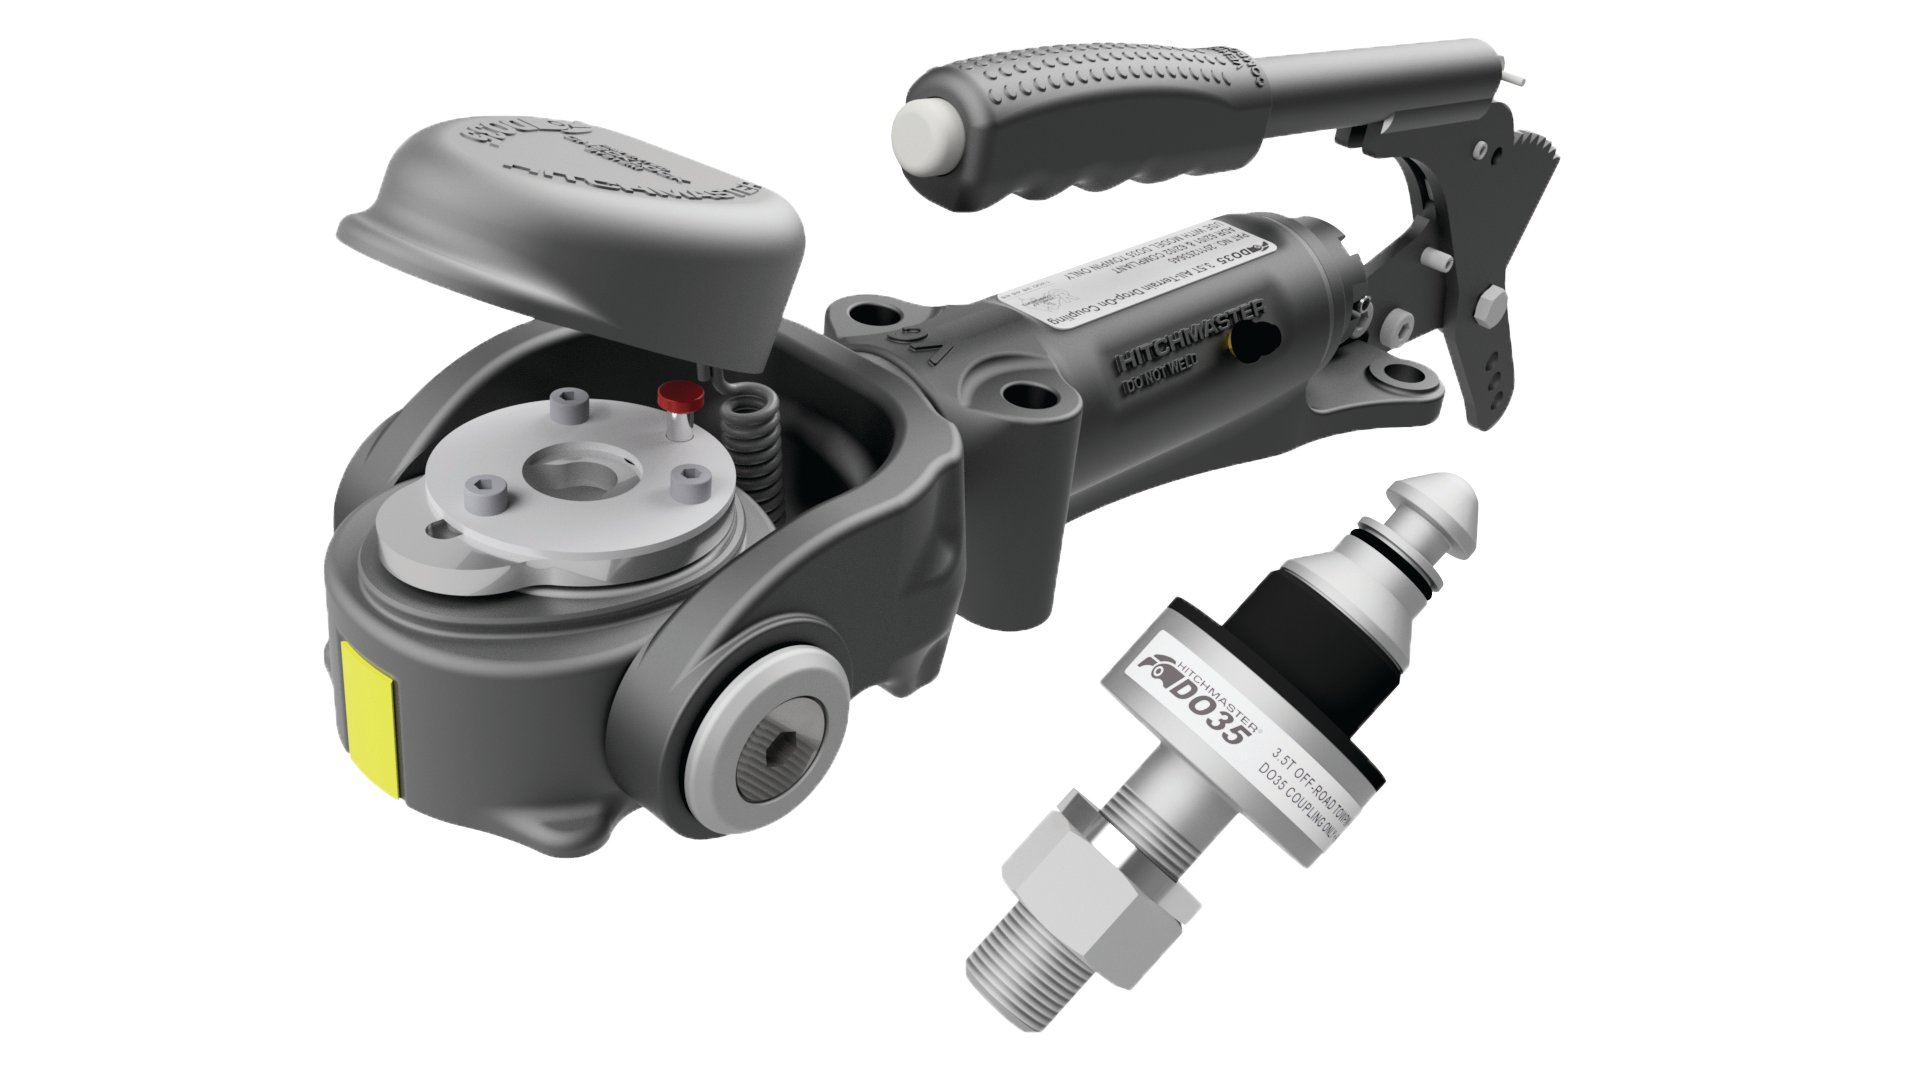
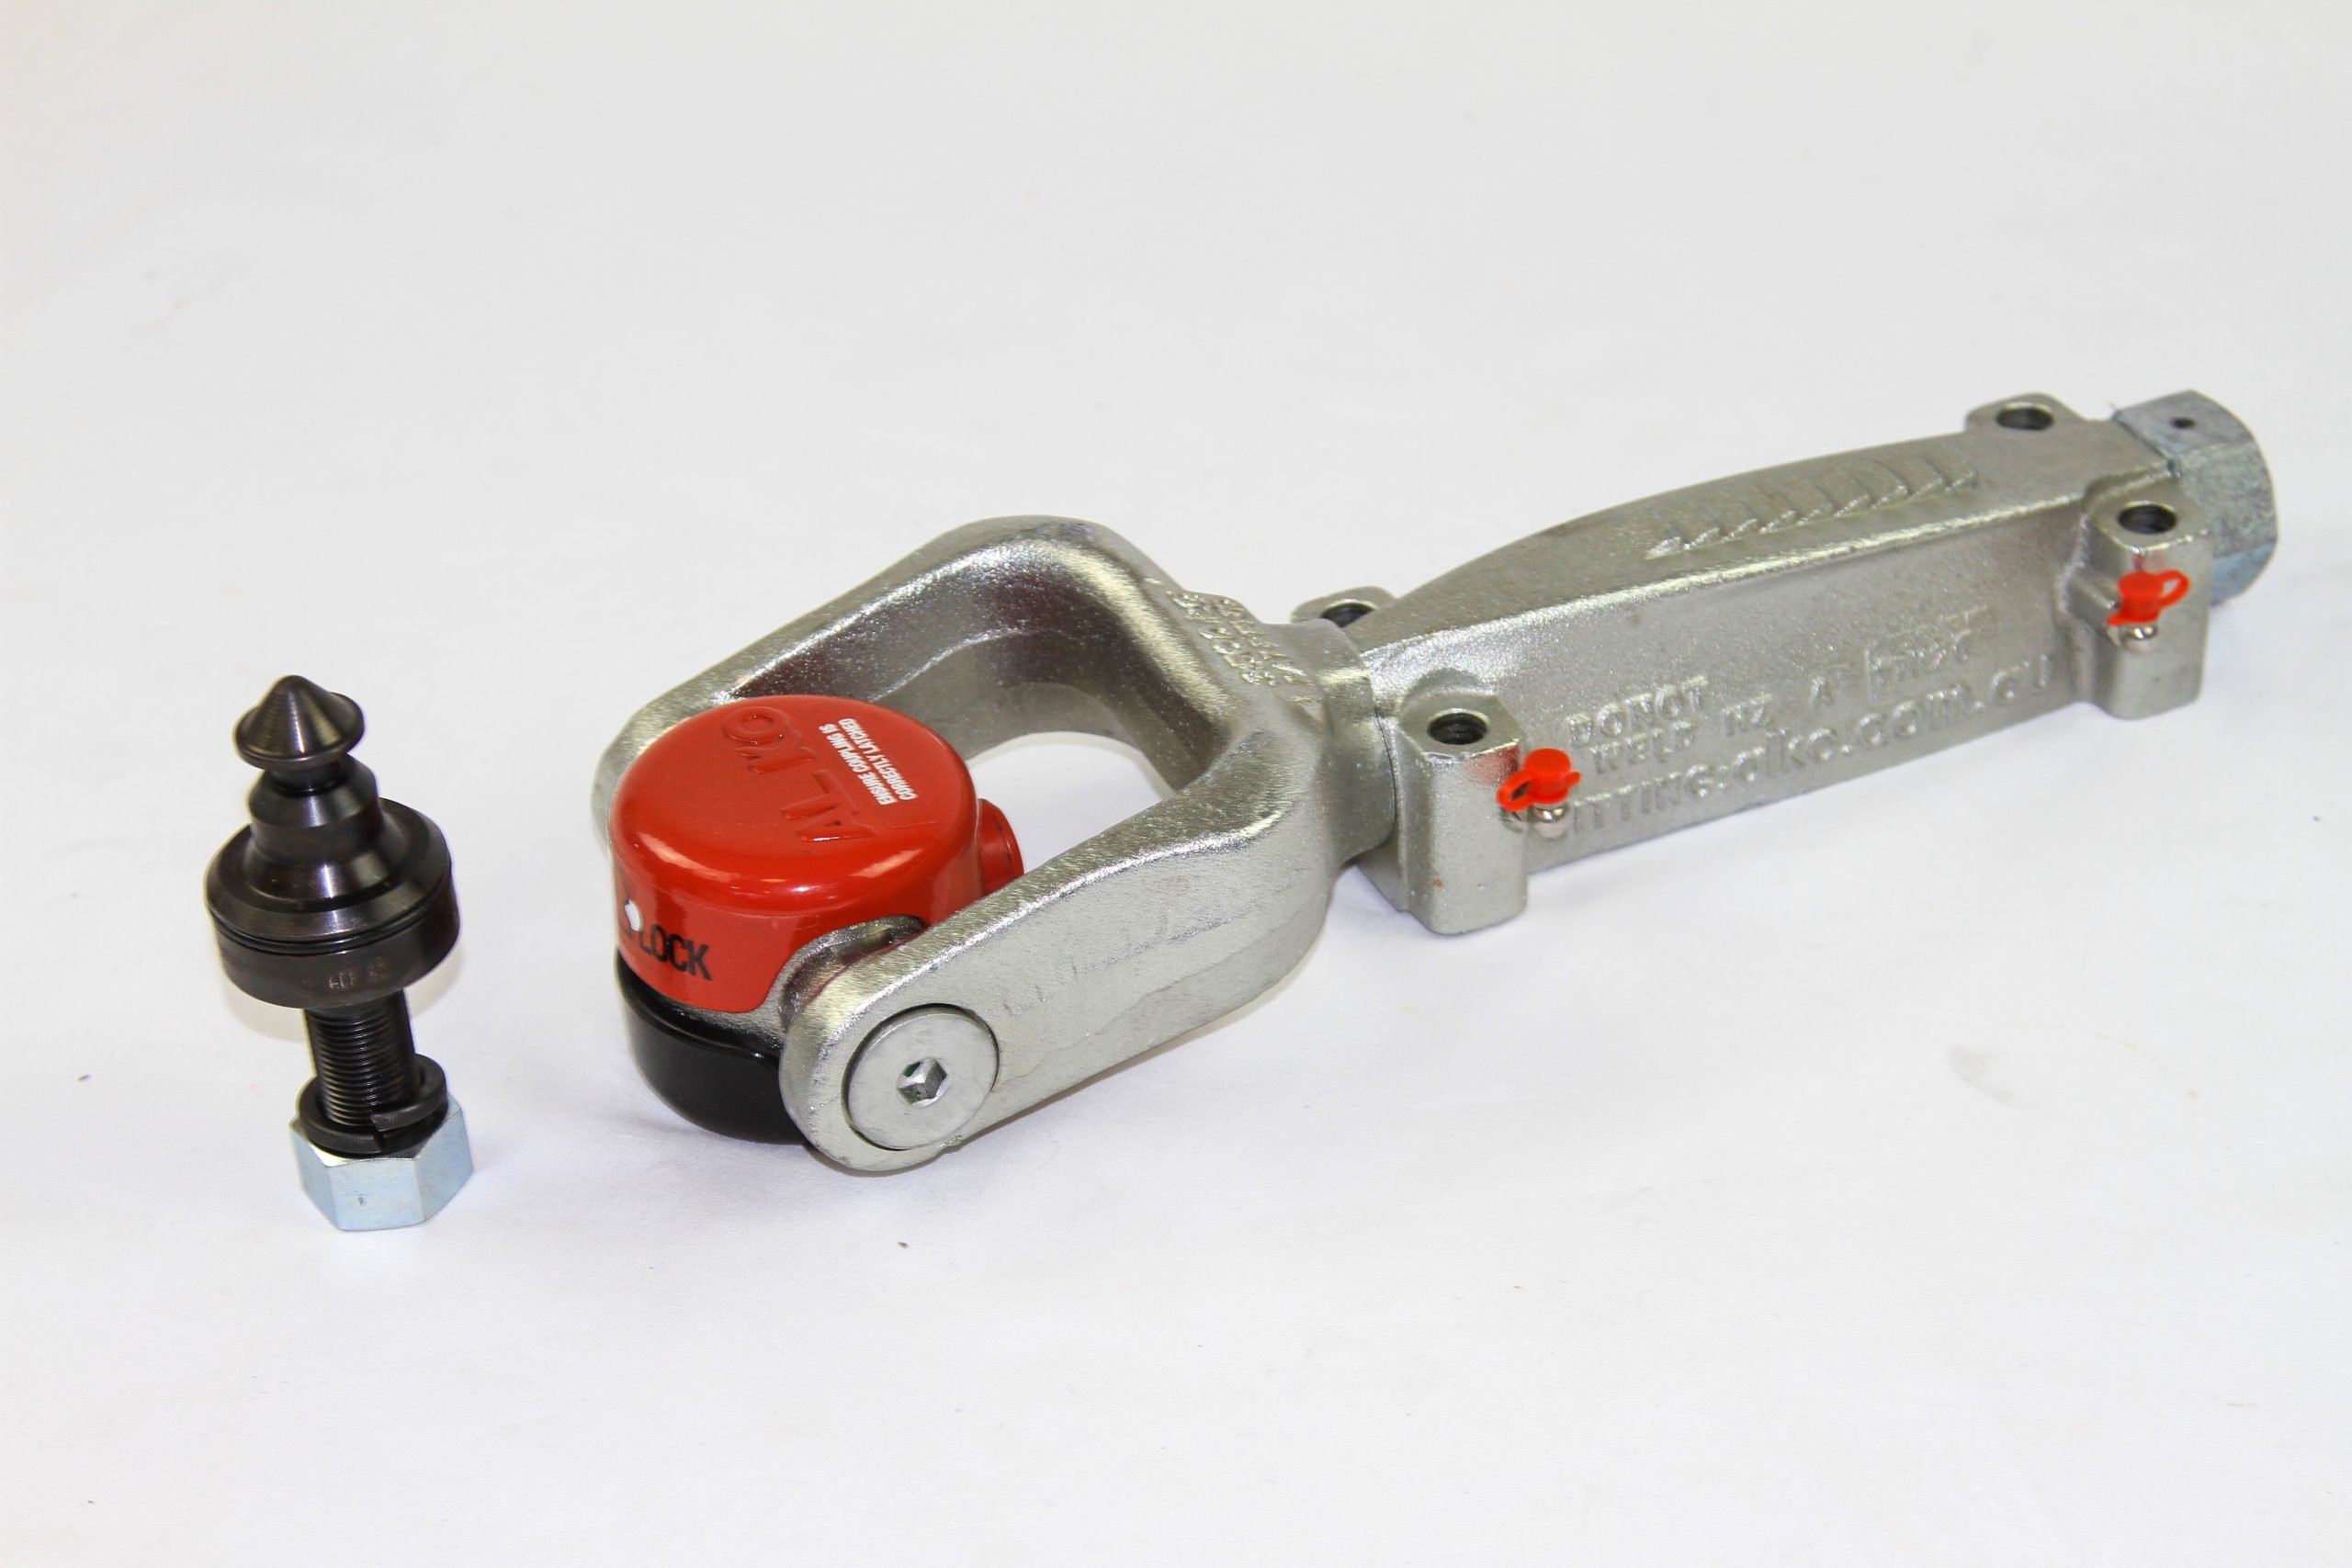
Next along in this hitch maintenance guide, we have the Cruisemaster D035 hitch. For the pin and receiver, you’ll want to keep them clean and very lightly greased – the Dry Glide spray from CRC will work well here. From there, you’ll want to check the O-ring on the hitch pin, and if it’s perished or absent (it happens), replace it with the appropriate part (Part number: 18D-D035-101).
Next, you’ll want to use a grease gun on the grease nipple on the hitch shaft and keep pumping it in until you see it start to show around the ends of the shaft. It’s worth keeping an eye on the pin and ensuring it remains tight. Lastly, it’s worth flushing the locking mechanism out with water to ensure there is no debris within that could stop it from locking properly. The D035 is supplied with a hitch cover to help keep it clean.

For maintenance of the Hitch-Ezy, as with the rest, you’ll want to make sure the pin and mechanism are clean and free from dirt, mud and debris. The hitch shaft itself has grease nipples, where a multi-purpose grease can be used to replace any grease lost. Pump the grease in until you begin to see it appear at the ends of the shaft, then clean up any excess, and you’re away. Nice and simple.
The XO Hitch from ARK Corp retains your standard ball but makes the connection easier and gives full pivoting ability by way of a uni-joint style setup. As you’d imagine, with the grease nipples on the uni-joint, you’ll want to give it a generous squirt of multi-purpose grease from a gun. Once it pushes grease out, stop trying to put it in and clean up any excess with a clean rag. As with all the other hitch maintenance tips, make sure the hitch and receiver are clean and clear of any debris.
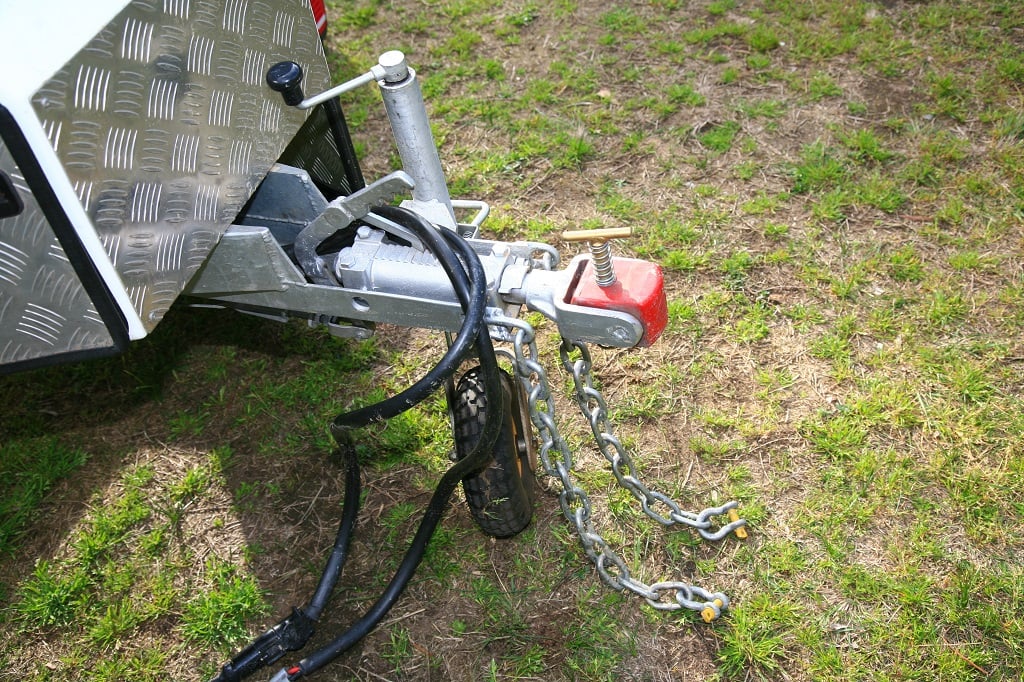
This is the most common, and if you’re running an older van or don’t head off-road, you may well have one of this style. Put simply, DO NOT GREASE THE BALL when it comes to hitch maintenance for a standard ball hitch! There, I’ve said it. The reason is that it is a very open component (as opposed to the closed-off hitch shafts and hitch receiver like the XO Hitch), and dirt and dust will get stuck to the ball and in the coupling. Dirt, grit, dust and sand mix with grease exceptionally well to make a lapping paste and will wear away the case hardening on the ball and weaken its strength.
Just keep it clean, and keep any grease or oil away from it. The hitch, however, will need to be adjusted on the odd occasion so that the connection is tight and firm from hitch to ball. Some hitches have grease nipples, and the same rules apply; a quality multi-purpose grease should be added to the nipple until it starts to show, then clean off any excess with a clean rag.
With an off-road Trigg (or Treg) style poly-block hitch, there’s minimal thought needed for hitch maintenance here. Aside from keeping the pin and steel tube in the hitch clean of mud, dirt and grit, just the odd greasing of the grease nipples on the hitch shaft itself is all you will need to do. A dry-lube on the pin will help insert and remove it, however, don’t use a wet grease as it will suck in dirt and grit, and make a lapping paste that will destroy your pin and receiver.
While thinking about this, I would suggest trying to limit sun exposure to the poly-block while you’re parked up if it’s staying outside. Although the poly block will be UV stabilised, it still won’t hurt to keep them shaded wherever possible to stop any deterioration due to sitting in the sun for months on end while we’re in lock up.
So go forth and grease (or not grease) your hitches, and hopefully, you’ll give your humble tow hitch more of a cursory glance when we’re finally able to hitch up and get away again.
Words by Wes Whitworth and Jessica Palmer.
Our editors carefully select the products we feature to ensure they meet the needs of our readers. If you purchase through links on our site, we may earn a small commission. This helps keep our content free and does not cost you anything. Read our full affiliate disclosure.