Does your caravan water taste bad? Here’s how to fix it
Does your caravan water suddenly taste bad? Here's what could be causing it and more importantly, how to fix it.
Last Updated: 17 February 2025
Remote outback Central Australia in summer is one of the last places on earth you would want to discover your caravan water tastes bad. I’ve been there, and I’m lucky taste was the only issue. Water tanks can play host to all manner of disease-causing agents, and running out of good water out there can be deadly.
With the benefit of hindsight, let’s rewind the story and establish a good potable water regime, starting with choosing the right tank, preparing and filling it, treating the water, and finally, preparing the tank and your caravan for an extended lay-off period.
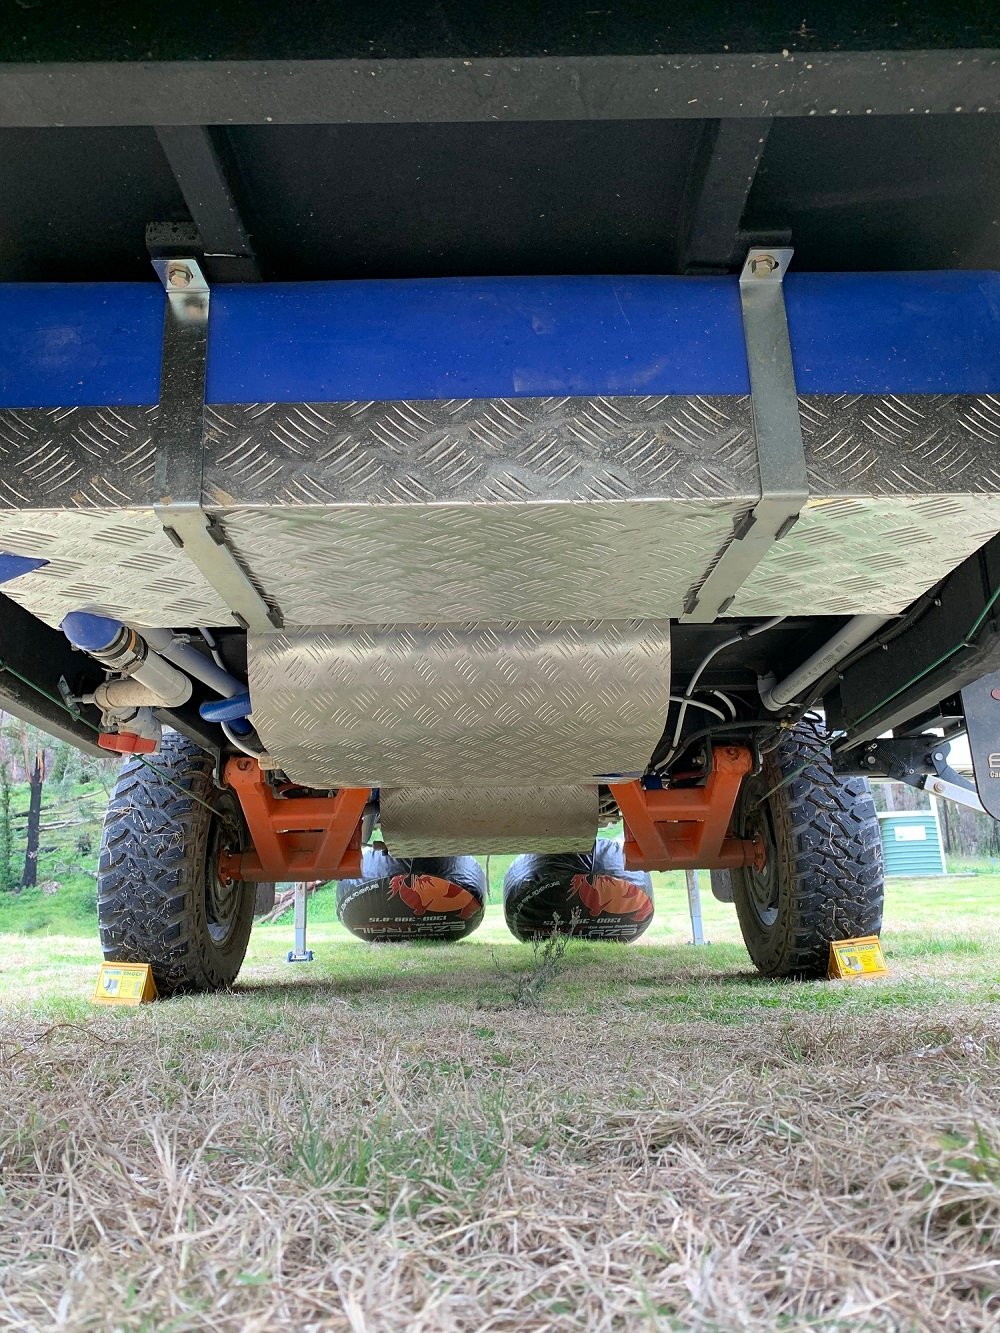
There are myriad different water tank set-ups for every RV application. RV water tanks are commonly made from polyethylene (PE) in varying degrees of hardness, polyvinyl chloride (PVC), which can be hard or soft (in the case of a flexible bladder), aluminium and stainless steel. Weight and storage location are often the biggest determinant of the tank material chosen.
There are specific standards you should look for when setting up a new potable water system in your RV.
For drinking water, look for a tank that complies with Australian/New Zealand Standard AS/NZS 4020:2018 Testing of products for use in contact with drinking water. Drinking water tanks are often (but not always) blue in colour. Drinking water should be kept in a separate tank, filled from a trusted source and delivered through a separate pump and filter to minimise chances of cross-contamination.
For domestic supply (kitchen tap, shower, etc.), Australian Standard AS2070:1999 Plastics materials for food contact use (commonly referred to as ‘food grade’) is okay, but if you can go for AS/NZS 4020:2018 that’s even better as you’re likely to ingest this water in some form. Treat general potable water in the same manner as drinking water.
The tank is only one part of the overall potable water system in an RV. It is important to remember that every pipe, hose, fitting, pump and filter that comes into contact with water has an influence on how good or bad your caravan water tastes, so use drinking water safe equipment wherever possible.
While it might be considered a fresh start, a new tank will invariably contain residue and swarf from the manufacturing process and must be thoroughly prepared before first use. This was my first downfall, as the bladder we used was not flushed properly before filling and heading into the red centre.
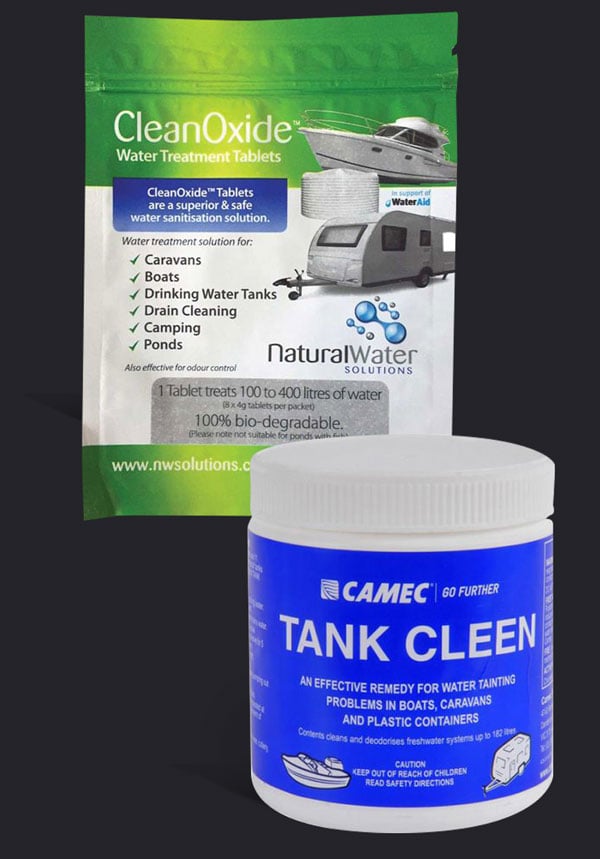
To prepare a new tank, you can use oxidising tablets or liquid, which are very safe and effective and leave minimal residue. The bicarb and vinegar or bleach flush methods that I detailed in my previous guide have been used since Adam was a pup. Make sure whichever method you choose is safe for the tank as per the manufacturer’s recommendations, and ensure the solution completely dissolves, as powders can block small lines and fittings.
Open every tap in the RV until water flows, hold water in the system for as long as recommended, then flush through several times, and your new tank is ready to use.
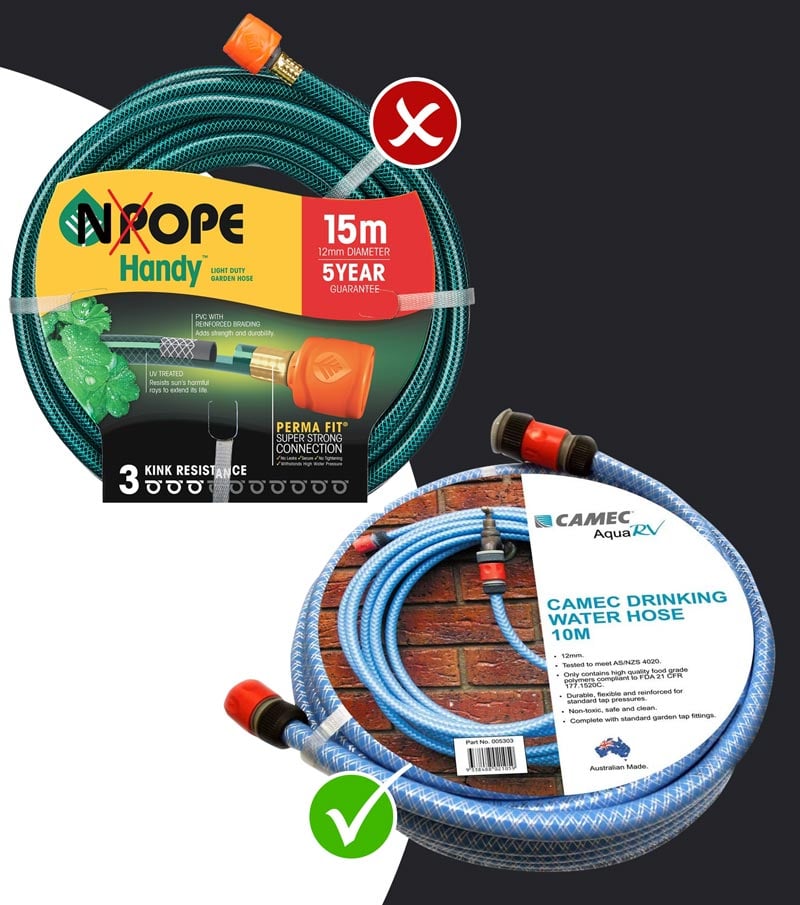
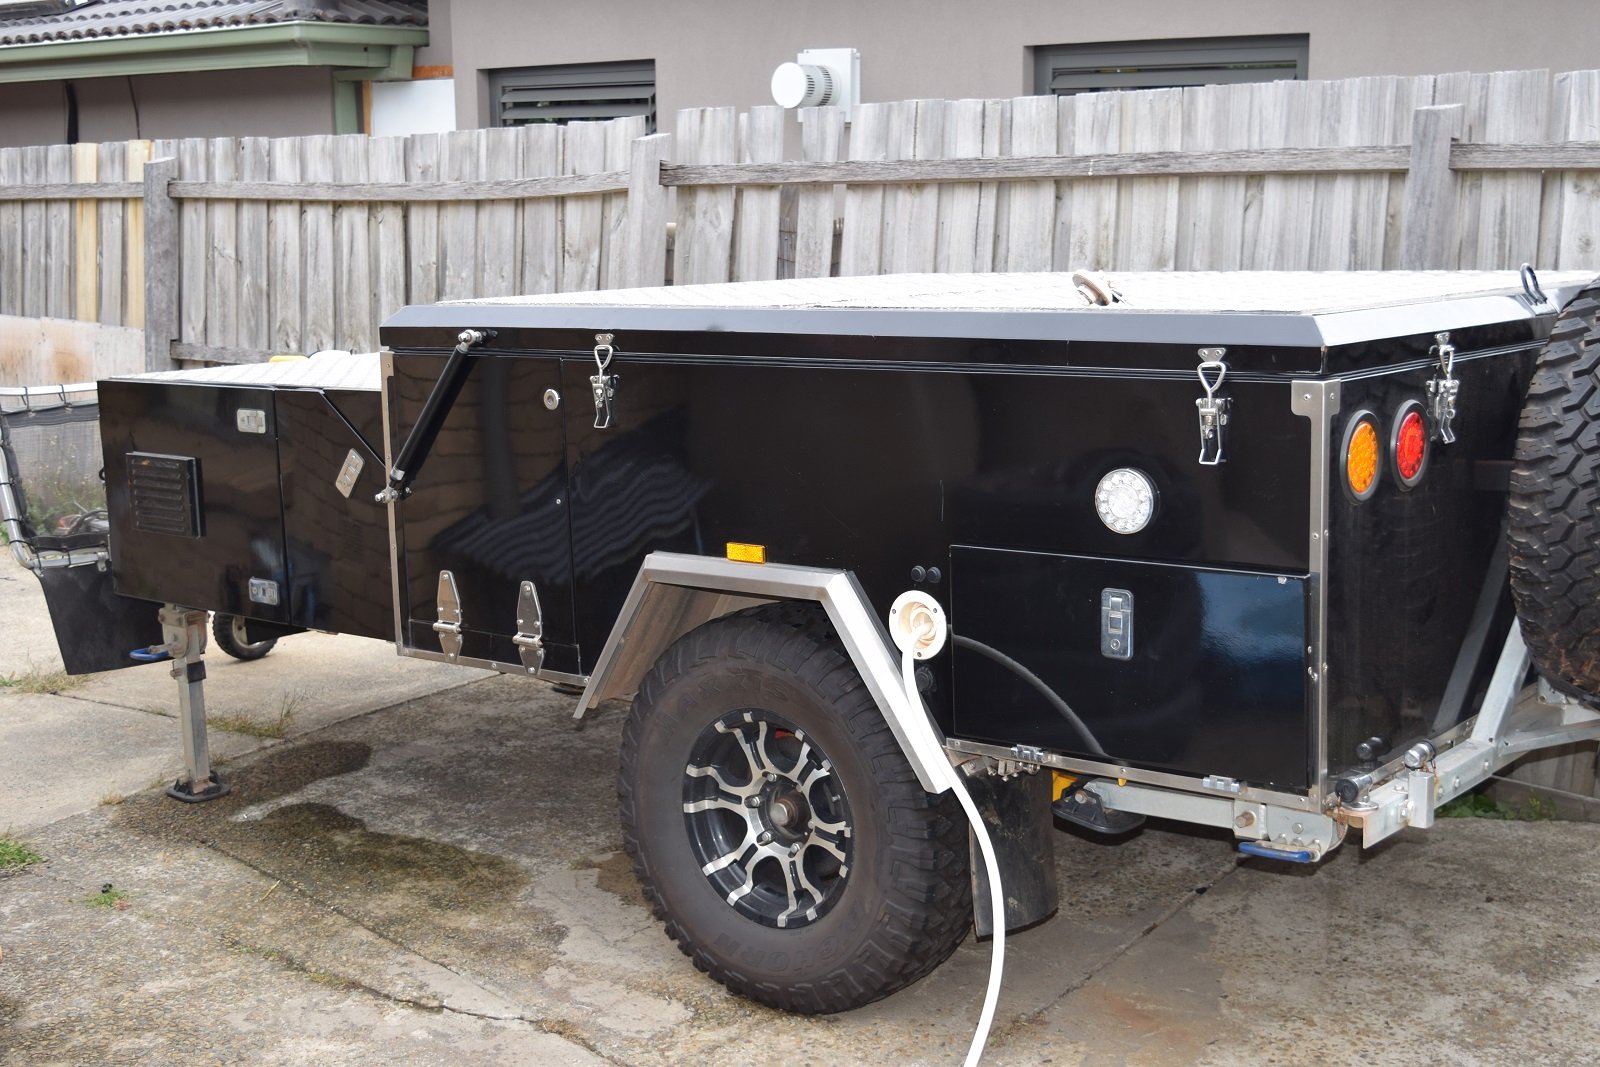
It’s important that your filling equipment is suitable for contact with drinking water. This was my second downfall as a regular garden hose was used. The result was that world-leading Melbourne quality tap water tasted strongly of plastic. You live and learn! Always:
Follow your manufacturer’s recommendations for getting the most water into the tank (i.e. fill from the bottom, fill on an angle).
If you’re planning to be away for a while and refill on your trip, your water tank may host nasties from the visible, such as larvae, algae and mould, to the largely invisible, such as heavy metals, bacteria, viruses and protozoans. Lack of a bad taste is no guarantee the water won’t make you sick. Always:
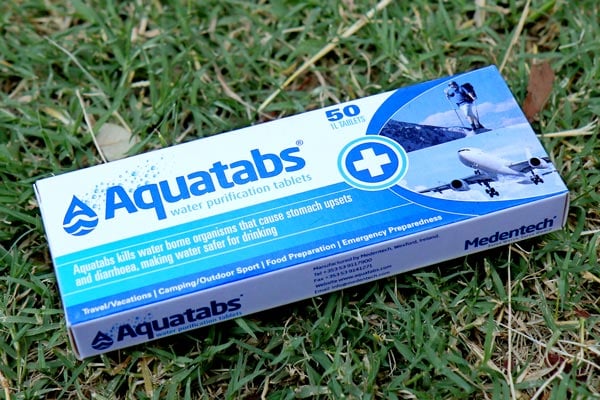
As I covered in my previous guide, there are several water treatment options. The most common methods are:
Chemical treatment in tank, combined with filtration, is most commonly used in RVs. Read about the pros and cons of each method in the guide. While not the subject of this guide, don’t forget to stop your grey water from turning into black water. Read my guide on greywater.
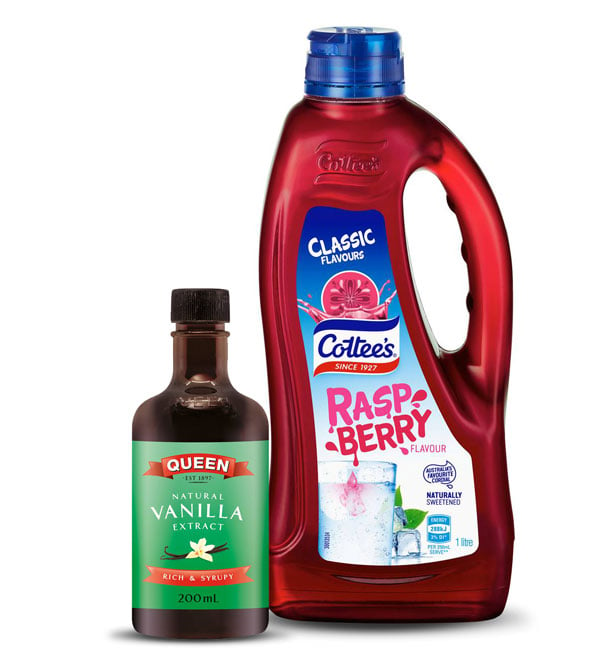
Sometimes, in spite of multiple rounds and methods of water treatment, you’re still left with an unpleasant plastic taste. You may have heard the old wives’ tale – a bottle of Cottee’s cordial (has to be raspberry) or vanilla essence through the system will fix it. And the truth is – it, at the very least, masks it with something more pleasant.
Every good trip must come to an end – and when it does, don’t forget to prepare the tank and your RV for the extended layoff period. Otherwise, the next time you go to use it, it might be downright feral! There are two schools of thought:
Personally, I’m far more comfortable with draining and drying out the tank. If there’s no water, nothing will grow. Here’s how to go about it:
Hopefully, the tips in this guide will help you stop your caravan water from ever tasting bad. Tell us your favourite tip for ensuring fresh, clean drinking water on the road.
Words by Juliette Remfrey.


