5 Minute Mods – How to stop your awning from flapping
Roll-out awnings on caravans are a fantastic convenience, but they are not without their drawbacks. This Aussie Traveller awning rafter installation shows you how to stop your awning from flapping. Our first holiday in our first caravan was a real…
Roll-out awnings on caravans are a fantastic convenience, but they are not without their drawbacks. This Aussie Traveller awning rafter installation shows you how to stop your awning from flapping.
Our first holiday in our first caravan was a real learning experience. Even though we had done a lot of travelling around in camper trailers, a caravan is a completely new and different experience. Needless to say we made lots of mistakes.
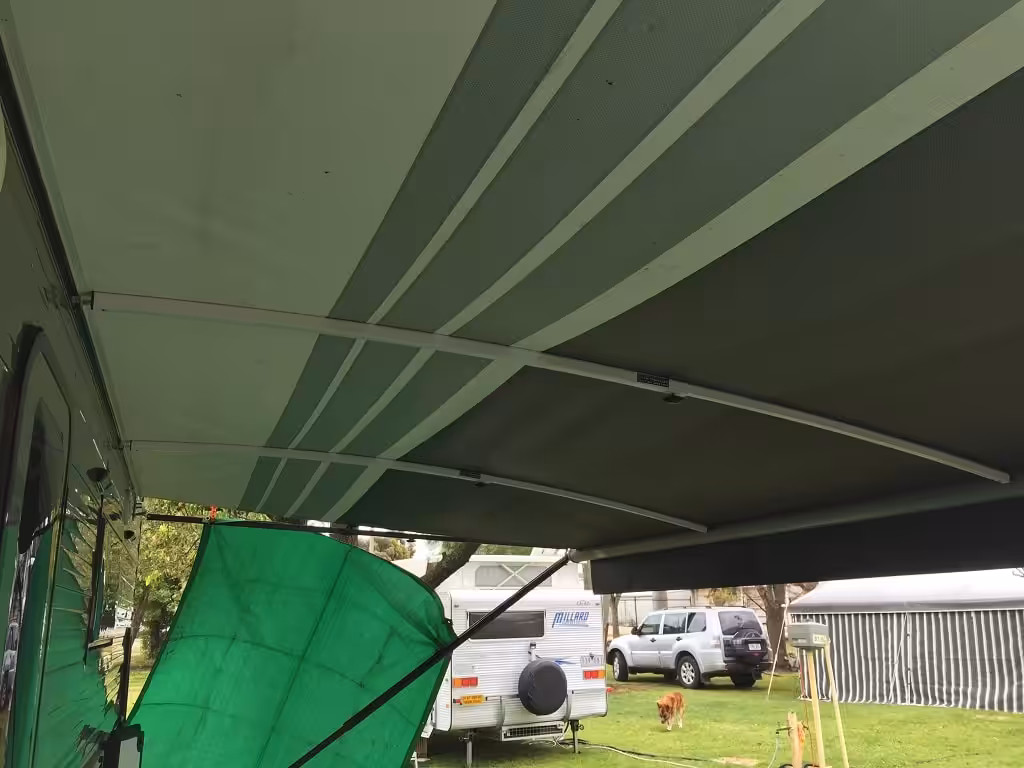
One night, while enjoying the camping on Stradbroke Island, we had a reasonable storm come through with an associated dump of rain. When we got up the next morning, we were greeted with a most unexpected sight. Our roll-out awning had collected an unbelievable amount of rainwater and was bulging with the weight. It still amazes me how the whole thing didn’t collapse.
Many first-time caravan owners would likely have experienced this. Roll-out awnings are a great convenience, but they have their drawbacks. Water collection is one. Flapping in the wind is another. When you consider the awning is basically a big unsupported sail, it’s little wonder owners have issues.
Fortunately, there is a solution, and it is a simple DIY project.
Aussie Traveller awning rafters are a popular accessory, and they will solve many of the problems associated with roll-out awnings. They add much-needed structure to the awning, helping to minimise flapping and also reducing the likelihood of water pooling.
Here’s our step by step installation guide.
There’s a golden rule with any DIY project; measure twice, drill once. It’s a good mantra to have, especially with this installation, because you will be drilling several holes into your pride and joy. You don’t want to mess it up.
Step 1: Determine the position of the rafter wall bracket positions.
Depending on the number of rafters you install, you need to measure out where they will go and where the brackets will need to be secured. Measure the length of your awning material. If you’re installing two rafters, divide the length by three. Measure this distance along the wall under the awning on both sides from the edge of the material and mark with a pencil. This will be where the brackets are mounted. Remember to centre the brackets over this mark.
Step 2: Secure the wall brackets in place.
The instructions say that you need to ensure the bracket is about 2.5cm lower than the awning itself. I found that this was not so critical and I screwed my brackets into the metal strip that secures the awning itself. I figured the panel behind it had already been drilled into so it was a safe bet that I could drill in line with the rivets without hitting any wires inside the wall of the van. If you’re not sure, drill your holes very slowly, so you maintain control of the drill when it reaches the inside edge of the panel. The kit came with wood screws but, given I was screwing into metal, I used self-drilling sheet metal screws instead. It’s a good idea to drill small pilot holes first to give better control when securing the brackets in place.
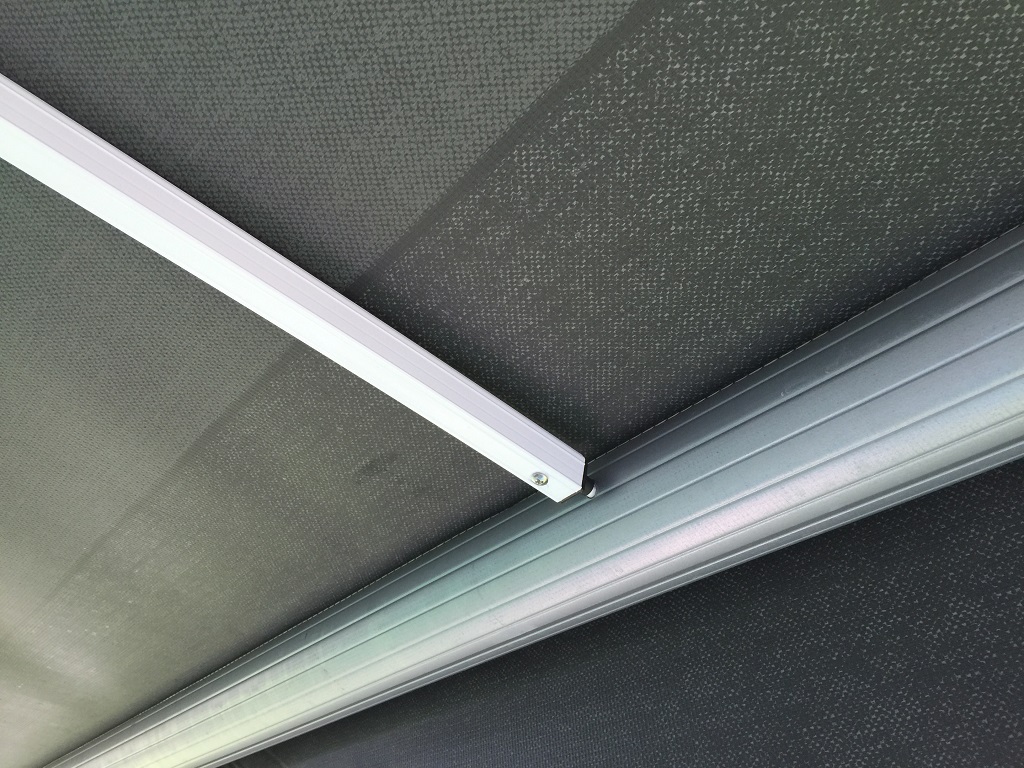
Step 3: Drill the holes in the awning roller.
Measure from the edge of the awning material to the centre of each of the mounting brackets. Ensure the awning is completely rolled out and translate these measurements to the awning roller measuring from the edge of the awning material. These marks will be where you drill the holes for the rafter to connect with the roller. Before drilling the holes, fit the rafter at the van wall end and extend the rafter to the awning roller. Check to see the place you’ve marked for the hole in the roller lines up with the rafter pin.
The instructions show the holes being drilled above the groove where you would fit an awning shade but this is too low with the awning completely rolled out. Instead, drill the holes at the point on the roller where the rafter pin aligns. Ensure the holes are just big enough for the rafter pin to fit into snuggly.
That’s all there is to it. Your rafters are now ready to use.
One thing to keep in mind when packing away the rafters. If you feel any resistance when lowering the rafter at the wall bracket, it means the rafter has moved slightly out of position. Don’t force the bracket to fold down or you will bend the wall bracket. Lift the rafter slightly and reposition so that it can lower freely.
Aussie Traveller Curved roof rafters RRP $72.60 each. and are available direct by clicking here.