Resealing a leaking caravan window is easy, if you know how
Water leaks are a common problem, especially with aluminium-clad caravans. The sealant often fails at the sheet joins, around hatches, at the side moulds (J-moulds) or around window frames. Here we’re looking at how to reseal a leaking window.
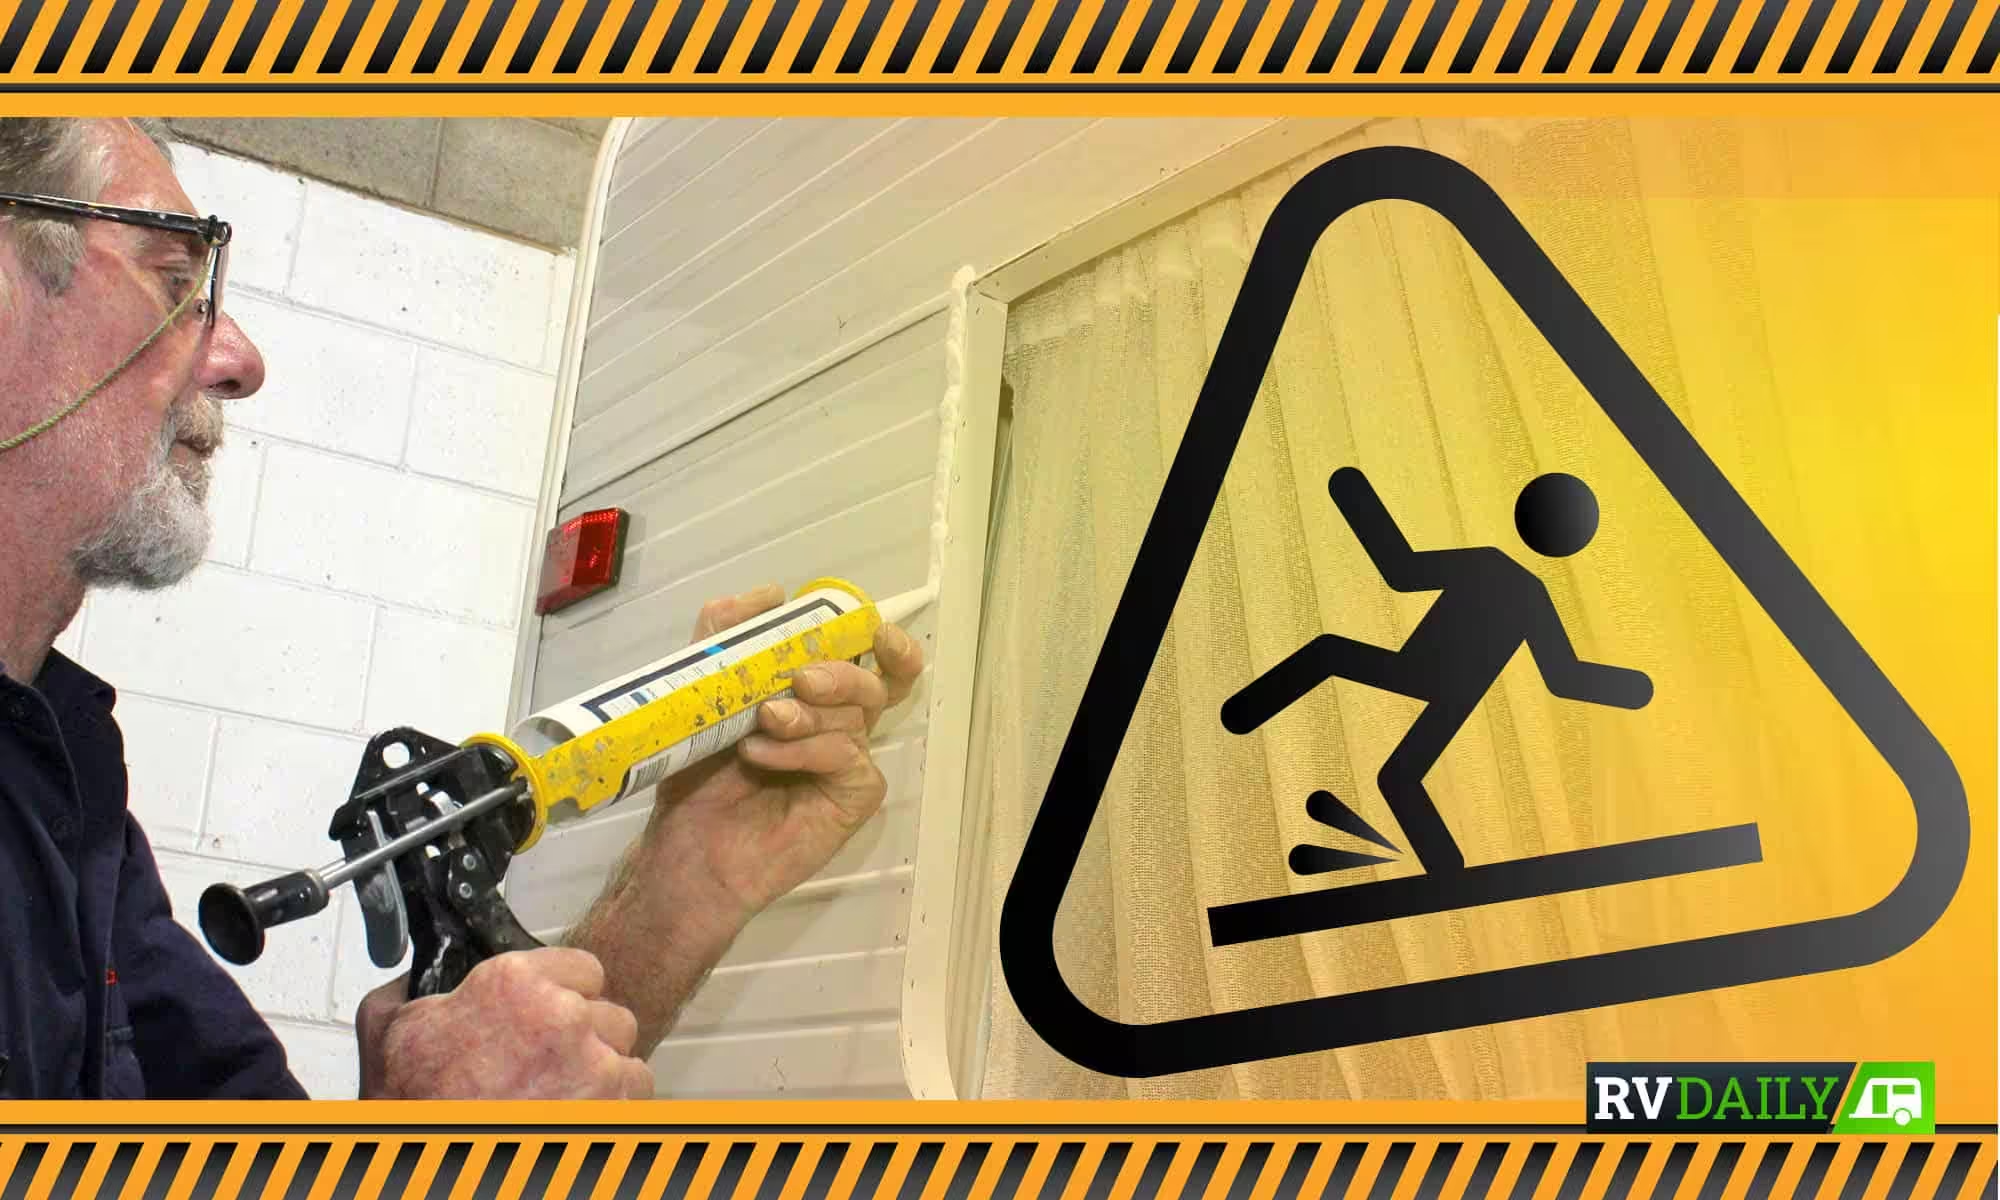
It’s usually obvious that your van is leaking. You’ll see water stain marks on interior walls, often accompanied by a musty or mouldy smell in the van. In this case, the most telling sign of a leak was the window’s curtains, which were stained from being wet.
While caravan manufacturers have mostly stepped away from the practice, many in the past used a foam seal around the caravan’s window frames. This type of seal, more than silastic or mastic sealant, is prone to allowing water to get into the van.
The way to reduce the chance of water ingress is to never use a pressure washer close to the van’s seals (better still, don’t use one at all). Being exposed to the elements doesn’t help keep seals fresh, so if possible store the van under cover.
First off, you need to remove the stone guard (if fitted). The C-channel ends of this window frame were crimped so we had to straighten one end so that we could slide the stone guard out of the C-channel.
Now the window frame retaining screws can be removed, including those for the stone guard retaining clips. With the screws removed, the only thing holding the window in place is the adhesive.
In this case, the adhesive used was a double-sided foam tape. Almost no manufacturers use this type of seal anymore, which according to Complete RV’s Danie Johanson, is a good thing. The tape tends to allow leaks more quickly than silicone-type sealants – so it’s strongly recommended that you use either a non-acidic silicone or a polyurethane sealant when resealing exterior components such as this.
Breaking the seal so that the window can be removed can be difficult – the seal might be allowing water through here and there but that doesn’t mean it’s not sealing properly the whole way around the frame. Using a sharp knife (such as a box-cutting knife), carefully cut through the seal, watching that you don’t scrape off paint around the periphery of the frame.
Now the window is ready to be pulled out. Some will come out easily at this point, while most will need a bit of encouragement. Using a chisel and a block of wood (this protects the cladding), lever out the window. Be careful not to exert much pressure on the block of wood, as the cladding is soft and can be easily damaged.
With the window removed, it’s time to inspect the window cut-out for timber damage (in the case of a timber-frame van). Luckily the window had not been leaking for very long in this van, so repair work on the frame timber was not necessary. If the timber was showing signs of rotting, it’s a big job to peel off the cladding to repair the timber.
Now it’s time to clean up the residue seal on both the window frame and the window aperture. Start off using a plastic chisel or sharpened Perspex to scrape off the bulk of the old sealant, and then use a wax and grease remover or similar to remove what’s left of the sealant.
With the surfaces clean, you can now apply new sealant to either the window frame or the aperture. You should apply a thick bead of sealant to make sure it oozes into the gap between the window frame and the aperture. You’ll likely need two or three cartridges of sealant (depending on the size of the window).
The next step is to mount the window back in position, making sure that the aperture is clear of such things as a part of the window curtain. Now you can refit the retaining screws, ensuring that the stone guard retaining clips are refitted in their original positions.
It’s time now to clean up the excess sealant, using a plastic scraper and a board to wipe the excess onto. Then give a final wipe-around with wax and grease remover to get rid of any remaining excess sealant.
Now the stone guard can be refitted, remembering to bend down the end of the C-channel to ensure that the stone guard can’t slide out of position.
With thanks to Complete RV Services for their help with this story. Contact 85-87 Batt St, Jamisontown, NSW 2750. P 0423 384 873.