Fresh oil and a new oil filter will make your tow vehicle great again, so here’s how to do it if you’ve never changed your oil before Working on your own vehicle can be very satisfying and you’ll save some…
Fresh oil and a new oil filter will make your tow vehicle great again, so here’s how to do it if you’ve never changed your oil before
Working on your own vehicle can be very satisfying and you’ll save some money by working the tools yourself too. Changing the engine oil and engine oil filter in your tow vehicle is one of the simplest jobs you can do. But what if you’ve never done it before?
This is a general guide to doing oil and filter changes – some vehicles have quirks that we’re not getting into here. For example, a DPF-equipped diesel may well need its oil counter reset with a diagnostic tool and depending on model, the Ford Ranger and Mazda BT-50 can require the job be done under 10 minutes – or the oil pump will not be primed. If in doubt, check it out – don’t assume your vehicle will be exactly the same as we’re showing here.
Best bet is to get access to a service manual for your vehicle just to cover off any particular oil change needs it has.
Although doing an oil change is one of the easiest mechanical jobs you can do on your vehicle, it does require some patience. While often just a 10-minute job when you have all the parts and tools to hand, if it takes you an hour the first time you do it, let it. Rather be slow than make a critical mistake.
Ideally, you need a clean, level work area such as a garage or level driveway to work on. Make sure that the vehicle is secure, either in Park or first gear and with the handbrake on. Put a couple of chocks against the wheels if not a perfectly level surface.
Workshop equipment you’ll need includes the appropriate socket wrench for the drain plug (most vehicles will need a socket of around 15-19mm, while others may use an Allen key or Torx head bolt), an oil filter wrench, an oil drain pan, a funnel for refilling fresh oil and a couple of clean rags.
It’s also a good idea to use nitrile gloves so you don’t get oil and grease all over your hands, and grab a piece of old cardboard to slide under the vehicle to avoid spilling oil onto your garage floor. You need to see what you’re doing under the vehicle, so a work light or a torch is also handy.
Parts you’ll need include new engine oil of the correct specification and quantity for your vehicle, an appropriate oil filter and a sump plug washer. Some re-use the existing washer, but it’s preferable to use a new one to avoid the risk of leaks developing.
Make sure the engine is hot – see if you can either run some errands, for example, before starting the job or if you have to, let the engine run from cold for around 10 minutes to get some heat into the oil. The reason for this is that the debris captured in the old engine oil is more likely to drain out if the oil is hot.
Most 4WDs will have enough clearance enabling you to do the oil change without lifting them. If necessary, use an axle stand of the correct rating for the weight of your vehicle to raise it so you can get underneath to access the sump plug and oil filter (although with some vehicles, you can access the oil filter from the top of the engine). Never get underneath a vehicle that’s supported by only a vehicle jack.
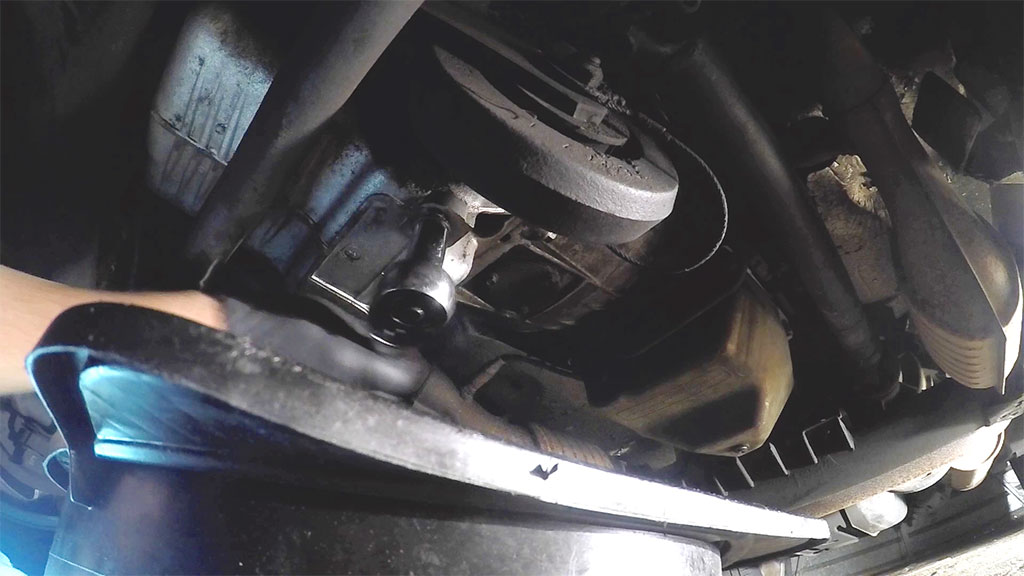
With the engine now switched off, slide the cardboard and oil pan underneath the vehicle. Be careful as components will be hot. With the oil pan positioned underneath ready to catch the old oil, loosen the sump plug bolt with the socket wrench until you can undo it by hand. Slowly loosen the plug, keeping some hand pressure on it so that when you have reached the end of the thread – you’ll hear and feel a ‘click’ as you’re unscrewing it, and some oil will probably begin to escape. When you’ve reached that point, quickly remove the plug and let the old oil drain from the sump. If you do this, you’re less likely to drop the plug into the oil pan and have to fish it out later.
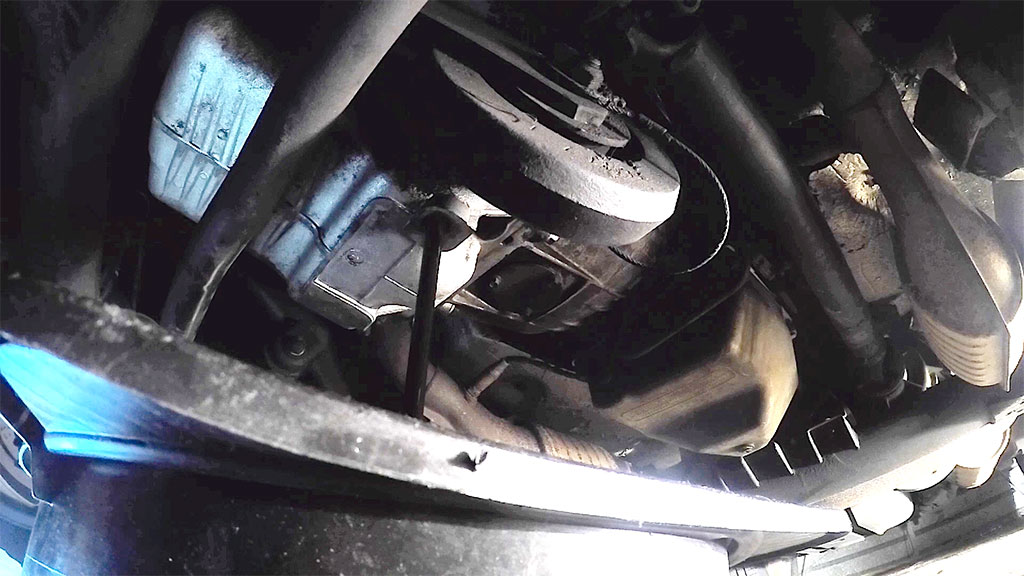
Let the oil drain until it’s down to a slow drip, say about 10 minutes. You won’t get every last drop of oil out of the engine so it doesn’t matter if it’s still coming out of the sump at a slow pace. Wipe the area with a clean rag, remove the old sump plug washer and fit the new one and refit the sump plug to the sump. Tighten the sump plug so that it won’t loosen – but don’t over-tighten it either, or you risk stripping the thread. If in any doubt, buy yourself a torque wrench for this part of the job. While not cheap at $100 or more for a good one, a torque wrench is a worthwhile investment if you plan to continue working on your vehicle. Using the sump plug torque specs for your vehicle (often around 30-35Nm or so), set the wrench to the correct torque for your vehicle and tighten the plug.
Now you can remove the old oil filter using the oil filter wrench. There are a few different sizes of oil filter wrench, so make sure you have bought one that will suit the oil filter for your vehicle. There are also a couple of different oil filter designs, depending on the vehicle. Most are a one-piece metal cartridge you thread onto the oil housing, while other filters are a simple pleated paper element that requires you remove the plastic or metal oil filter housing (which does not need to be replaced) to access.
First, make sure your oil drain pan is positioned under the filter to catch any oil that leaks out. Loosen the filter with the wrench until you can move it by hand. Then get a rag ready to mop up any oil that leaks out – this bit can be a bit messy, depending on how the oil filter is mounted to your vehicle. Remove the old filter and drain any oil within into your drain pan. If a paper cartridge, remove and dispose of the old O-ring gasket that seals the oil filter housing to the oil pump body.
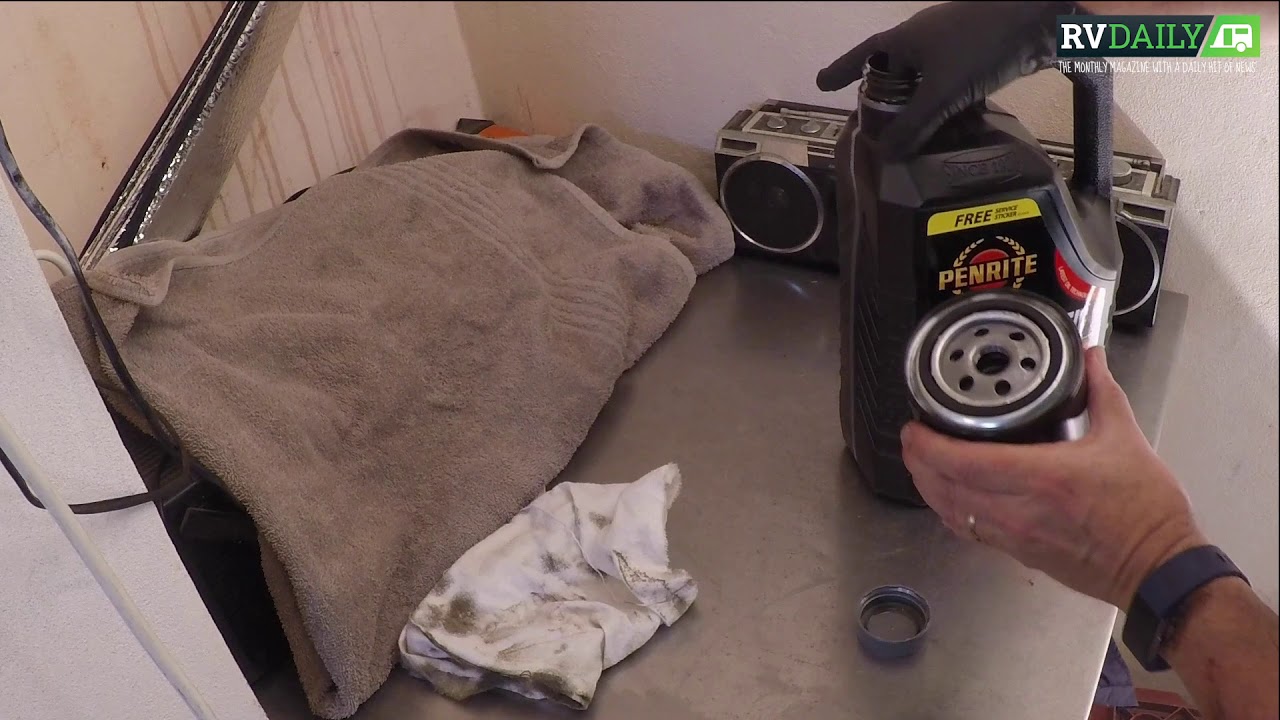
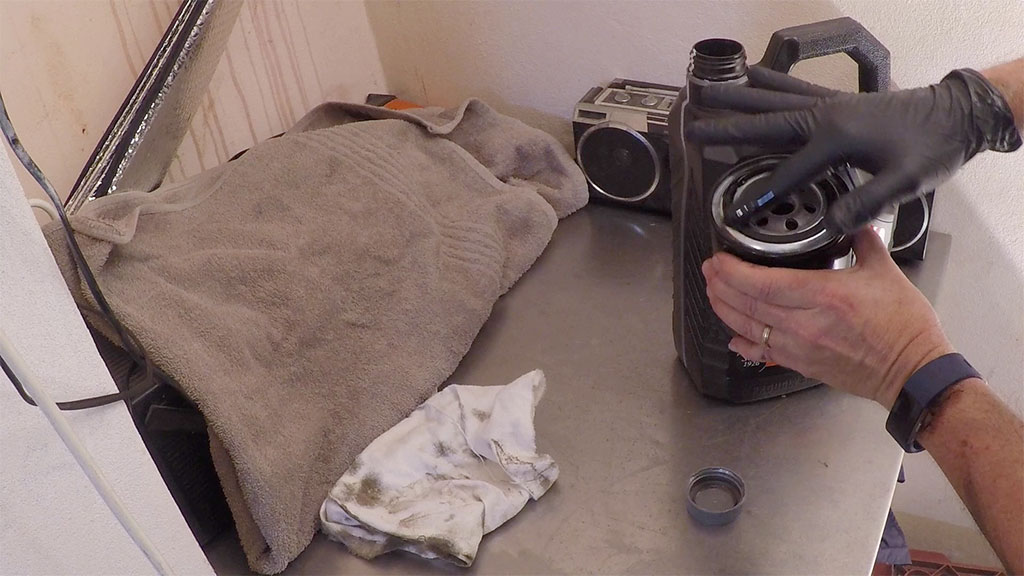
Grab the new oil filter and apply a smear of fresh engine oil on the gasket. If you have a paper cartridge-style filter, apply the fresh oil to the O-ring gasket that should come with the new filter.
Wipe clean the oil filter mating surface on the oil pump and spin on the new oil filter cartridge until you feel the gasket meeting the oil pump mating surface. Check the oil filter specs for your vehicle, but most require about 3/4 of a turn to tighten – make sure you don’t over-tighten the filter or it will leak.
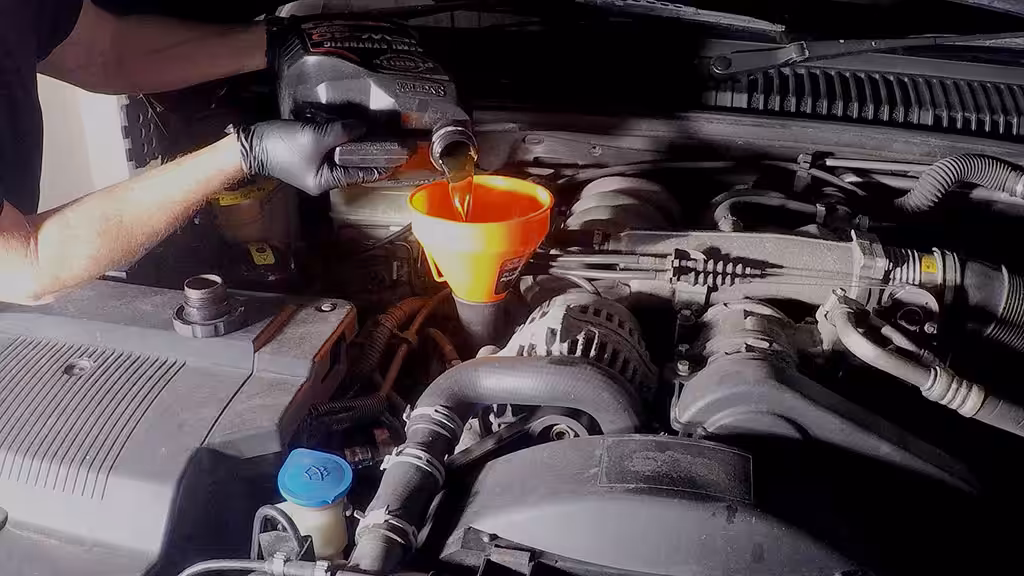
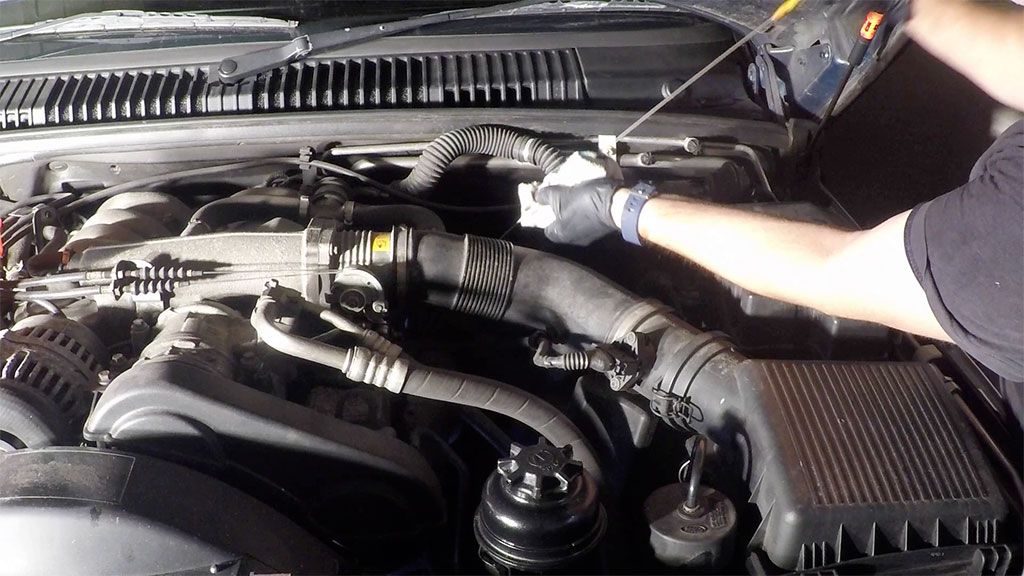
Now it’s time to put fresh oil into the engine. Unscrew the oil filler cap and using a funnel so that you don’t spill oil everywhere, fill to around 300ml-400ml under the total required oil refill amount.
Now pull the engine oil dipstick, wipe it, reinsert and pull it out again to get a current oil level. Then top up and recheck as necessary. Some vehicles need to be run to get oil circulating, so if your dipstick is at the full mark despite not filling to the recommend refill level, put the oil cap back on, run the engine and recheck the oil level.
Now it’s time to check for oil pressure and any leaks. Make sure the oil cap is refitted, and that you have cleared away any tools or item such as the drain pan from the vehicle.
Start the engine and run it at about 1500rpm. Watch for the low oil pressure warning light or oil pressure gauge (if equipped). Every vehicle is different. Some may get up to the correct pressure immediately; others may take around 5-10 seconds. If the oil pressure has not come up by about 10 seconds, shut down the engine. While this is very rare – I’ve not had this happen in more than 30 years of changing engine oil in more than 100 vehicles I’ve owned – it leads to severe engine damage if you ignore it.
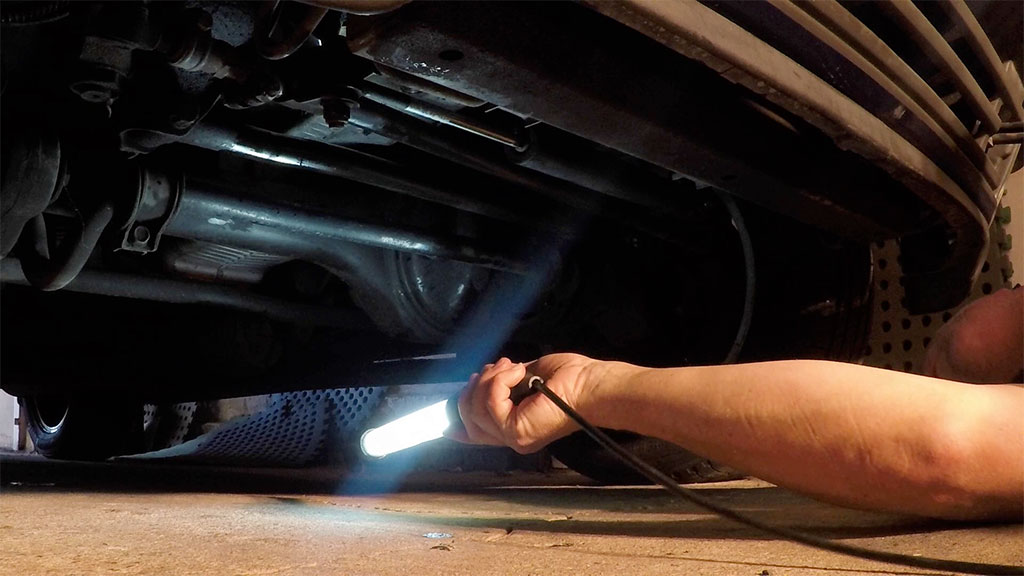
With the engine still running, have a look underneath the vehicle for oil leaks. You do not need to get right under the vehicle, as this can be dangerous with drivebelts and cooling fan nearby. Just look from the lower front of the vehicle with a work light to see if any oil is dripping. If so, you may need to switch off the engine and check your oil filter or sump plug is not leaking.
Now all that’s left to do is to note when the next oil change is due and go have a cold beer. You’ve earned it.