It’s a common complaint among caravanners: the water pressure in my van is terrible. What can I do about it? I’ve been there myself – standing in the shower with a pathetic trickle of water, or waiting forever to fill a pot at the sink. After going through three pressure limiting valves in our caravan, I decided enough was enough. I wanted to see if I could fix the problem myself rather than shelling out another $80-90 for a replacement. What I discovered is that most of the advice on the internet isn’t particularly helpful, but the actual fix is surprisingly straightforward.
Understanding your caravan’s water pressure problem
The water pressure coming from your caravan park supply is usually around 500kPa, which is much the same as domestic pressure found at most Australian homes. The problem is that pressure can vary around the country. I’ve heard of mains water pressures hitting 1000kPa. That amount of pressure can have a disastrous effect on your caravan’s water fittings.
Even regular pressures can cause problems. For example, most RV hot water systems have a maximum pressure rating of 450kPa. Feed water to your system at 500kPa and the pressure relief valve will likely leak continuously. You won’t be very popular with the caravan park manager if that happens.
To counter this, virtually all caravans and motorhomes come fitted with a pressure limiting one-way valve. Manufacturers usually rate them at a conservative 350kPa, except they’re notoriously problematic. Fortunately, you can replace them fairly easily from retailers like Caravan RV Camping if you have issues.
We’re on our third valve in our caravan, and it recently started playing up with the usual drop in water pressure. I’d had enough, and I wanted to see if I could repair it myself. I’d read numerous times that you can take them apart and service them. I had the old one from the last replacement, so I figured I had nothing to lose if I gave it a go.
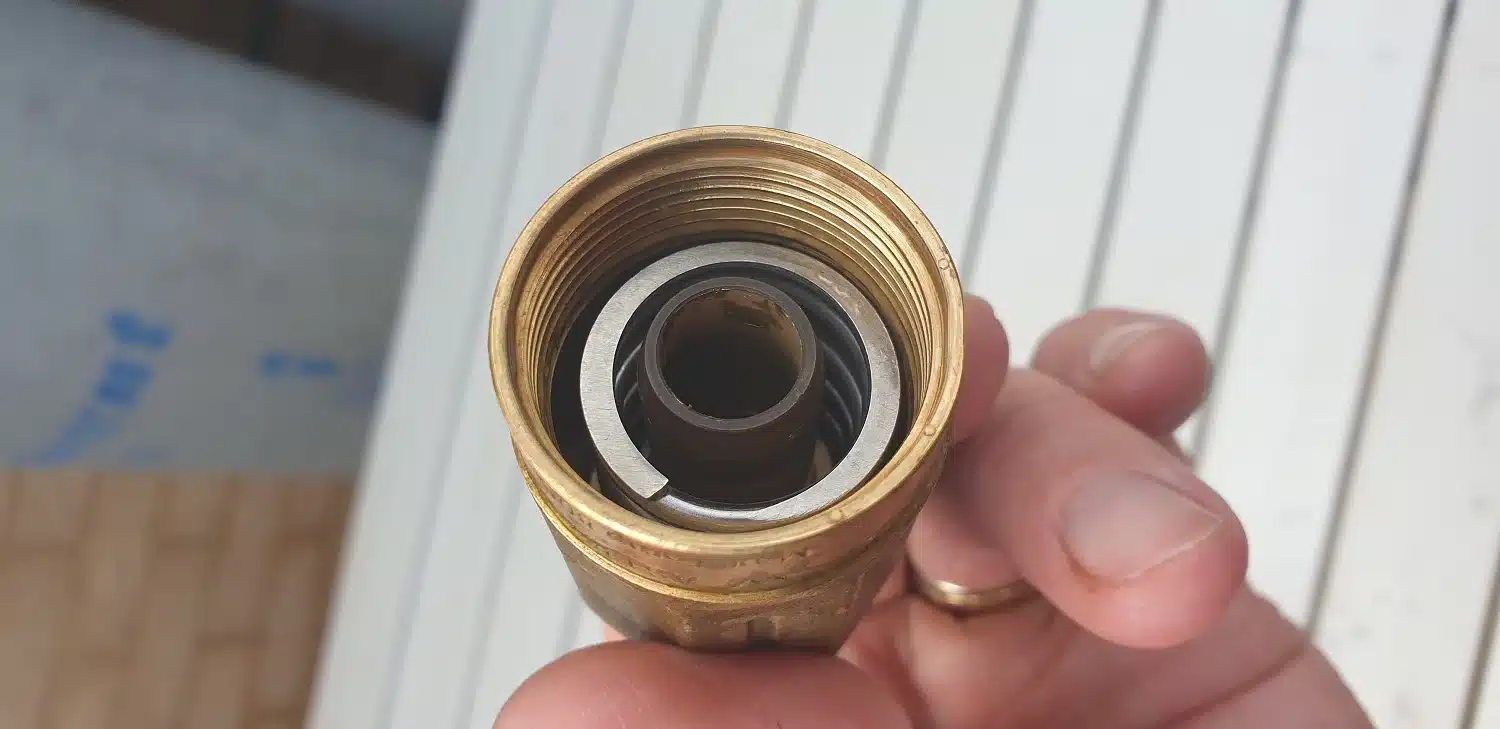
How the pressure limiting valve actually works
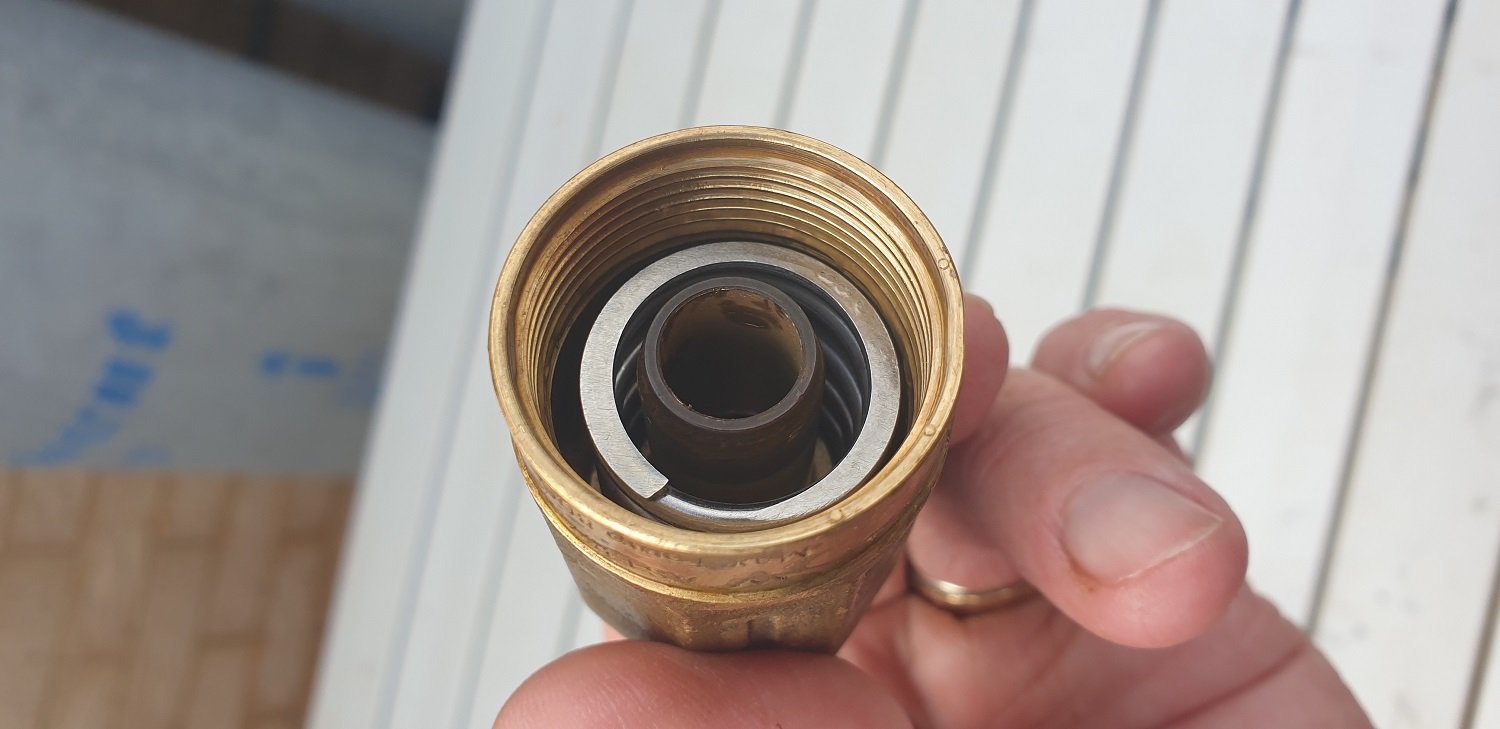
The spring and piston in-situ
Inside the valve sits a spring-loaded piston (for want of a better word). As water enters the valve, it pushes the piston against the spring, which acts as a dampener to reduce the pressure. I’d been told the constant pressure from the water supply compresses the spring and reduces the resulting pressure over time. The solution given online is to stretch the spring to restore it to its original length.
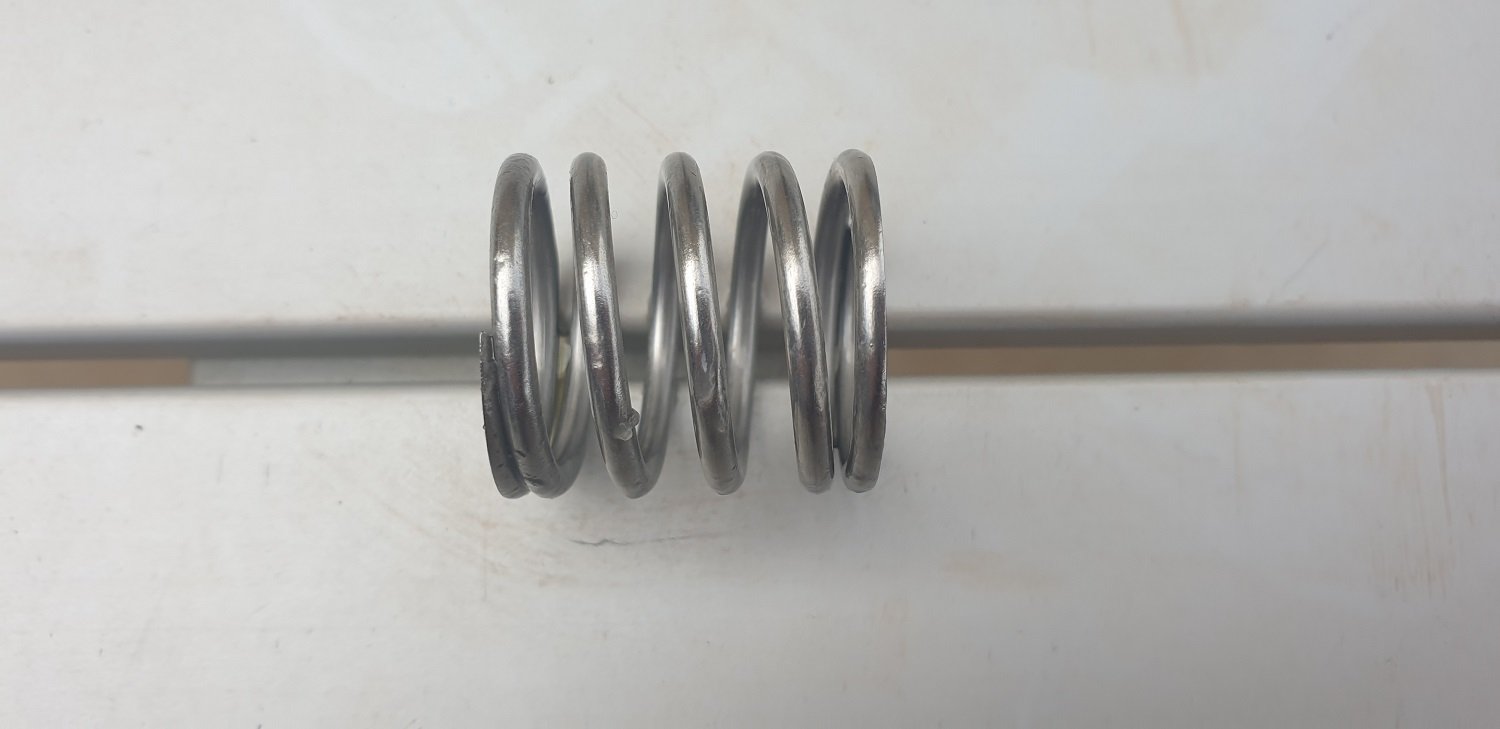
The spring is quite heavy-duty
What I found was these springs are really strong. I can’t see how they could compress so far as to lose sufficient stretch to affect their performance. What I did discover was the piston had become physically stuck in the barrel, reducing the flow. This contamination is the real culprit behind most water pressure problems.
What you’ll need for this repair
Before you get stuck into this job, here’s what you’ll need. Most of this stuff you probably already have kicking around, but if not, it’s all easy to find.
Tools:
Large vice grips or multi-grips (essential for getting the valve apart)
Pointed-nose pliers (for pulling out the stuck piston)
Bucket or container (for catching water)
Vice (optional but makes the job much easier)
Materials:
Plumber’s grease ($8-15) – food-grade is best, NOT Vaseline
Total cost: Under $30 if you need to buy the grease and tape. Given that replacement valves cost between $80-90, this repair is well worth the effort.
Safety first: before you start
This is a straightforward job, but you need to take a few precautions. First, turn off your water supply at the tap or mains connection. Then, open a tap inside your caravan to depressurize the system and drain any water from the lines. Have your bucket handy – there’ll be some residual water in the valve when you remove it. If you’re not confident working with plumbing fittings, there’s no shame in calling a mobile RV technician. Better safe than sorry, especially if you’re dealing with an expensive caravan.
Step-by-step: restoring your caravan’s water pressure
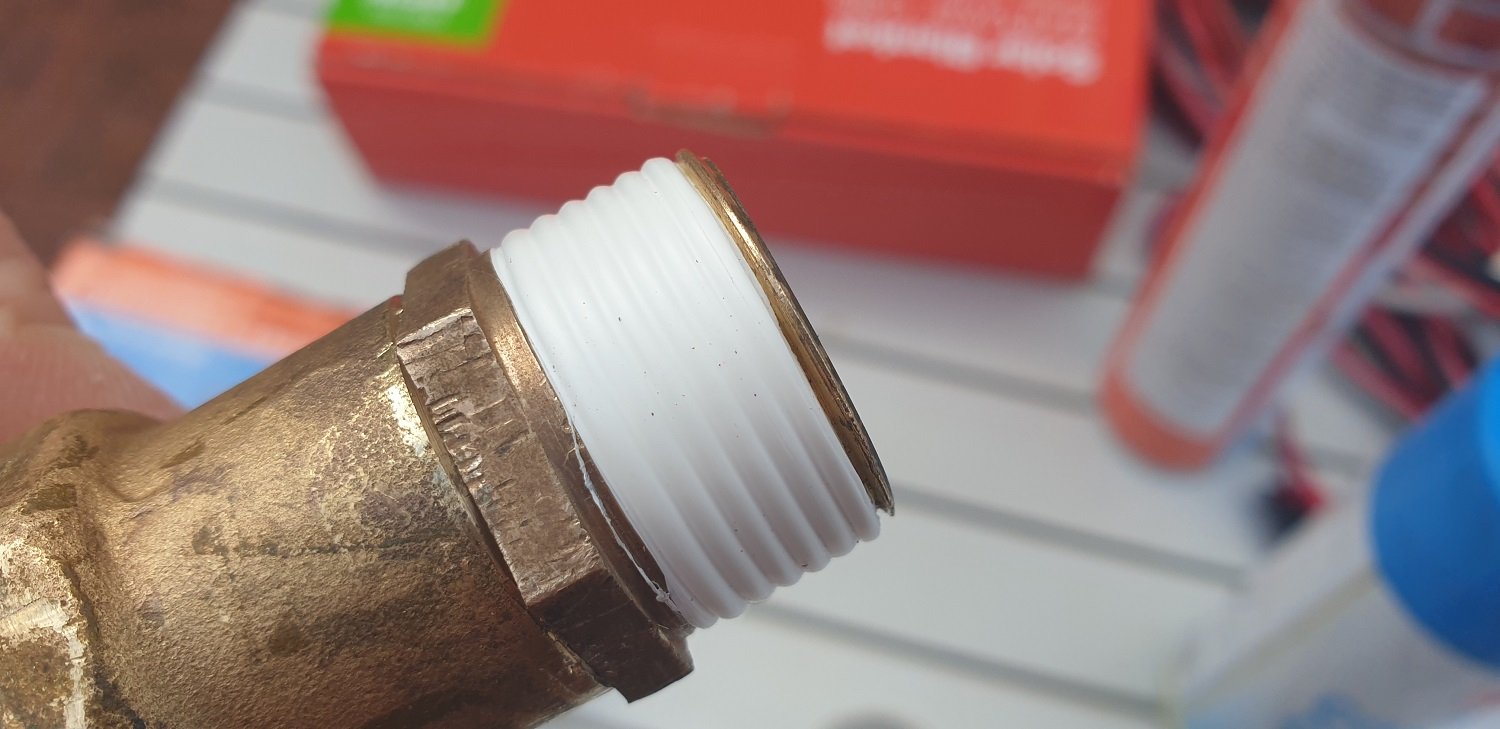
Step 1: Remove the valve from your caravan
Locate your pressure limiting valve – it’s usually near where the water supply enters your van. You’ll need to unscrew it from the water line. Use your vice grips or a spanner, and have that bucket ready to catch any water that drains out. Once removed, take it to your workbench or somewhere you can work comfortably.
Step 2: Disassemble the valve
Here’s where it gets interesting. To disassemble these valves, you need to unwind the two halves apart to expose the inner components. They’re a bastard to get apart – no other way to put it. You really need a vice to hold them so you can apply sufficient force to loosen them, but I achieved the same effect with a large pair of vice grips. Grip one half firmly, then use another set of grips (or your hands if you’re game) to twist the other half counter-clockwise.
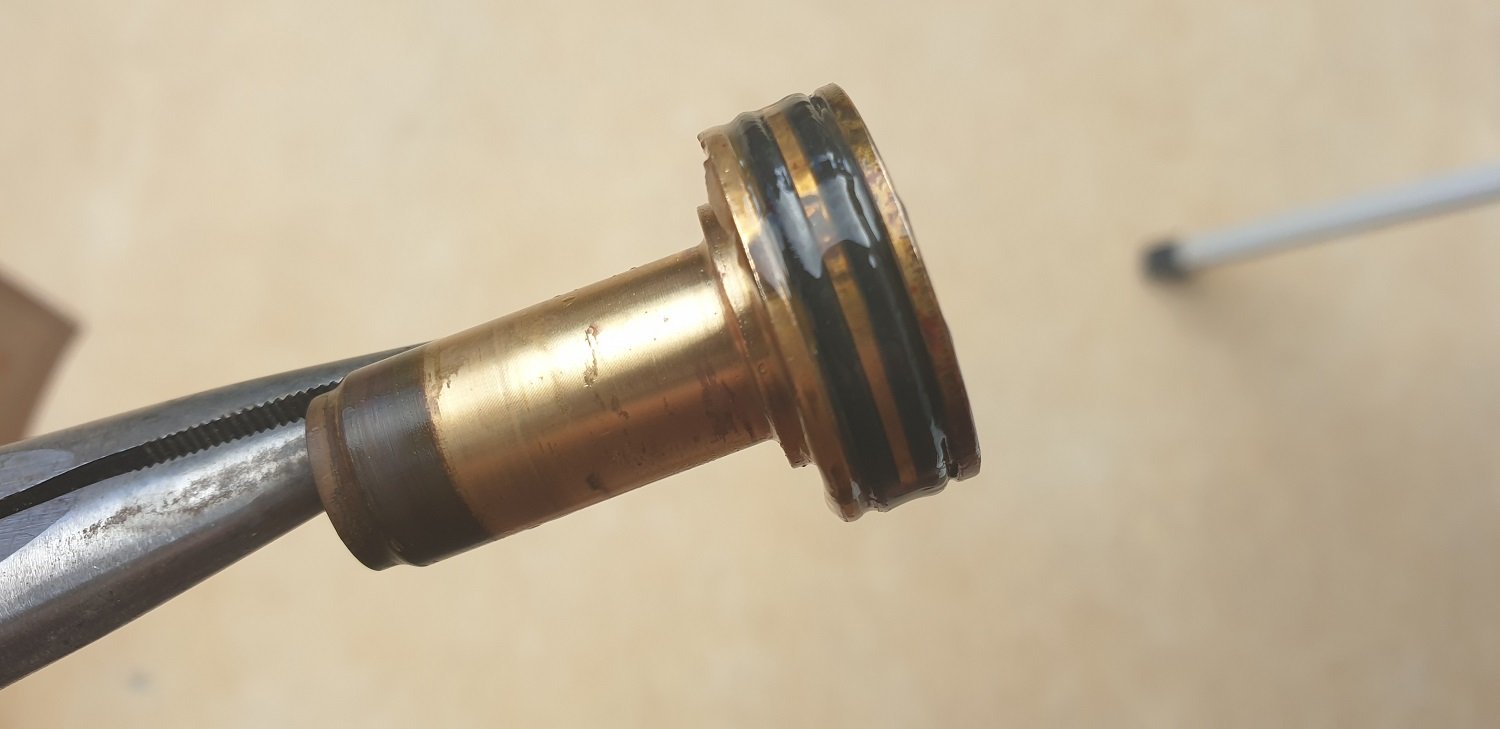
Step 3: Inspect and remove the piston
The piston removed from the valve
Once you’ve got the valve apart, you’ll see the spring and piston assembly. I needed to use a pair of pointed-nose pliers to remove the piston because it was physically stuck in the barrel. This is the problem right here. The piston gets contaminated with dirt and muck. Not a lot, but enough to prevent it from moving freely inside the barrel. In the second valve I took apart, I found red dust inside – likely from all the dirt roads we’d been travelling on lately. Curiously, that valve had a small hole in the barrel, and I reckon the dust came in through that hole and jammed up the piston.
Step 4: Clean everything thoroughly
Give the whole assembly a wash in white vinegar. This does a great job of removing any mineral deposits and grime. Rinse everything with clean water afterwards, then dry thoroughly with a clean rag. Make sure the barrel is completely clean – run your finger inside to check for any remaining grit or roughness.
Step 5: Lubricate with proper plumber’s grease
Here’s where I need to set the record straight. After discussing this repair with fellow caravanners, I’ve learned it’s definitely better to use proper plumber’s grease ($8-15 from hardware stores) rather than Vaseline. The petroleum in Vaseline can cause the rubber seals to deteriorate over time. That said, others have told me they’ve been using Vaseline for years without issues.
I reckon if you’re going to the effort of pulling this thing apart, spend the $10-15 on proper food-grade plumber’s grease and do it right. It’ll last longer and you won’t risk damaging the seals. Smear the barrel and the piston generously with the grease. This makes the movement of the piston much smoother and helps prevent future contamination.
Step 6: Reassemble the valve
Don’t be stingy with the plumbers’ tape
Put the spring and piston back into the barrel, then carefully screw the two halves back together. Hand-tighten first, then give it a firm twist with your vice grips to ensure it’s properly sealed. Don’t overdo it though – you don’t want to strip the threads. Wrap fresh plumber’s tape around the threaded connections. Don’t be stingy with the tape – use plenty of wraps to ensure a good seal.
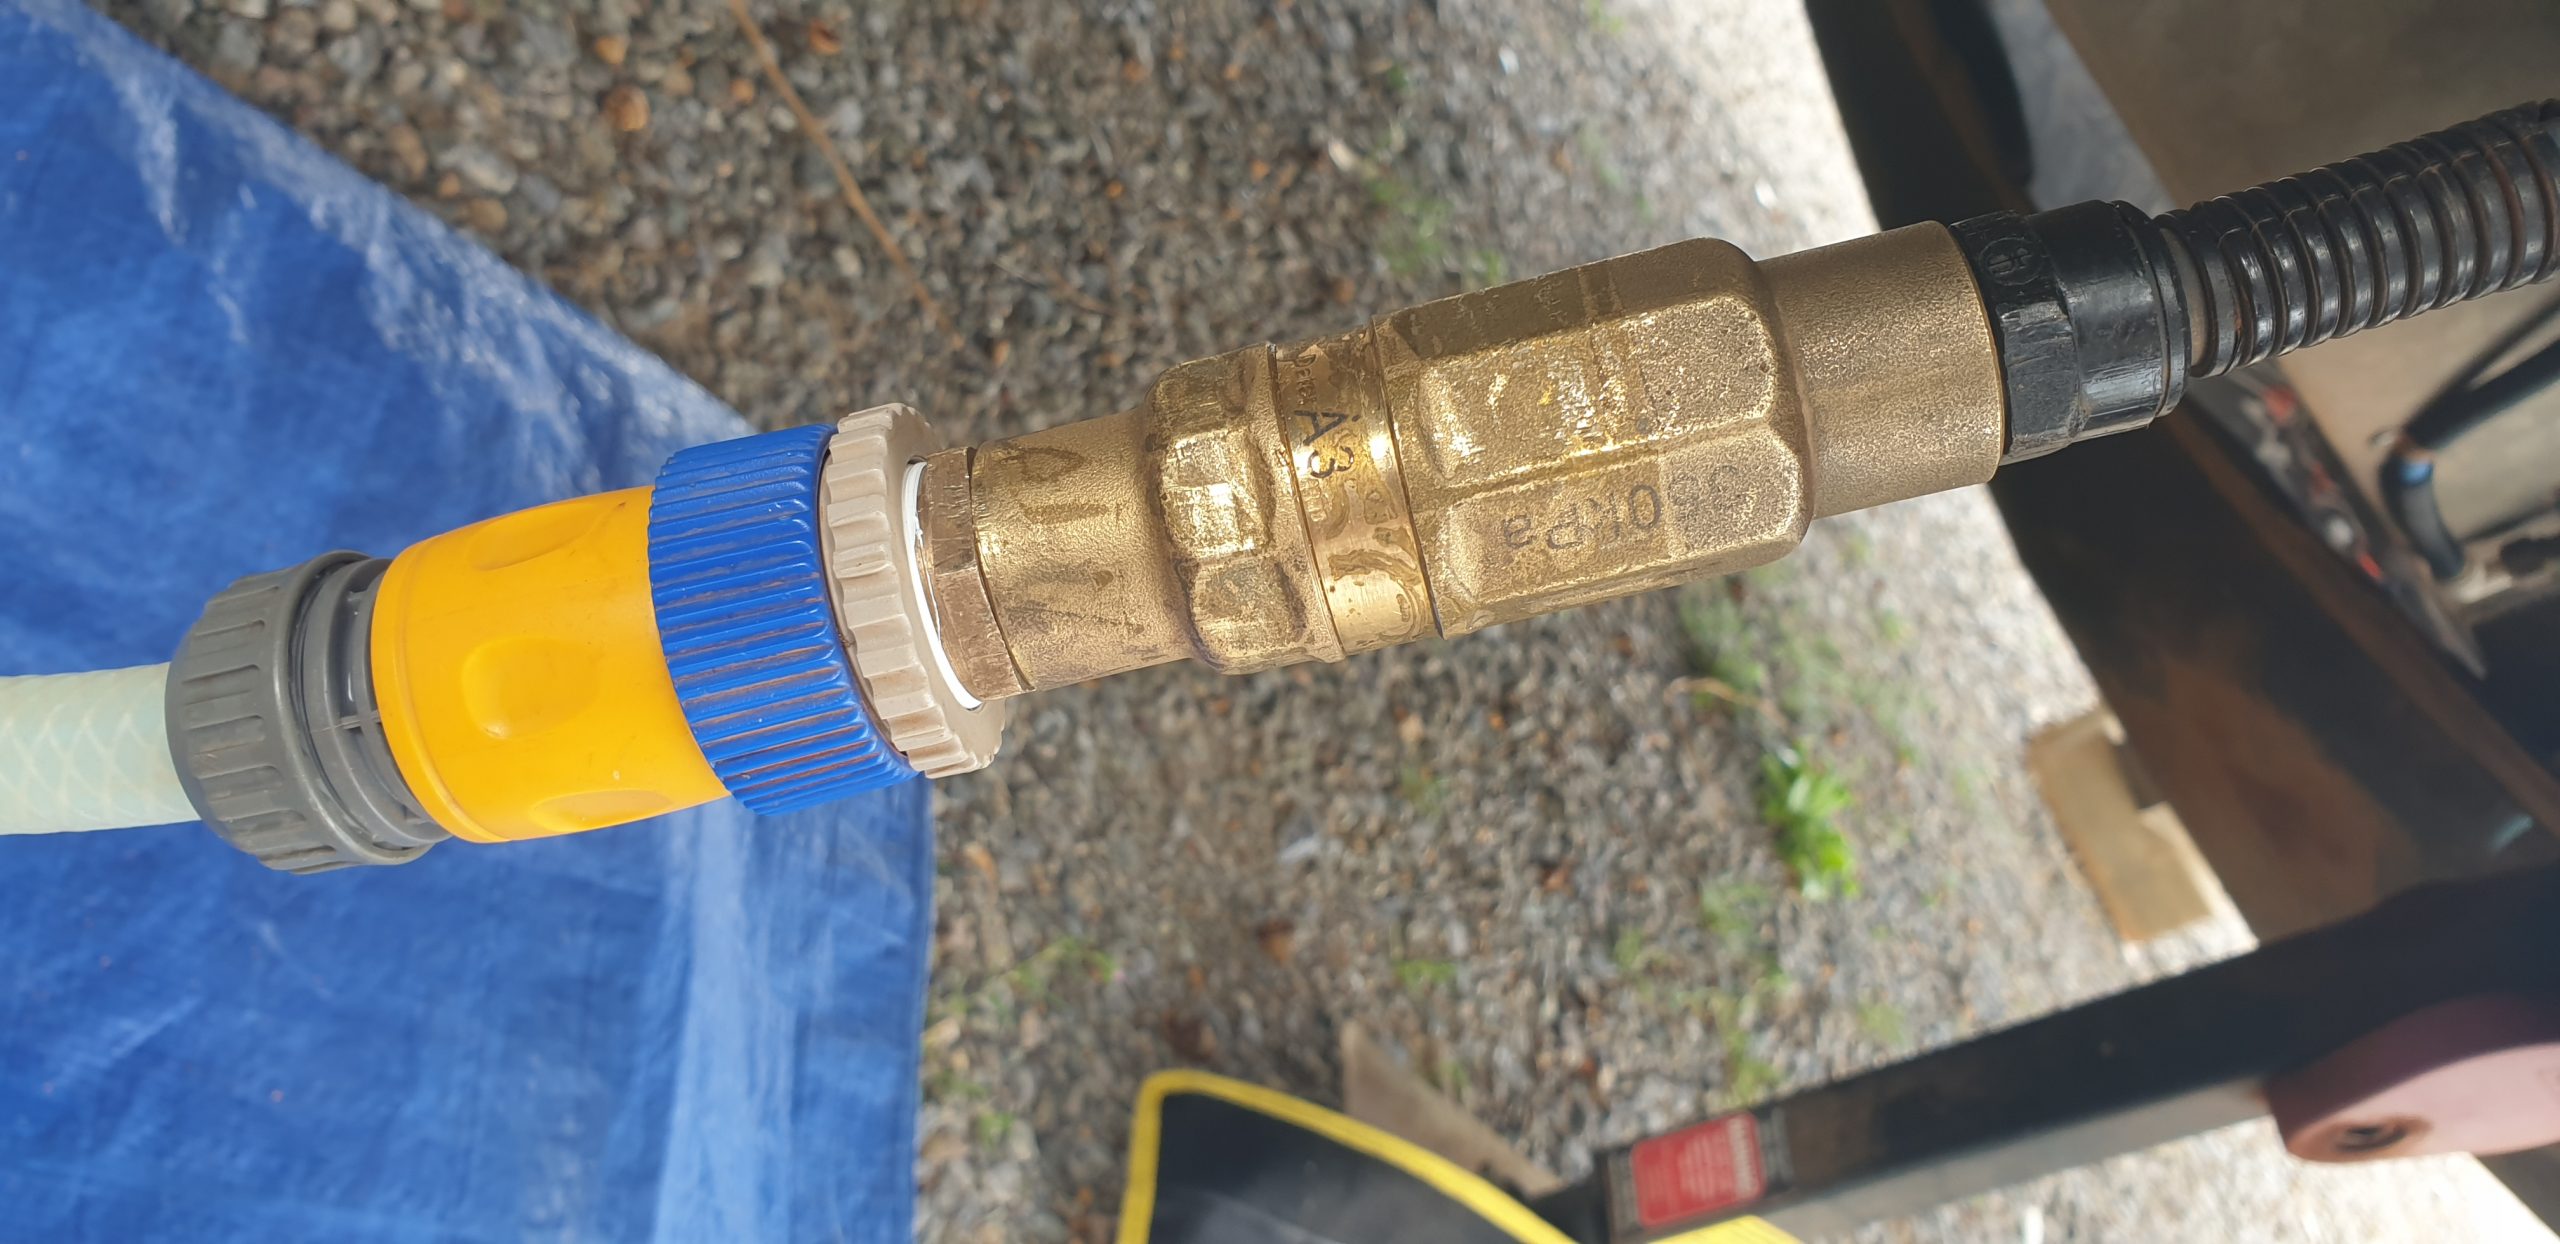
Step 7: Test before reinstalling
Test for any leaks before refitting to the van
Before you refit the valve to your van, test it for leaks. Connect it to a tap or your water supply and turn on the water slowly. Check for any leaks around the joints. If you spot any drips, you’ll need to disassemble, add more plumber’s tape, and try again. Better to discover leaks now than after you’ve reinstalled it in your caravan.
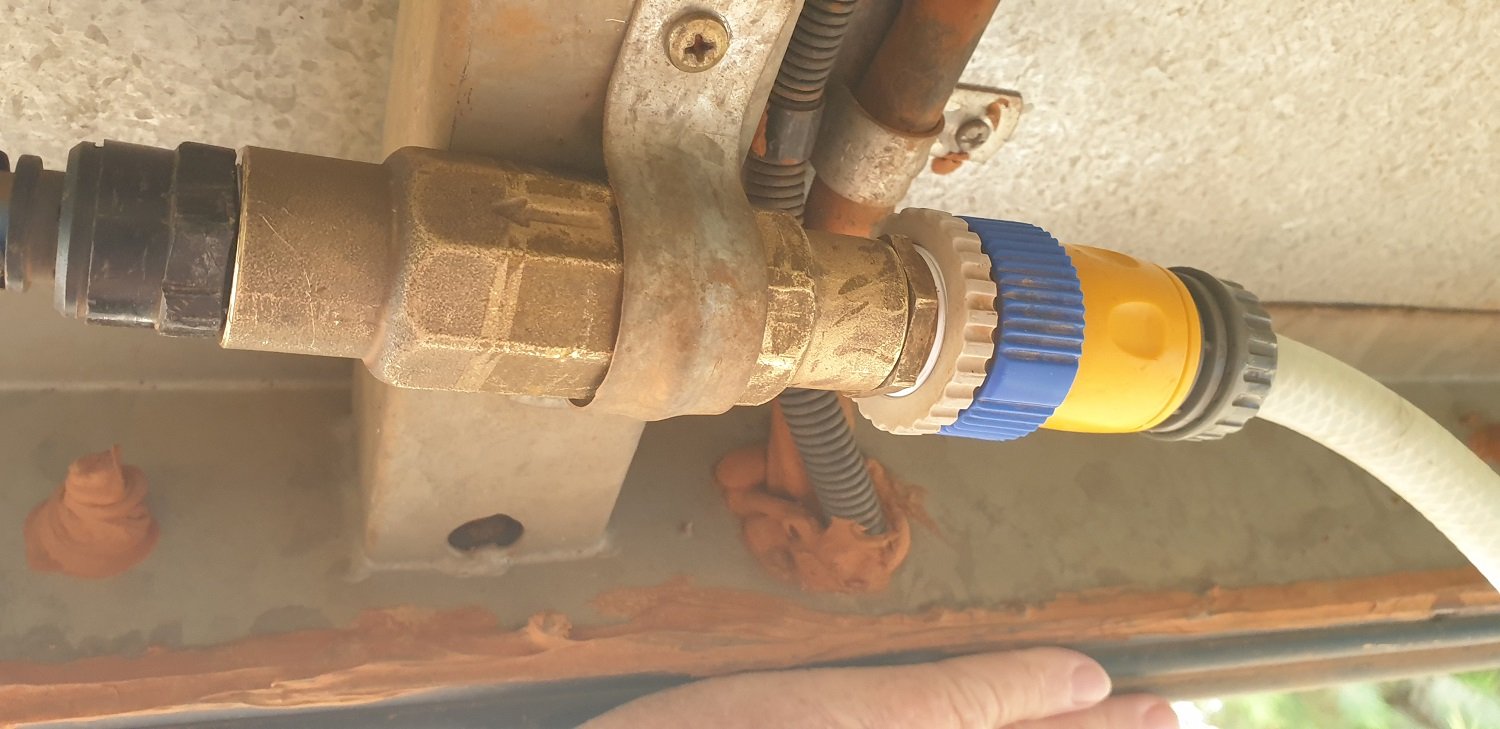
Step 8: Reinstall and enjoy restored caravan water pressure
Make sure the valve is securely refitted to the van
Screw the valve back into position in your water line, making sure it’s oriented correctly (water flows in the direction of the arrow marked on most valves). Tighten it firmly but don’t overtighten. Turn on your water supply and check for leaks. Then open a tap inside your van and prepare to be amazed.
The result was nothing short of amazing. The difference in water pressure was incredible. My shower went from a disappointing trickle to a proper spray, and filling the kettle no longer felt like watching paint dry.
Troubleshooting common issues
The valve won’t come apart: Apply more force with your vice grips, or use a proper bench vice if you have one. You can also try tapping the valve body gently with a rubber mallet to help break the seal. Some older valves can be seriously stuck.
Still no water pressure after cleaning: The valve might be damaged beyond repair, or you might have debris elsewhere in your water system. Check your water filter (if fitted) and consider replacing it. A clogged filter can cause similar symptoms.
Leaking after reassembly: You need more plumber’s tape on the threads. Disassemble, wrap 8-10 layers of tape around the threads, and reassemble. Make sure you’re wrapping the tape in the direction of the thread (clockwise when looking at the end of the pipe).
Water pressure is better but still not great: You might have scale buildup in your pipes or a partially clogged water filter. Consider installing an inline water filter to prevent future contamination.
Maintenance tips to prevent future problems
I have no idea how long this fix will last. I imagine at some point the plumber’s grease will wash away and the piston will jam up again. If it does, it’s not a problem given the simplicity of performing what amounts to a simple maintenance procedure. I reckon I’ll check and clean the valve once a year now, probably at the start of each camping season.
After going through this repair process three times now, the best solution I’ve found is prevention. An inline water filter ($40-80) installed before your pressure limiting valve will catch most of the dirt and muck before it gets into the valve. Fellow caravanners who use them swear by them. Yes, it’s an extra expense and you need to replace the filter cartridge regularly, but it beats having to strip down your pressure valve every year.
Hot tips for caravan water pressure
Hot tip 1: If you’re replacing your pressure limiting valve anyway, consider stepping up to an adjustable pressure regulator. These let you dial in the exact pressure you want, which is handy when you encounter those caravan parks with stupidly high water pressure. A mate of mine swears by his adjustable unit and reckons it’s saved him from potential water damage.
Hot tip 2: Always carry a spare pressure limiting valve in your toolbox. They’re not expensive, and if yours fails completely at a remote location, you’ll be glad you have a backup. Some caravanners even install two valves in series for extra protection against pressure spikes.
Hot tip 3: Check your water pressure at each new caravan park before connecting. You can buy a simple water pressure gauge for around $25-50. If the pressure is over 500kPa, definitely make sure your pressure limiting valve is working properly before connecting to your van’s system.
Hot tip 4: If you’re filling your water tanks from town supplies or questionable water sources, always use an inline filter. The $40-80 investment will save you money and hassles in the long run. Your water pump will thank you too.
Frequently asked questions
How often should I service my pressure limiting valve? I reckon once a year is about right, or whenever you notice a drop in water pressure. If you travel on a lot of dusty roads or use water from varied sources, you might need to clean it more frequently.
Can I use Vaseline instead of plumber’s grease? You can, but I wouldn’t recommend it. Proper food-grade plumber’s grease is better for the rubber seals and lasts longer. For the sake of $10-15, it’s worth using the right product.
What if my valve has a different design? I’ve come across a few different designs, but they all work on similar principles. The second valve I serviced had a slightly different internal layout but the same basic piston-and-spring mechanism. The cleaning process is the same regardless.
Is this repair worth doing or should I just replace the valve? At $80-90 for a new valve versus $20-30 for cleaning supplies that’ll last for multiple services, I reckon it’s definitely worth trying the repair first. Worst case scenario, if it doesn’t work, you can still buy a new valve.
Will this fix last permanently? Probably not permanently, but it should give you at least another year or two of good service. The grease will eventually wash away and you might need to repeat the process. Think of it as preventative maintenance rather than a permanent fix.
The bottom line on caravan water pressure
If you’re experiencing water pressure problems in your RV, this repair should solve your issues once and for all – or at least for a good while. It’s a straightforward job that most caravanners can tackle themselves with basic tools. The key is understanding that contamination, not worn springs, is usually the culprit behind poor water pressure.
I’ve now serviced three pressure limiting valves using this method, and each time the improvement has been dramatic. Combined with preventative measures like installing an inline water filter and checking pressure at each new location, you should be able to enjoy decent water pressure for years to come. Happy caravanning, and may your showers always have proper pressure!