Here’s a super easy way to make an awesome coffee off-grid
If you’re set to go camping soon, but stressin’ about how you’ll make your perfect coffee off the grid, your worries stop here.
Last Updated: 22 March 2022
Written by Dale Erdmier.
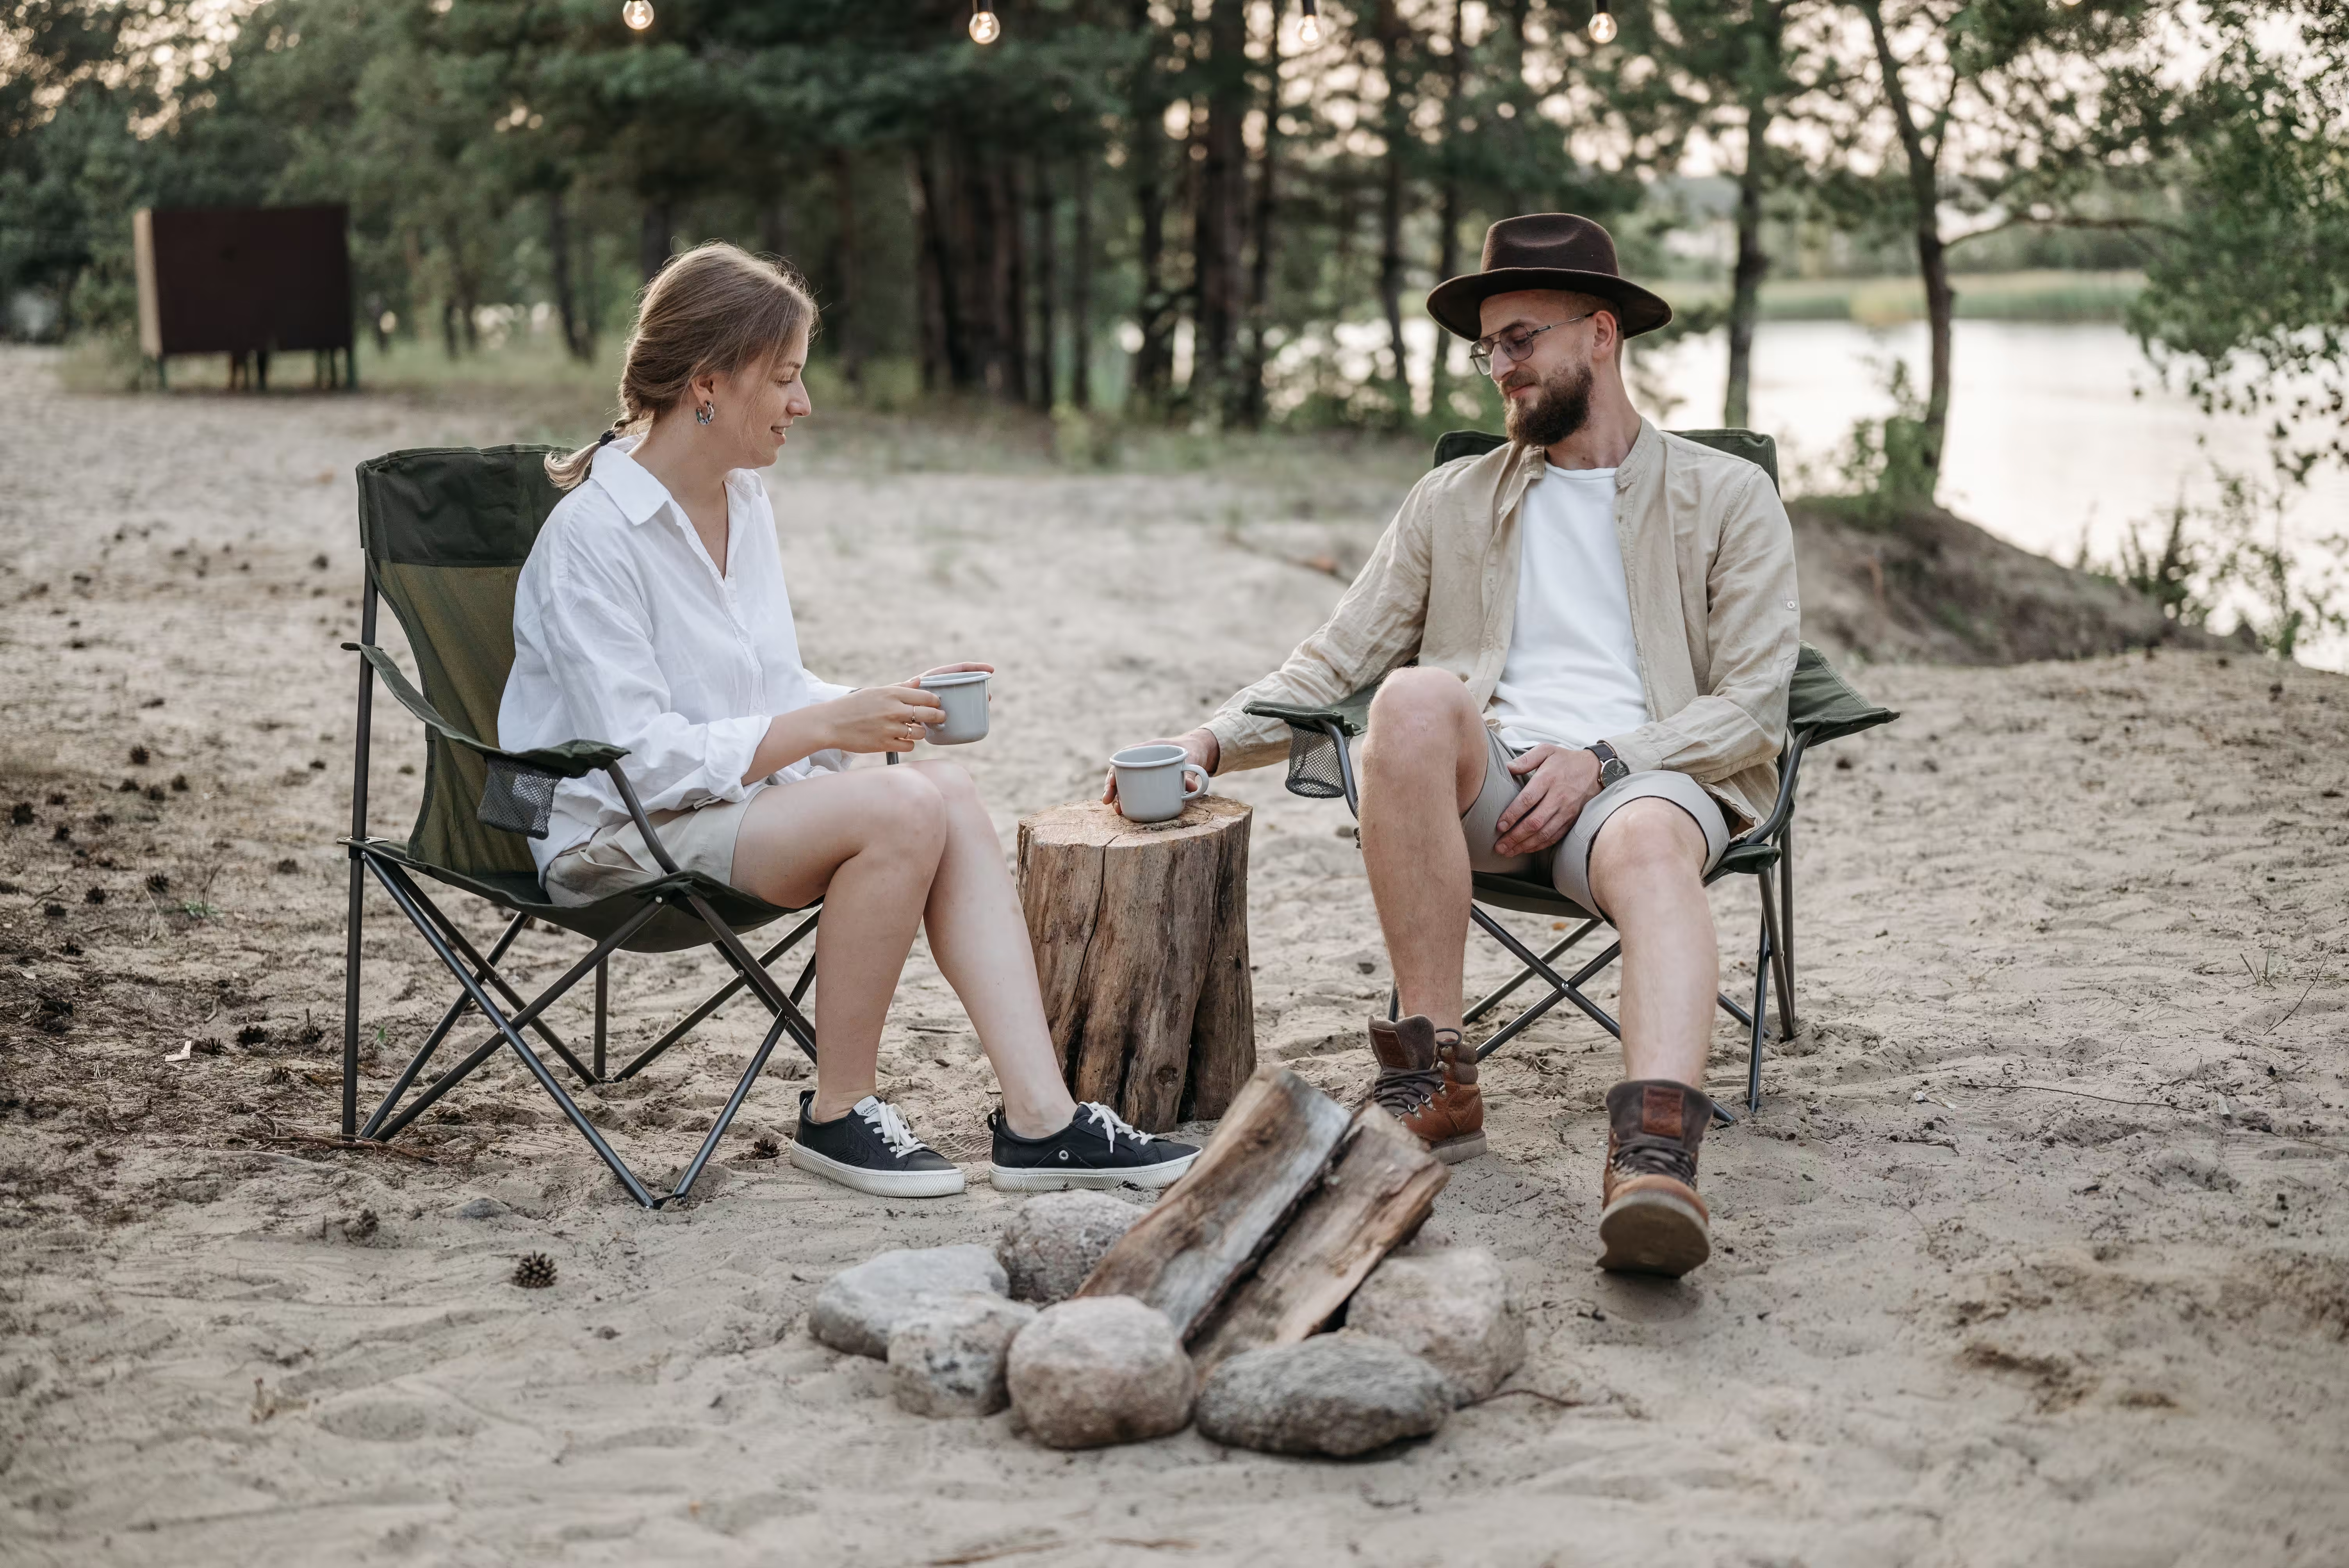
If you ask me, a good morning starts with a great cup of coffee. Drinking the perfect cup of coffee after waking up in nature, listening to the birds, and watching the sunrise? Epic. The opportunities to have picturesque coffee mornings in Australia are endless. If you’re set to go camping soon, but stressin’ about how you’ll make your perfect coffee off the grid, your worries stop here. I’ll prepare you so your bag is packed with everything you need, as well as share a step-by-step on how to brew the cup of caffeine of your dreams – while on the road.
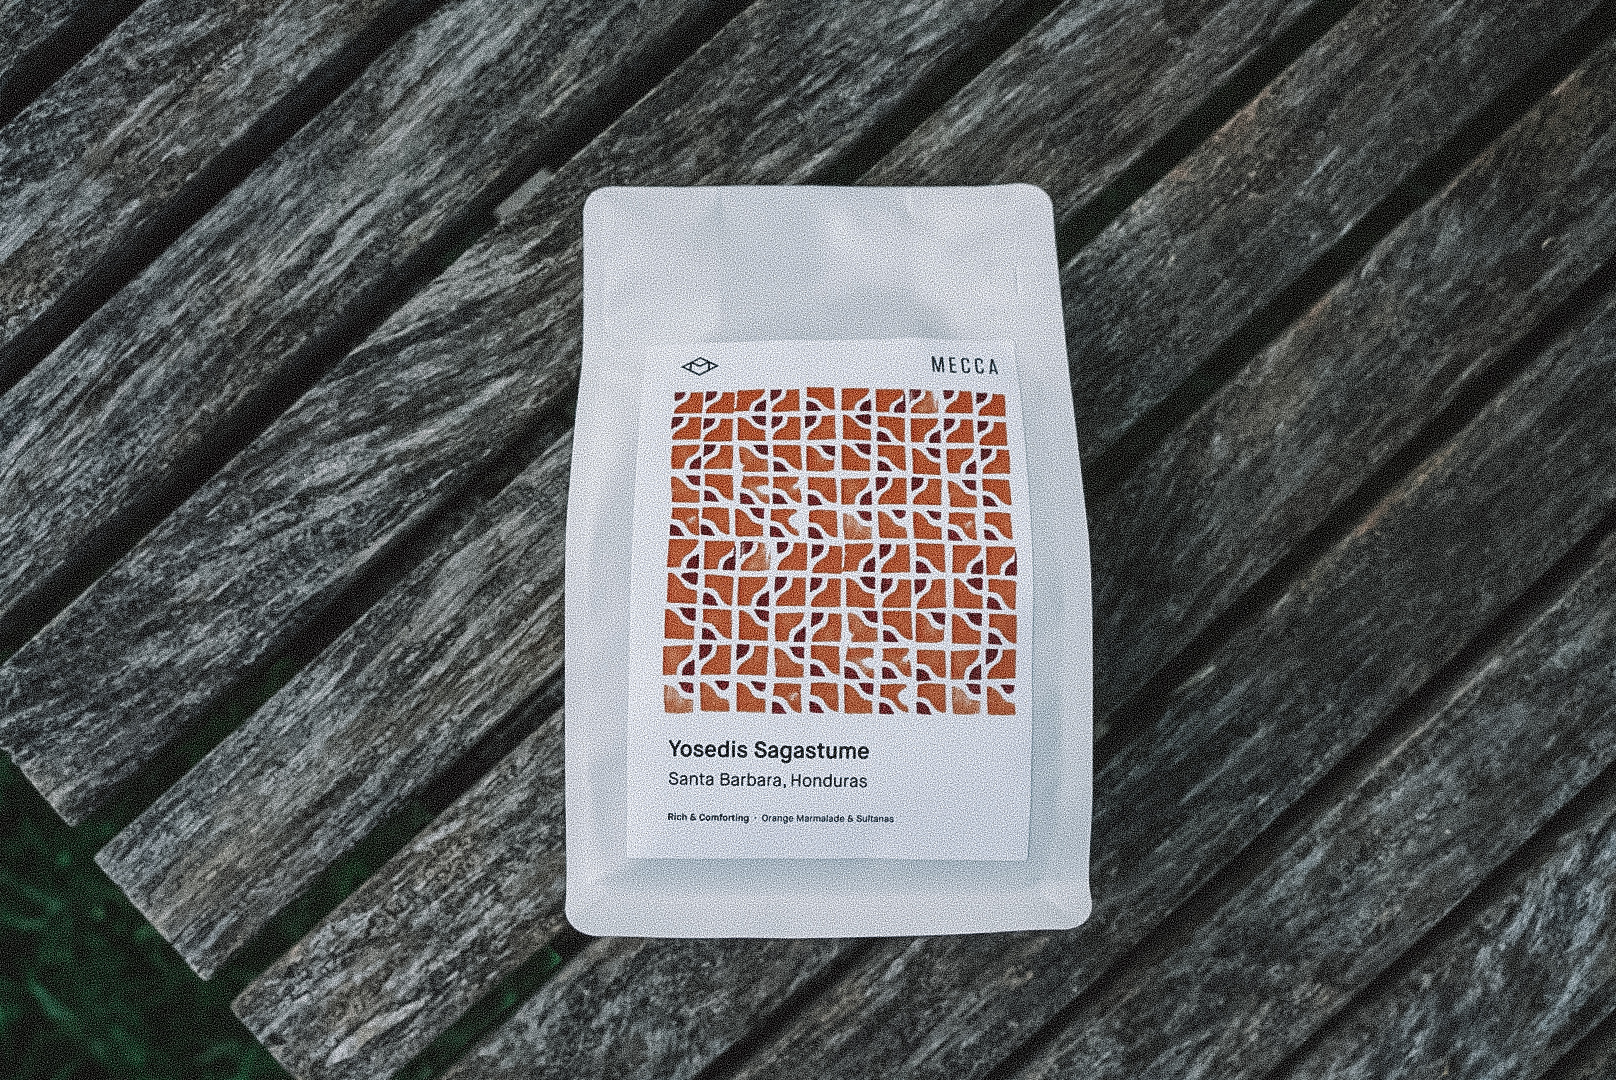
What’s the secret to great coffee? Fresh, high-quality beans. Here’s my secret: splurge on good coffee beans. The taste notes you go for are up to you, but I love a rich and chocolatey type. The kind of coffee that hits your lips, fills your soul, and makes you feel at home. (If you hadn’t guessed, I feel strongly about coffee). In Sydney, I reckon Mecca has the best quality beans on their shelves. You can’t go wrong with any of them. Alternatively, support another local roasters that you love! Just make sure to buy whole beans less than three weeks before your camping trip – you want them to stay nice and fresh.
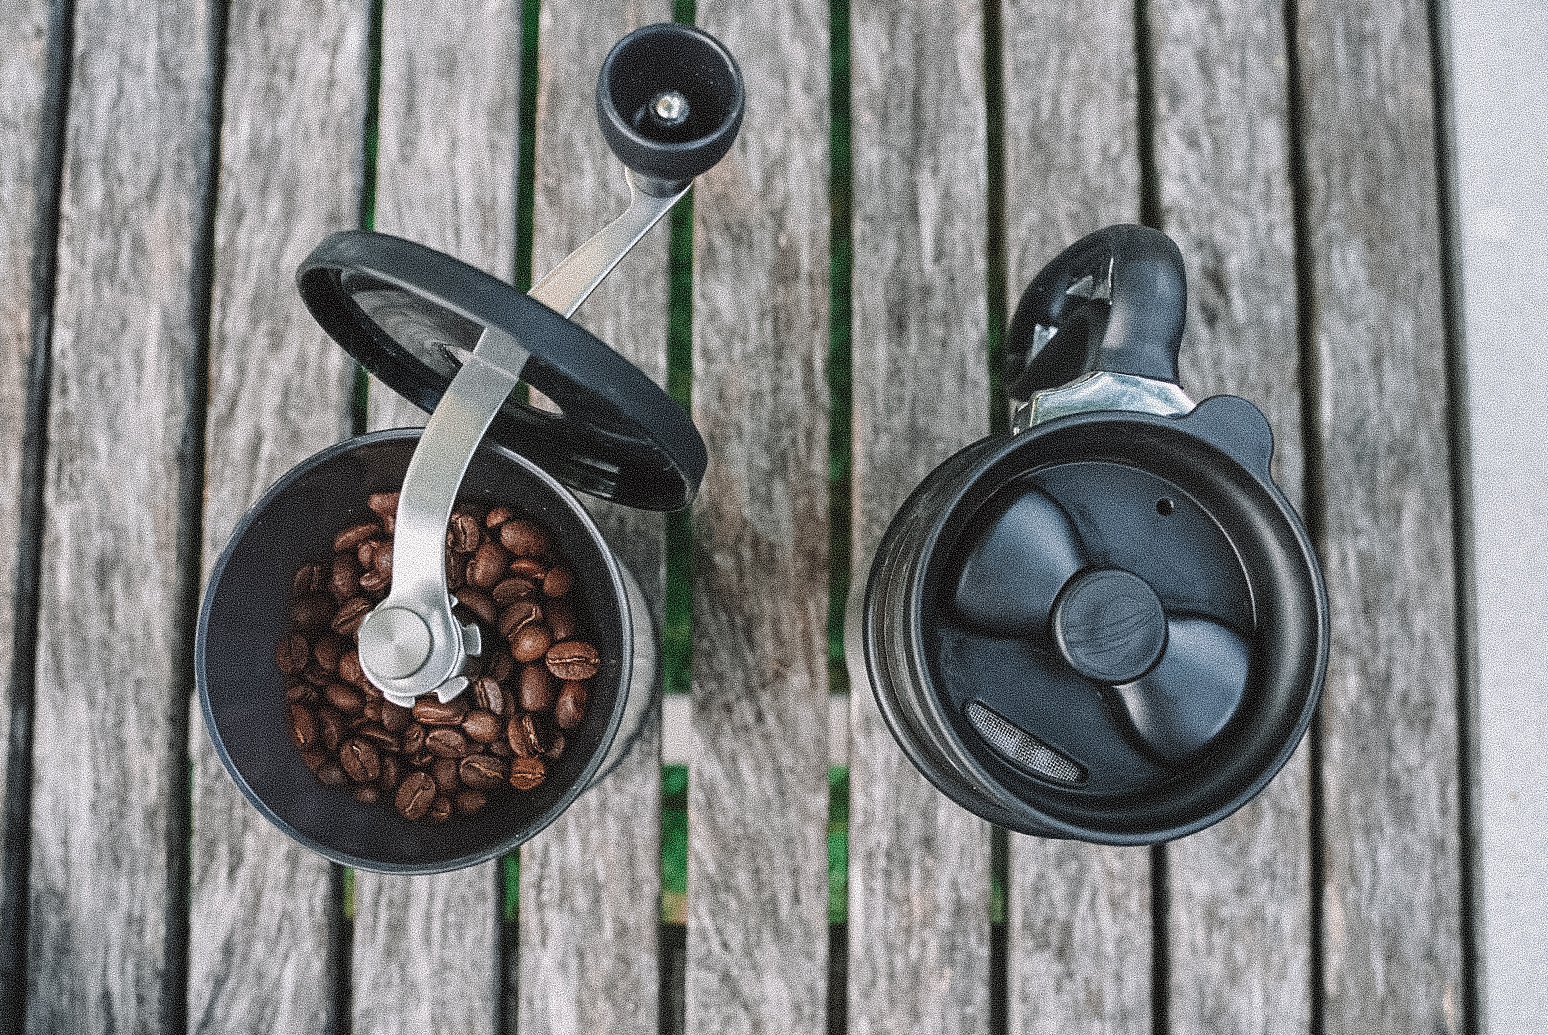
Okay, now you have your beans. What else should you pack? It’s a short list because we are going with a french press style brew method with an all-in-one brew mug.
Craving the smell of coffee to perk you up before a new day of adventuring? I’ll keep it simple.
Step one: heat your water. Use your camping stove and heat up about 300 grams of water.
Step two: grind your beans. Grab your hand grinder and pour about 19 grams of beans into the top. You can eyeball this, aim for a small handful. Grind!
Step three: grab your press-set mug. Place the grounds in the bottom of the mug.
Step four: pour the hot water into the mug, on top of the grounds and make sure all of the grounds are wet. Screw the lid onto the mug and set a timer for four minutes.
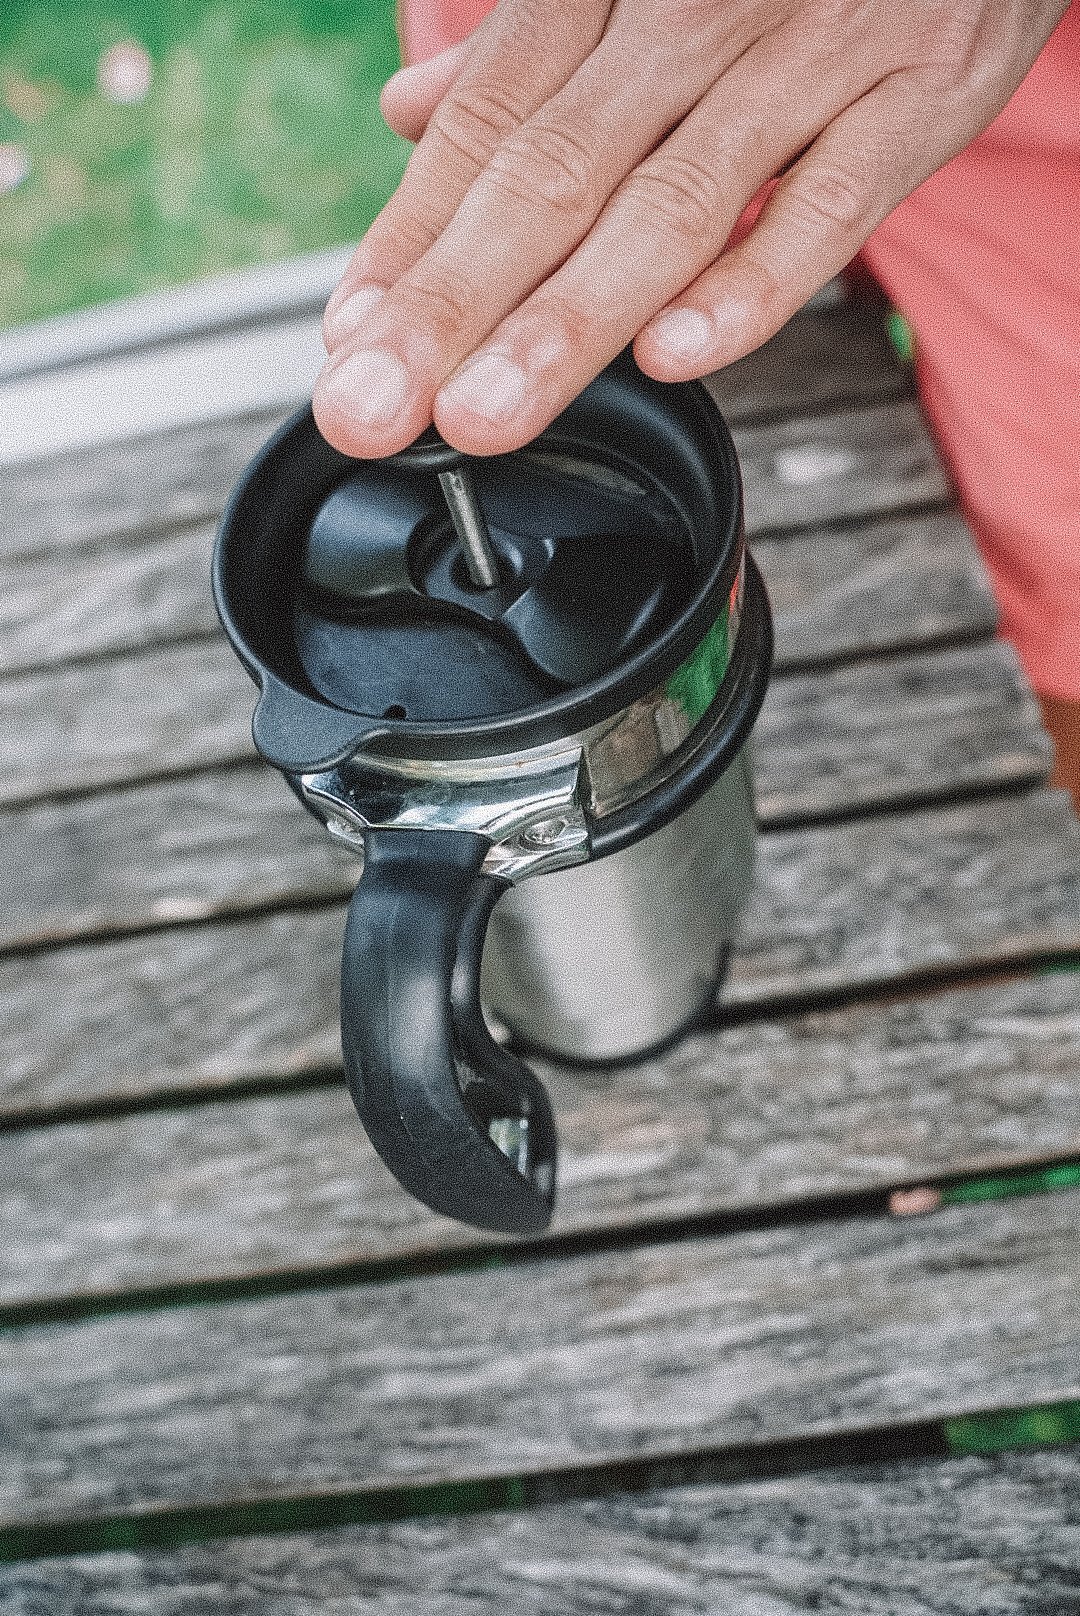
If your four minutes are up, time to press! (Top tip: four minutes can fly by, but you’ll usually find me last minute reviewing my Strava hiking map or pinning a new waterfall location on the gram. Just try not to get too distracted).
Back to coffee – make sure the plunger is up and out of the mug. Slowly press the plunger down all the way. In a typical french press brewing method, you would then remove the grounds, but for the sake of ease with camping and fewer dirty dishes, this mug saves you time and removes a step.
You did it – it’s as easy as that. Enjoy that first sip of coffee straight from your press mug, or if you’re at camp, pour it into your mug. The press mug I use has a filter built into the mouthpiece to catch any loose grounds while you’re sipping, so if you’re on the go, there’s no need to bring an extra coffee mug or worry about breaking a ceramic cup in your backpack.
When you’re finished, make sure you empty the grounds and give it a rinse so you can have perfectly brewed coffee tomorrow morning too.
Psssst! While you prepare for your next camping trip check out how to light a campfire responsibly.