Are insects making life hell inside your caravan? This amber LED light installation is simple, cheap and will virtually repel the biting menaces for good
You may recall our feature article in issue 33 on how to avoid the biting insects ruining your holidays. In that article we talked about installing an amber LED light in your caravan in order to keep the bugs out.
The science is simple. Insects see much better in the cooler colours of the light spectrum and they don’t see too well in the warmer colours. As a result, ultraviolet, white and blue lights attract bugs while they will avoid red and orange coloured lights. That’s why you see amber coloured lights used in tropical areas such as the amenities blocks at caravan parks.

You can purchase specialised anti-bug lights but they are expensive and don’t tend to be suitable for permanent installation. Fortunately, there is an alternative that is more suitable and won’t cost the earth.
Automotive clearance or indicator lights emit much the same colour as the anti-insect lights and can be permanently mounted onto any flat surface. We found a perfect amber LED light from Road Tech Marine but you should be able to find a similar product at any automotive shop or trailer parts supplier. For a switch, we used a regular household light switch with a surface mount extension.
Before installing the light, ensure you have turned off all 12v and 240v power.
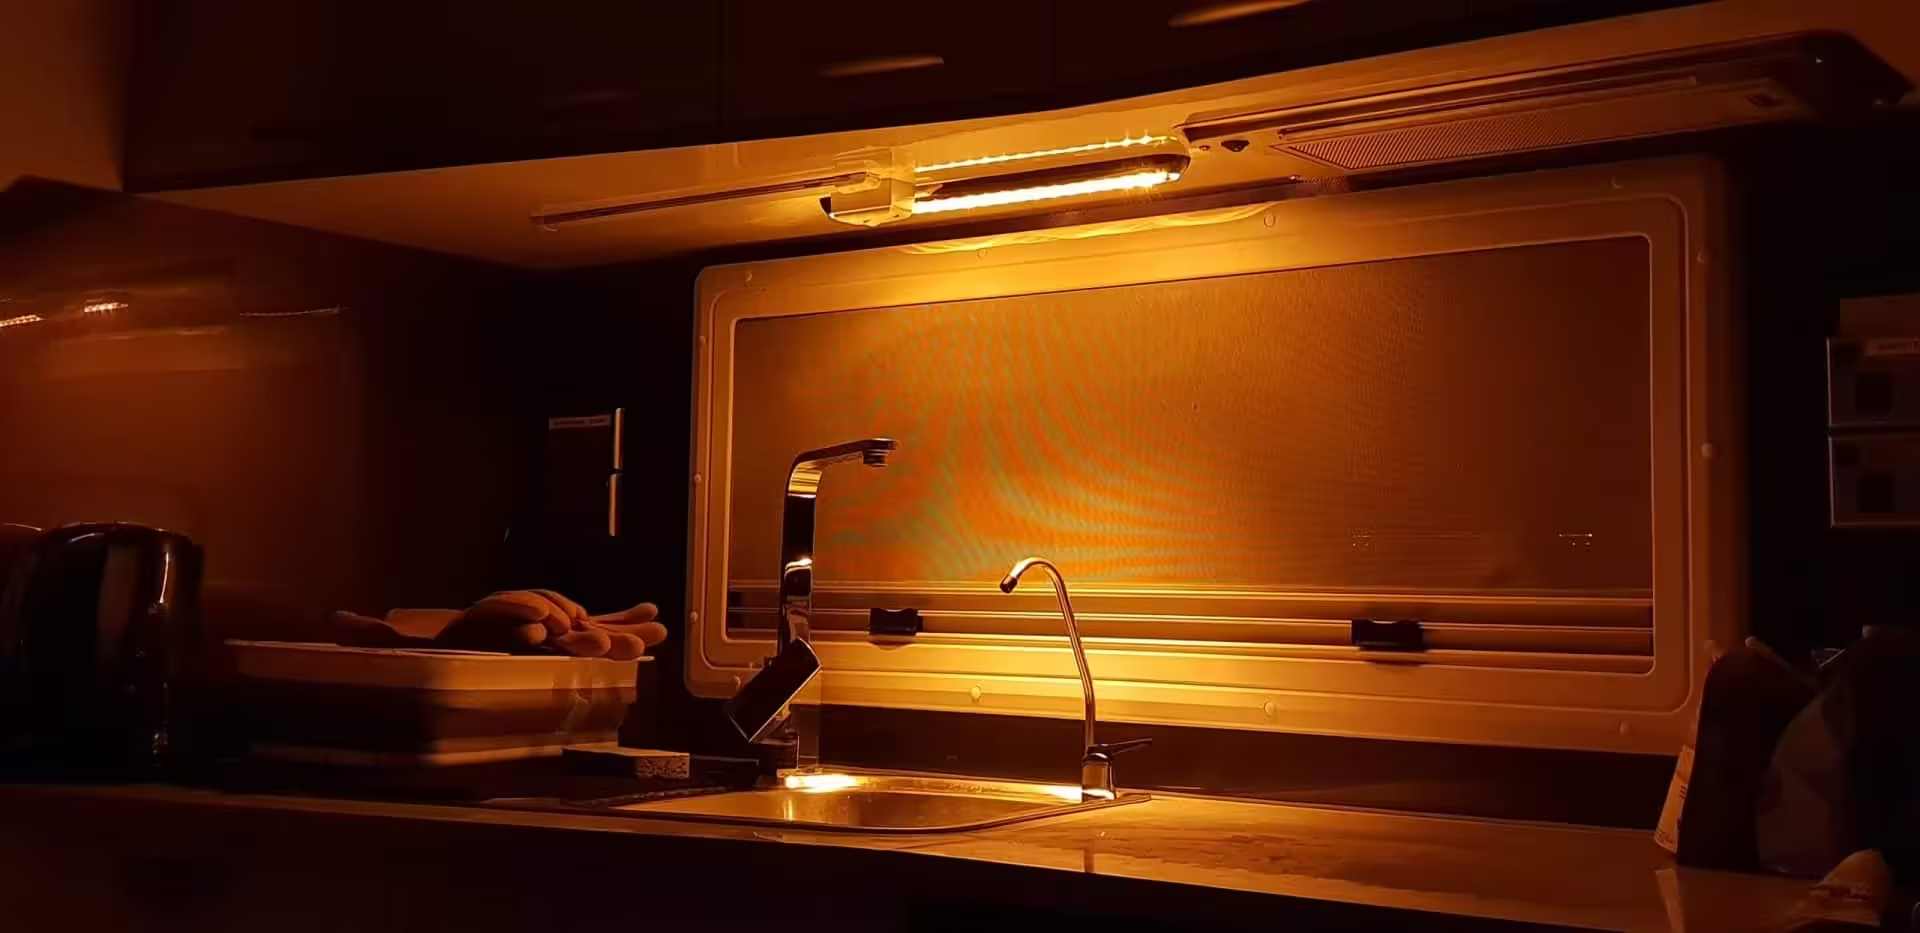
Find a suitable LED lamp that has already been installed in your van. It musty have its own internal switch. We suggest one over the kitchen. Demount this light and expose the power cables. Gently pull the light down until the wires are just tight to expose as much of the wiring as possible. This will make tapping into the cables easier.
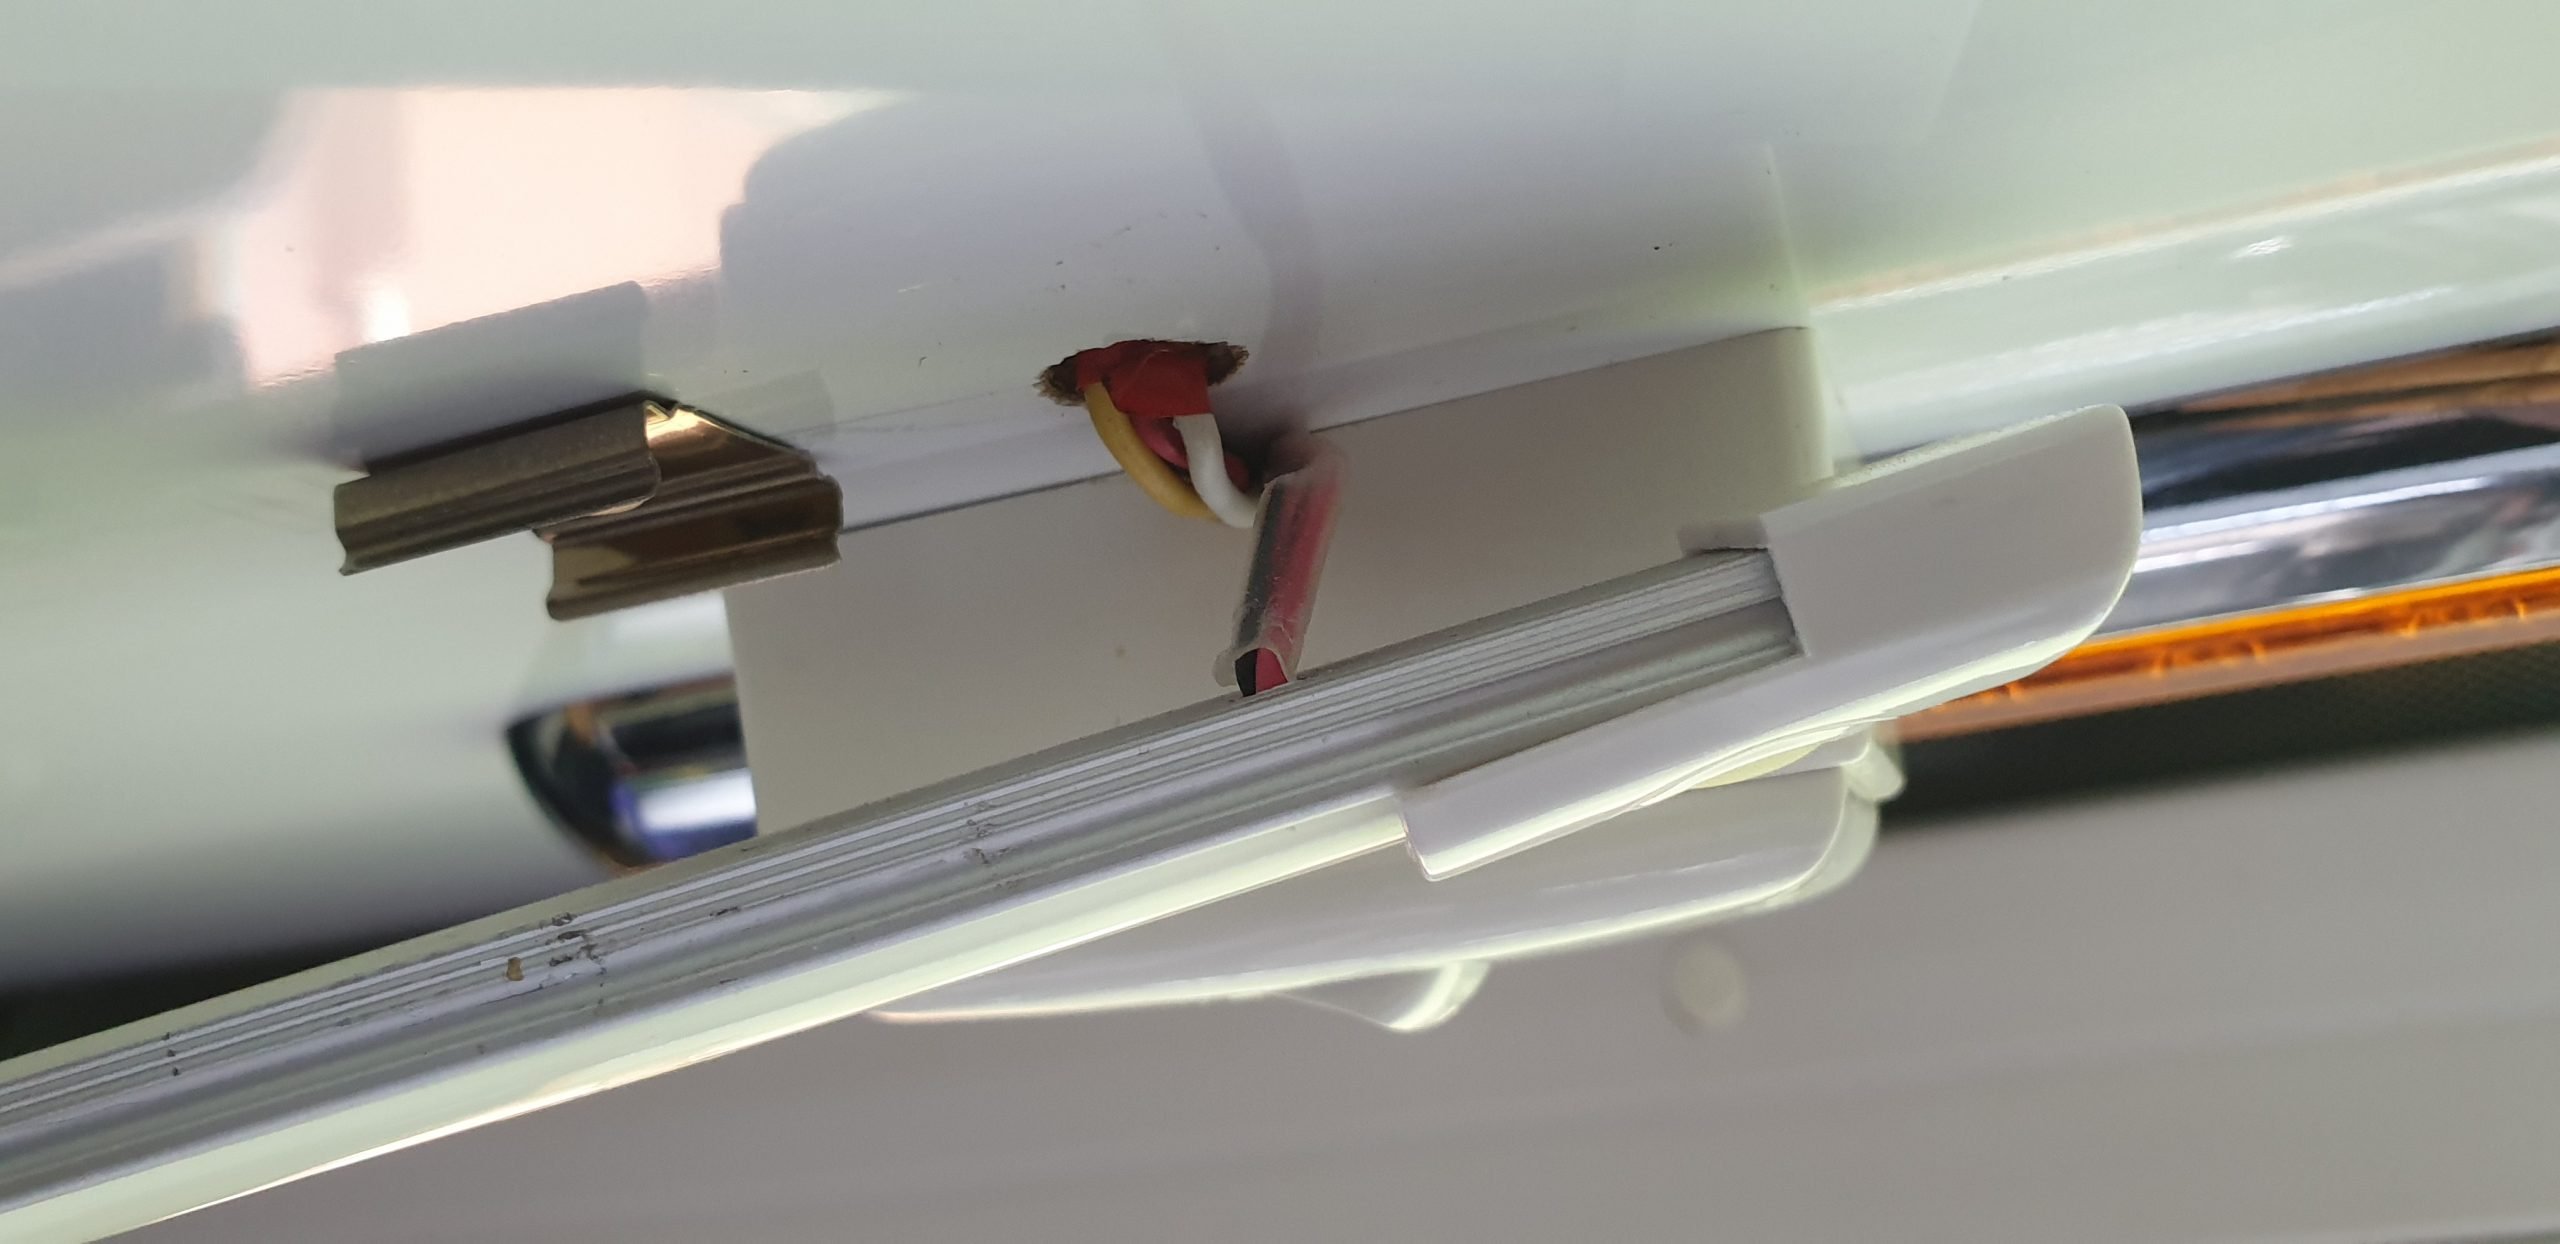
Splice wires from the existing power cables and connect the positive to one pole of the switch. Connect the positive wire from the amber light to the second pole of the switch. Connect the negative wires together. Be aware that your amber light may have red and black, yellow and black or, most likely, yellow and white wires. Yellow or red will be positive. White or black will be negative.

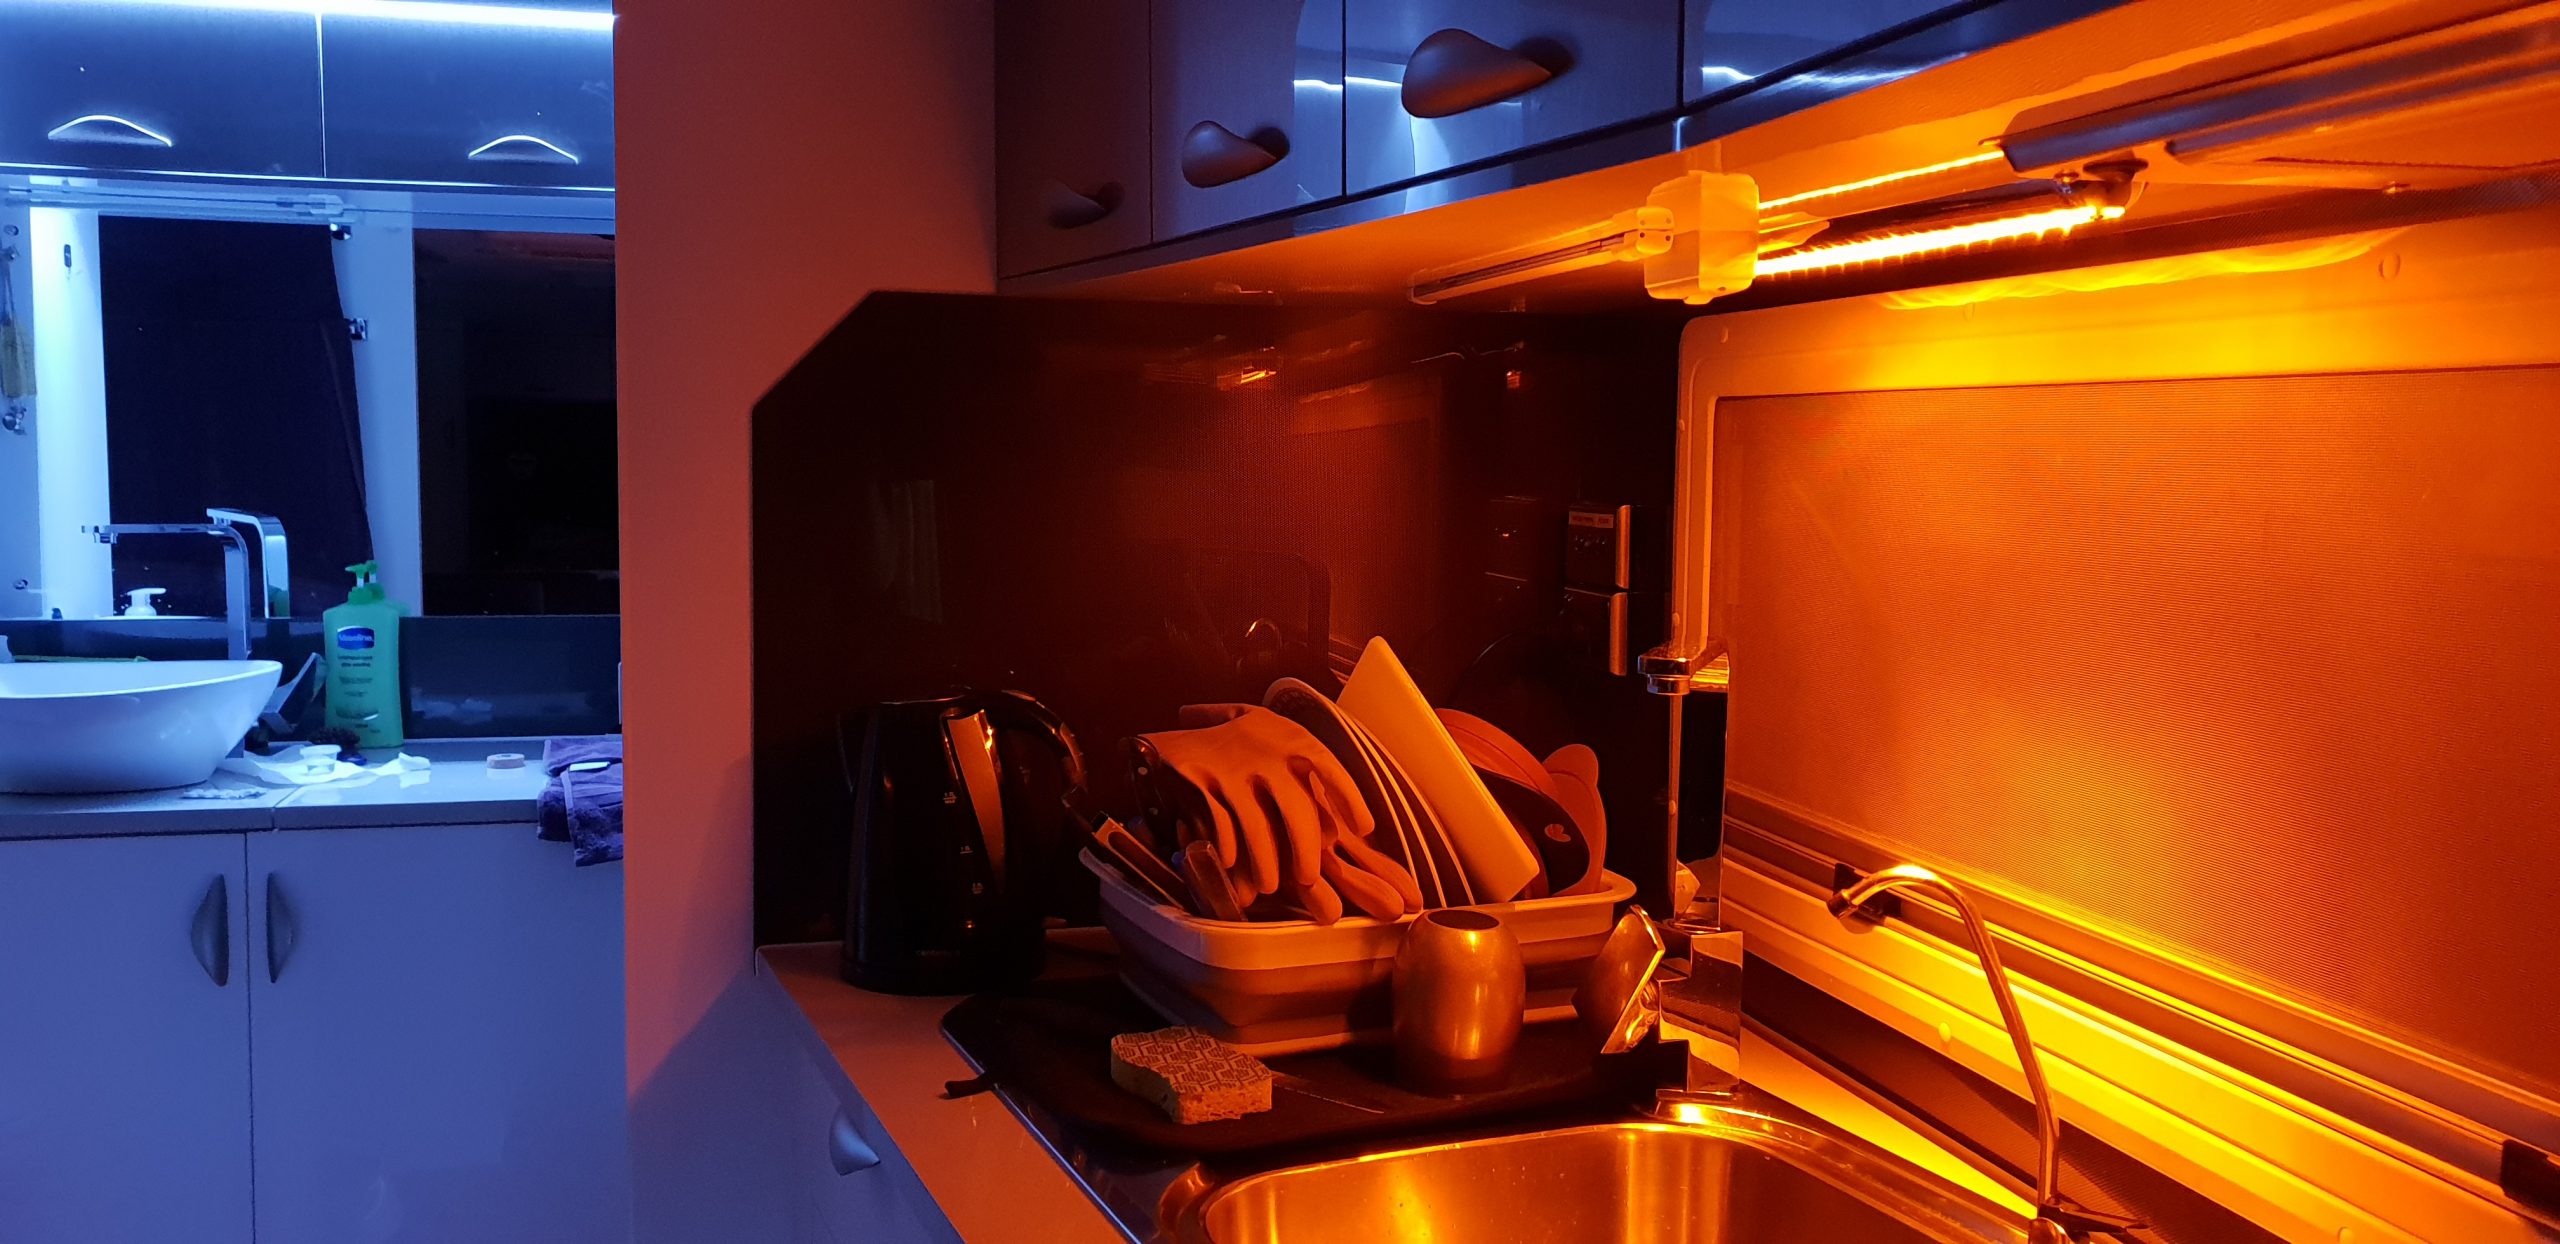
You may need to trim some of the cable from the amber light but any excess can be coiled up inside the switch. Mount the switch next to the existing light and then mount the new light next to the switch, as seen in the picture below. This will ensure the wiring is hidden from view as much as possible. I used a Dremel tool to make small indentations in the switch and amber light so the wires were not crushed when they were screwed to the cupboard.

That’s it. You now have a light in the caravan that should minimise the number of insects entering your van at night. Make sure you turn off all white or blue lights in the van and turn off the television to ensure the new light does its job. A good trick is to have one of those bug zapper lights outside the van as well. That will draw the bugs away from interior of the van increasing the effectiveness of the new amber light.
One last thing. Avoid cutting up red, orange or yellow coloured food under the amber light. They will be very difficult to see and you risk cutting yourself. I’m speaking from experience here!