Boost your camper’s appeal with DIY interior mood lighting
Many older caravans and campers do not have decent lighting, so add some mood-lifting illumination with this DIY interior lighting project Traditional, older-style lighting is either feeble light from festoon style globes or the old-style halogen globes that burn hot…
Many older caravans and campers do not have decent lighting, so add some mood-lifting illumination with this DIY interior lighting project
Traditional, older-style lighting is either feeble light from festoon style globes or the old-style halogen globes that burn hot and use a lot of power.
LED (Light Emitting Diode) lighting was revolutionary when introduced into the caravan and camping scene. Now LED is widespread and quite innovative in its application, and today’s massive range of LED products means installing sexy mood lighting is as easy as a crimp and a switch away.
When we overhauled our Ultimate camper a few years ago now, we didn’t upgrade the lighting in the boot or on the inside. Well, never let it be said that I can’t stick to my intentions, so I’ve finally installed some LED strip and crimped-in some wires to create something neat.
IN THE BOOT
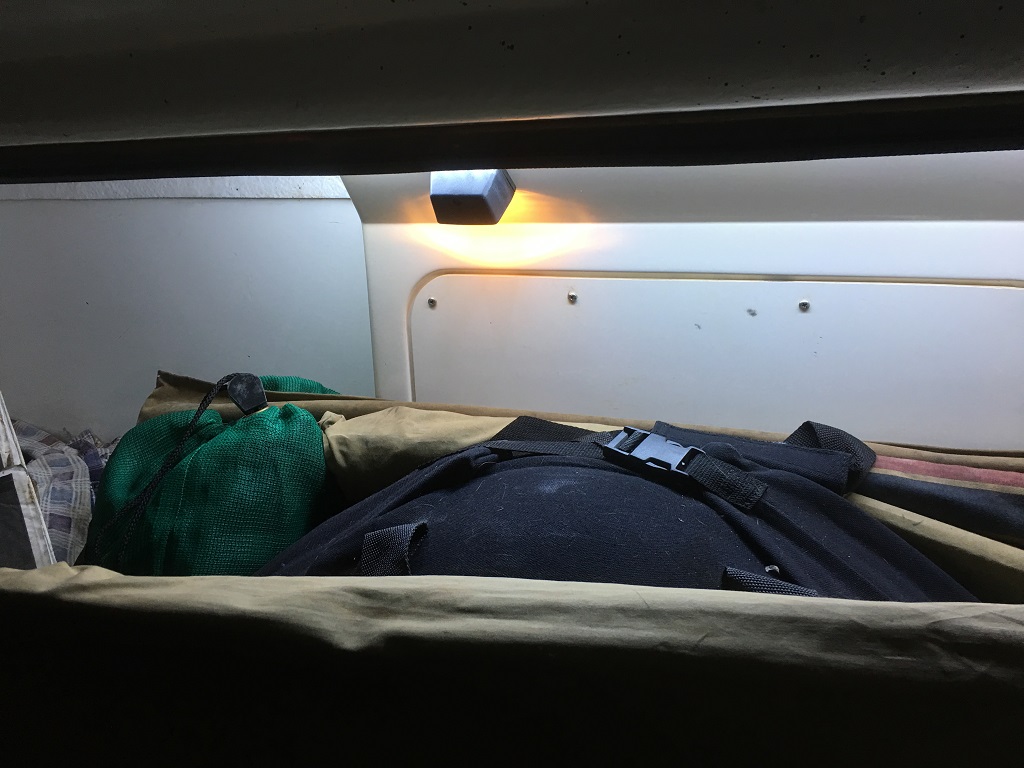
The front boot of the Ultimate houses a typical old-style globe as shown in the pics offer an average golden light. I used a strip of white LEDs across the inside top of the boot to create some brilliant light in the boot – pardon the pun.
The old yella light in the boot worked, but the LEDs add new light on finding stuff at night
It was a simple job to use the double-sided tape to hold it in place; however, I used some clear Silastic to add extra adhesion to the tape. I also took a fair bit of time to properly clean the surface for maximum adhesion. My tip is to use some tape to hold the strip in place while the Silastic dries. I left my masking tape on for 24 hours to be sure.
It was then an easy job to wire the LED strip straight into the existing switch wiring for the boot light.
With the fridge and drawers out accessing the LED wiring was easy
IN THE CABIN
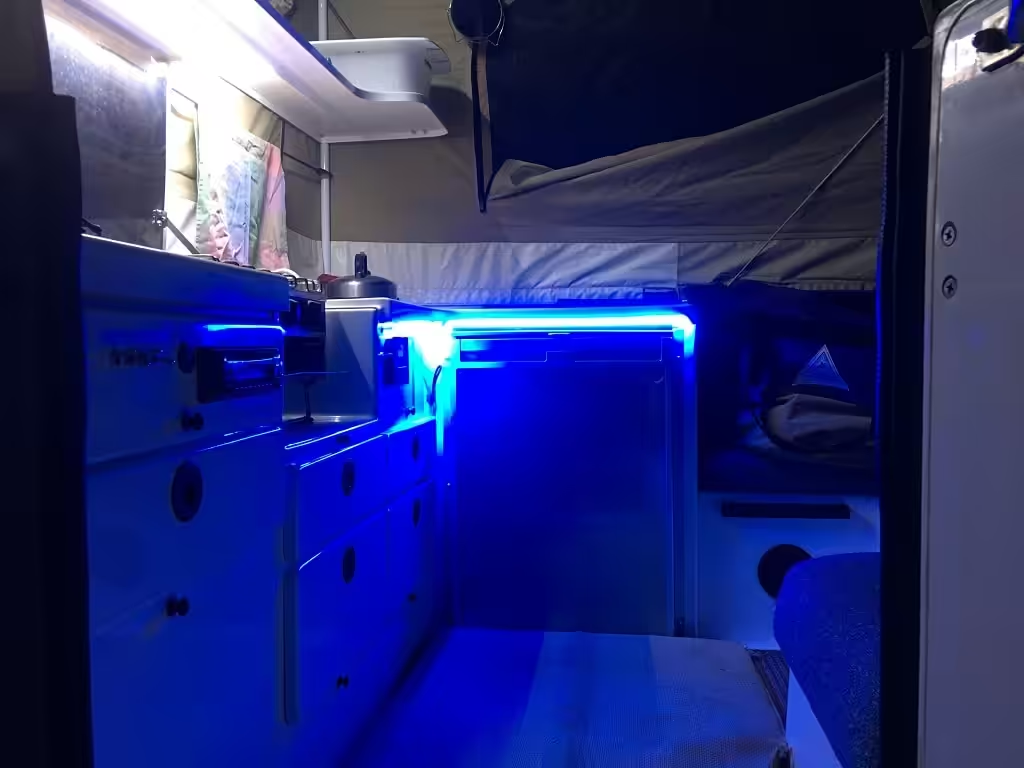
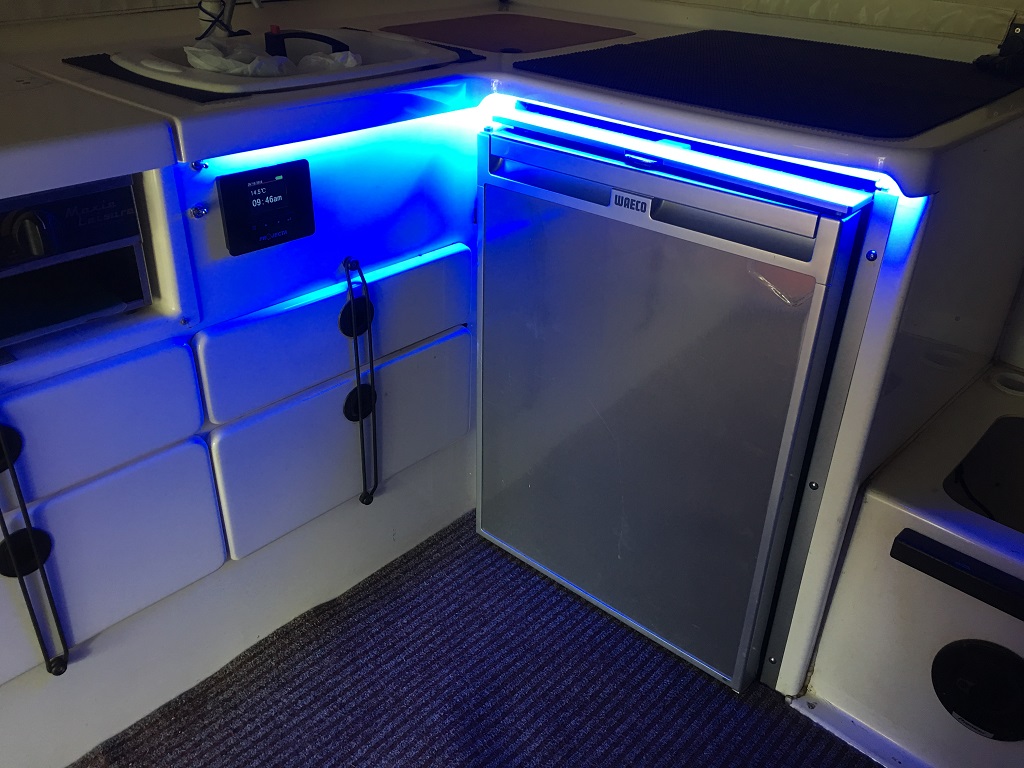
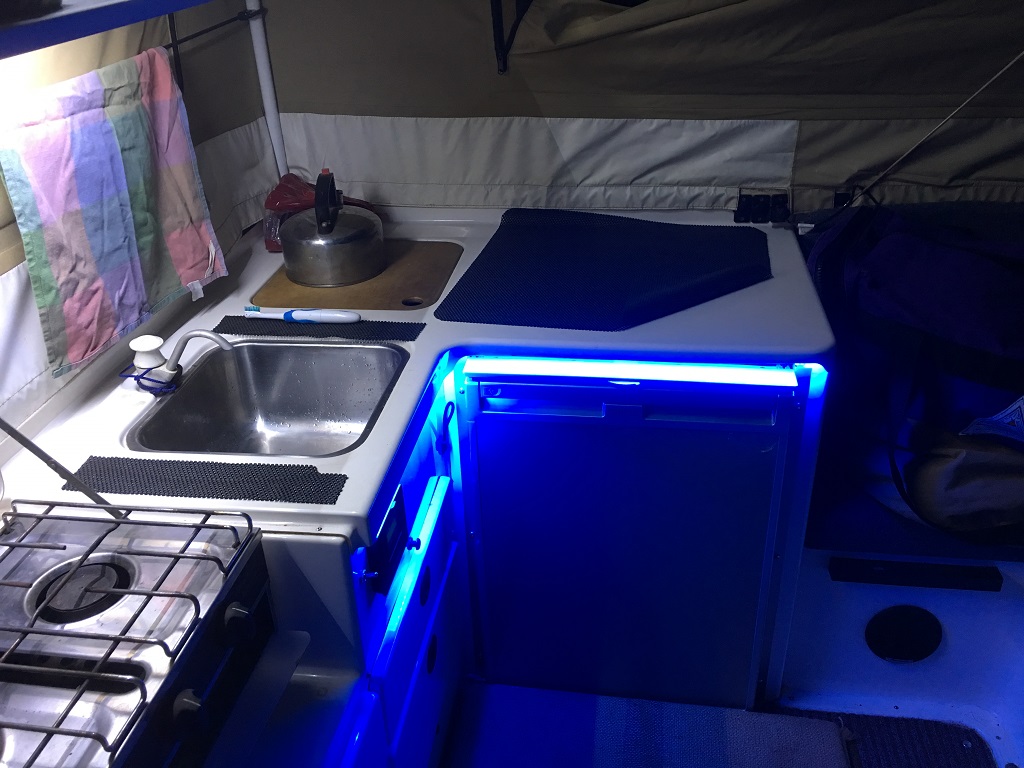
I fell in love with Vegas and the whole light scene years ago, and when I suggested some mood lighting under the bench in a blue colour rather than the white LED’s in the cabin, my partner, Jane, thought it was a good idea … to a point. Given my enthusiasm, she possibly feared a rolling pimped-up trailer. Hmmm.
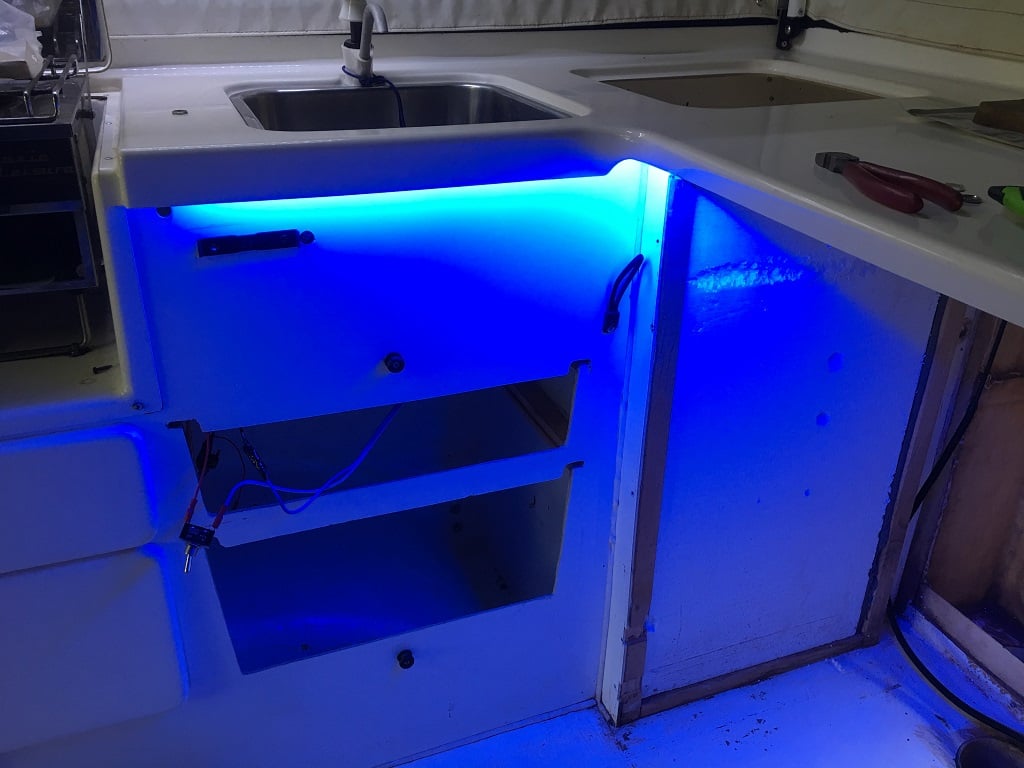
Anyway, while I had the fridge out and was running wire for the Projecta Battery Meter installation I had going on, it was the perfect time to fit the mood lighting. Again, with the LED strip cut to length and the wiring crimped with terminals, I secured the strip under the benchtop’s lip with the double-sided tape and Silastic. Once taped in place, then I could sort the wiring.
The wiring was a little fiddly because I added a separate switch for the mood lights. It wasn’t a hard job once I found the power source and ensured it was correctly connected – voila, I had my little Las Vegas.
The finished job, and I loved the blue
PRICING
This is a pretty straightforward DIY job. There are lots of products out there, at various price points, however, I opted for Narva products, in keeping with what I have previously used.
I started with the best tool on the market a Professional Ratchet Crimping Kit that cost $185.00. This tool has interchangeable heads to cater for pretty much everything the mechanic or electrician would need; It’s the best tool ever in my book.
Knowing I had other plans for more strip lighting I bought five-metre rolls of 12V LED strip cool white and the blue that retail for $335 each.
A metal toggle switch (Part 60060BL) was $13.95.
All prices include GST.
For more information on the Narva products range click here