These DIY fire starters work amazing
If you love a bit of DIY then check out these DIY fire starters for a long lasting starter that gets the blaze going first time every time.
Last Updated: 25 March 2025
I love a good DIY caravan and camping hack so when I came across these DIY fire starters recently, I had to see if the hack actually worked. Well, low and behold, it turns out these are the best fire starters I have ever used in my entire life.
Eight. Whole. Minutes. That’s how long just one of these DIY fire starters burned for. This is officially five minutes longer than my store-bought fire starters. More than enough to get a kindling teepee roaring without any tinder whatsoever and more than enough to get the larger logs going on the first attempt.
So if like me, you love a bit of DIY (or maybe you just want a fun project to do with the kids), give these DIY fire starters a go.
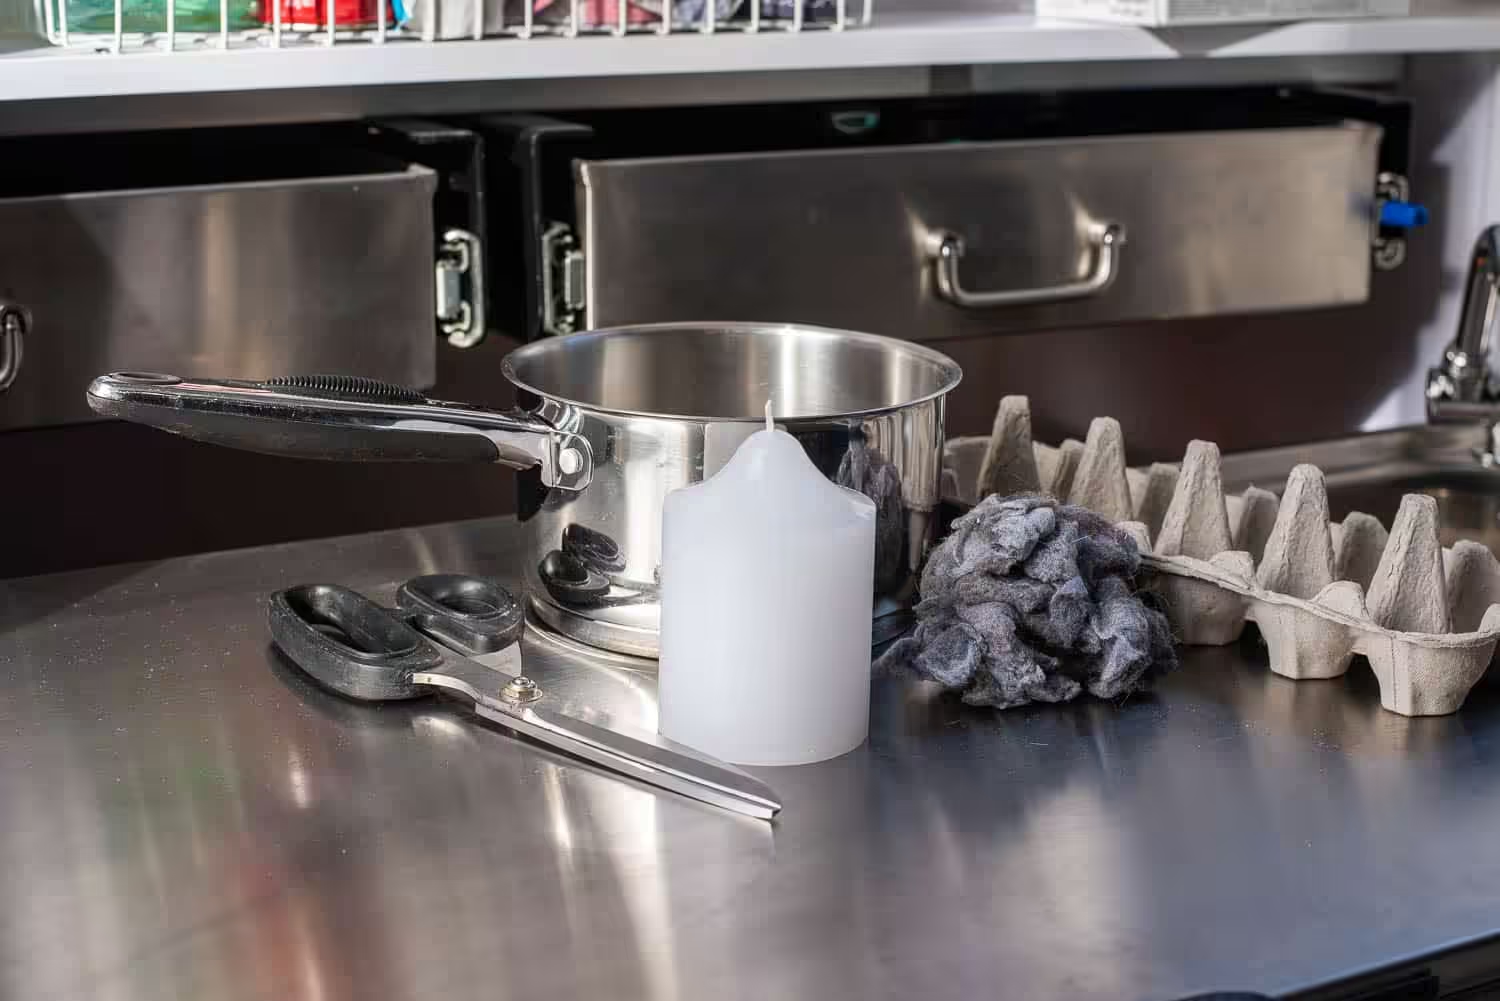
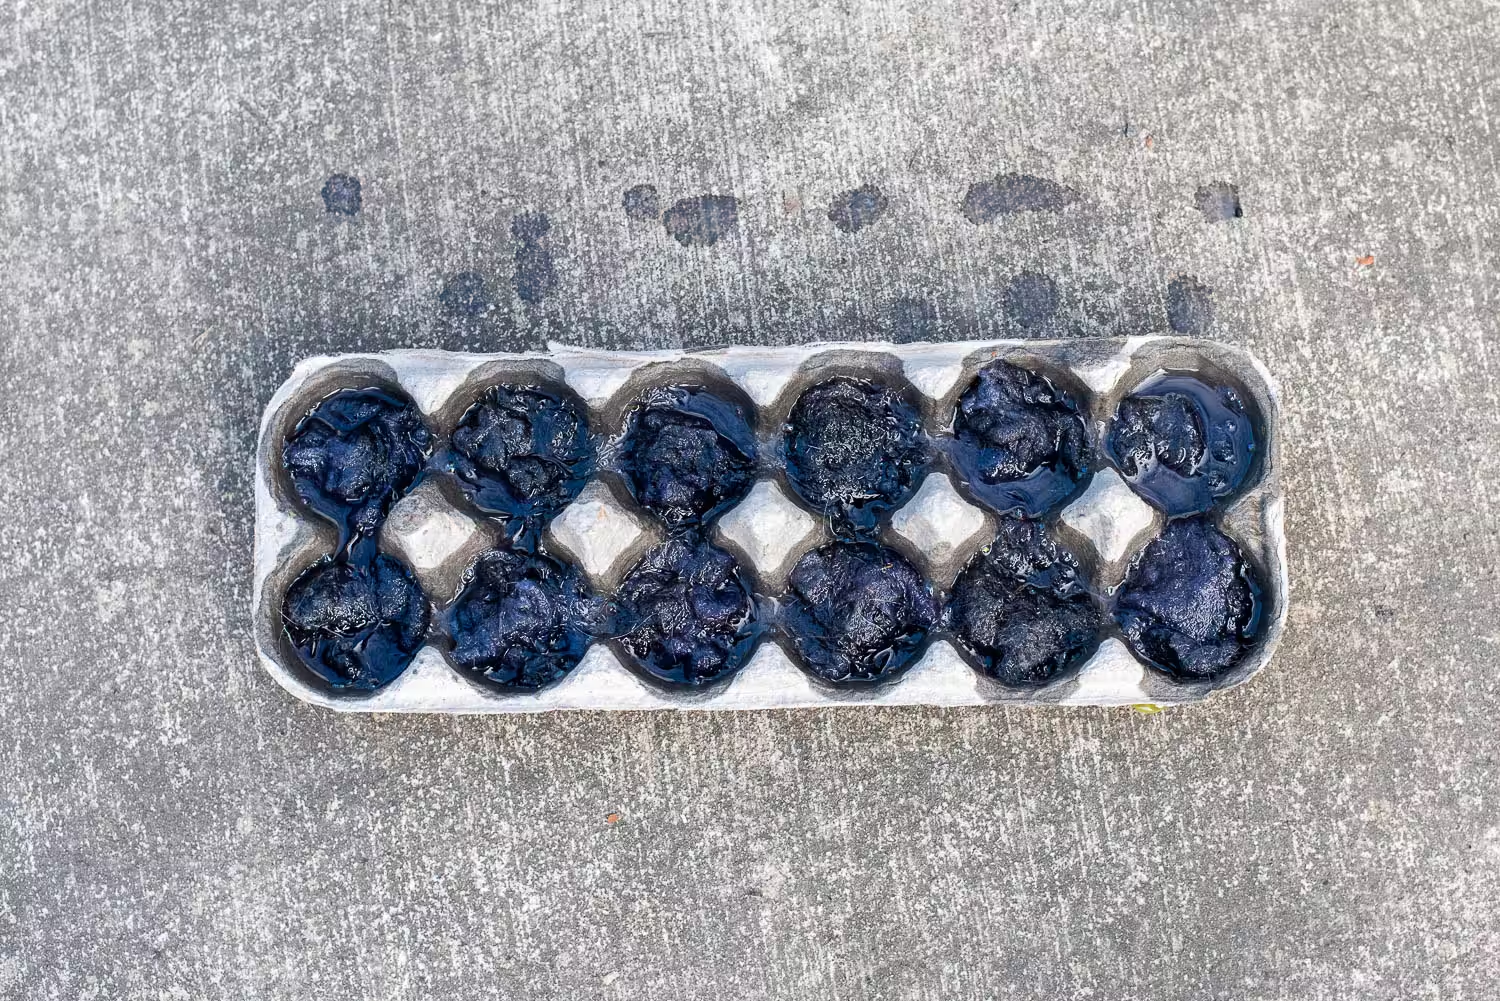
Start by opening up your empty egg carton and cutting off the top so you are left with the side that the eggs usually sit in.
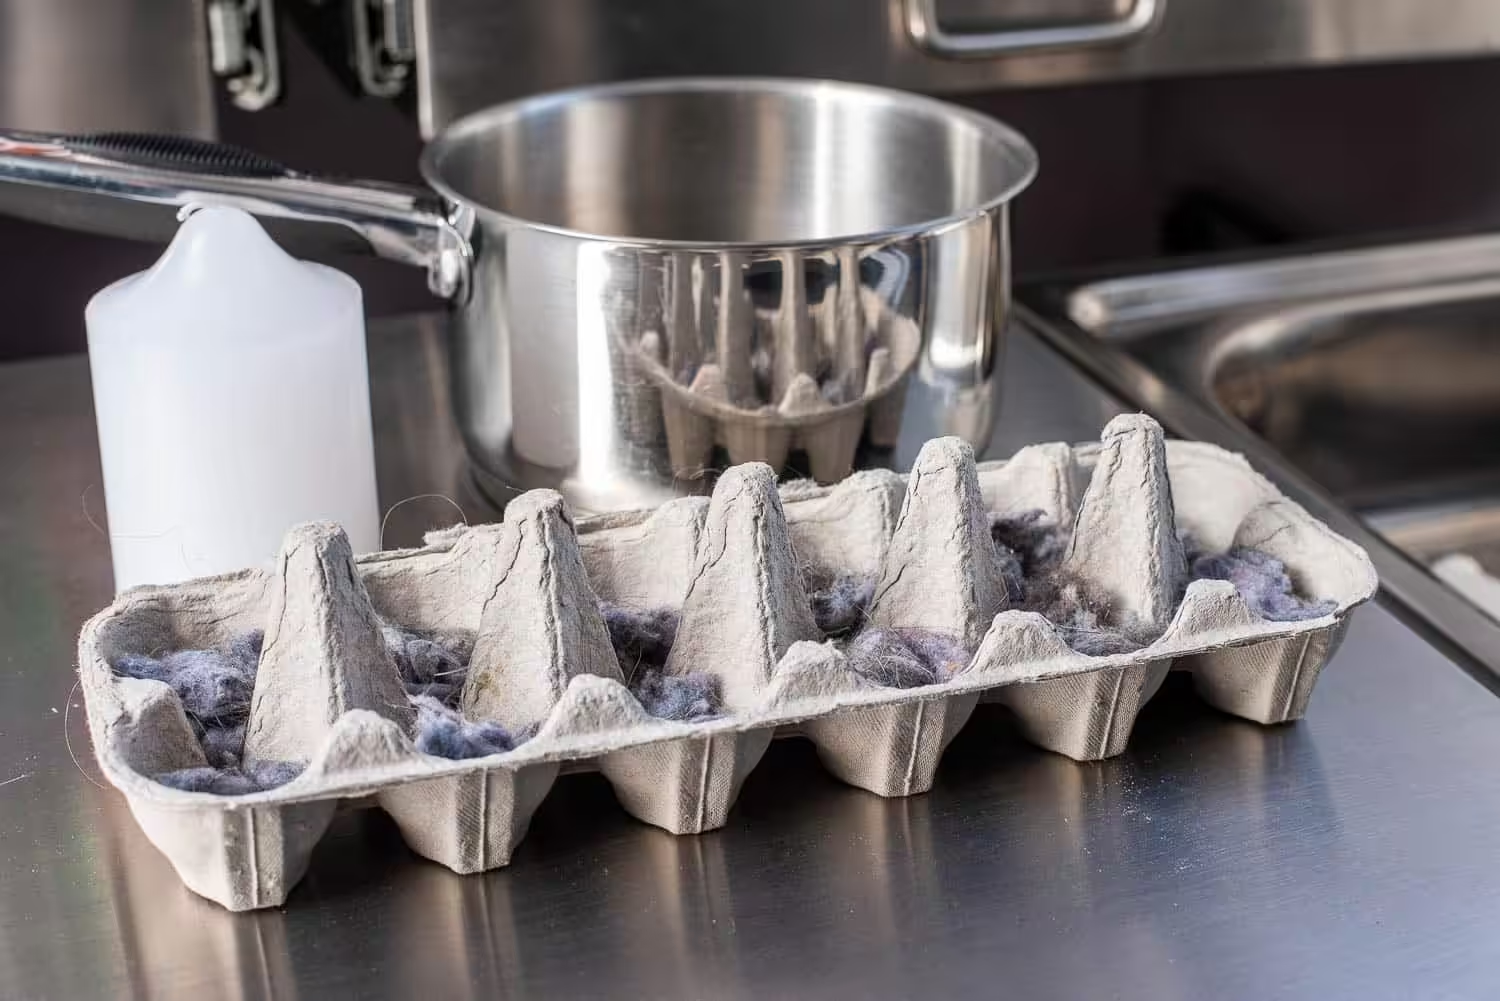
Next, grab your wad of dryer lint and rip off a piece. Squish and roll this in your hands and then plonk the wad in one of the egg slots. Keep doing this until the whole carton is full of dryer lint.
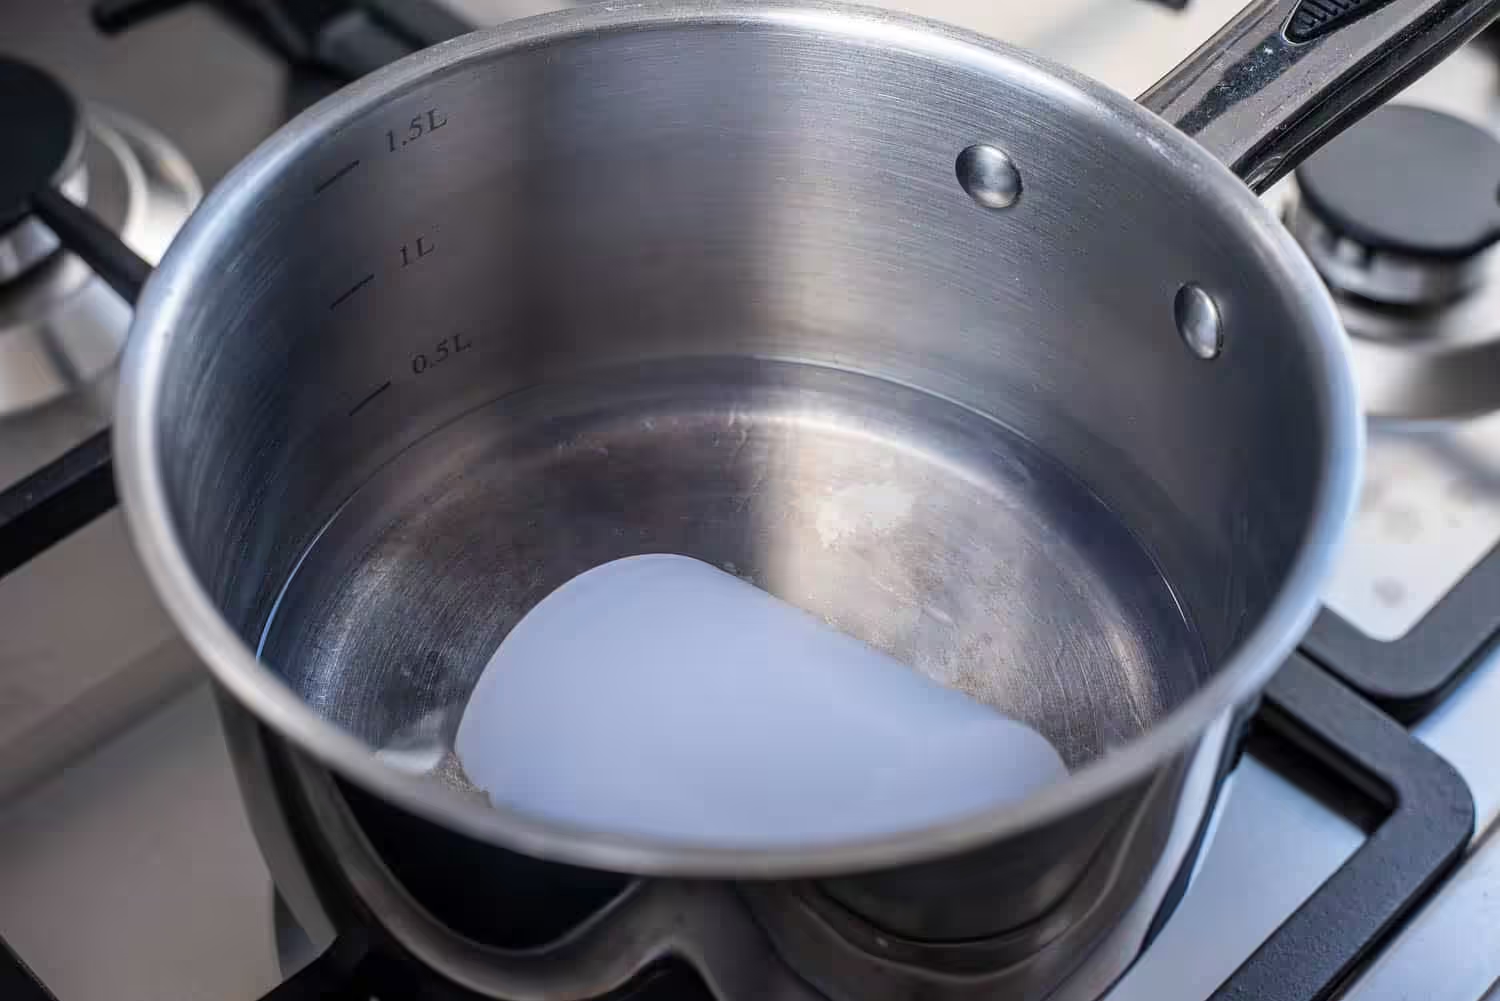
You now need to melt your candle to a complete liquid. How you do this is up to you but I grabbed a small saucepan that hasn’t been used for years, chucked the candle in the bottom and proceeded to heat it up on my camper’s external gas cooker.
No stirring is required.
When your candle has turned to liquid, carefully transfer it to your egg carton stuffed full of dryer lint and pour the wax over each wad.
I recommend doing this on the grass as the wax will leak out of the bottom of the egg carton a little bit. After all, egg cartons aren’t waterproof but they are flammable.
Your DIY fire starters are nearly finished!
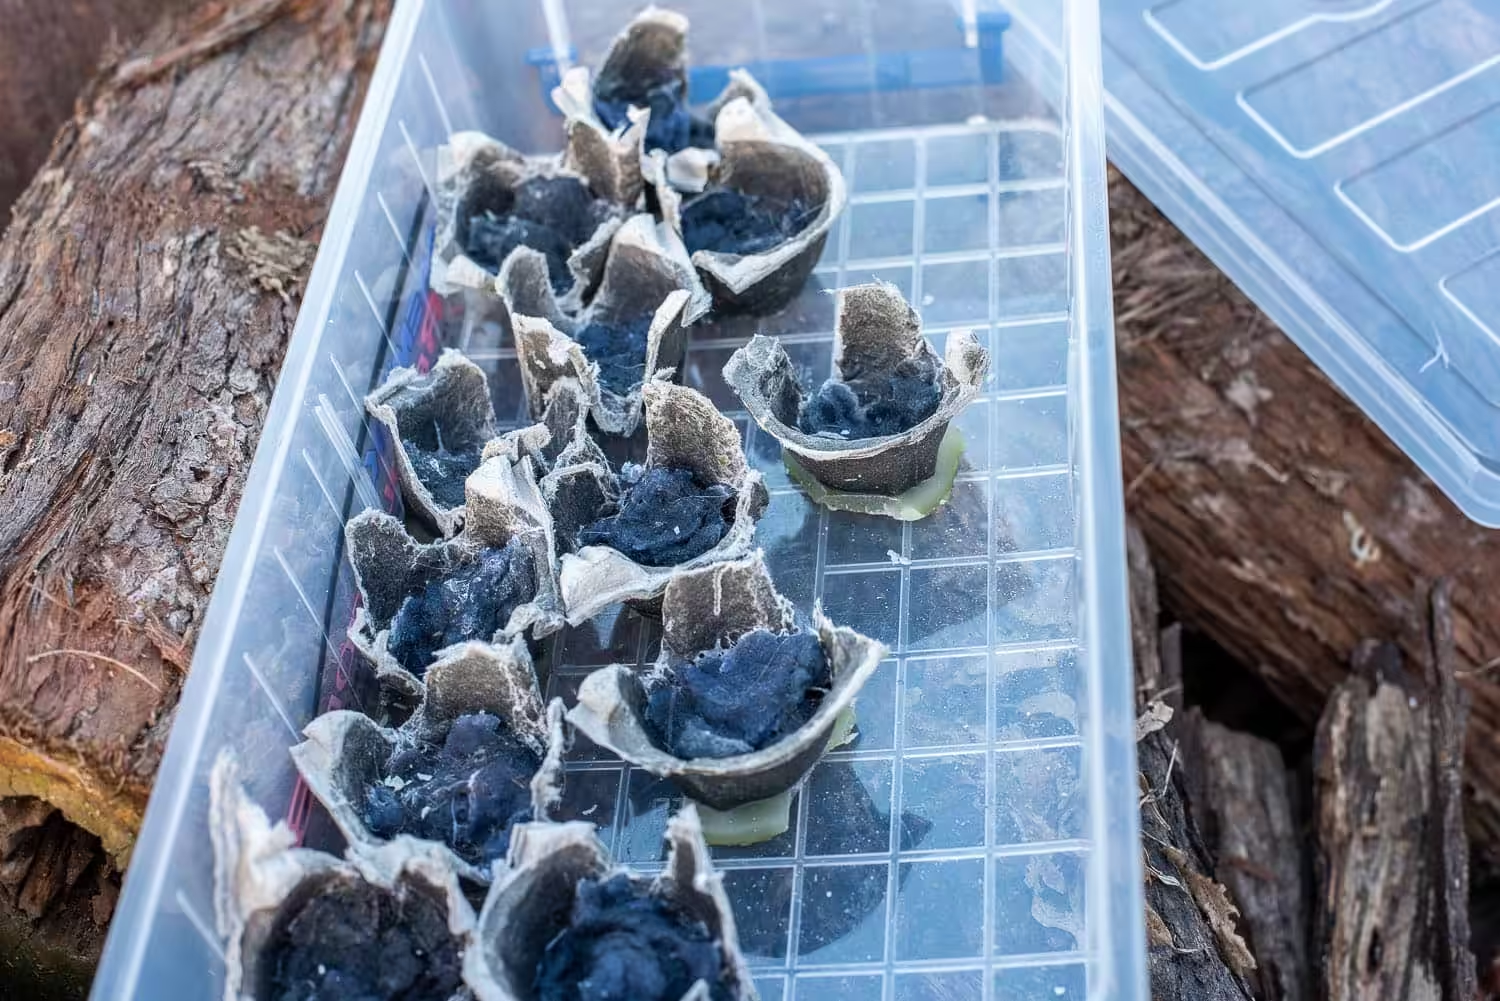
You don’t really need to do anything now except wait for your DIY fire starters to cool down and set. Once the wax has dried, go ahead and cut out each individual waxy wad of dryer lint.
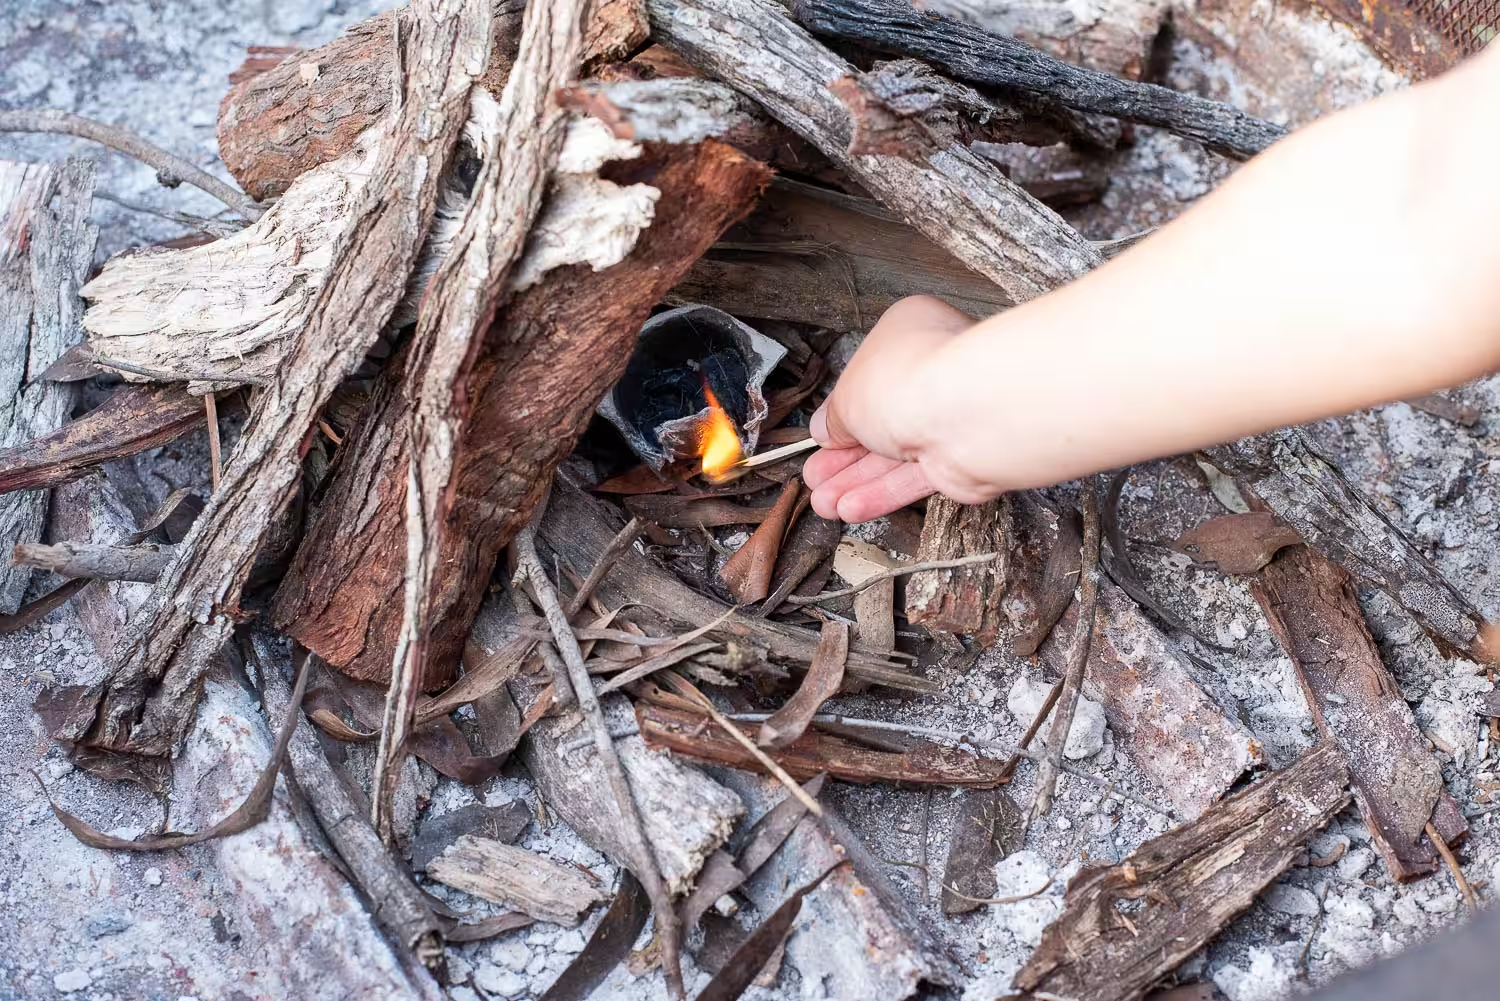
You don’t need to remove the egg carton from the wad as this is what you actually light to get it started. You’ve probably realised by now that these DIY fire starters do not look pretty.
Guess what? You’re ready to light the easiest fire you’ve ever lit.
Grab your brand new DIY fire starters, plonk one in the middle of your firepit area and built a kindling teepee around it. Once you’ve added your second layer of larger logs, reach in and light the egg carton.
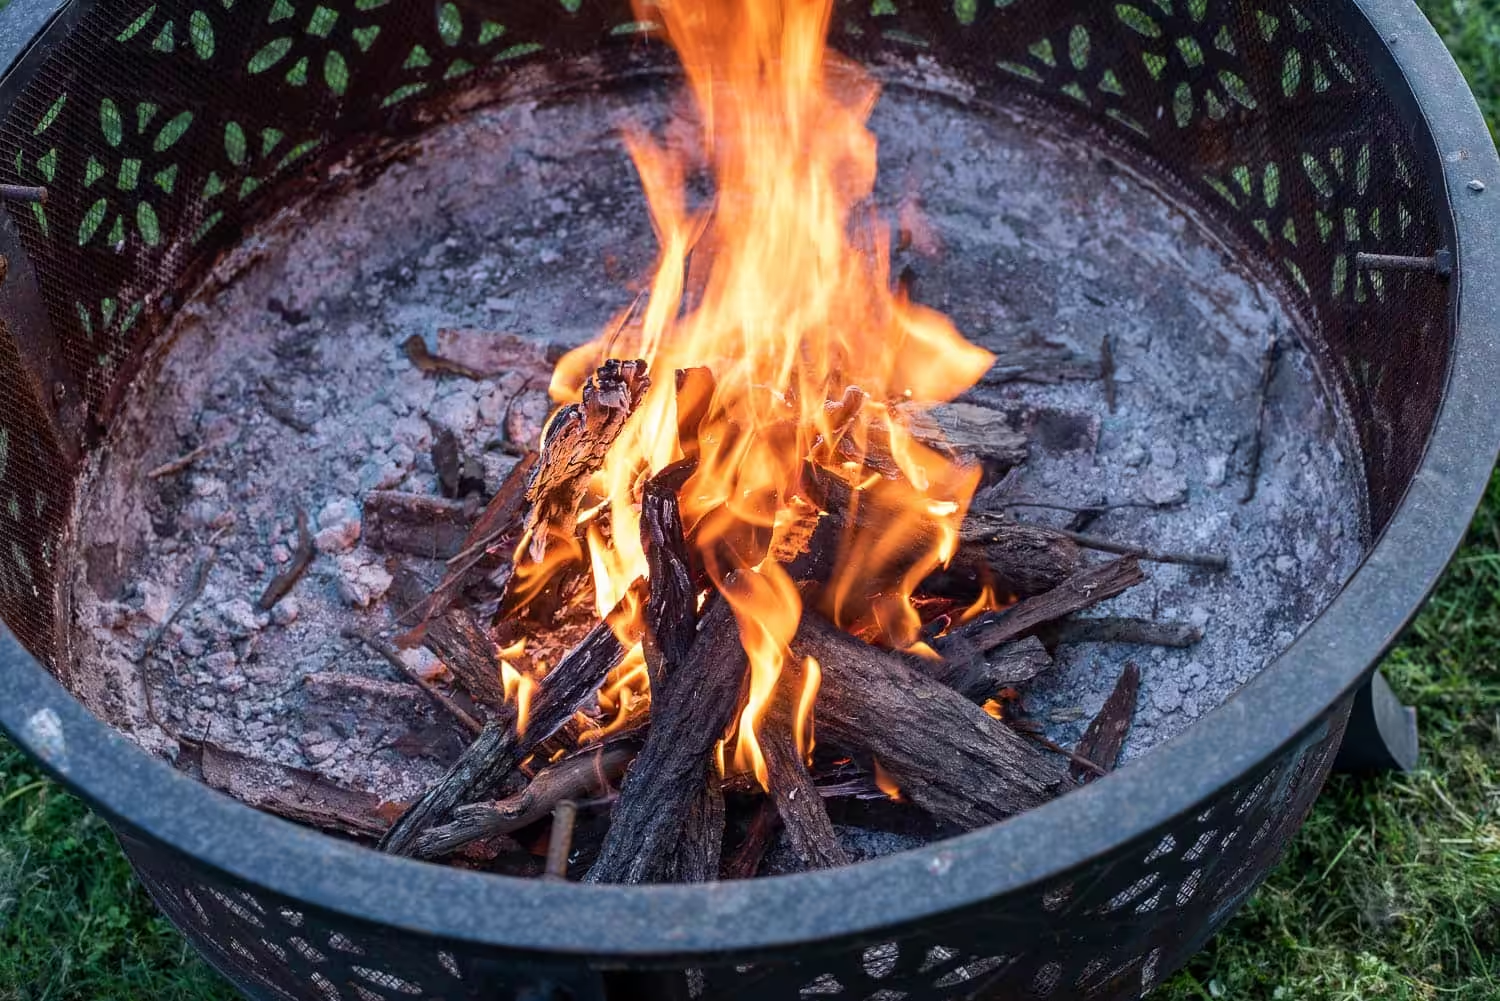
Woohoo, you’re all set for the night!


