How to repair a tubeless tyre with a plug
Carrying out tyre repairs is more of a 'when' than an 'if', so Mark Allen shows us step-by-step how to repair a tubeless tyre with a plug.
Published on: 29 August 2023
Carrying out tyre repairs when you head outback and off-grid is more of a ‘when’ than an ‘if’, so it really pays to ensure you know what you’re doing. Mark Allen shows us step-by-step how to repair a tubeless tyre with a plug.
Regardless of how good your tyres are and regardless of brand, there’s every chance you’ll get a flat sooner or later. In my case, the Yokohama G015 suffered a flat from a Tek Screw. There’s no stopping those little buggers from making their way through even an almost brand-new tyre.
Yes, I could have swapped one of my two spares onto the van and paid to have the flat fixed in the next town we went through. But, given that I always carry a tyre plug repair kit and compressor, and we were not due into a town for well over a week, the tools came out at camp.
Remember, tyre repairs should only be carried out on the tread area of a tyre, not the sidewall. If you’re not confident, get the tyre checked by a tyre shop as soon as practical.
You’ll need one of these tyre plug repair kits and a compressor to pump your tyre back up.

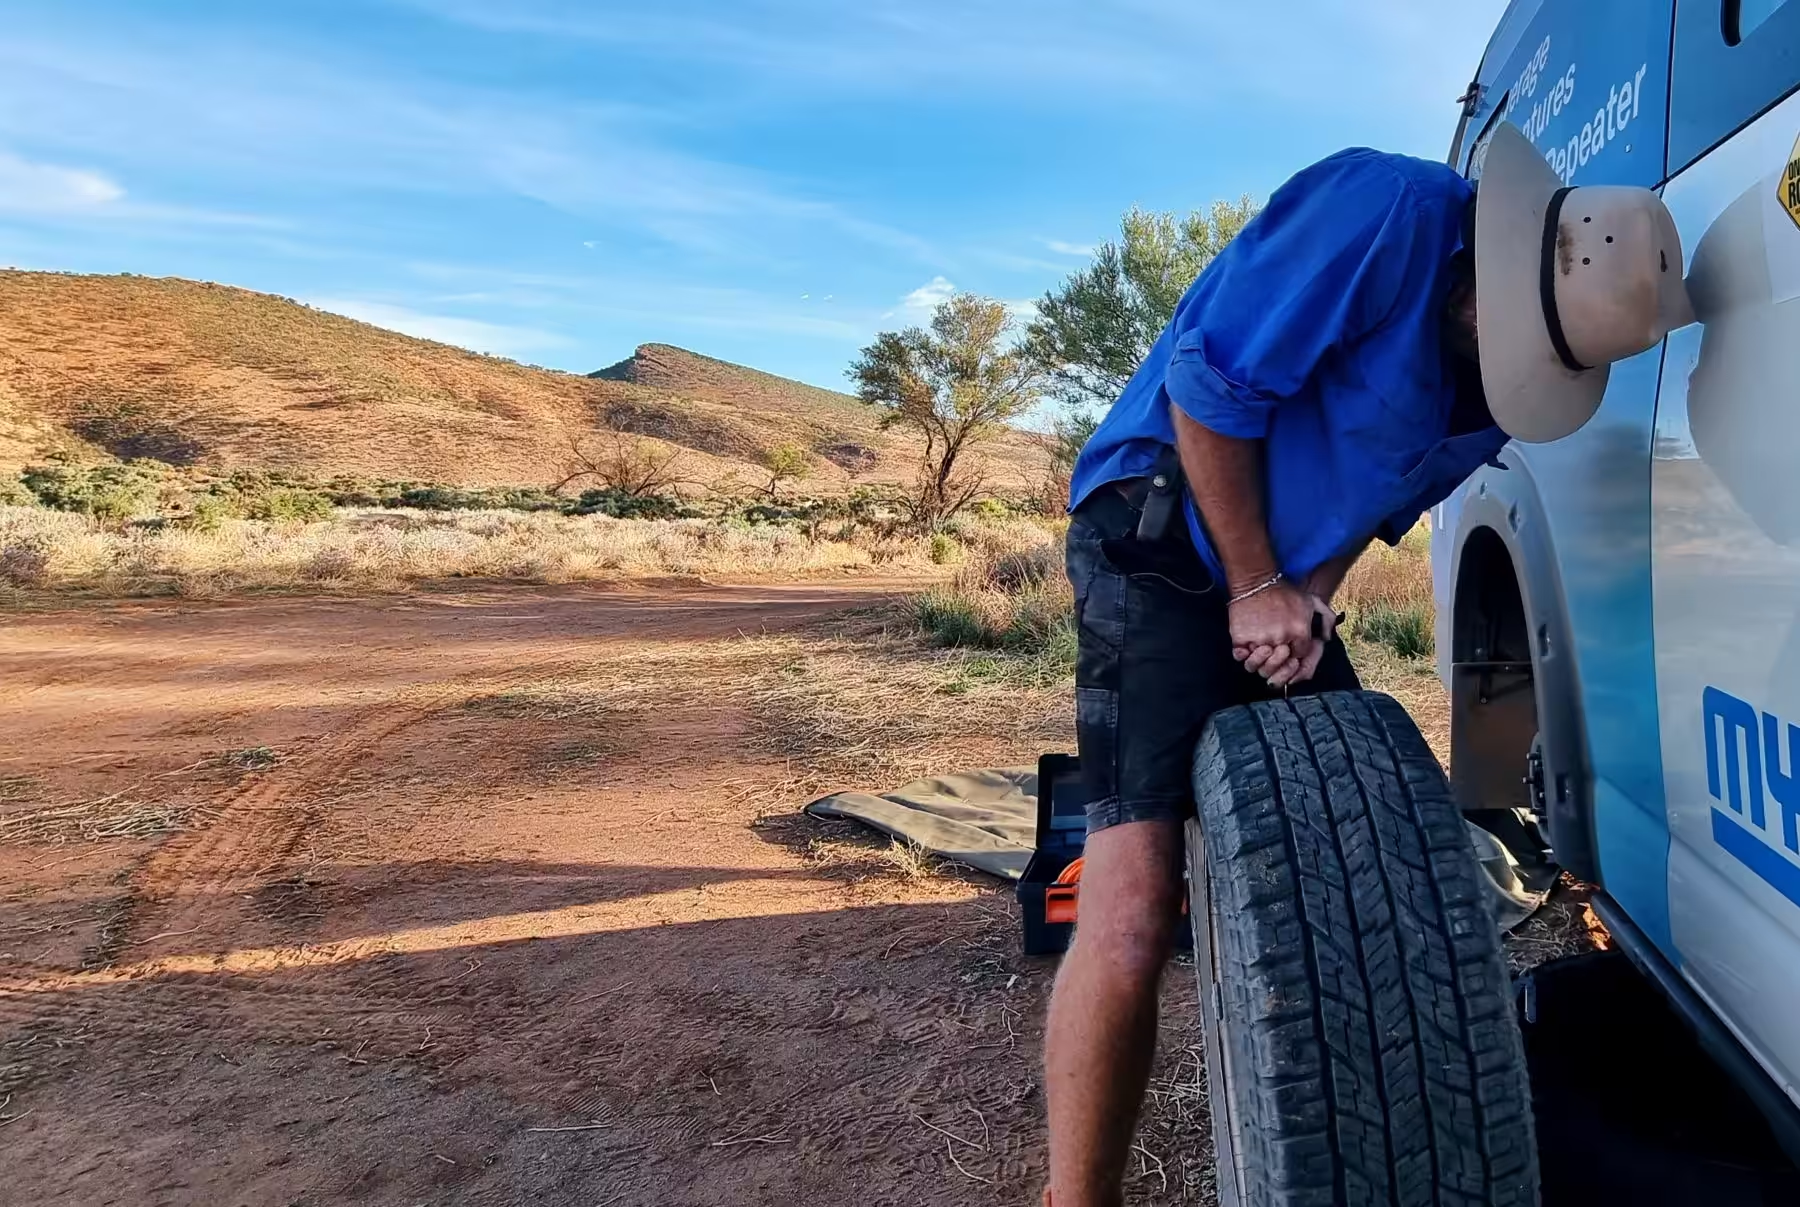
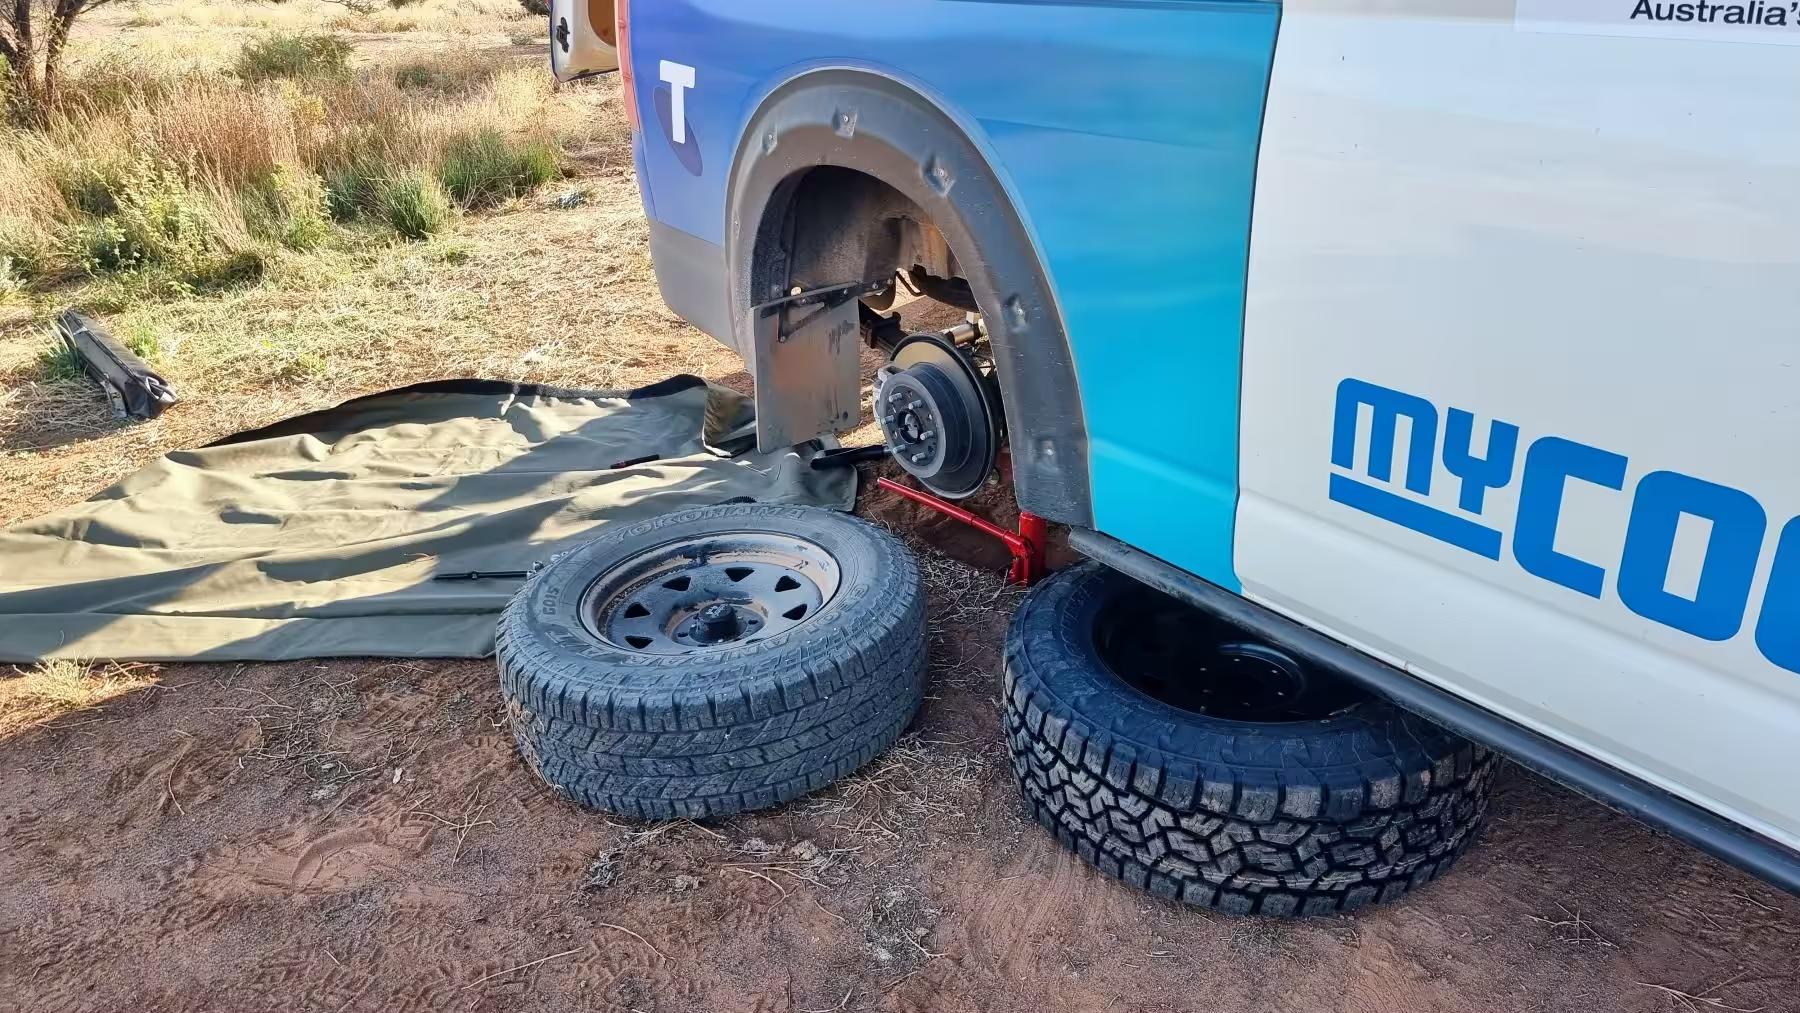
Remove the tyre from the vehicle (if necessary) to find the puncture site. Note my safety measures of having the spare wheel under the vehicle.
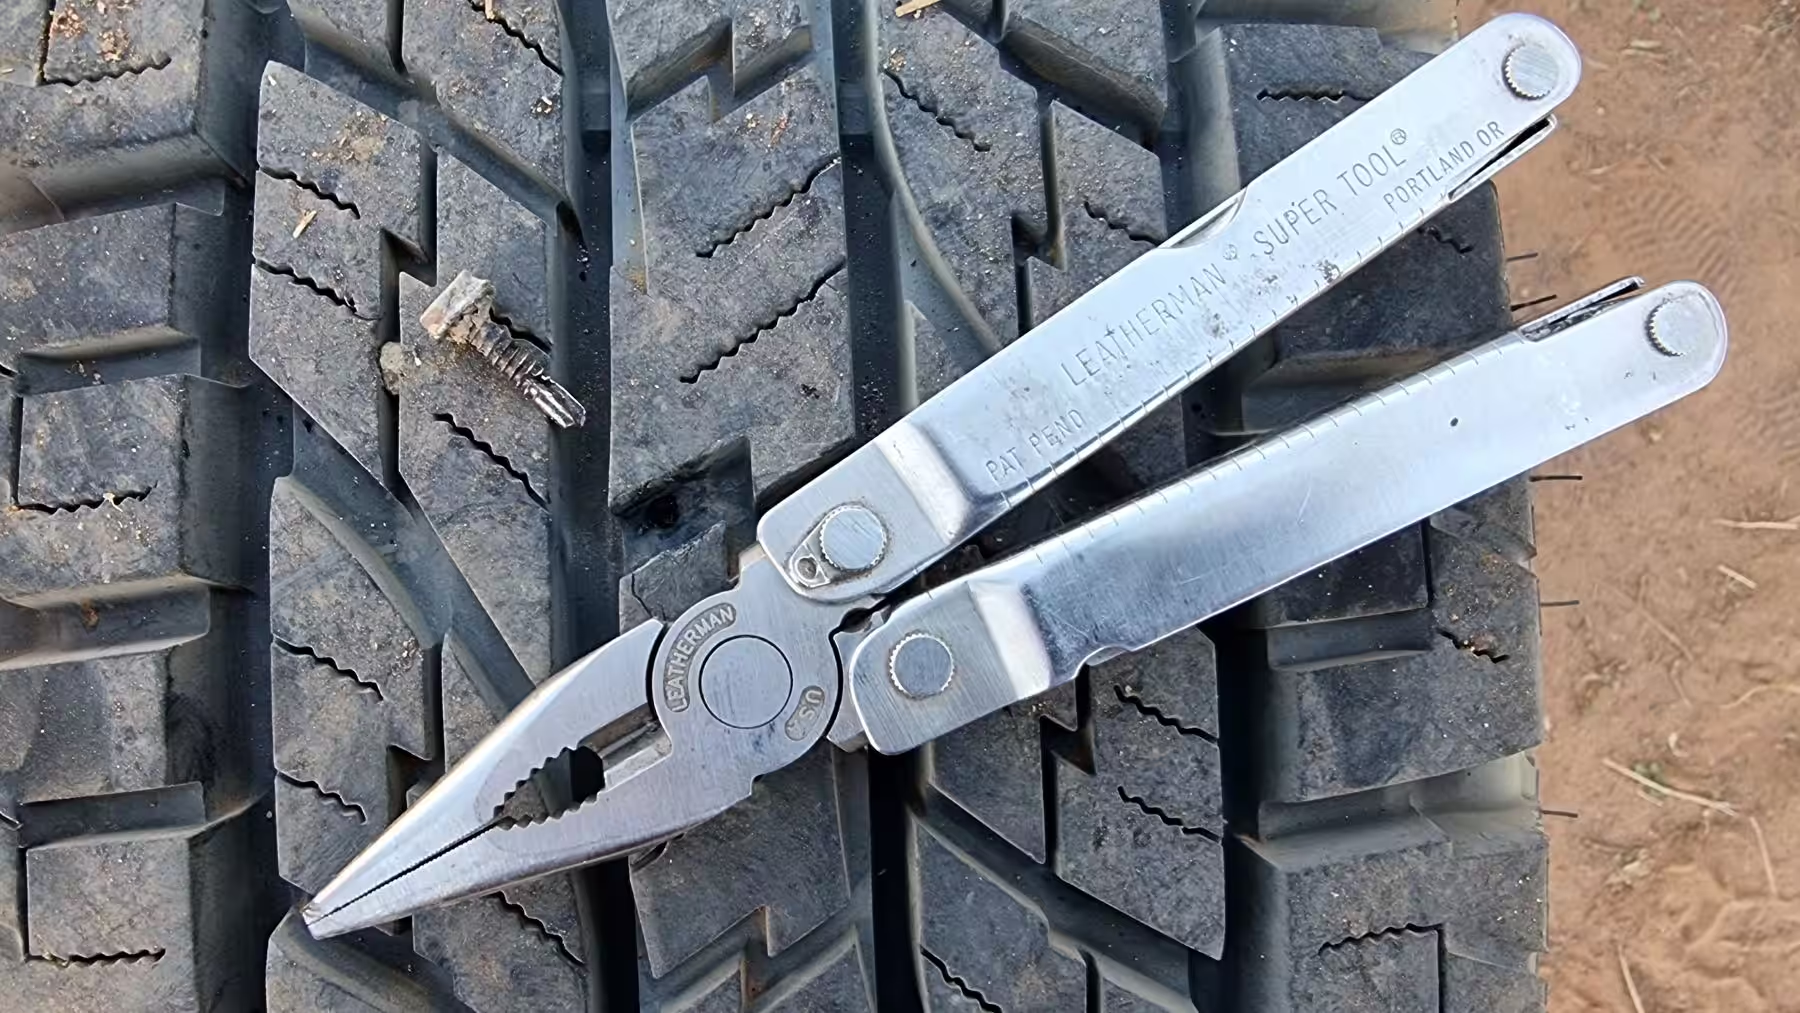
Mark the puncture site and remove whatever has damaged the tyre. In my case, I pulled a Tek Screw out with my Leatherman pliers.
Clean the damage/hole with the reaming tool by pushing and pulling into and out of the tyre while twisting the tool. This will help clean the hole from debris, loose rubber and damaged wire and enlarge the hole to allow the plug to fit correctly into the tyre.
Depending on how large the hole is to start with, it may take considerable effort to push the reamer through the tyre casing initially.

Insert one of the gooey, sticky rubber tyre sealing plugs halfway into the insertion tool. Don’t mistake the strips for Beef Jerky…they taste nothing like it!
Give the tyre plug a generous covering in rubber cement.
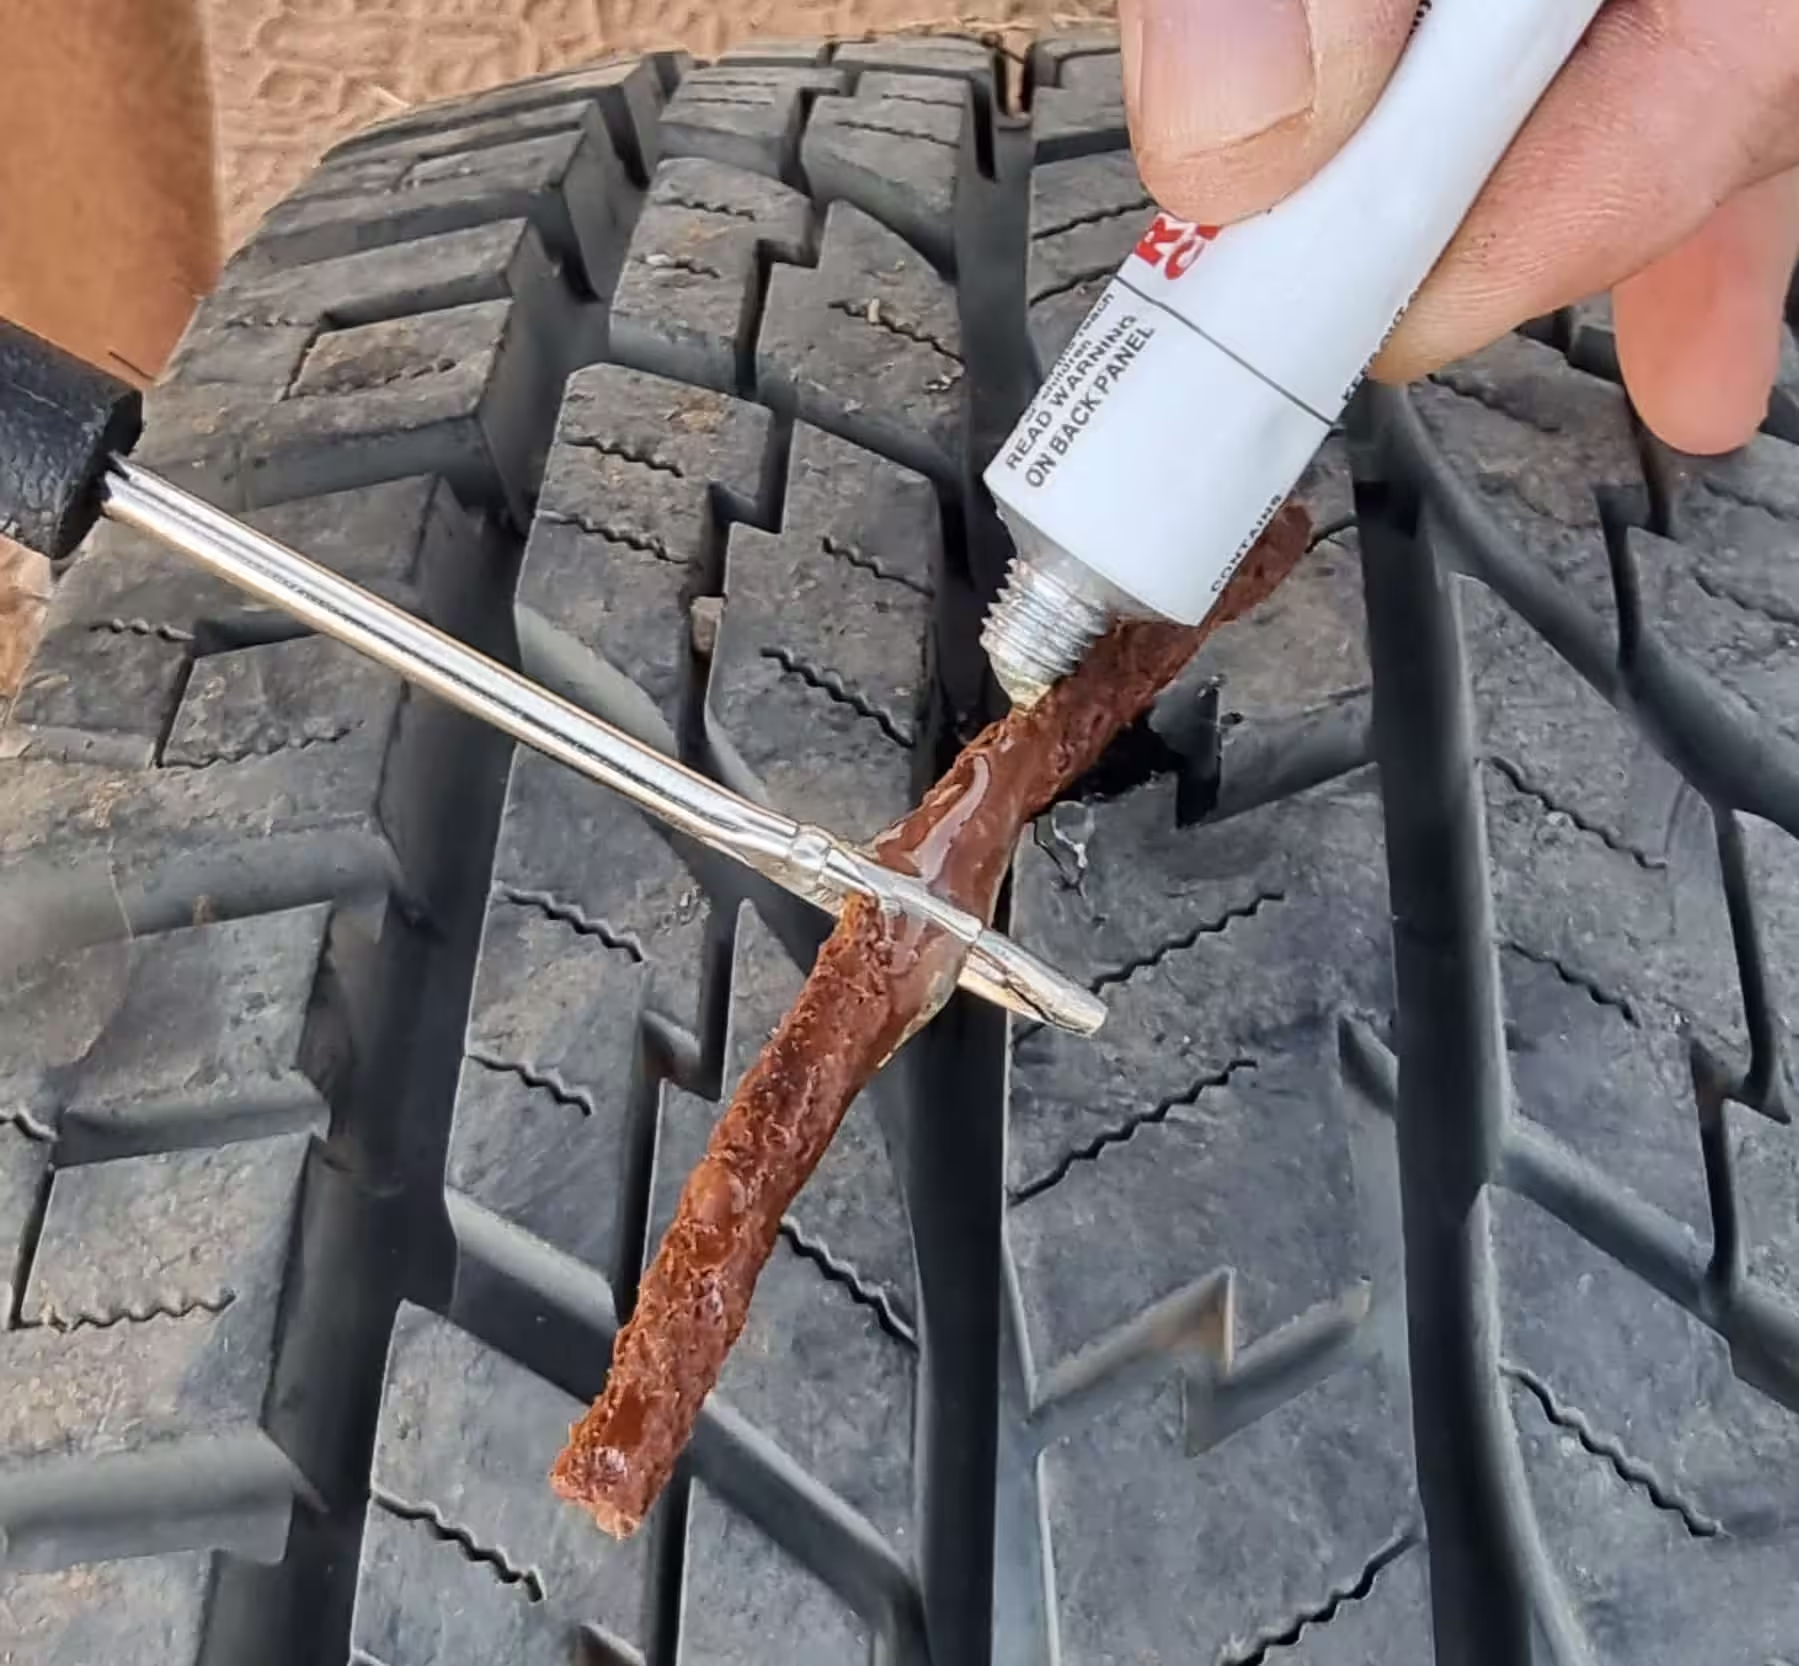
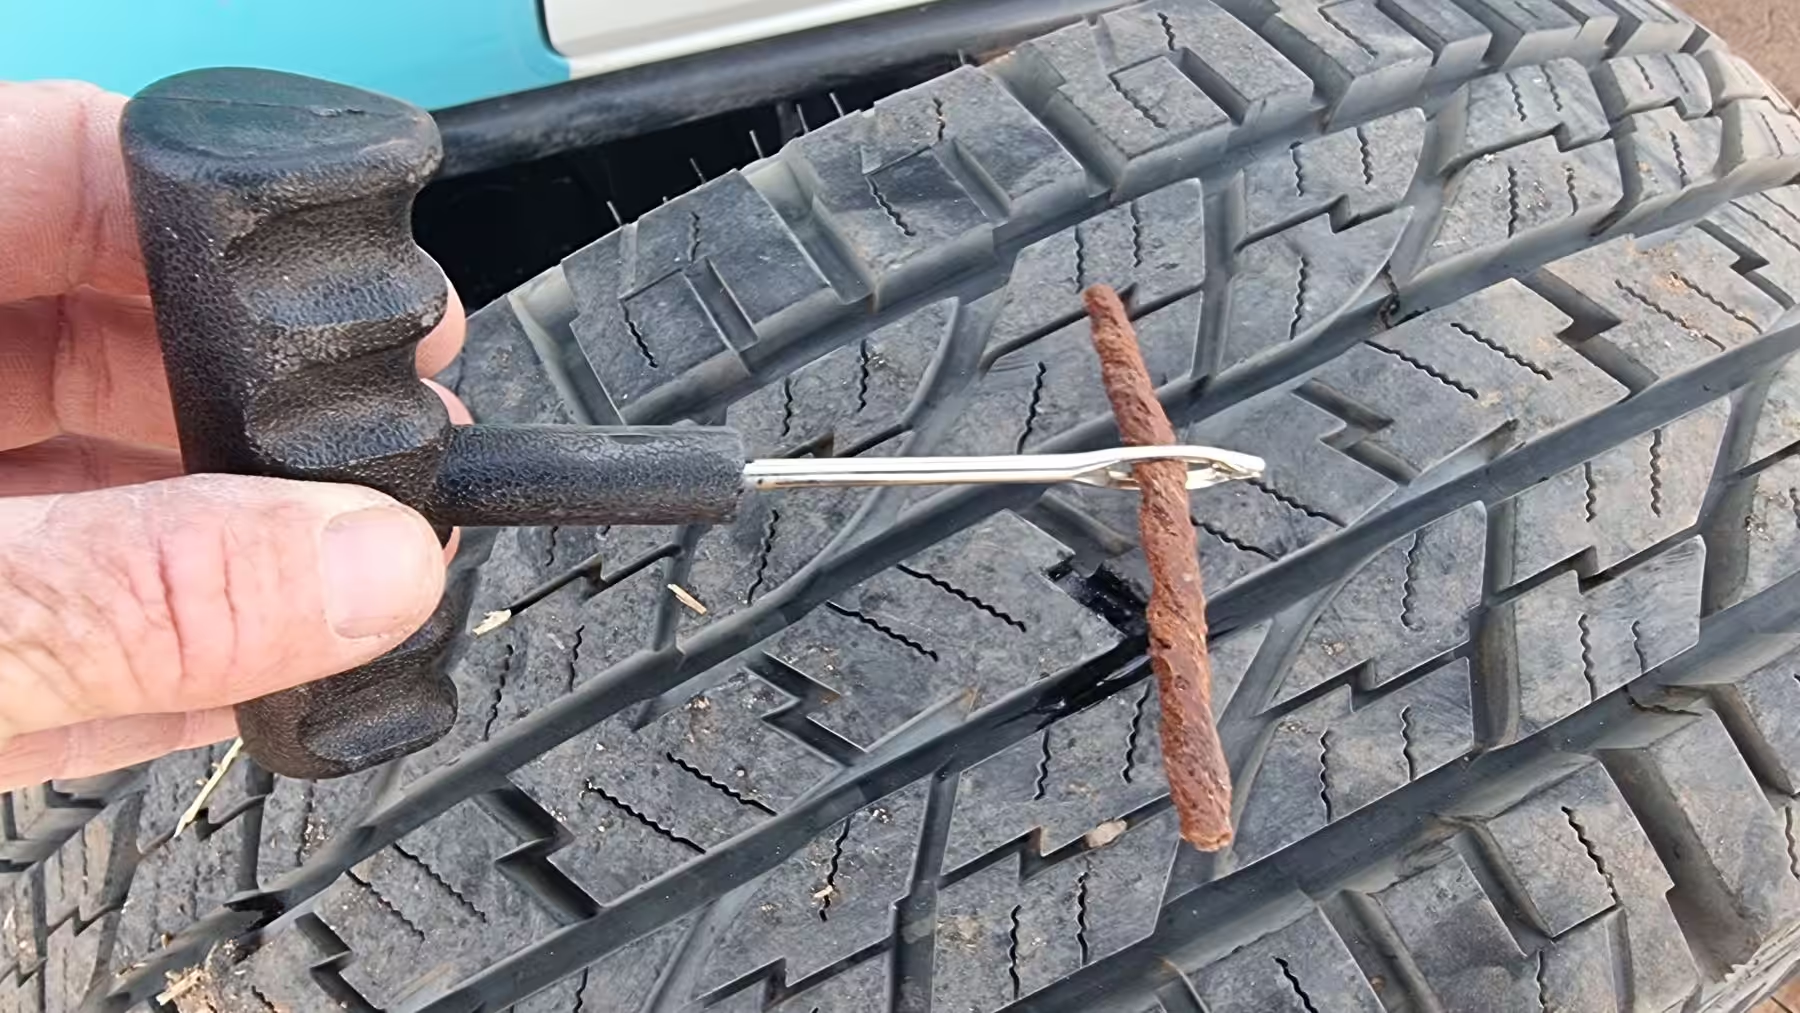
Push the plug into the hole in your tyre, being careful not to push it all the way through. Note how I hold my fingers on the shaft of the insertion tool so that if the tool tries to go too far into the hole, my fingers act like a depth gauge to prevent over-insertion.
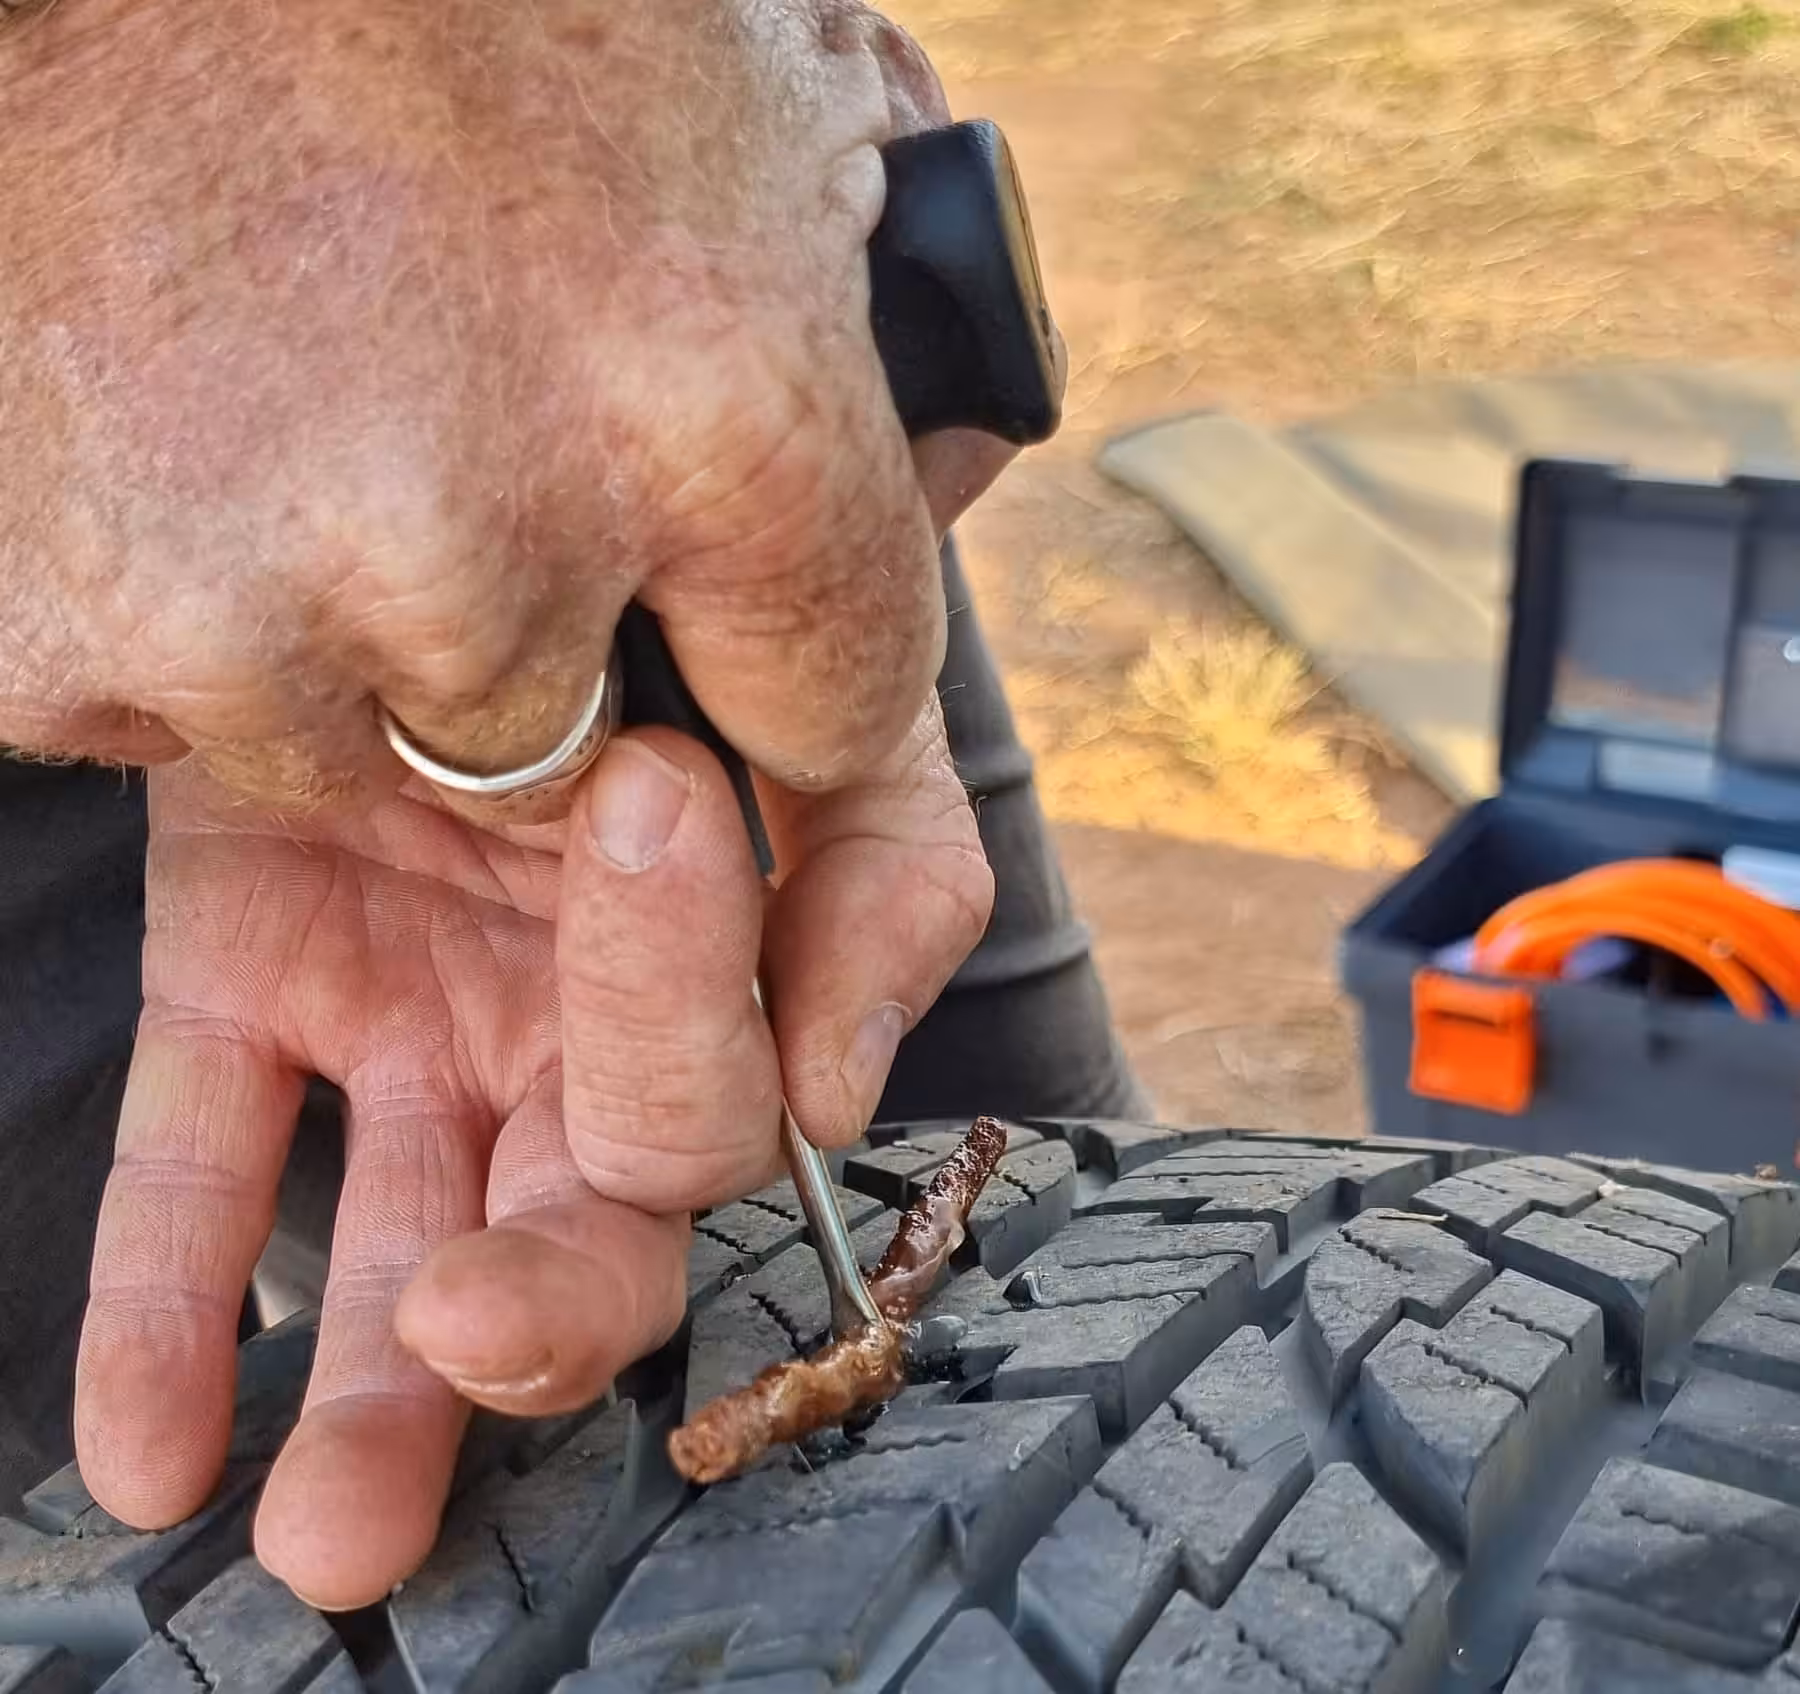
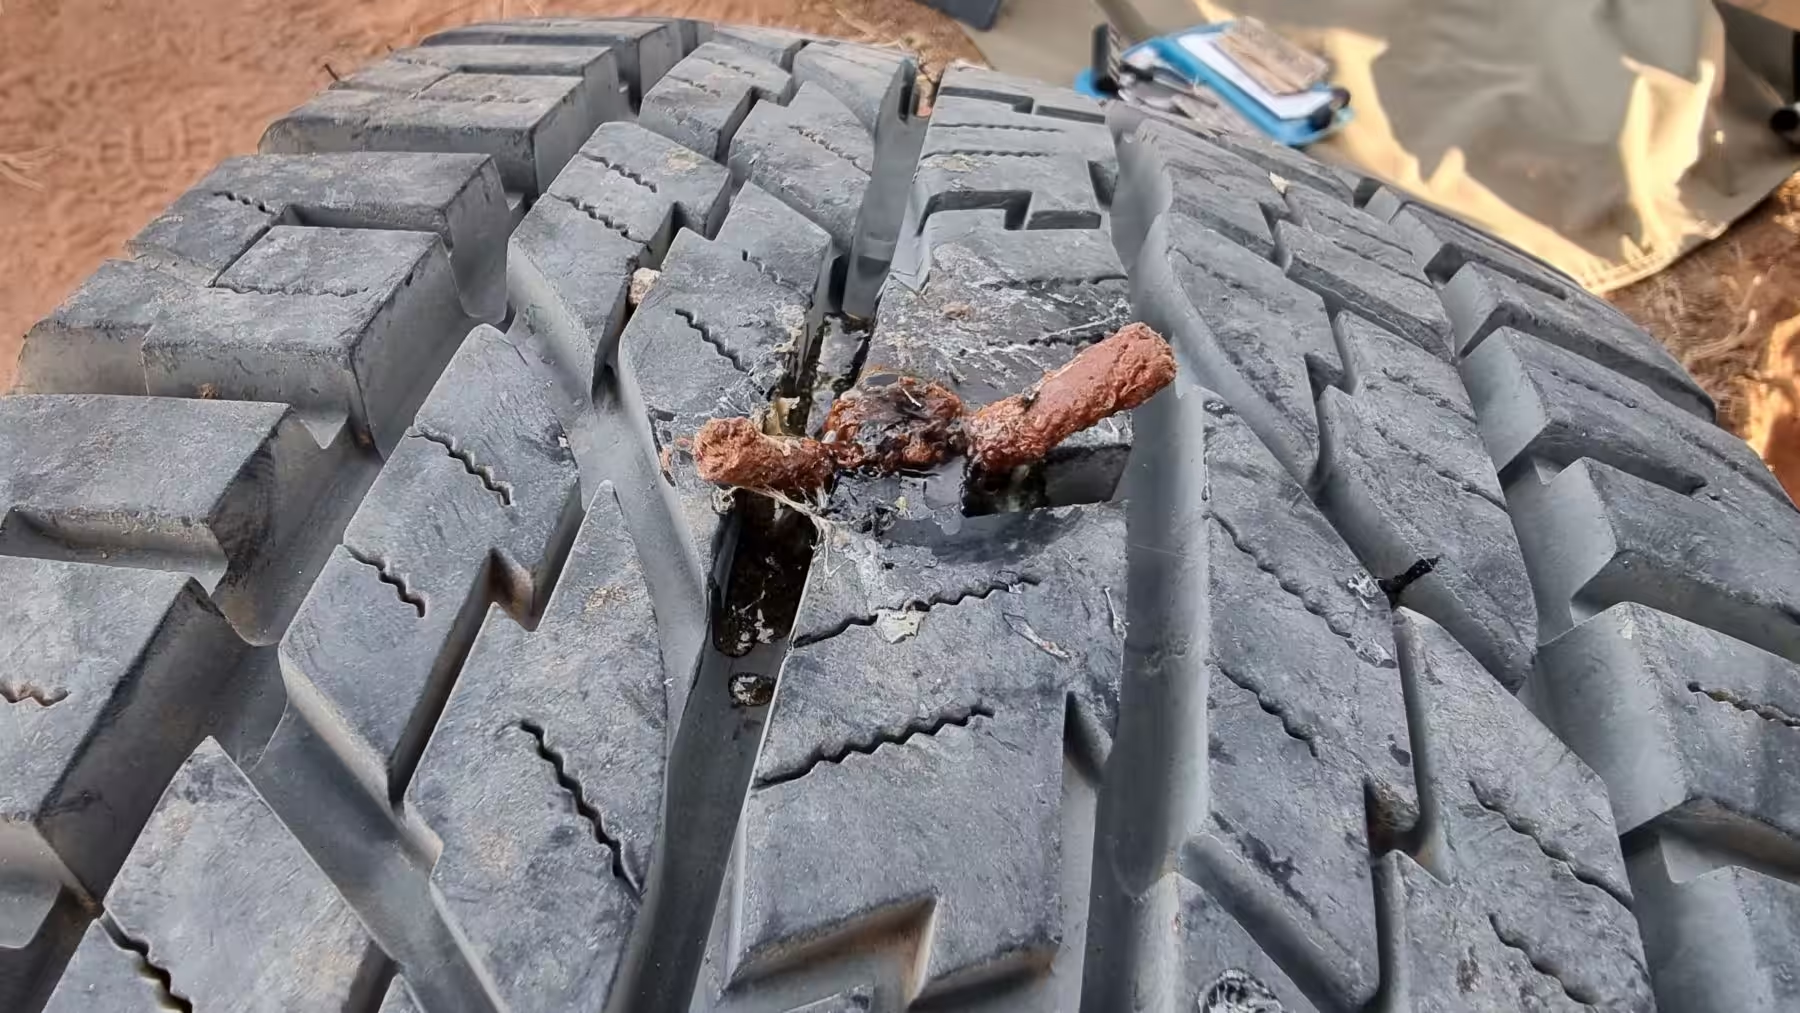
With the two plug ends protruding from the tyre, give a short sharp tug of the insertion tool to remove the tool from the tyre, leaving the plug in the hole. It looks like a gooey mess, but it works a treat.
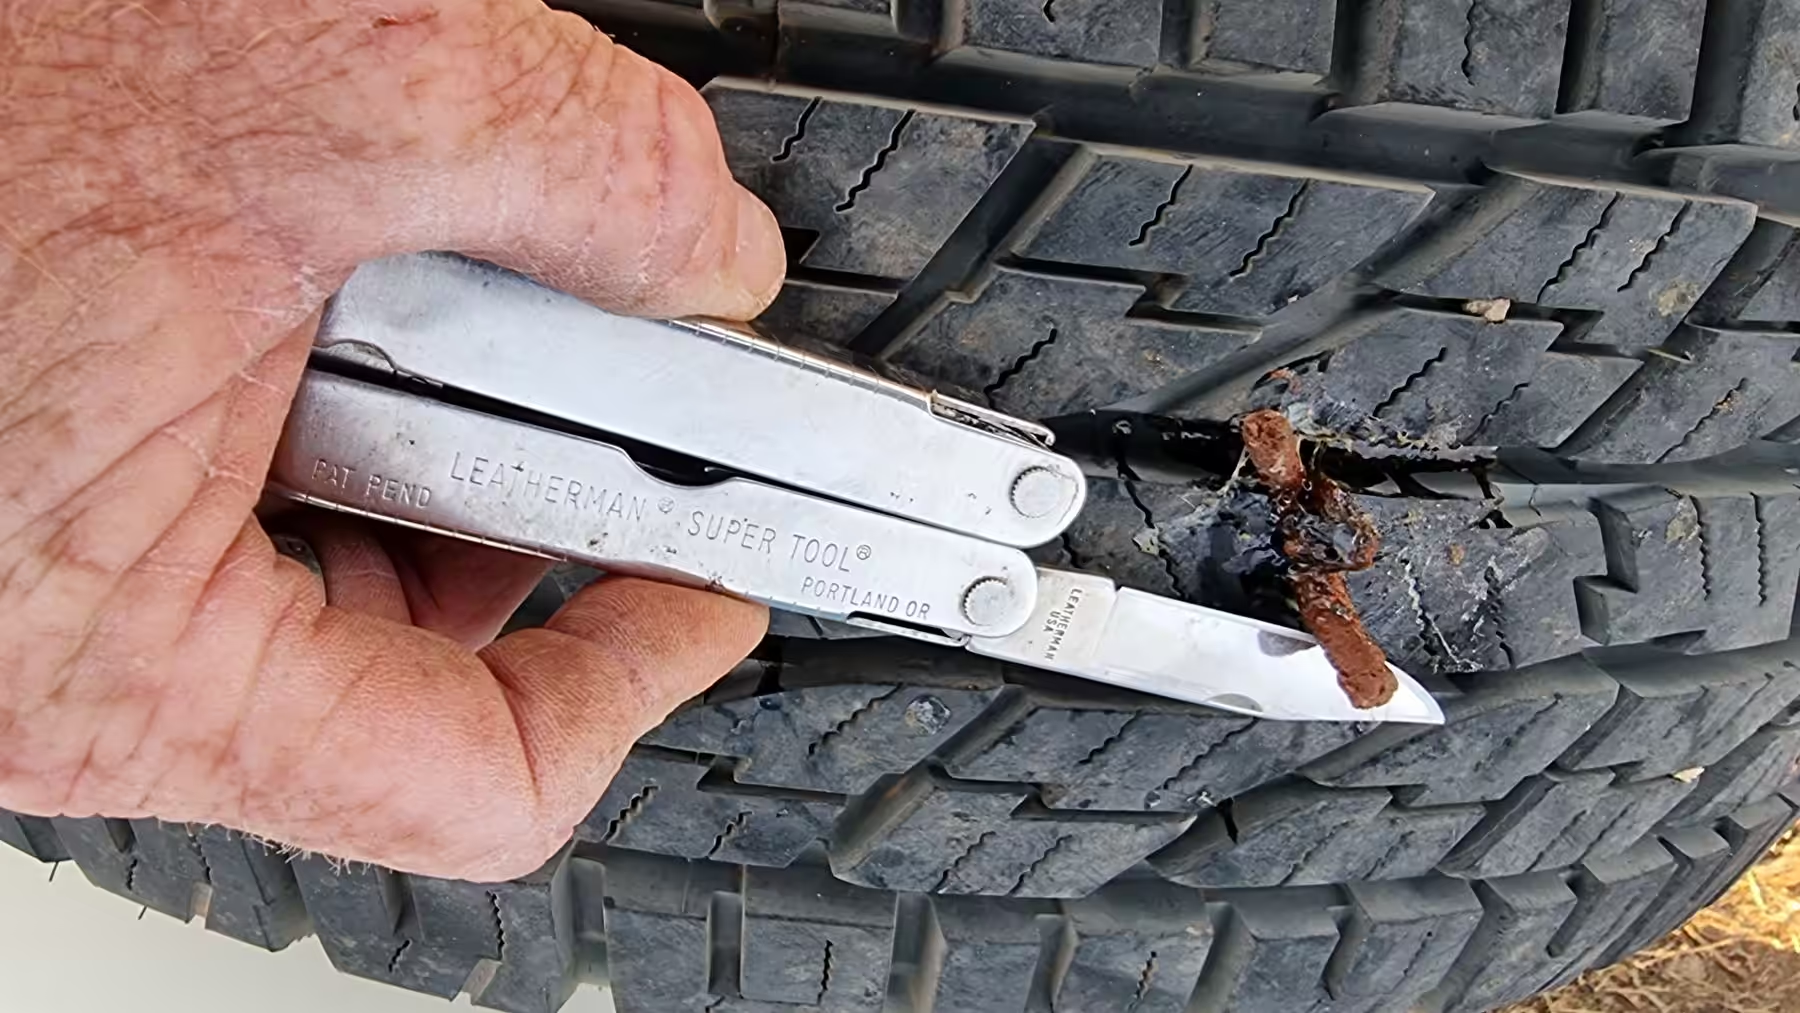
Trim the excess plug ends flush with the tyre face. Don’t be concerned if a little plug is left proud of the tyre as it’ll wear away with driving.
Reinflate the repaired tyre and check the plug for air leaks. Either dribbling water or spitting onto the repair will show any air leaks with bubbles.
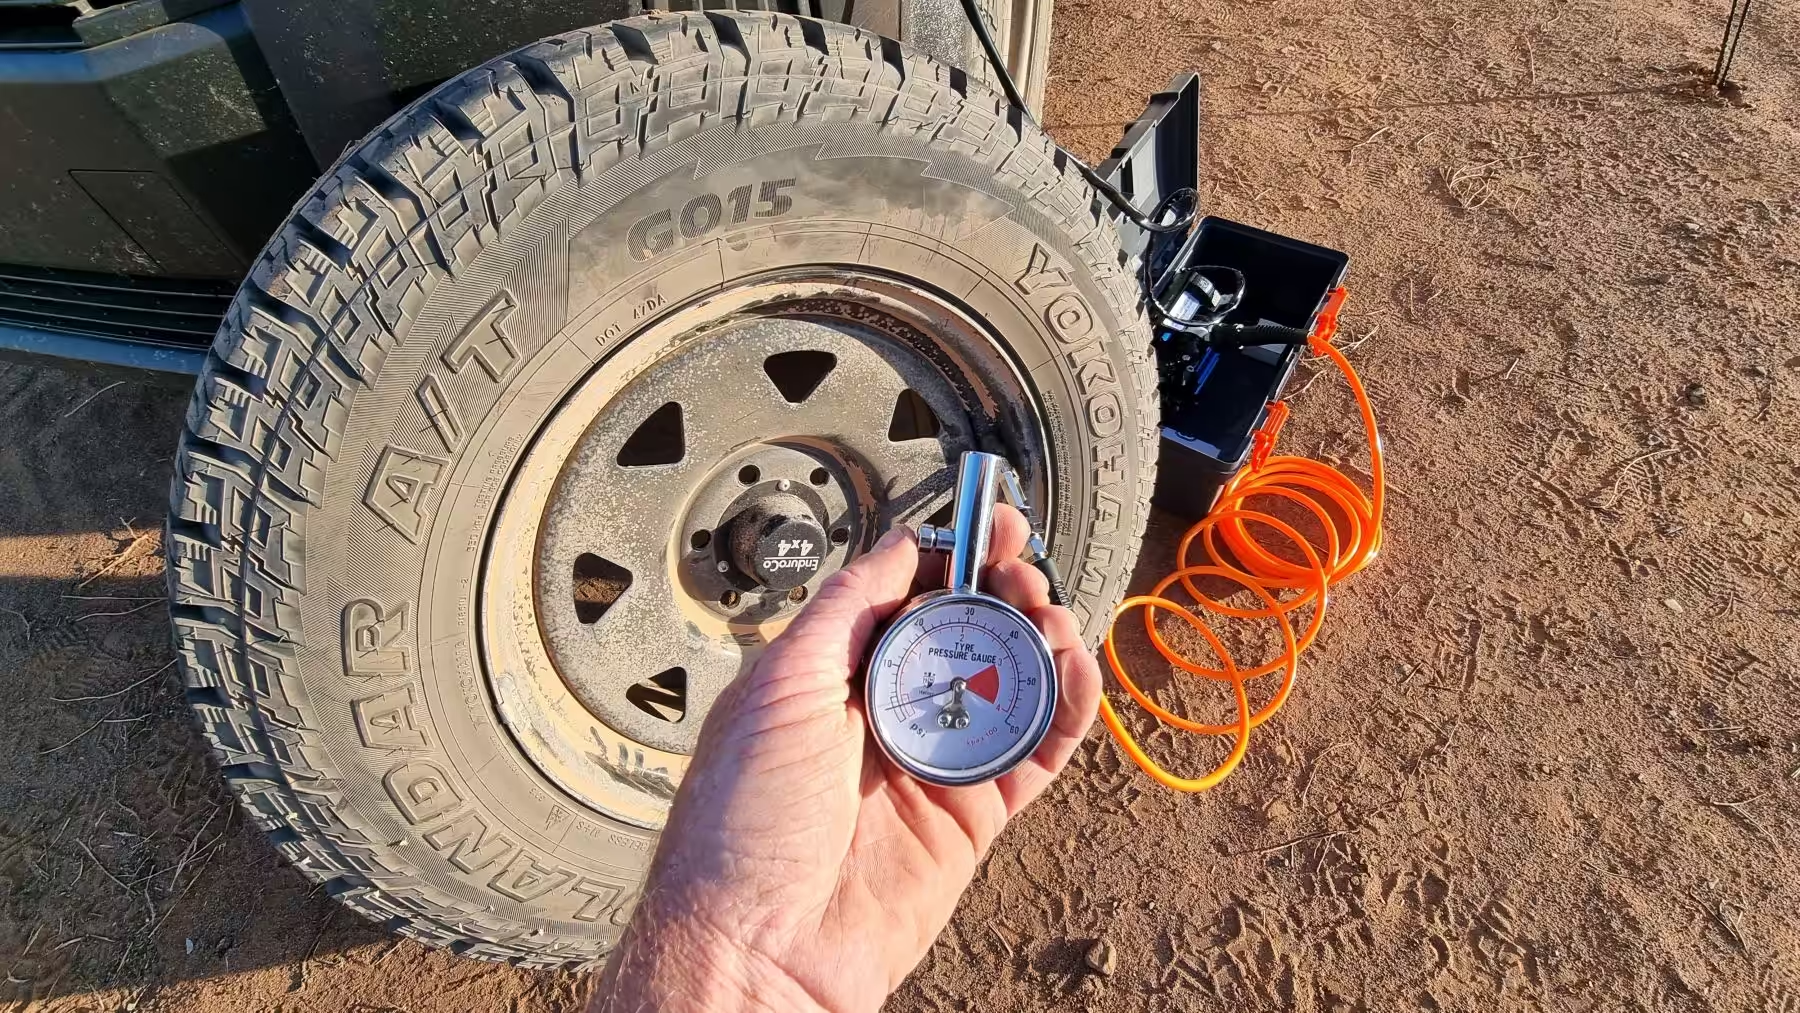
You’re done! Refit the tyre and recheck the tyre pressure at regular intervals to ensure there are no air leaks.

DIY tyre repairs should be watched and checked to be sure the repair has been effective. As I mentioned, if you are unsure, have it checked by a tyre shop. If I ended up with a larger hole, I’d use multiple plugs to seal the tyre as a temporary fix but would have it replaced by a professional, larger repair system as soon as practical.
Carrying a repair kit and ensuring you have plenty of plugs, fresh rubber cement, and a decent air compressor could save you a bundle of cash, plus guarantee you can keep driving without fear of not having a spare tyre.


