How to maintain your Yamaha Generator
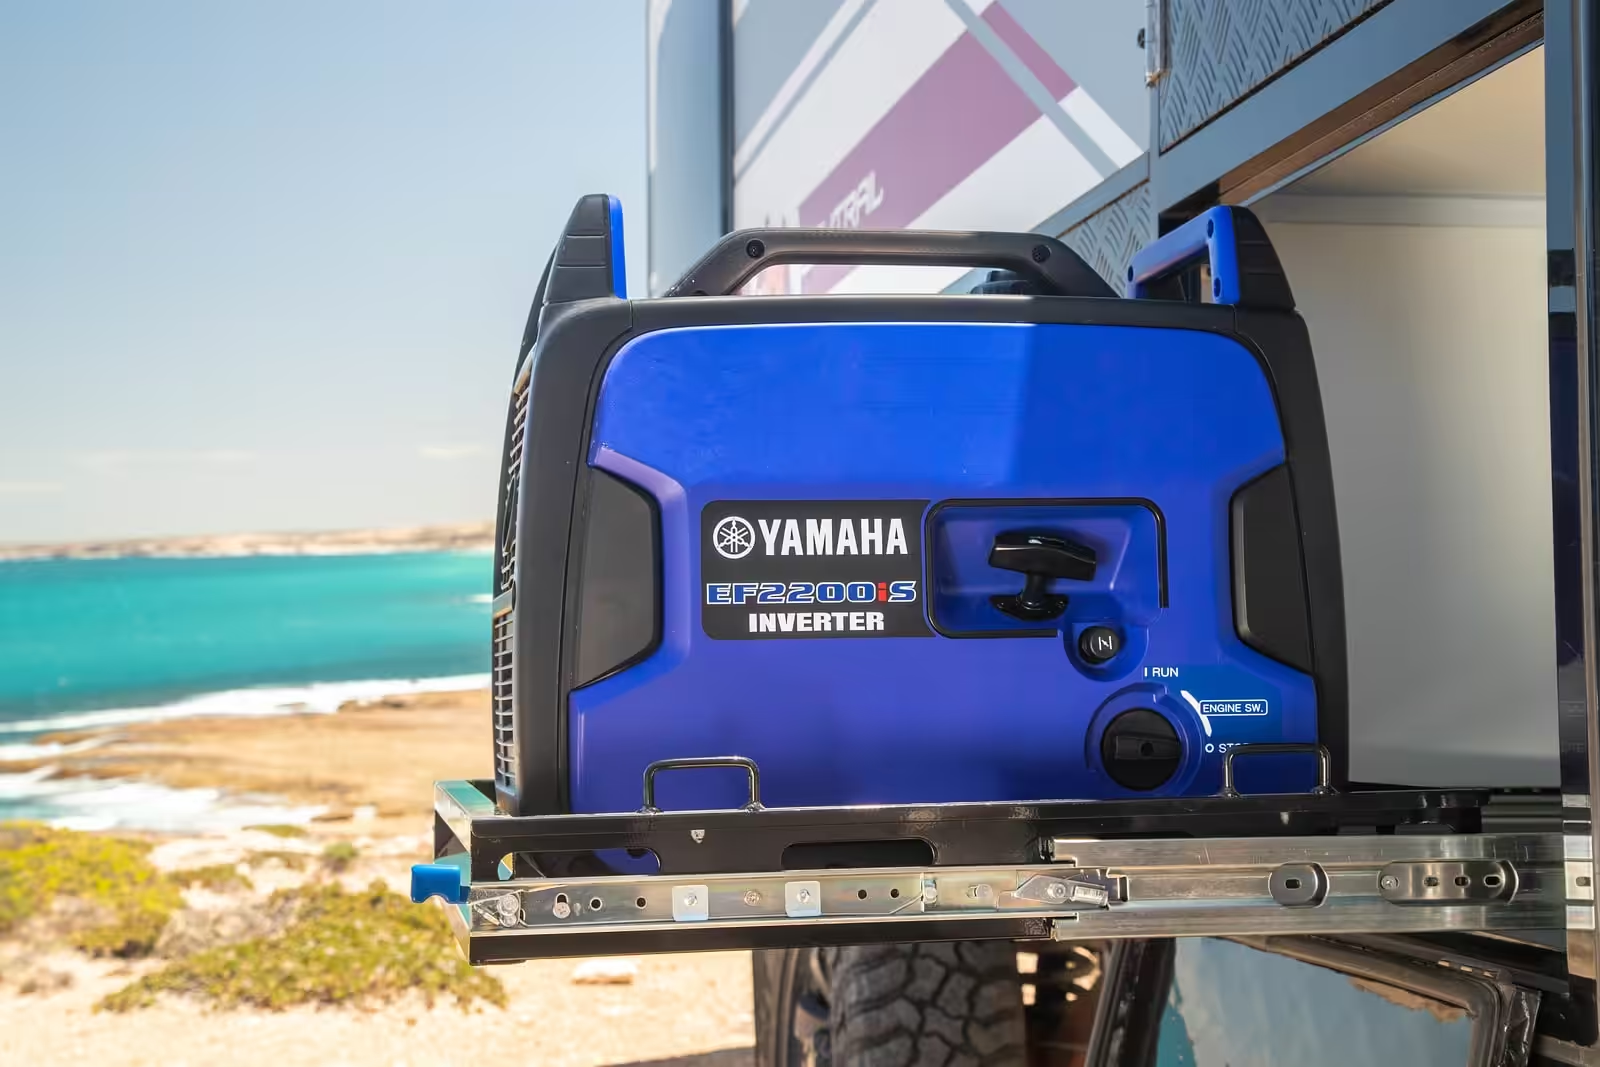
Generators make life easier, there’s no doubt about it. We hit up the team at Yamaha to see how they recommend servicing their generators.
Published on: 23 May 2023
Generators make life easier, there’s no doubt about it. As great as it is to hit the open road for a weekend escape, some creature comforts must come with, a generator is one way you can power them. But like all things, generators need to be well maintained and taken care of to ensure they perform their most effectively and last the distance.
We hit up the team at Yamaha to see just how they recommend servicing their range of generators. First thing’s first: make sure you always top the engine and let the generator cool down prior to any maintenance work.

There are specifically 5 checks you’ll need to make to maintain your Yamaha generator.
Even if you don’t use the generator a lot, be aware that your oil still needs to be changed every 6 months. On the other hand, if you’re an avid user, ensure you replace your oil every 100 hours.
The spark plug is an important engine component. It needs to be checked every 6 months or every 100 hours. Look for any discolouration as you should be seeing a medium to light tan colour. If you’re not seeing this, it’s time to replace it!
Although this one seems a bit obvious, it’s important to make sure you have enough fuel. Read fuel gauge built into most Yamaha models. Also check for any fuel leakage before operation.
To get to the foam element, remove the air filter case cover which is located towards the bottom left of the generator. Then remove the foam element to wash in solvent and then dry out. It’s important you don’t ring out the foam when squeezing it because it could tear, and we definitely don’t want that. Once dried, oil the foam element and squeeze out any excess oil.
Insert the foam element back into the air filter case and reinstall the air filter case cover. Check and clean every 6 months or 100 hours. Whichever comes first! When operating in unusually wet or dusty areas, make sure that you clean this more frequently.
The muffler cover is located on the side of the generator. First, you’ll need to loosen the bolt and remove the muffler cap and muffler screen. Give it a good clean with a wire brush to remove traces of carbon deposits. Check they’re in good condition before reinstalling them, otherwise have them replaced.
If you’re planning on keeping your generator in storage for a fair amount of time, it’s important to prepare it properly. How do you do that? We’ve listed the steps below.
You may or may not be aware that when fuel is left unused, it does go off. That’s why it’s important to first drain your fuel so that when you start it up again, it doesn’t do any damage to your generator. Keep in mind that if you’re only storing your generator for a couple of months, there’s no need to drain the entire fuel tank. Simply drain the carburetor. To do so, switch the fuel tab to off, kick the generator over and it will naturally drain the carburetor on its own.
For those who are planning on storing their generator for longer than a few months, drain your fuel tank as well as run your carburetor dry beforehand.
So, your generator has been packed away for the good part of a year. There are some important steps you’ll now need to take to prepare it for use after storage. First, pop in some fresh oil as the oil would have aged over this time. Then you’ll need to check the fuel level and refill the fuel tank. Then finally, check for any fuel leakage before operation.
One final tip is to always consult your Yamaha owner’s manual. For more information on Yamaha’s selection of generators, go to https://generatoryamaha.com.au/. Please only use Yamaha specified genuine parts for replacement. To order your Yamaha part/s, search for your nearest dealer on https://generatoryamaha.com.au/where-to-buy/


