RV roof care: how to keep your roof in top shape
Extend the life of your RV roof with these simple care tips. Learn how to prevent leaks, damage, and costly repairs.
Published on: 31 March 2025
Out of sight and out of mind is the last place you want your RV’s roof to be! We go up in the world, and look at some simple RV roof care.
People buy RVs, either new or used, with the mistaken belief that it will always remain in good serviceable condition. Often there’s no maintenance program and in time, things go wrong. Particularly with the harsh Australian environment and the fact we ‘bounce’ them all over the place on roads that are not always ideal.
Many will blame the manufacturer and for sure, if an item ‘fails’, there’s usually recourse if a warranty still applies. But in the main, it’s up to the owner to do some basic care and maintenance on their RV, including on their roof.
My wife is particularly alert to changes in ambient sounds or smells (e.g. a circuit overloading or appliance overworking). Any new squeak or rattle needs investigation.
I’m more in tune with the rhythm of the engine, tyres on the various roads, body sounds under varying conditions and the ‘operation’ of something, for example, a hinge working loose or tap wobble developing.
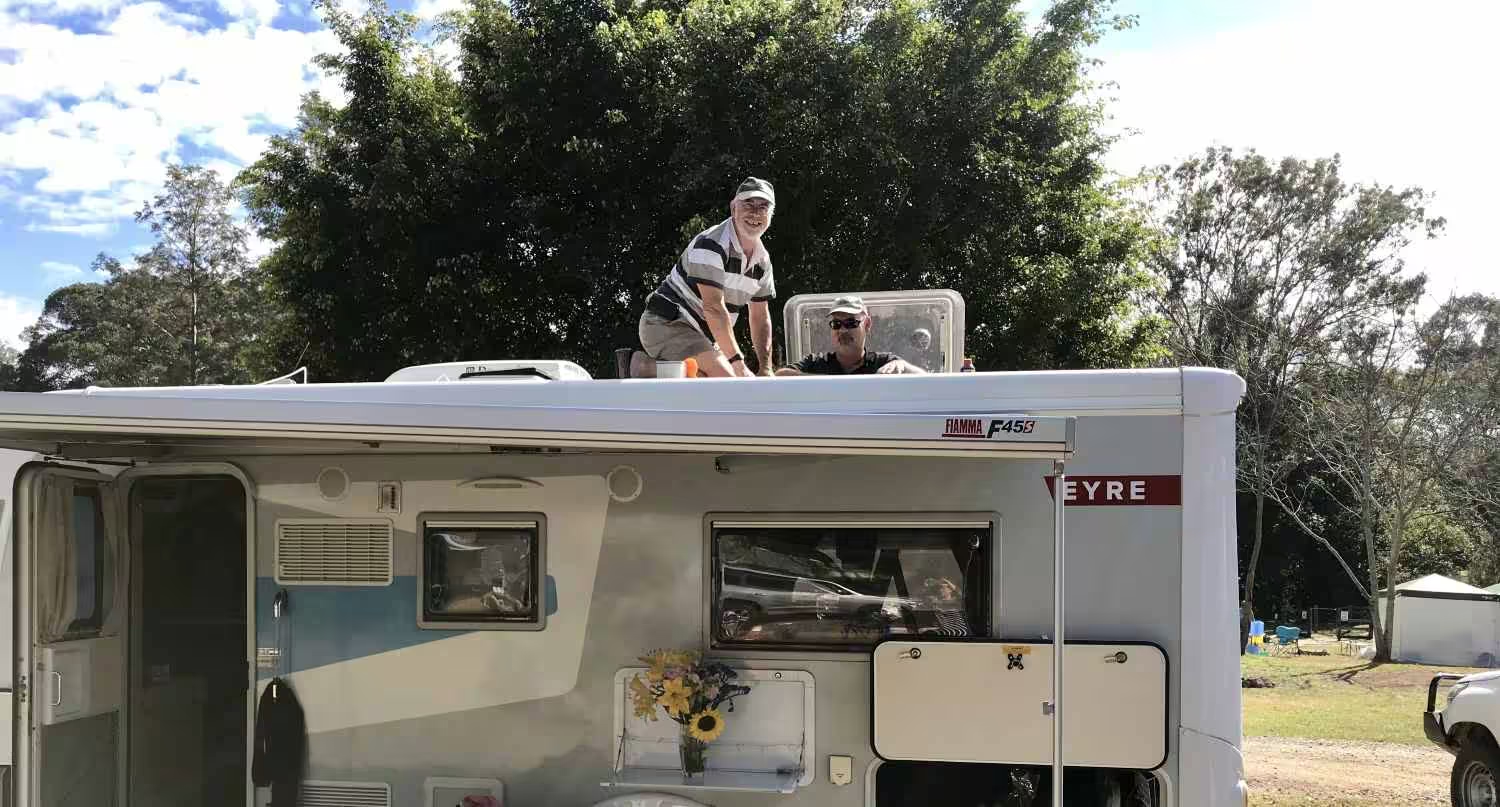
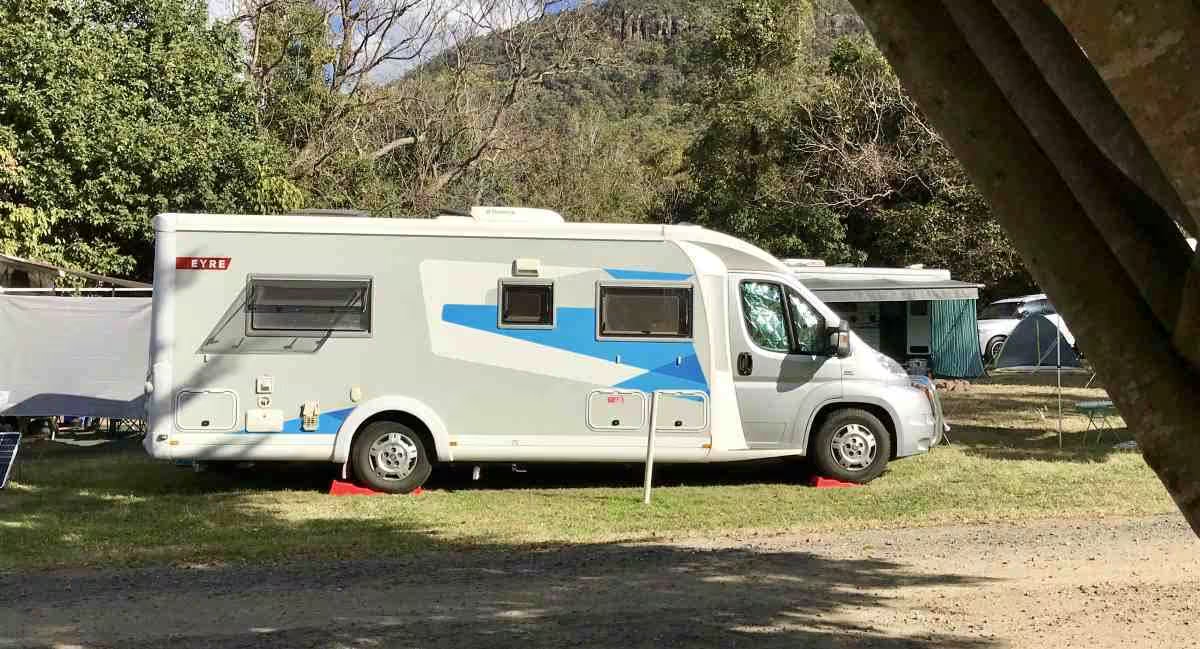
A storm revealed a leak in the main roof hatch of our ‘Jane’ (Avida Eyre). Time to investigate. Accessing the RV roof for some care and maintenance is usually awkward unless one hires a ladder. Once in a Bathurst free camp, we were back-to-back to a Winnie with a rear ladder. The owner happily let me back up close and I used his ladder to access our roof to fix a crook wire in our Winegard TV aerial.
Fortunately, our twin-bed Eyre allows the removable table to span both beds and the necessary fold-up step ladder (about $20 at Reject stores or Bunnings) was used to gain access to the RV roof.
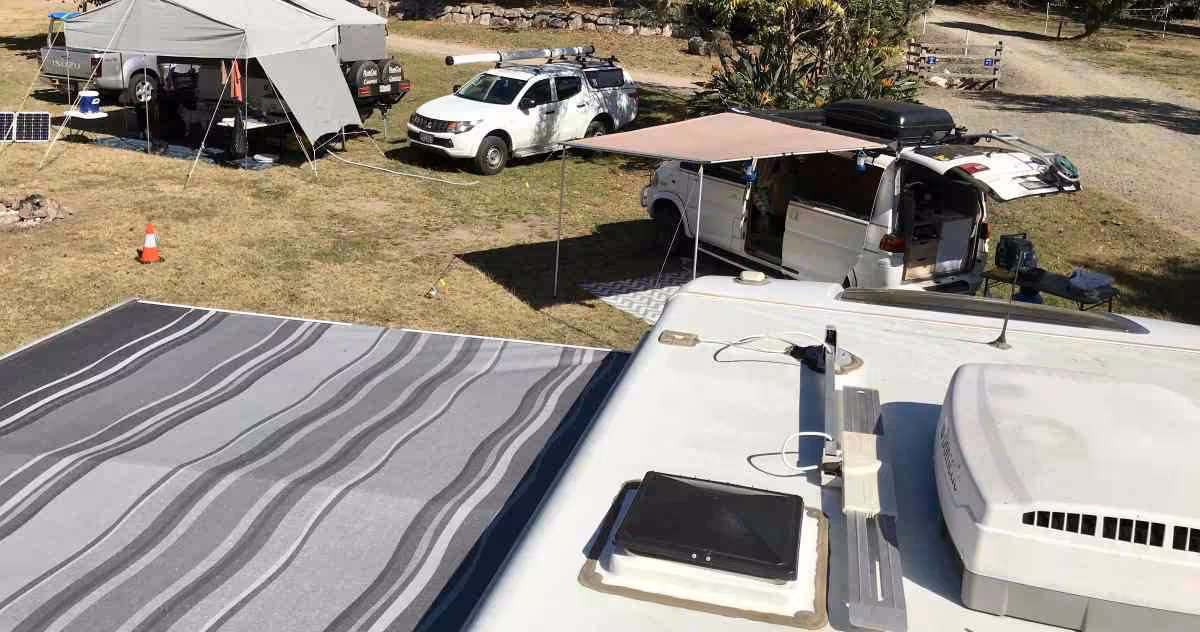
Apart from regularly cleaning the solar panels in your RV roof care routine to maintain maximum output, it’s a good time to check all the sealants. These can degrade and crack and water will find its way in and, annoyingly, track along the most unexpected paths, emerging away from the real culprit.
It’s important to keep right on top of leaks and sealant cracks in your RV roof as part of your routine care and maintenance. Once water enters the ceiling cavity, particularly the foam insulation, it spells big trouble down the track.
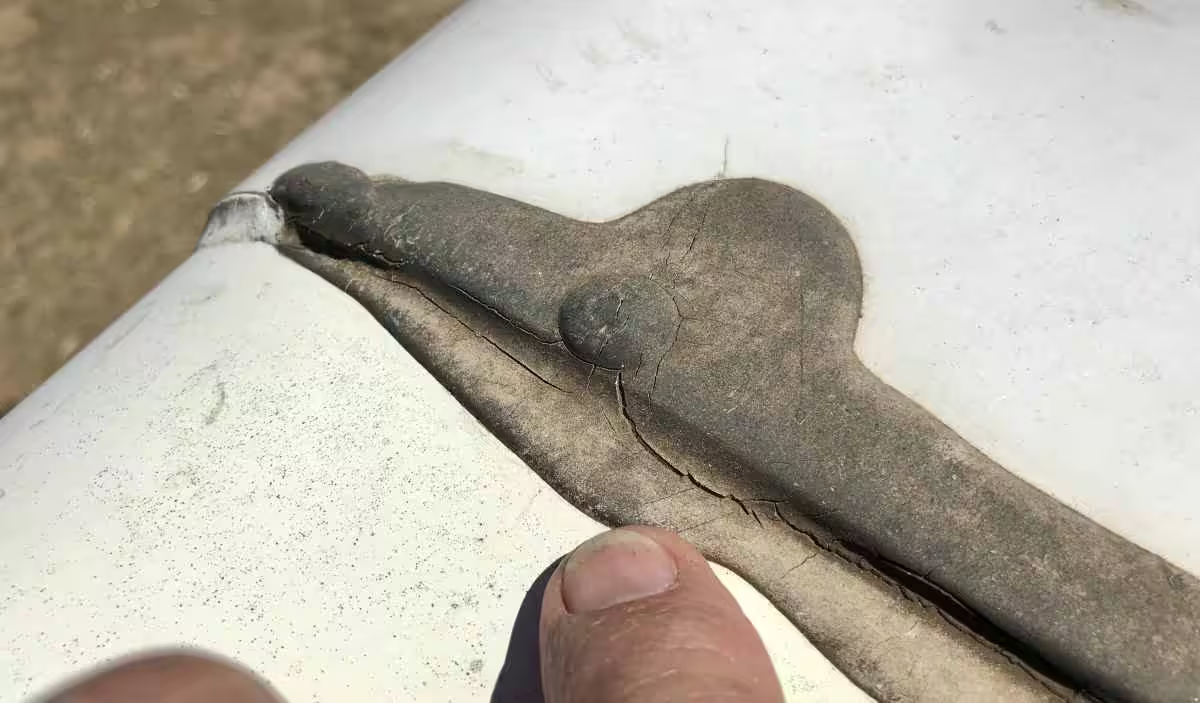
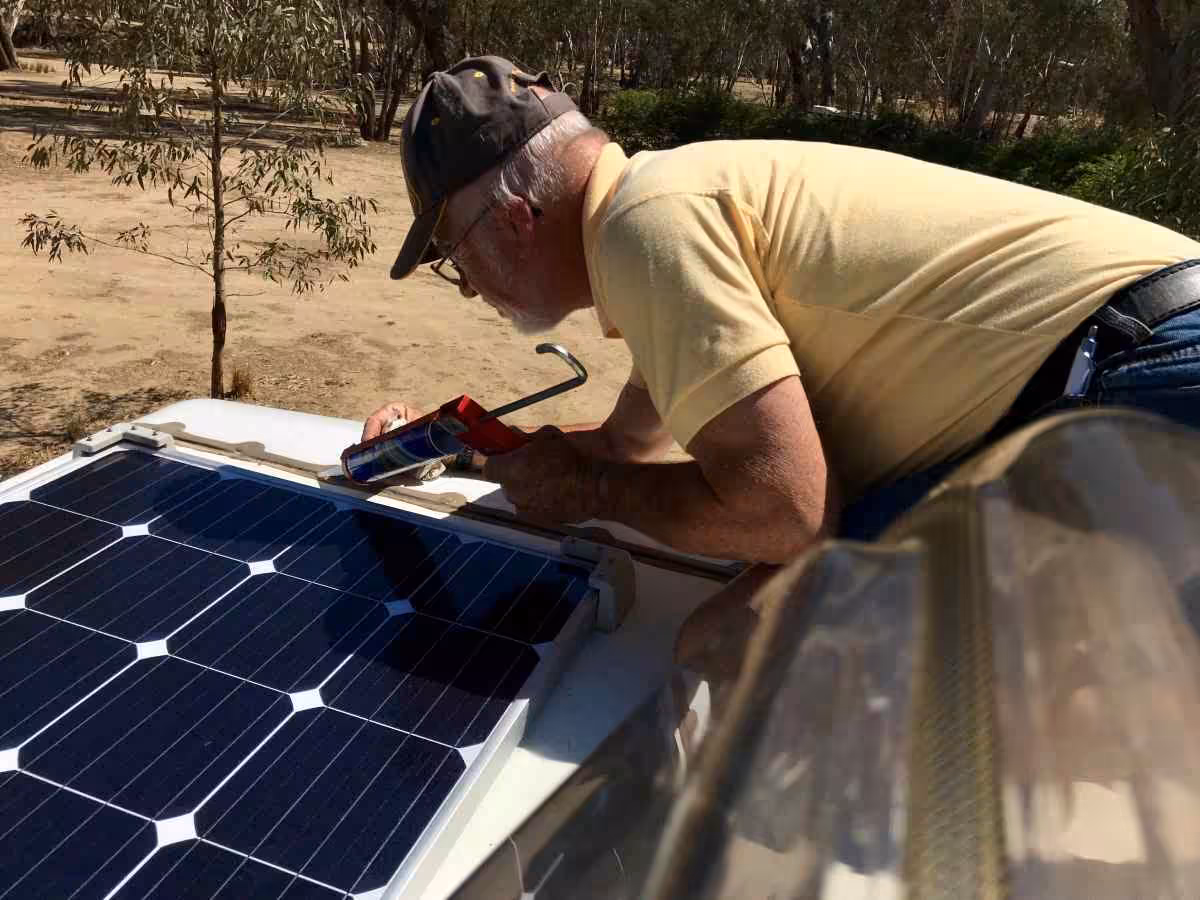
I quickly identified some cracks and cut away the failed sealant to give good adhesion to the new sealant. It’s important to remove dust and any ingrained debris too before resealing.
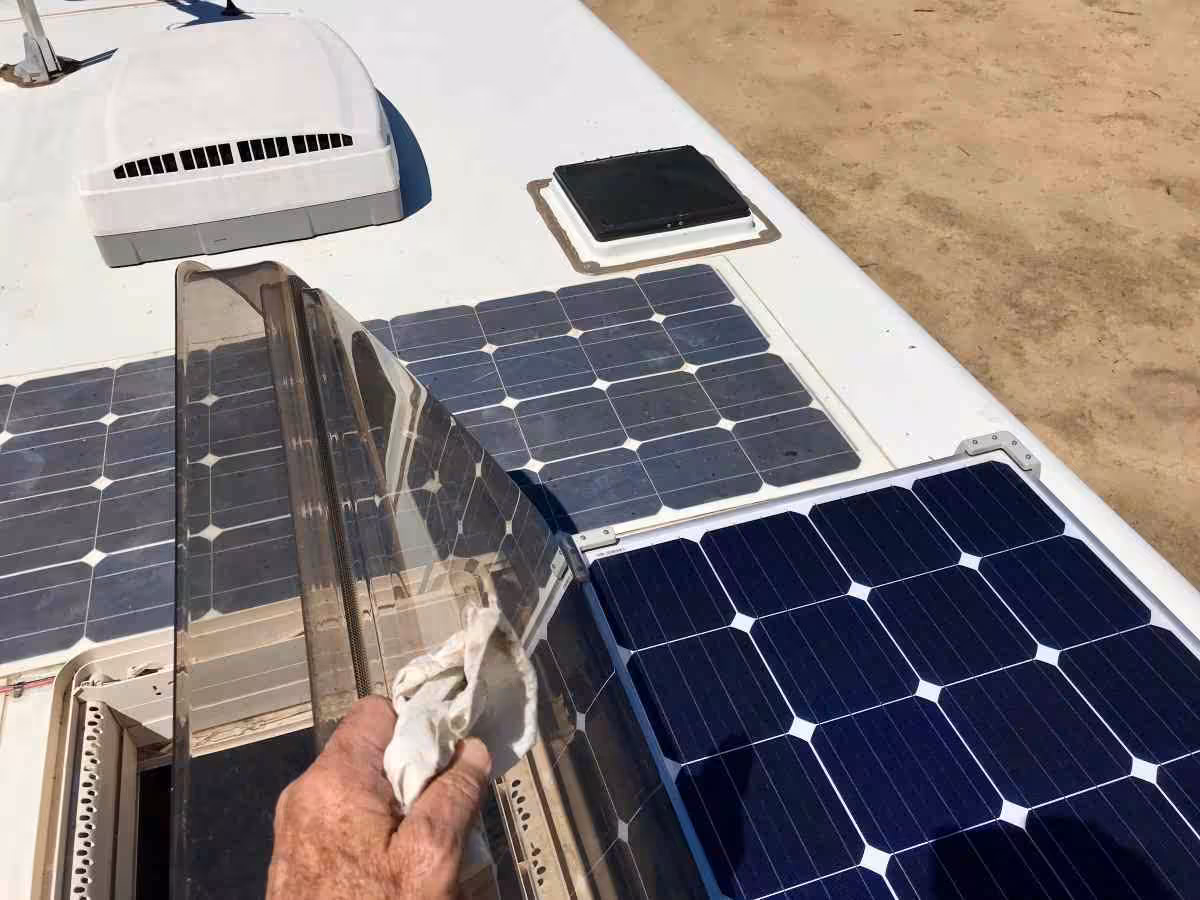
Two solar panels had splashes of bird poop, which I cleaned off in the process of wiping all panels down with a wet cloth (RV roof care isn’t glamorous!).
Even a blob of guano can degrade panel output, which works on each silicone cell in series with other clusters. Shading one area impacts on other cells’ performance and a daisy-chain effect occurs.
Various sealants are on the market and as an ex-yachtie, I have my favourites. Don’t buy cheap here. A good waterproof marine-grade Sikaflex tube (for a cartridge gun) will be at least $15- $25.
Here’s a little tip for your RV roof care: If buying a cartridge gun, don’t buy the click ratchet types. Why? Because they apply progressive pressure on the contents via ratcheting mechanisms and lock in place. That means the gunk will keep oozing out under pressure, all over the place. Not nice on a lovely motorhome or caravan, roof or otherwise.
My preferred one is the friction slip type or ‘non-dribble’ gun. When you stop squeezing on the handle, the push rod slips back a bit and eases the pressure of the internal contents. Ta-dah! No unsightly dribbles all over the place [that’s age, mate].
Apart from some dodgy hatch seal cracks, I found fine cracks developing in the transverse sealant bead across where the rear coaming meets the roof. It’s not really necessary to groove each one out – a general smear overall will suffice until your next visit onto the roof with a loaded gun (silicone, that is).
To get a nice finish when using silicone sealants, dip your finger into a rich solution of sudsy water (dish-washing liquid is ideal) and wipe smoothly and continuously along the bead. When working at heights or actually on the roof, take a small container of such up with you. For minor jobs, I’ll use a bit of spit on my finger (haven’t died from poisoning yet!).
For small dabs, don’t apply too much silicone but, using fresh applications of the soapy water, ‘work’ your finger over the daub to mould the final surface smoothly. Using this technique and the right colour Sikaflex or silicone, it is possible to rebuild a gouge or deep scrape on a rounded surface.
On this subject, if using a two-pack filler such as Epoxy or Plasti-Bond to repair a ding in a curve, put only the smallest amount in the gouge or gap. When satisfied the quantity is enough, apply clear cello or clear tape around the surface with even pressure.
You can ‘mould’ it a bit to get the general shape of the surrounds. If it is bulging and bumpy, remove the tape, clean up the surrounding area and reapply. I’ll use a match (or toothpick) to daub on small quantities of filler at a time until it feels and looks ‘high’ enough with the surrounds. Then reapply the clear tape.
It’s important to let it dry completely (a good day or so should do it). Take care removing the tape. Since most are sticky gum-based, spray some WD40 or the green can SCA Export brand spray as you carefully peel the tape.
If used well, the final finish will be surprisingly neat and with usually no sanding needed. A light spray of the same colour paint will blend well.
A good RV roof care and maintenance program is a necessity to keep your RV not only working well but looking great. It will prevent issues before they get too bad and help maintain market value.
In a little notebook, record jobs or issues as you find them and when next off to your favourite hardware store or RV centre, take the notebook. I find it helpful to keep such records in Notes on my iPhone.
Being alert and developing your handy skills will not only prevent small issues from becoming major, it’ll save you money too. Know your limits of course, but good old Mr Google is a great source of information if you need a tip or two when faced with an issue.
So there’s how to keep your RV roof in top care and repair!
Words and images by Barry Moore.


