How to get your vehicle up to scratch for the big lap
From the mechanical to the electrical side of things to bolt-ons and suspension, here's how to get your vehicle up to scratch for the big lap.
Published on: 29 October 2025
From mechanical upgrades and electrical systems to suspension and driver training, here’s your complete guide to preparing your 4WD for the adventure of a lifetime.
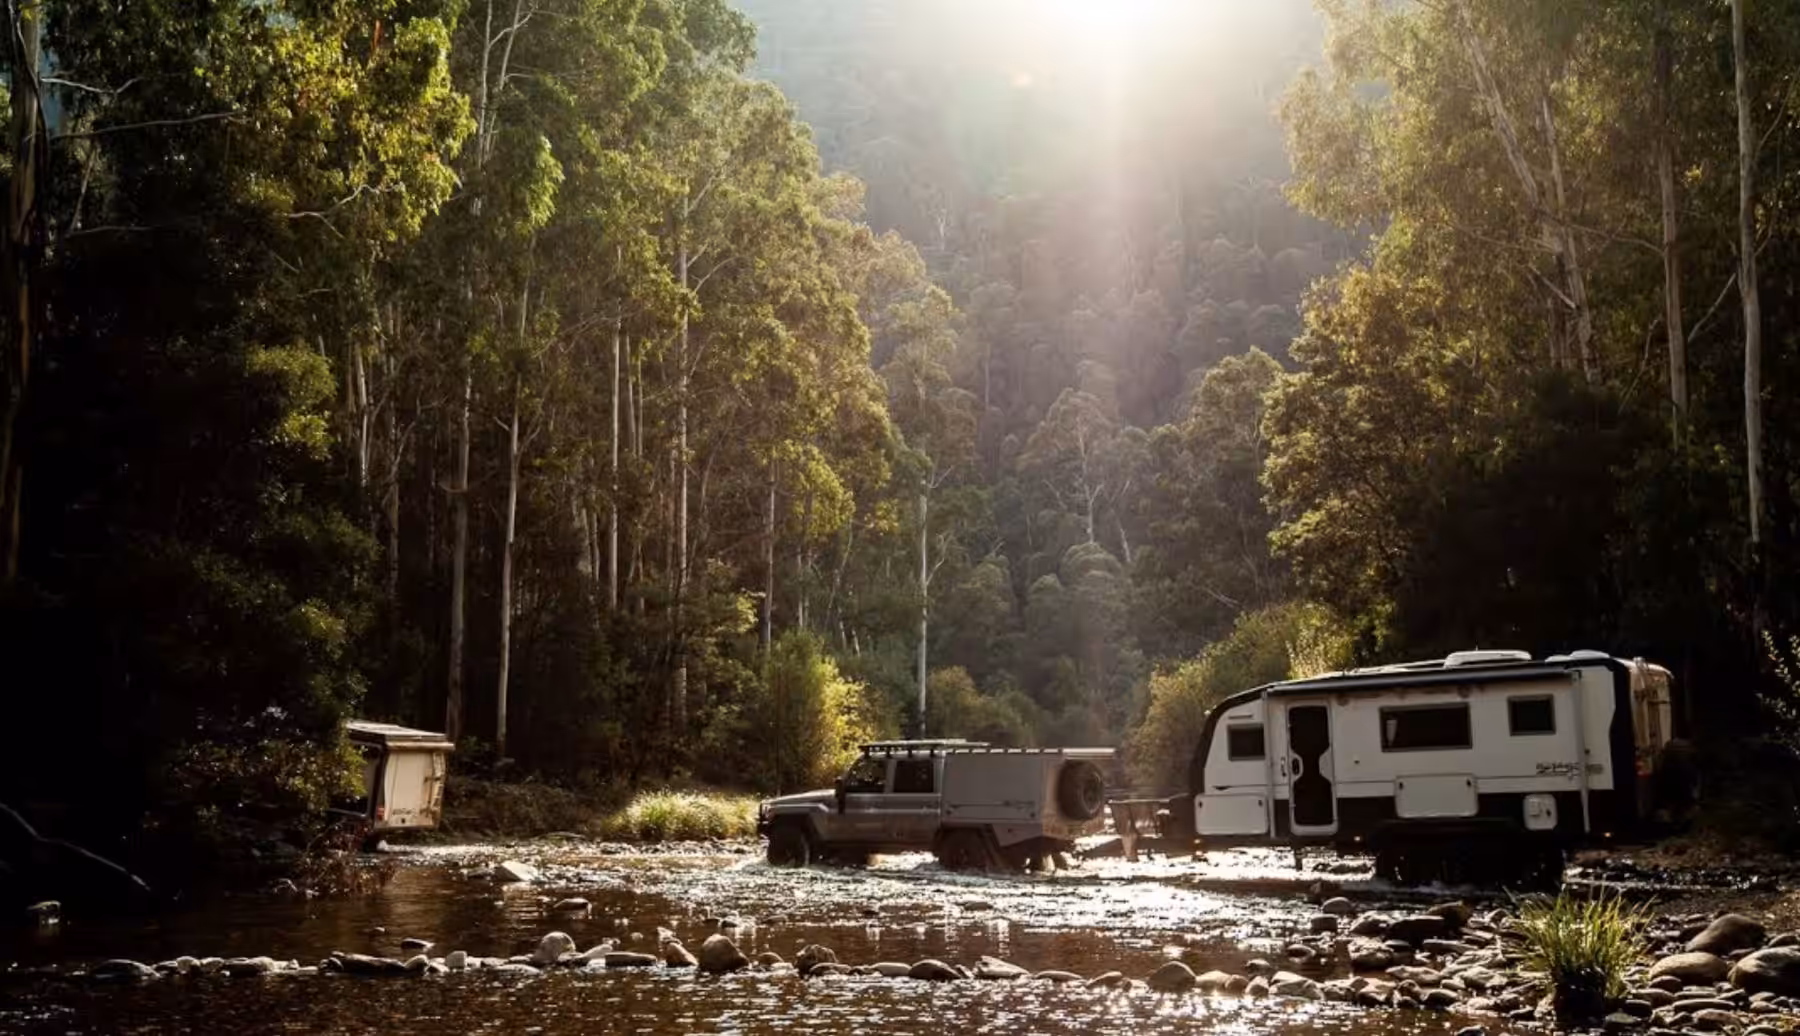
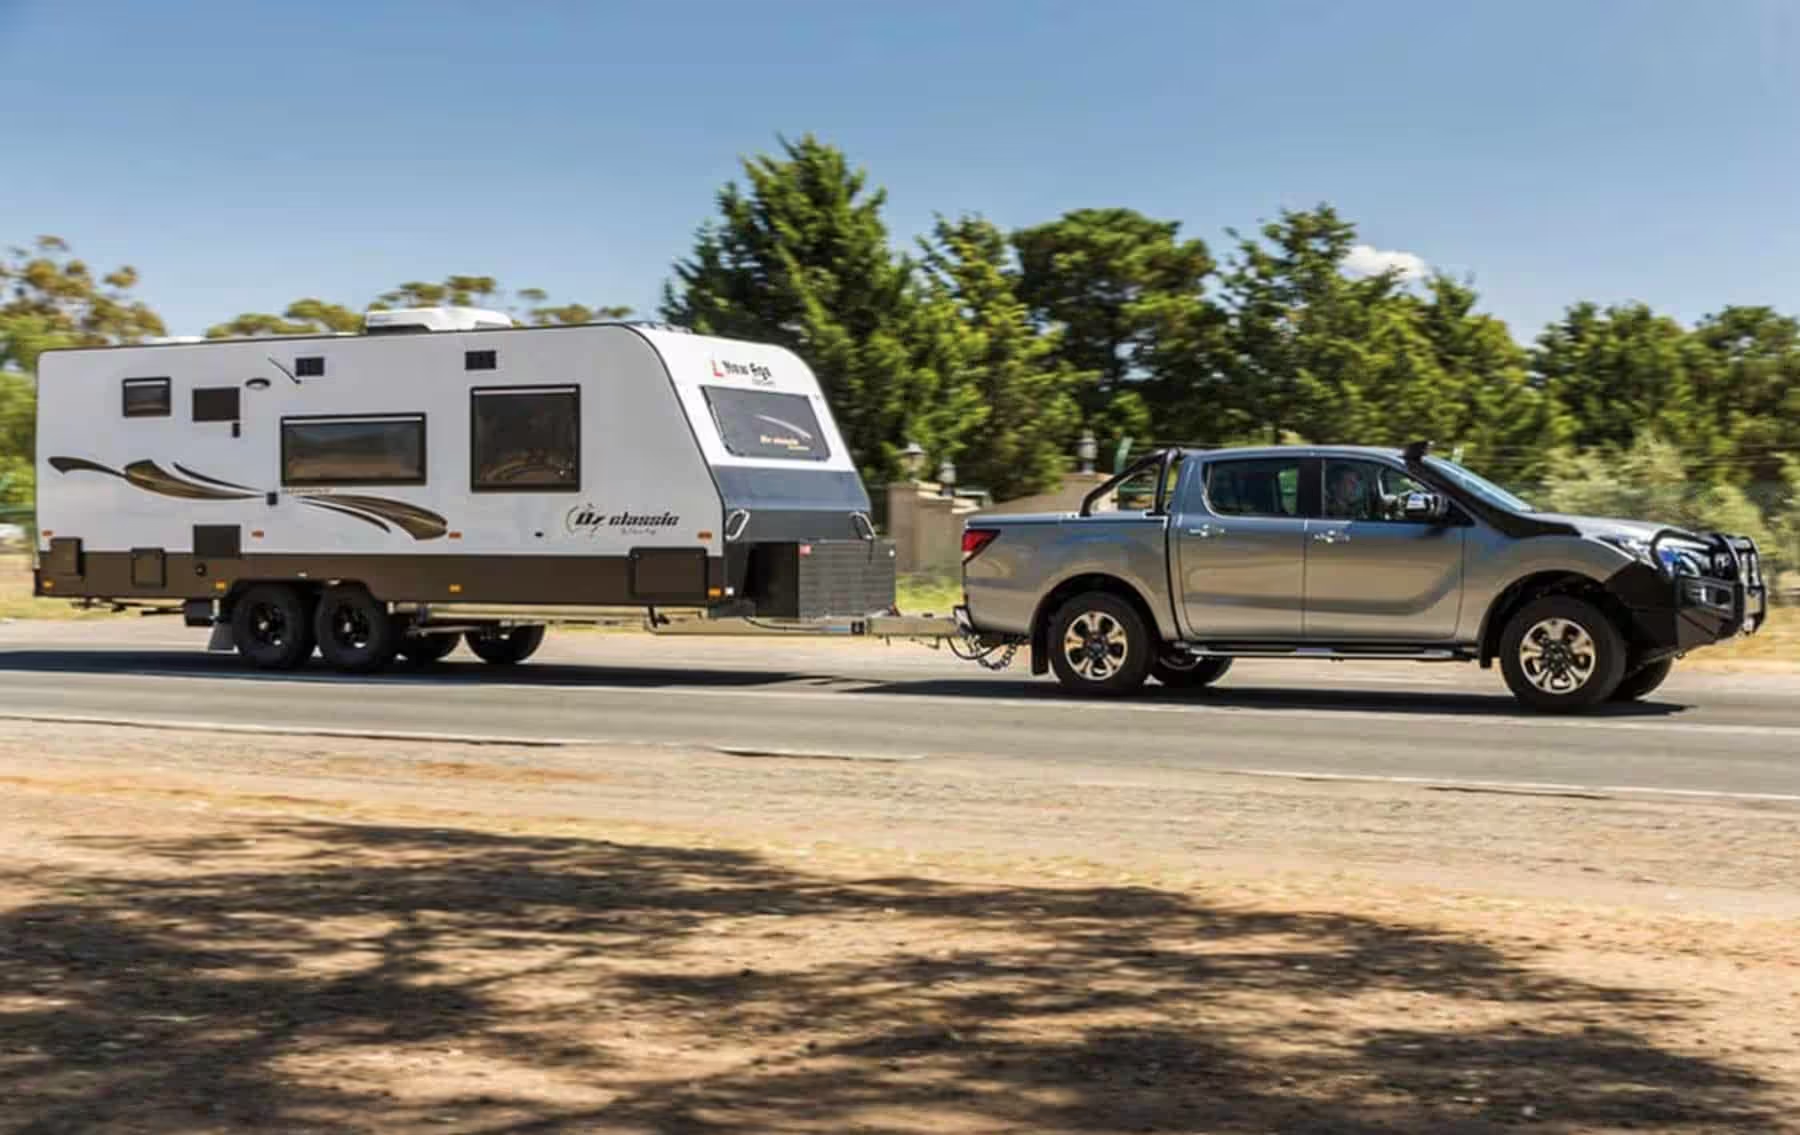
Ah yes, the hallowed ‘Big Lap’. The dream that lives rent-free in the heads of half the Australian population. Pack up the van, kiss the mortgage goodbye for 12-24 months, and spend your days chasing sunsets around this massive island we call home. You’ll wake up to different views, meet fellow travellers at remote camp spots, and finally tick off those bucket-list destinations you’ve been talking about for years. Annie Lennox was definitely onto something – sweet dreams are made of this.
But here’s the thing: nothing’ll turn that dream into a nightmare faster than your tow rig giving up the ghost 300 kilometres west of Karratha with a dead diff, or finding yourself stranded at a creek crossing with no comms and a busted fuel pump. Trust us, we’ve seen it happen more times than we care to count.
That’s why getting your vehicle properly sorted before you leave is possibly the most important part of planning your big lap – even more important than the route, the playlist, or deciding whose family you’ll visit first. Your 4WD needs to be just as ready for the trip as you are, because once you’re out there, help isn’t always just a phone call away.
So let’s get into it. Here’s everything you need to know about preparing your rig for the trip of a lifetime.
Not all modifications are created equal. Here’s how to prioritise your spending:
CRITICAL (Don’t leave without these):
Mechanical service, brake inspection/upgrade, spare parts kit, communication equipment (UHF + satellite/PLB), proper insurance, towing equipment (if applicable)
HIGHLY RECOMMENDED (Safety and reliability):
Transmission cooling, fuel filtration, suspension upgrade, driving lights, towing mirrors, GVM upgrade (if needed), driver training
DESIRABLE (Nice to have, budget permitting):
Engine performance upgrades, frontal protection, reverse camera systems, upgraded tyres, extended range fuel tanks
Budget reality check:
Essential preparation: $3,000-$6,000
Comprehensive setup: $8,000-$15,000
Premium build: $20,000+
Priority: DESIRABLE
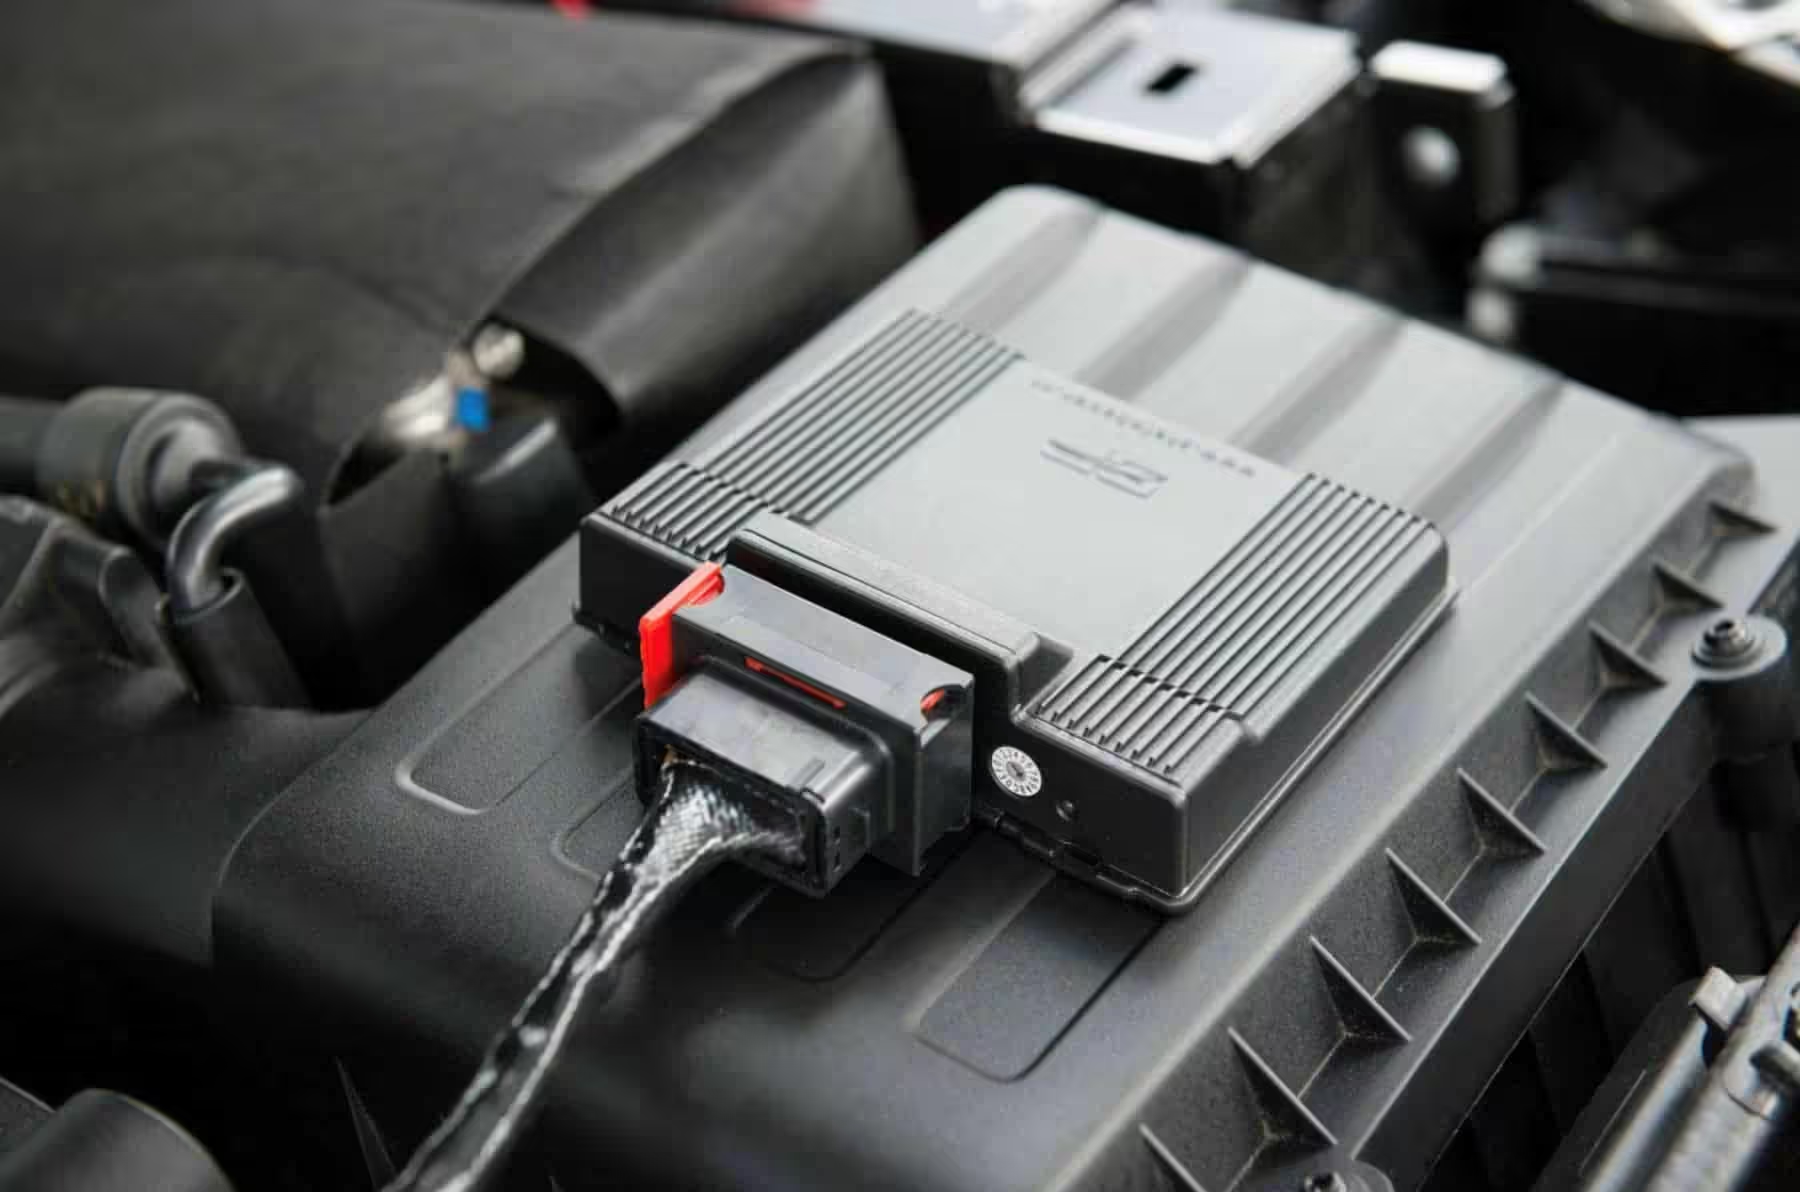
Getting a bit more mumbo out of your modern diesel is remarkably straightforward these days, either via an ECU remap or a plug-and-play performance module. Done right, it makes a significant difference to towing ability and can genuinely improve fuel economy. And assuming you’ve seen the price of diesel lately, you’ll know why better fuel consumption is a very attractive proposition.
However – and this is important – not all chips, tunes or modules are created equal. The rule of thumb remains: the cheaper it is, the dodgier it probably is. Some cheap units simply jack up fuel-rail pressure or mess with injector duration without any safety protocols, which might give you more power in the short term but could place your engine under serious stress and potentially cause expensive damage down the track.
That’s why we’ve always rated quality products like Steinbauer’s Power Module, which manages multiple fuel delivery, boost and injection timing parameters simultaneously. This means reliability isn’t compromised. The clever bit is that Steinbauer modules can sense when your engine is working hard – like towing up a long hill – and automatically dial things back to protect exhaust gas temperatures. Once you crest the hill and the load reduces, the module brings the power back online.
You’ll typically see around 20% more power and torque, and because your engine isn’t labouring as hard under load, you’ll likely use less fuel when towing if you drive with a bit of mechanical sympathy.
Things we like: Steinbauer’s safety protocols, proven reliability, Australian testing on our fuel quality, typically delivers genuine fuel savings when towing
Not for us: The upfront cost (around $1,500-$2,000 depending on vehicle), though you’ll likely recoup some of this through fuel savings over time
Budget considerations: Performance modules $1,500-$2,500 | ECU remaps $800-$1,800
Priority: HIGHLY RECOMMENDED
At the risk of stating the bleeding obvious, water mixing with your diesel and making its way into your combustion chambers is one of the most effective ways to kill a modern common-rail engine. The damage can be catastrophic and expensive – we’re talking five-figure repair bills.
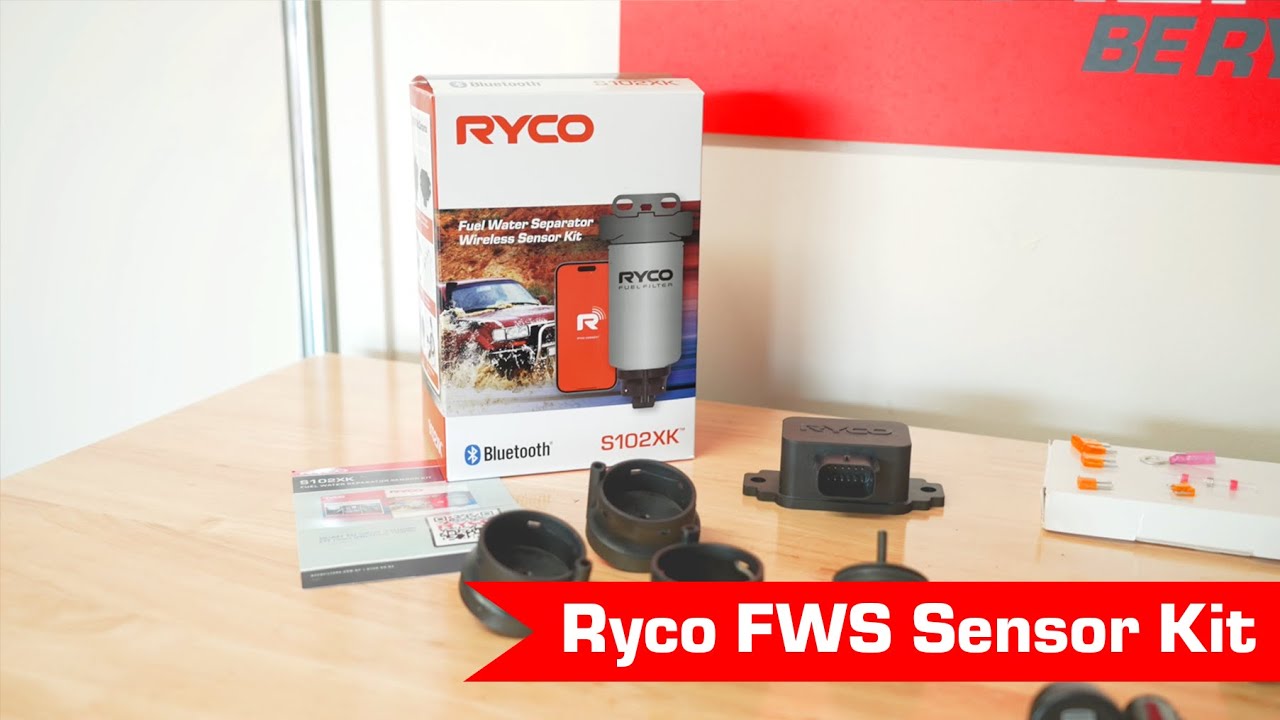
Most people view fitting a quality fuel-water separator as cheap insurance, and we’re firmly in that camp. A good separator adds an extra layer of filtration for your fuel and prevents accidental ingestion of water that could bend con-rods, destroy valves, or worse. Given the variable quality of diesel you’ll encounter on remote stations and in country towns, this is one upgrade that pays for itself the first time it catches contaminated fuel.
Back in ye olde days, you’d have to do a visual inspection of your separator to see if it needed attention. These days, we’ve got proper technology. Ryco have released their wireless sensor kit as part of their Ryco Connect range, which monitors your separator via smartphone and alerts you when it needs draining or replacing. No more crawling under the vehicle to peer at a sight glass.
As far as “peace of mind per dollar spent” goes, this has to be right up there.
Budget considerations: Basic fuel-water separator $200-$400 | Premium with wireless monitoring $500-$700
Priority: HIGHLY RECOMMENDED
Modern automatic transmissions are genuinely impressive bits of kit. They offer smooth gear changes, intelligent shift patterns, and more ratios than you can poke a stick at. But they’re still bound by the laws of physics, and the number one law is this: when they’re working hard (like hauling 2.5 tonnes of caravan up a mountain pass), they get hot. And heat is the number one killer of anything mechanical.
The factory transmission cooler in most 4WDs is sized for normal driving, maybe with a bit of light towing thrown in. It’s not really designed for months of heavy-duty towing across the country. Fitting an auxiliary transmission cooler is genuine preventative maintenance that could save your gearbox from cooking itself – and trust us, a new transmission is considerably more expensive than a cooler.
Wholesale Automatics are the go-to here in Australia. They offer a comprehensive range of locally-built transmission cooling options for just about every 4WD on the market and have decades of industry expertise to point you in the right direction for your specific vehicle and towing setup.
Quick tip: When approaching a long climb while towing, manually select a lower gear. The engine revs will rise, but that means your torque converter is spinning faster and pumping ATF through the cooling system more quickly, helping to shed heat. It also keeps you in the engine’s sweet spot for torque, meaning less stress on the whole drivetrain.
Budget considerations: Auxiliary transmission cooler $400-$800 installed
Priority: CRITICAL
Remember Isaac Newton? Yeah, the bloke who worked out that force equals mass times acceleration. Well, he’d have a field day with towing physics. A Land Cruiser travelling at 100km/h has a certain amount of kinetic energy. Add a 2.5-tonne caravan behind it, and you’ve suddenly got a whole lot more momentum to scrub off when you need to stop. The maths is pretty unforgiving.
This is why having your brakes in excellent condition before heading off is non-negotiable. Not just for safety reasons (though that’s obviously paramount), but also because brake upgrades make towing significantly less stressful and backing your rig into tight campsites much easier.
Before you leave, get your brakes thoroughly inspected by someone who knows what they’re doing. If you’re planning serious towing, consider upgrading to performance pads and rotors. Disc Brakes Australia (DBA) and Terrain Tamer are excellent choices for Australian conditions and offer upgrades for most vehicles on the market. The increase in stopping power and fade resistance is well worth the investment.
A brand-new vehicle might not need upgraded brakes immediately, but keep in mind that stock brakes can get flogged out remarkably quickly when repeatedly hauling your vehicle and a 3-tonne van down from speed. We’ve seen nearly transparent rotors and pads worn to the backing plates after only 30,000 kilometres of heavy towing.
Safety warning: Brake failure when towing is catastrophic. This is not the place to cut corners or defer maintenance. If your brakes are marginal, replace them before you leave.
Budget considerations: Basic brake service $200-$400 | Performance brake upgrade $1,000-$2,500 depending on vehicle
Priority: CRITICAL
Even with your 4WD in tip-top condition, things can and do still go wrong from time to time. Having a comprehensive tool kit and spare parts stash is just common sense. Like Lord Baden-Powell said, you want to be prepared – especially when the nearest auto parts store might be 500 kilometres away.
Essential tools to carry:
Critical spare parts:
The OBD code reader deserves special mention. Get one that’s compatible with your specific vehicle and can not only read fault codes but also clear them. Modern vehicles are essentially computers on wheels, and being able to diagnose and potentially reset minor electronic gremlins can be the difference between continuing your trip and being stuck for days waiting for a mechanic.
Budget considerations: Basic tool kit $300-$500 | Comprehensive kit with spares $800-$1,500
Priority: CRITICAL
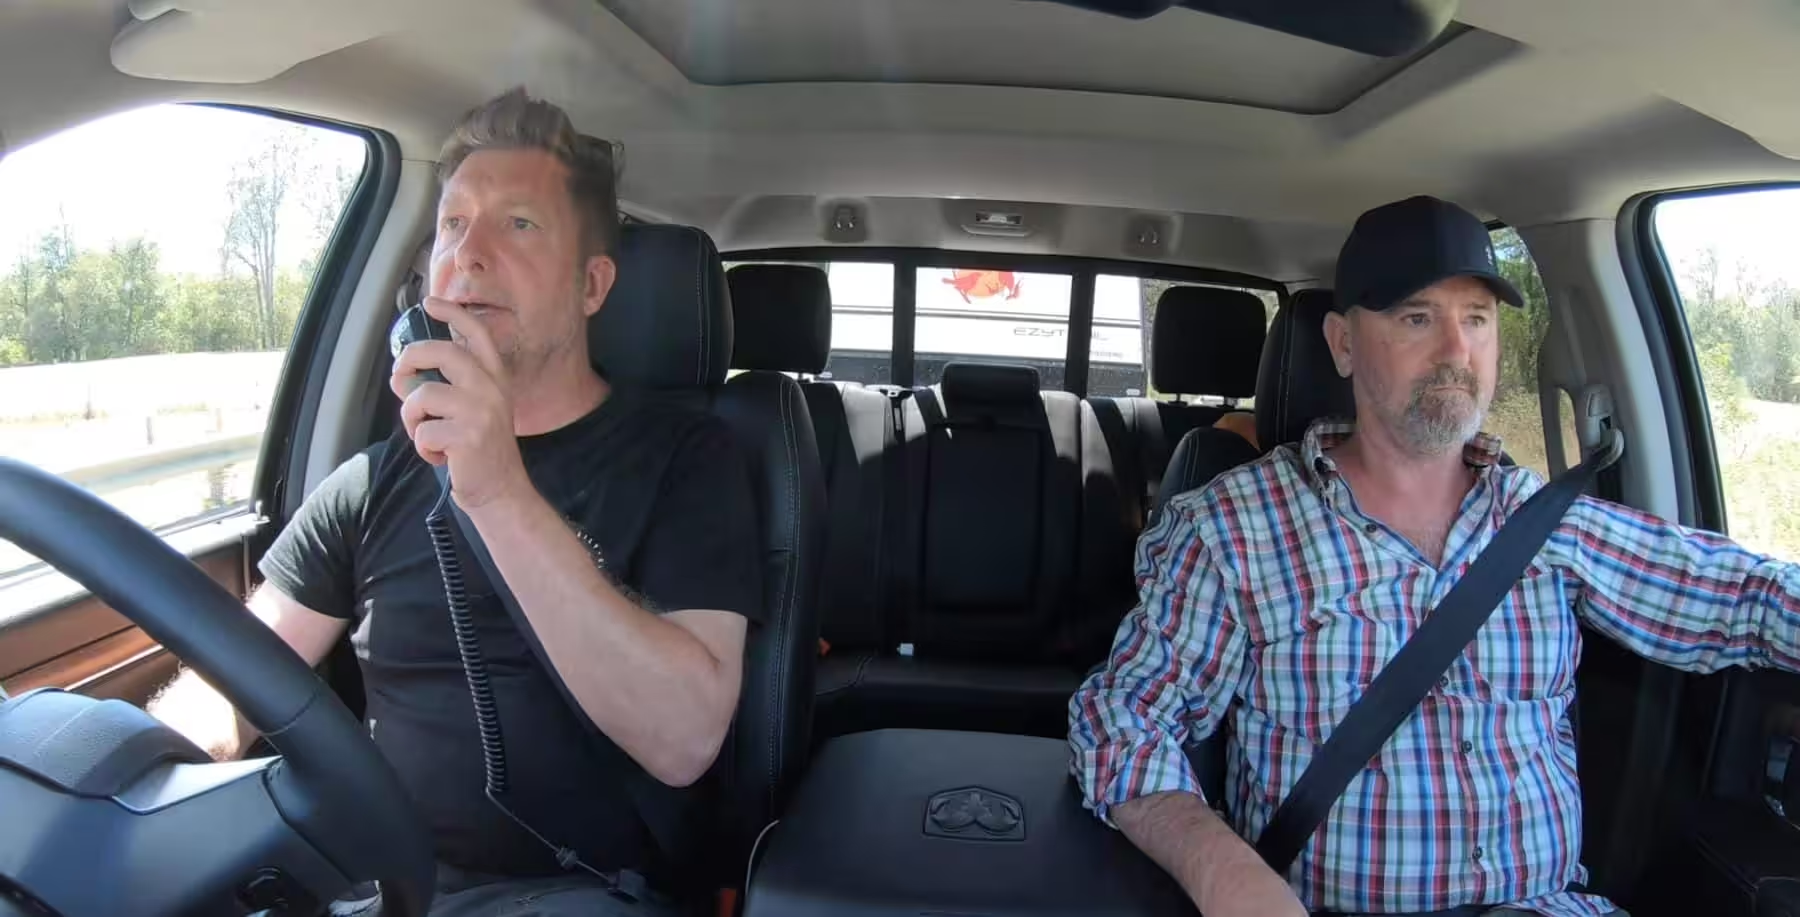
A UHF radio should be one of the first things you tick off the modifications list. Full stop. They’re essential for road safety (talking to truckies about overtaking, calling at single-lane bridges), convoy communication, getting track condition updates, and even emergency calls via repeater towers in some areas.
Uniden remain a solid, proven choice for Australian conditions. Modern UHF radios are compact, feature-rich, and some even include Bluetooth connectivity and GPS functionality.
Things we like: No licence required, proven technology, extensive support network across Australia, relatively inexpensive, works in convoy situations
Limitations: Line-of-sight only (typically 5-10km range), useless if there’s nobody within range to hear you
Budget considerations: Entry-level UHF $250-$400 | Premium units with GPS and Bluetooth $500-$700
Priority: HIGHLY RECOMMENDED (CRITICAL for remote travel)
Here’s the reality: if you’re heading way off the beaten track, UHF radio alone isn’t enough. You need a way to call for help when there’s nobody around and no mobile phone coverage. This is where satellite communication becomes essential.
Your options:
Satellite communicators (like Garmin inReach): These compact devices use the Iridium satellite network for two-way text messaging and SOS capability from anywhere on Earth. They’re smaller and cheaper than sat phones, and the subscription costs are more reasonable. You can track your journey, send location updates to family, and trigger an SOS in an emergency. This has become the go-to option for most remote travellers.
Personal Locator Beacons (PLBs): These are emergency-only devices that transmit your GPS location to search and rescue services when activated. No subscription fees (though you need to register them), but they’re one-way communication only. Consider this a backup to your satellite communicator.
Satellite phones: Full two-way voice communication via satellite. More expensive to buy and use, but invaluable for detailed conversations with emergency services or complex situations. If budget allows, this is the gold standard.
Mobile signal boosters: If you’re not venturing too far from civilisation, units like Cel-Fi can significantly extend your mobile phone coverage. They’re not a replacement for satellite communication in truly remote areas, but they’re brilliant for marginal coverage zones.
Our recommendation: At minimum, carry a satellite communicator (like Garmin inReach) plus a PLB as backup. If you’re doing serious remote travel, consider a sat phone as well.
Budget considerations: PLB $300-$500 (no ongoing costs) | Satellite communicator $400-$600 (plus $20-$60/month subscription) | Sat phone $800-$1,500 (plus call charges) | Mobile signal booster $600-$1,200
Priority: CRITICAL (if towing over 750kg)
If your camper weighs more than 750kg (which is basically all of them), then having a trailer brake controller properly installed is legally required and absolutely non-negotiable. Some newer vehicles (like the Ford F-Series) come with factory-fitted controllers, but most require aftermarket installation.
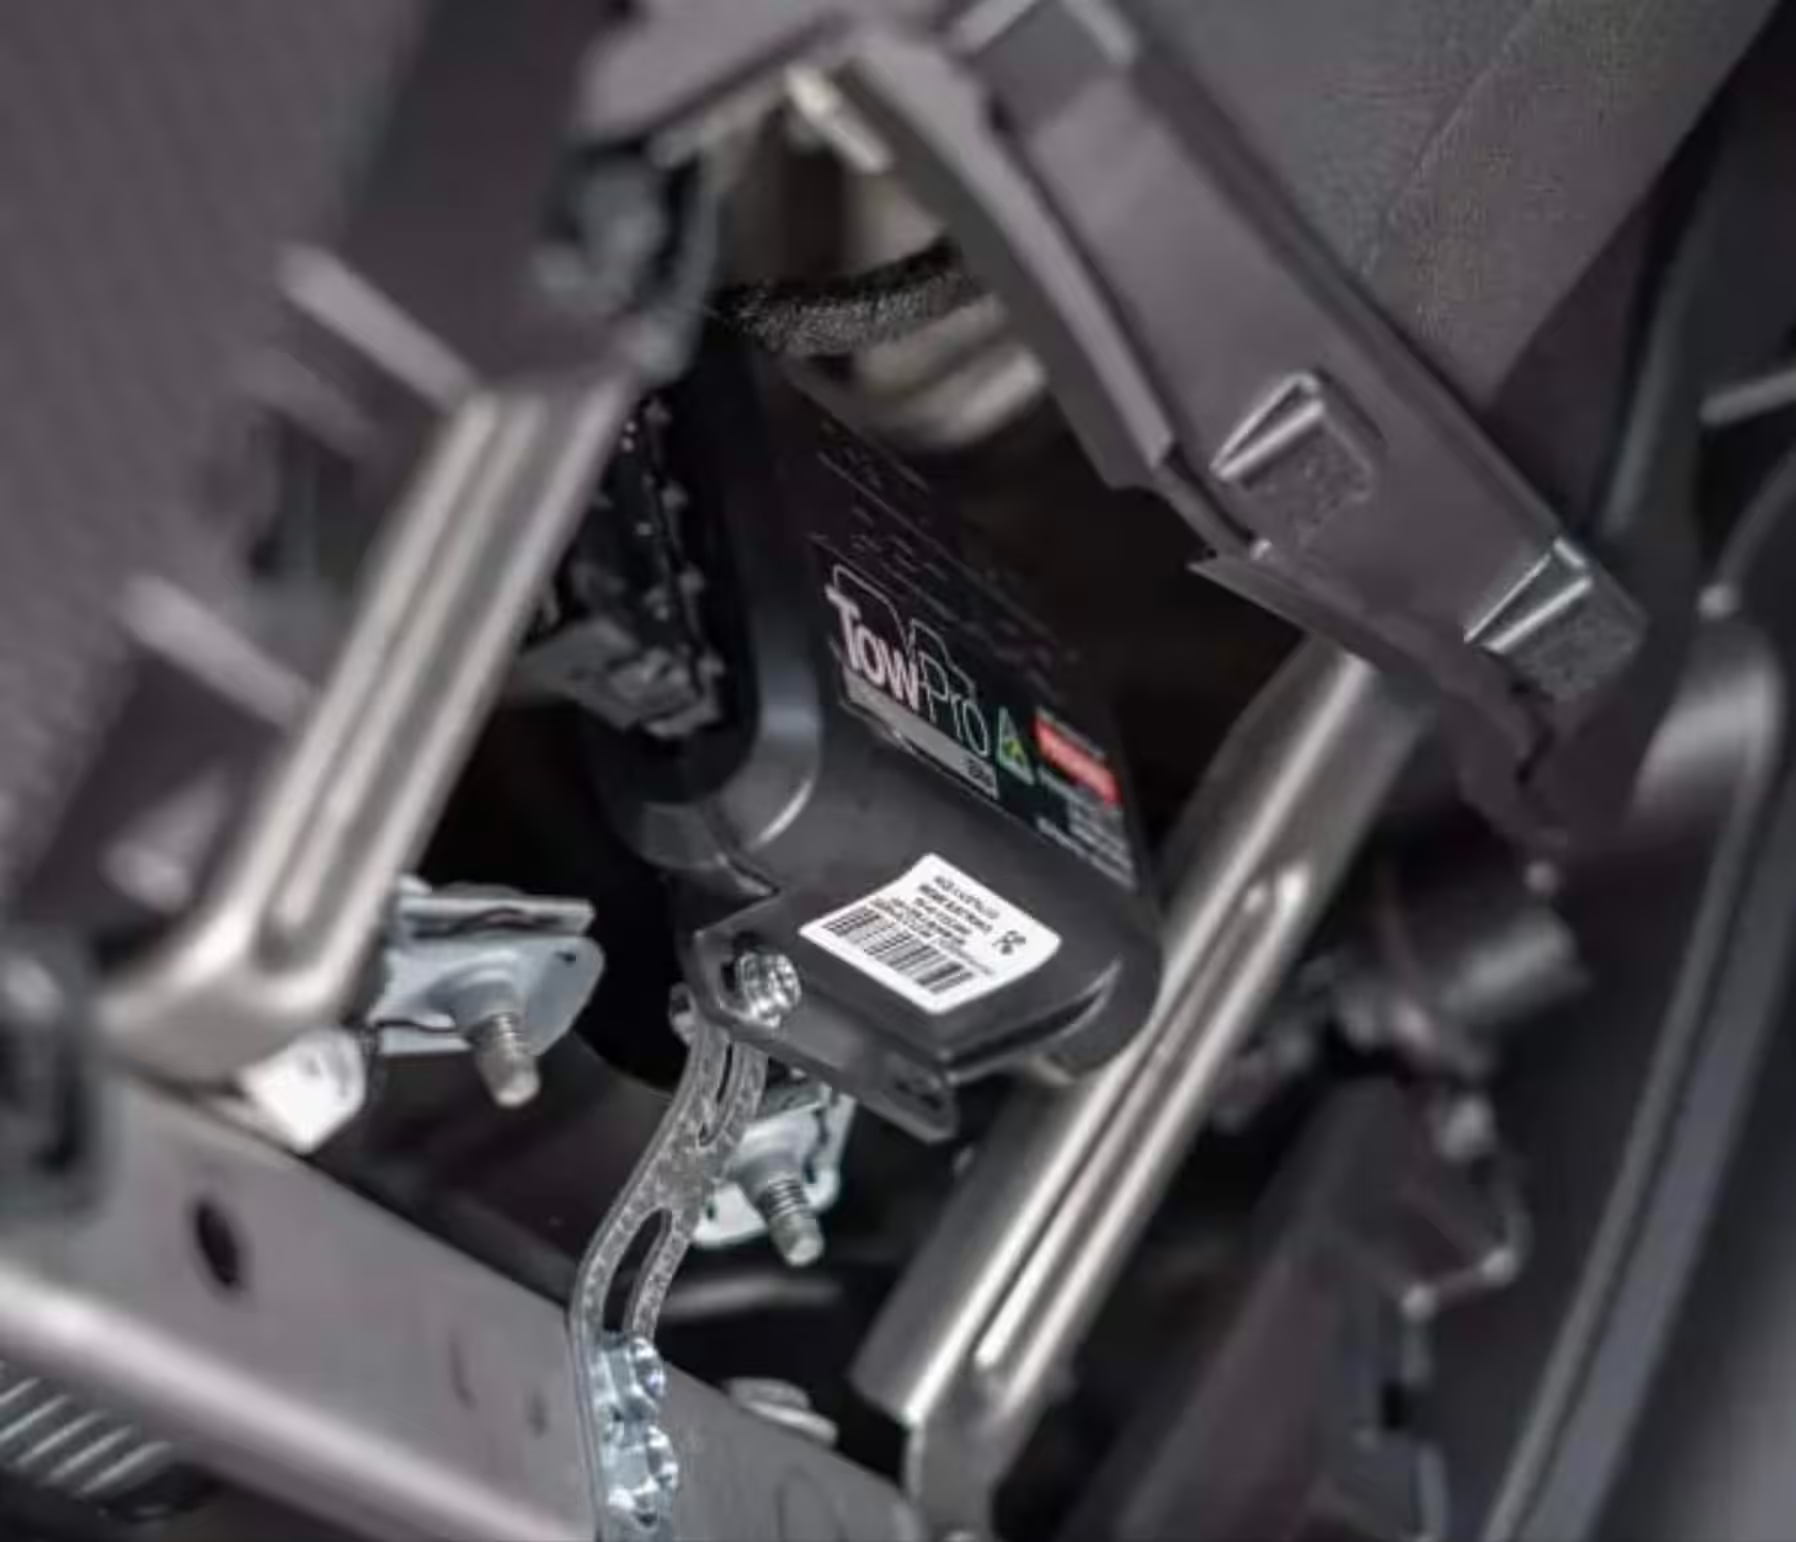
There’s no shortage of units on the market, but we’ve always rated the Tow-Pro range from Australian company REDARC. They’re comprehensive, well-engineered, and have an excellent reputation for reliability. Redarc now offers several models to suit different budgets and needs:
Tow-Pro Elite V3: The premium option with dual modes – proportional braking for highway driving and user-controlled mode for off-road conditions. Includes active calibration and SwayStop manual override function. This is the one we’d choose.
Tow-Pro Liberty: A more budget-friendly option that still offers proportional braking for highway driving with a clean, factory-look installation.
Tow-Pro Link: The newest innovation – a towbar-mounted unit that’s quicker to install and offers streamlined setup with smartphone app control. Note that it’s not compatible with Ford PX3 Rangers and Everest with AEB.
Once a Tow-Pro is wired in and calibrated, it automatically adjusts the trailer braking force proportionally to your vehicle’s braking, though you can fine-tune it to your preference. Set it and forget it – you can then cruise along knowing your electric brakes are working at maximum efficiency.
Budget considerations: Tow-Pro Liberty $500-$700 installed | Tow-Pro Elite V3 $800-$1,100 installed | Tow-Pro Link $900-$1,200 installed
Priority: DESIRABLE
If your tow rig has a reverse camera (and most modern ones do), it makes hitching up quick and easy. So why not extend that convenience to your caravan? A reverse camera mounted on the back of your van gives you a clear view of what’s behind you when reversing into campsites, checking clearances, or manoeuvring in tight spots.
There are several products on the market with varying levels of quality and price. Look for systems with either hardwired or reliable wireless connections, and make sure there’s a decent warranty. We’ve seen positive reports about Safety Dave cameras, and users consistently praise their reliability and image quality.
Being able to see exactly how far you can back into a site, or position your van perfectly to take advantage of a view, is worth its weight in non-broken taillight assemblies and avoided arguments.
Budget considerations: Wireless camera systems $300-$600 | Premium wired systems $600-$1,000
Priority: HIGHLY RECOMMENDED
Look, we’ll be upfront: the best practice is to avoid driving an hour either side of dawn and dusk, and to be set up with a cold drink before sundown. Wildlife is most active at twilight, and that’s when most animal strikes occur. But sometimes driving after dark is simply unavoidable – long transit days, unexpected delays, or wanting to make Darwin before the wet season arrives.
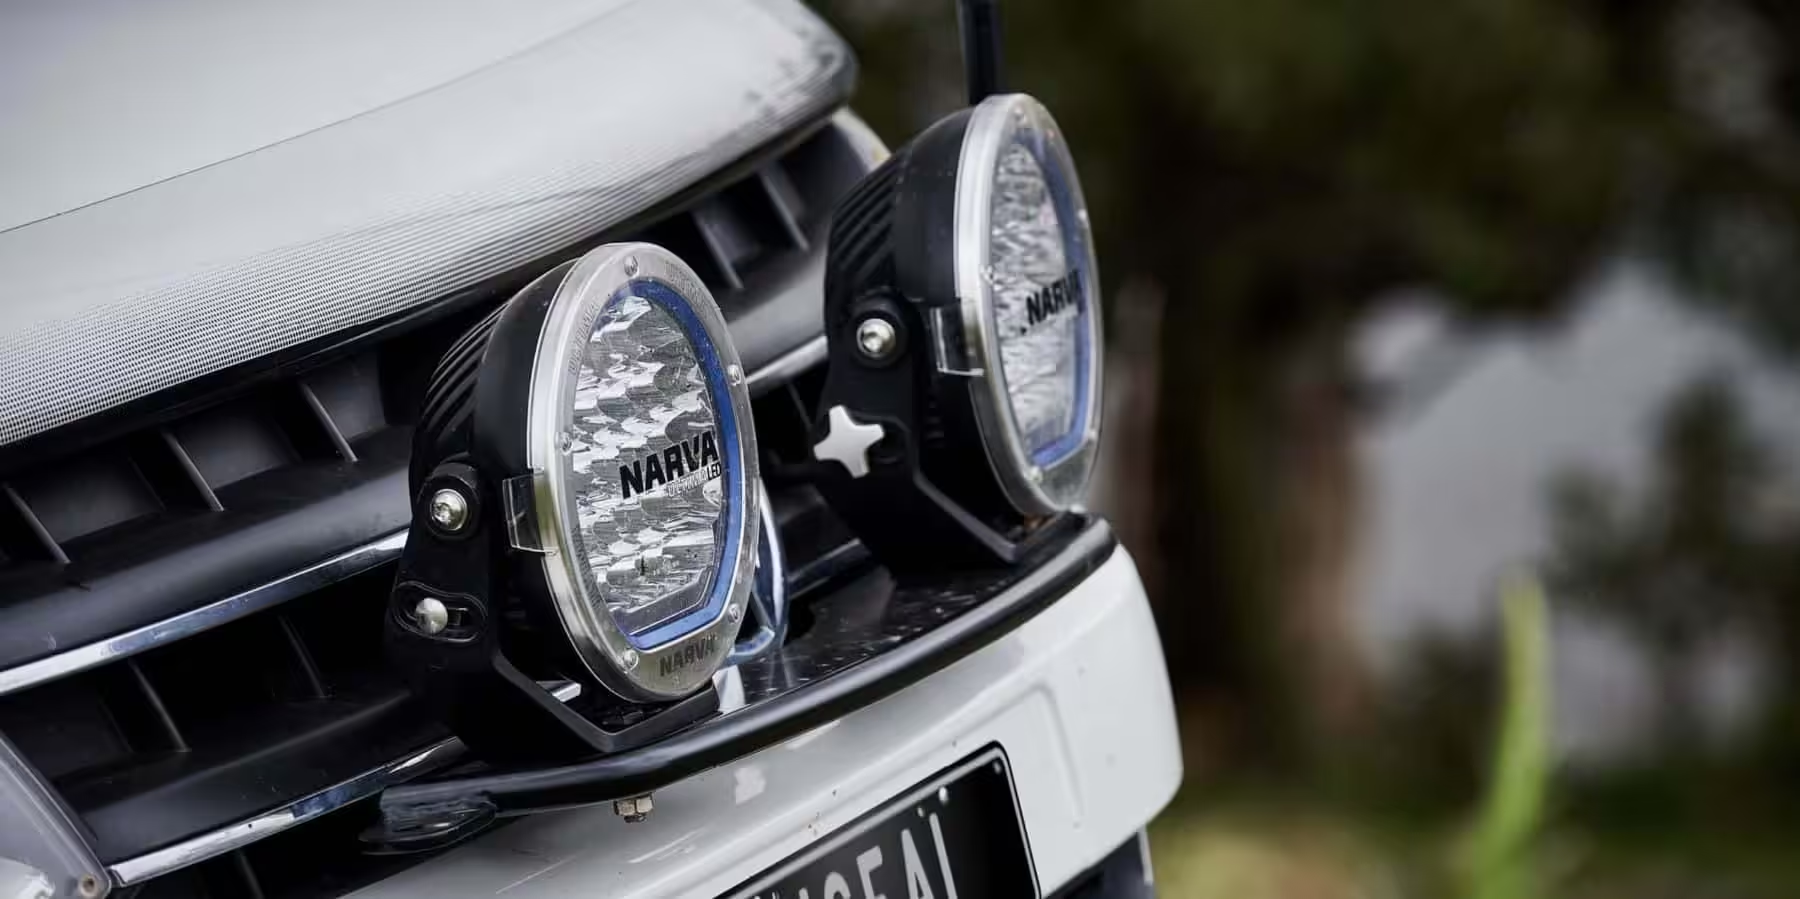
Fitting quality driving lights dramatically reduces the stress of night-time driving and significantly cuts down on the likelihood of an animal strike or damaging your rig on an unexpected washout or pothole. They’re also invaluable for spotting roadside hazards like stopped vehicles or livestock on the road.
Most people are opting for LED driving lights these days, and with good reason. LED technology has progressed at an incredible pace while HID and halogen have stagnated. Modern LED lights offer outstanding light output, excellent throw distance, minimal power draw, and they generate far less heat. The quality difference between budget and premium LED lights is significant, so don’t be tempted to buy the cheapest set you can find.
When shopping, look at the brand of LED chips used, the housing construction (you want proper heat dissipation), the mounting system, the warranty offered, and of course the actual light output (measured in lumens, but also look at beam pattern). Brands like Lightforce, Ironman and Bushranger Nighthawk have excellent reputations and proven track records in Australian conditions.
Budget considerations: Entry-level LED light bar $200-$400 | Quality LED spotlights (pair) $400-$800 | Premium LED combo systems $800-$1,500+
Priority: HIGHLY RECOMMENDED (especially for northern and inland routes)

Animal strikes are an unfortunate reality when traversing Australia’s more remote roadways. Kangaroos, emus, cattle, camels – they all share the same talent for appearing on the road at the worst possible moment. Having some form of frontal protection isn’t being paranoid, it’s being realistic.
The design and construction of your bull bar is fairly subjective and should be based around your specific vehicle rather than what looks cool or what your mate runs. Some vehicles have the radiator, AC condenser and cooling pack mounted fairly low, so you might need a bar with full coverage and lower hoops. If headlight protection is important to you (and in northern Australia, it probably should be), you’ll need a bar with adequate frontal area.
The big decision is steel versus aluminium. Steel is traditionally stronger and generally cheaper, but it’s heavier and that weight affects your front axle load, handling and fuel economy. Modern aluminium bars are designed with internal gusseting that gives them considerable strength while maintaining lower weight, but they cost significantly more. At some point, compromises will need to be made based on your budget and priorities.
You’ve got your traditional heavy-hitters like ARB, TJM and Ironman who’ve been making bars for decades. But also assess offerings from brands like AFN and Rival who have more contemporary designs with good engineering behind them. Don’t just buy on brand loyalty – look at the actual construction, ADR compliance, airbag compatibility, and how well it suits your vehicle.
Budget considerations: Steel bull bar $1,500-$3,000 fitted | Aluminium bull bar $2,500-$5,000 fitted
Priority: CRITICAL (if towing wide loads)
Captain Obvious speaking: if you’re towing a caravan or camper that’s wider than your vehicle, you need towing mirrors. Not just for legal compliance, but for actual safety. You need to see what’s beside and behind your van, especially when changing lanes, merging, or reversing.
We’ve fitted several sets of Clearview mirrors to various vehicles over the years and reckon they’re right up there in terms of quality, ease of installation and use. They look factory, they’re solid as a rock once fitted, and they actually provide a clear, usable view. The difference between cheap mirrors and quality ones becomes very apparent on a 5,000km trip.
Budget considerations: Clip-on extension mirrors $150-$250 | Quality replacement towing mirrors $400-$700 per pair
Priority: HIGHLY RECOMMENDED (CRITICAL if overloaded)
Right, let’s talk about the elephant in the room – or more accurately, the several hundred kilograms over your vehicle’s legal weight limit. This is important stuff that can affect your insurance, your licence, and most importantly, your safety.
Weight falls into two categories: static and dynamic. Static weight is what’s permanently mounted to your vehicle – bull bars, drawers, lights, winches, roof racks, long-range fuel tanks, the lot. Dynamic weight is stuff that comes and goes – tools, fridges, water, food, camping gear, and importantly, trailer ball weight when you’re towing.
Here’s the critical bit: if you’re planning to tour with your van hitched up for months on end, that ball weight effectively becomes static weight. And once you add up all your modifications, camping gear, recovery equipment, full fuel tanks, water, food, beer (priorities, people), and your caravan’s ball weight, you’d be surprised how quickly you approach or exceed your vehicle’s GVM (Gross Vehicle Mass).
If you’re over GVM, you need to either remove gear or get a GVM upgrade. Companies like Superior Engineering and Fulcrum Suspensions specialise in GVM upgrades for 4WDs. A GVM upgrade is vehicle-specific and typically involves fitting uprated springs and shock absorbers, and sometimes chassis reinforcement. It requires engineering certification and updating your vehicle’s registration documents with your state motoring authority.
It’s a fair chunk of work and expense – expect to pay $3,000-$6,000 depending on your vehicle and how much of a GVM increase you need. But highway patrol officers take a very dim view of overloaded vehicles, and insurance companies will absolutely refuse claims if you’re overweight. The cost of a GVM upgrade is nothing compared to the potential consequences.
Critical: Get your vehicle weighed before you leave, when it’s fully loaded as it will be for travel. Many people are shocked to discover they’re 200-500kg over GVM without realising it.
Budget considerations: GVM upgrade $3,000-$6,000 depending on vehicle and required increase
Priority: HIGHLY RECOMMENDED
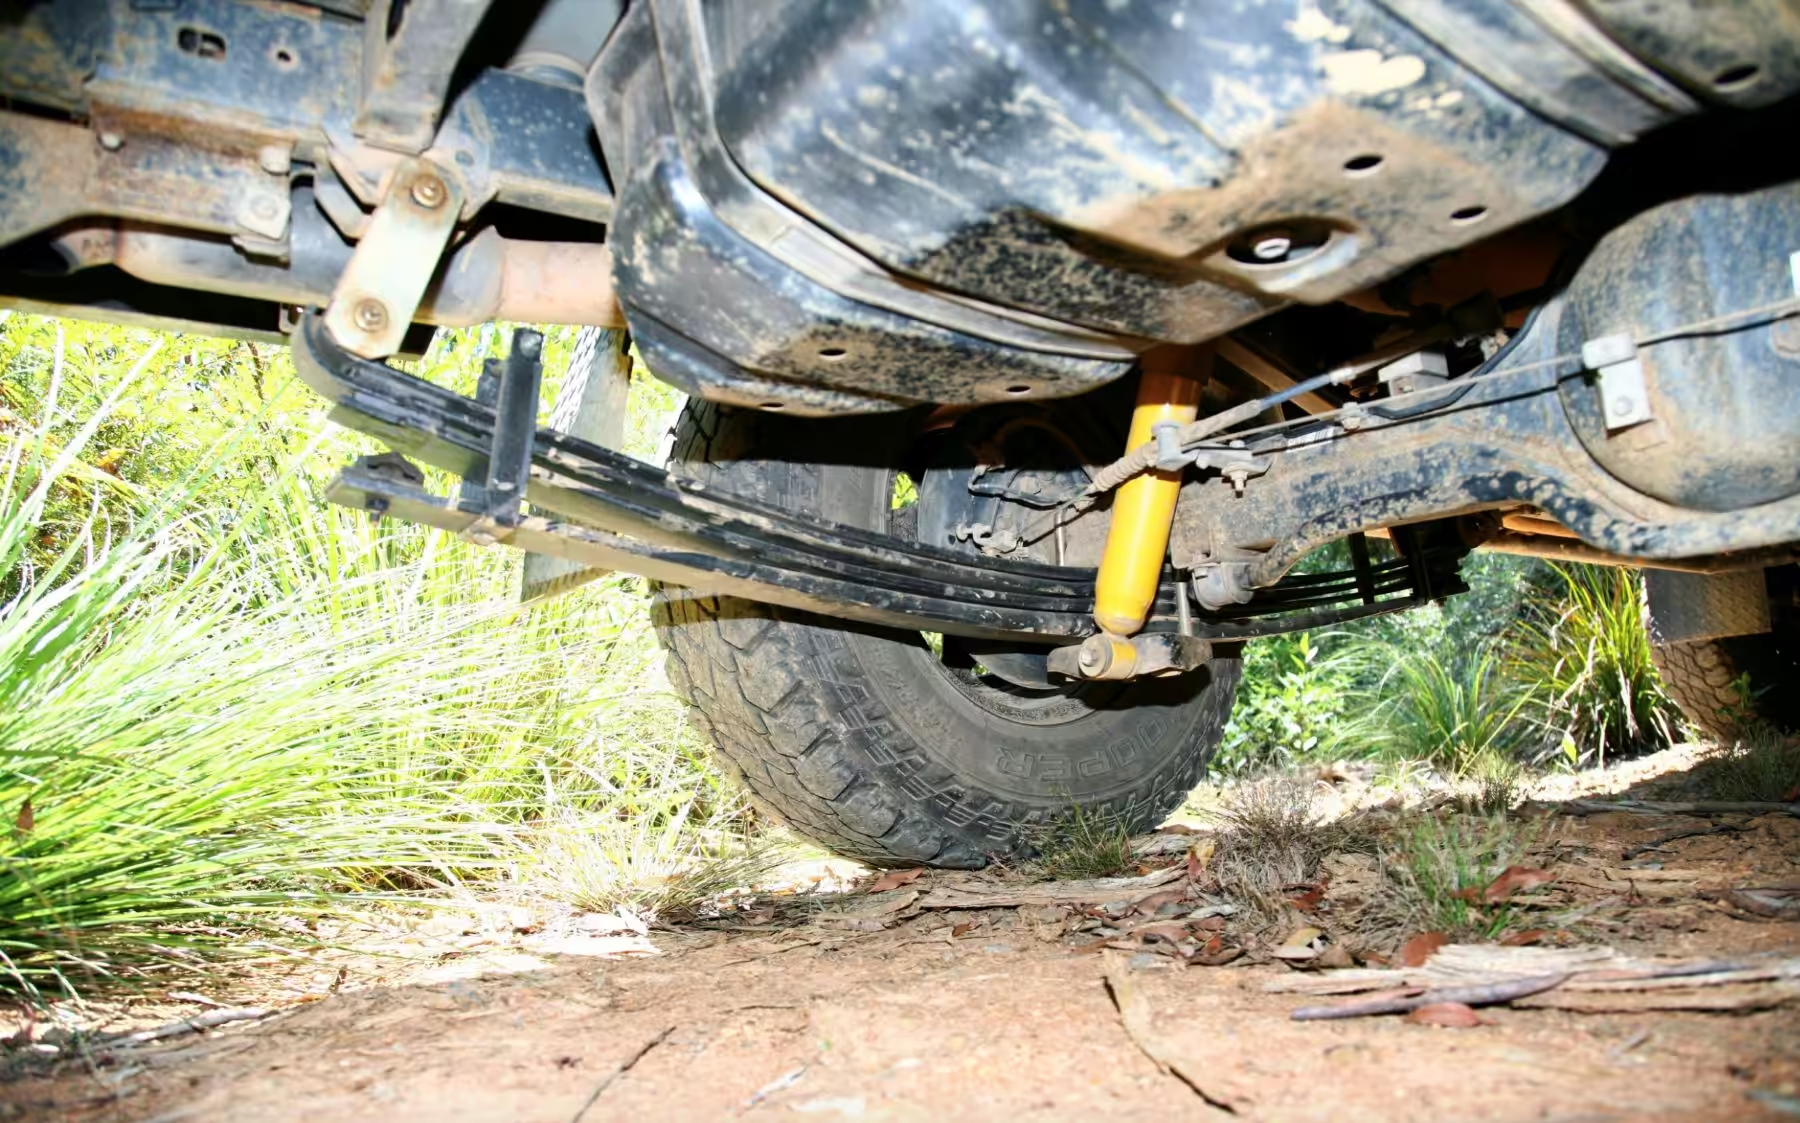
If your 4WD runs leaf springs in the rear (common on utes and many wagons), you’re already ahead of the game for towing. Leaf springs offer a truly progressive spring rate – the more you load them, the stiffer they become. It’s ideal physics for heavy loads.
That said, most manufacturers design a degree of compromise into their factory leaf packs. They want the vehicle to ride reasonably well when empty (which is how most people drive them most of the time), which means the springs might not be optimal when you’re towing 2.5 tonnes and carrying a few hundred kilos of gear.
Upgrading to a properly designed parabolic leaf pack, like those from Terrain Tamer, can make a significant difference. Each parabolic leaf is tapered as it moves away from the centre, meaning each individual spring has its own progressive rate, as does the whole pack. This gives you better load capacity without the harsh ride of old-school heavy-duty springs.
The result is a vehicle that rides reasonably well when empty but really comes into its own when loaded or towing. It’s a versatile solution that makes a lot of sense for a touring rig.
Budget considerations: Upgraded leaf springs $800-$1,500 | Complete rear suspension upgrade with shocks $1,500-$2,500
Priority: HIGHLY RECOMMENDED
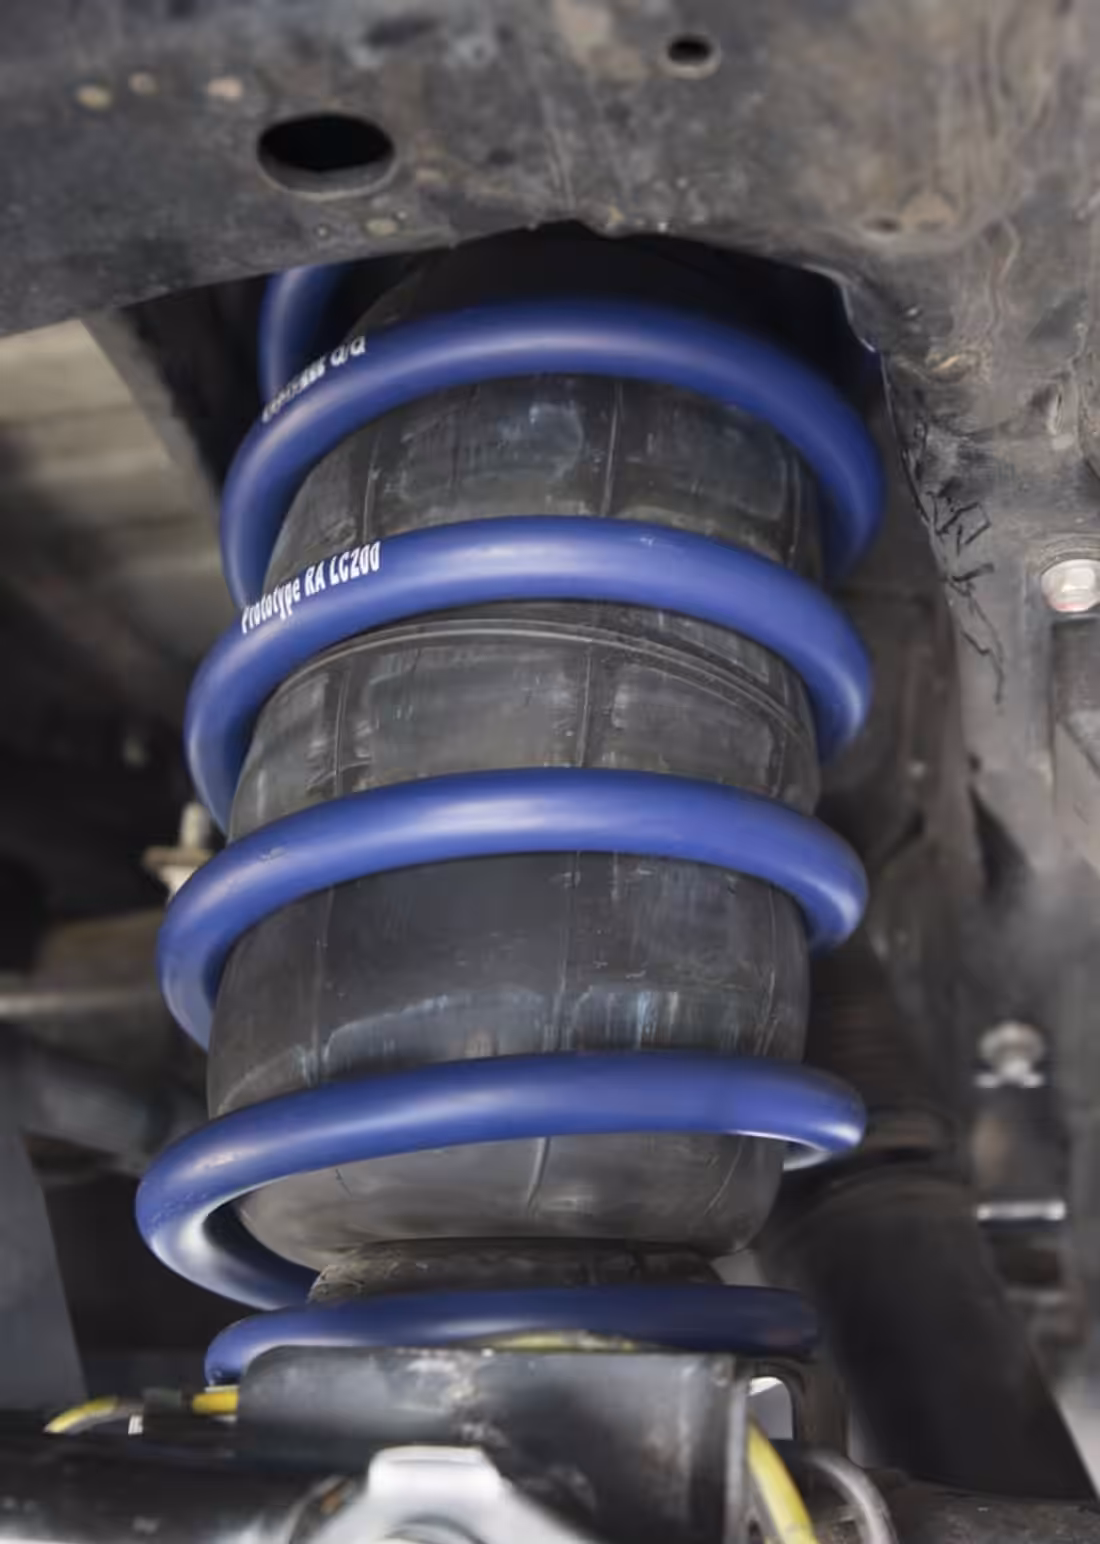
If your 4WD has coil springs in the rear, you could simply fit heavier-rated coil springs to handle the extra ball weight and gear. But here’s the problem: those heavier springs will make your ride horrible when you’re running around town without the van attached.
A more elegant solution is airbag helper springs. These sit alongside your existing springs and can be inflated when you’re loaded up and deflated when you’re empty. It’s the best of both worlds – good ride quality when unladen, proper load support when towing.
Polyair offer a comprehensive range of airbag systems suited to different vehicles and usage patterns. They even offer complete kits that include an onboard air tank and compressor, so you don’t have to drive to the servo to adjust your bag pressure.
Budget considerations: Basic airbag kit $600-$900 | Complete kit with onboard compressor $1,200-$1,800
While springs carry the load, shock absorbers control the ride quality and handling. Shocks work by converting kinetic energy (movement) into thermal energy (heat). When the fluid inside the shock can no longer dissipate heat quickly enough – like when you’re belting down a corrugated dirt road for hours – they lose effectiveness and suffer from shock fade. This leads to poor handling and potential damage.
Quality remote-reservoir shocks, like the Terrain Tamer Pro units, have an additional cooling reservoir that gives them much better heat dissipation. This means they maintain consistent performance even under sustained heavy use. It’s the difference between arriving at camp with a sorted rig versus one that’s been bounced to within an inch of its life.
Budget considerations: Quality shock absorbers $150-$250 each | Remote-reservoir shocks $250-$400 each
Priority: HIGHLY RECOMMENDED
The last and arguably least obvious factor in your suspension setup is tyre choice. You could spend hours deep-diving into tread patterns, compound differences, load ratings and speed ratings across the thousands of tyre models on the market. So let’s keep this practical.
What we look for in a touring tyre: decent traction both on sealed roads and dirt, high enough load rating to safely handle the weight of our gear and caravan, good wear rates without sacrificing grip, and a price point that won’t make your wallet cry when you need to replace them.
For example, tyres like the Kumho AT52s, BF Goodrich KO3, or Predator 4X4 tyres offer excellent all-round capability at reasonable prices. They’re well-regarded for handling and longevity, with load ratings suitable for heavy towing applications.
On tyre sizing: if you’re running a dedicated highway tow vehicle, staying close to stock size will do wonders for your fuel economy. If you’ll be doing some off-road travel, going up one or two sizes can be beneficial for clearance and off-road capability. Having the same size tyres on your trailer as your vehicle provides a wonderful safety net of interchangeable spare tyres.
Important: Check your tyre load ratings carefully. That “E-rated” or “LT-rated” marking matters when you’re towing heavy. And remember, tyres need to be replaced every 5-7 years regardless of tread depth, as the rubber deteriorates with age and UV exposure.
Budget considerations: Quality all-terrain tyres $250-$400 each | Premium tyres $400-$600 each | Budget for a full set of 5 including spare
Priority: CRITICAL
Here’s the final and arguably most important step in building the ultimate tow rig: making sure you actually know how to drive it properly. All the fancy gear in the world won’t save you if you don’t understand weight distribution, trailer dynamics, or how to recover from a van sway.
More and more people are selling up and hitting the road with a 25-foot van in tow, never having towed anything heavier than a small box trailer. Truck drivers and experienced caravanners alike know this is a recipe for disaster. The big lap isn’t the place to learn towing skills through trial and error.
Questions you should be able to answer:
If you’re not confident about any of these, book yourself and your partner into a professional towing course. Companies like Tow-Ed and Great Divide Tours offer comprehensive courses taught by instructors who’ve been there, done that, and have the experience to teach you properly.
Even if you’ve been towing since you were a teenager, you’ll still learn valuable techniques and safety procedures. It’s money exceptionally well spent – we’d argue it’s more important than half the accessories people buy.
If you’re travelling in only one vehicle and you’re not mechanically inclined, it’s also worth asking your local mechanic to show you some basics: how to change air and fuel filters, clean a catch can, change light globes, swap a serpentine belt, and how to change your spare tyre properly. Just in case.
Budget considerations: One-day towing course $300-$500 per person | Two-day comprehensive course $600-$900 per person
Use this checklist to track your preparation progress:
Preparing your vehicle properly for the big lap isn’t just about bolting on accessories and hoping for the best. It’s about systematically addressing every system that’ll be stressed by months of continuous travel, heavy loads, and sometimes challenging conditions. It’s about redundancy in critical systems like communication. And perhaps most importantly, it’s about developing the skills and knowledge to handle whatever situations arise.
Yes, properly preparing a vehicle is expensive. Budget for at least $5,000-$10,000 in essential upgrades and modifications, more if you’re starting with a stock vehicle or need a GVM upgrade. But consider this: a breakdown in the middle of nowhere will easily cost you that much in recovery, repairs, and lost travel time. Not to mention the stress and potential danger.
Take the time to do it right. Your future self, somewhere on a remote Cape York track or halfway across the Nullarbor, will thank you for it. Now get out there and enjoy your trip – you’ve earned it.