Hitch like a boss
Your hitch is the only thing keeping your car and trailer together on the road. Make sure it’s safe and secure with these hitching tips and hacks.
Published on: 16 April 2025
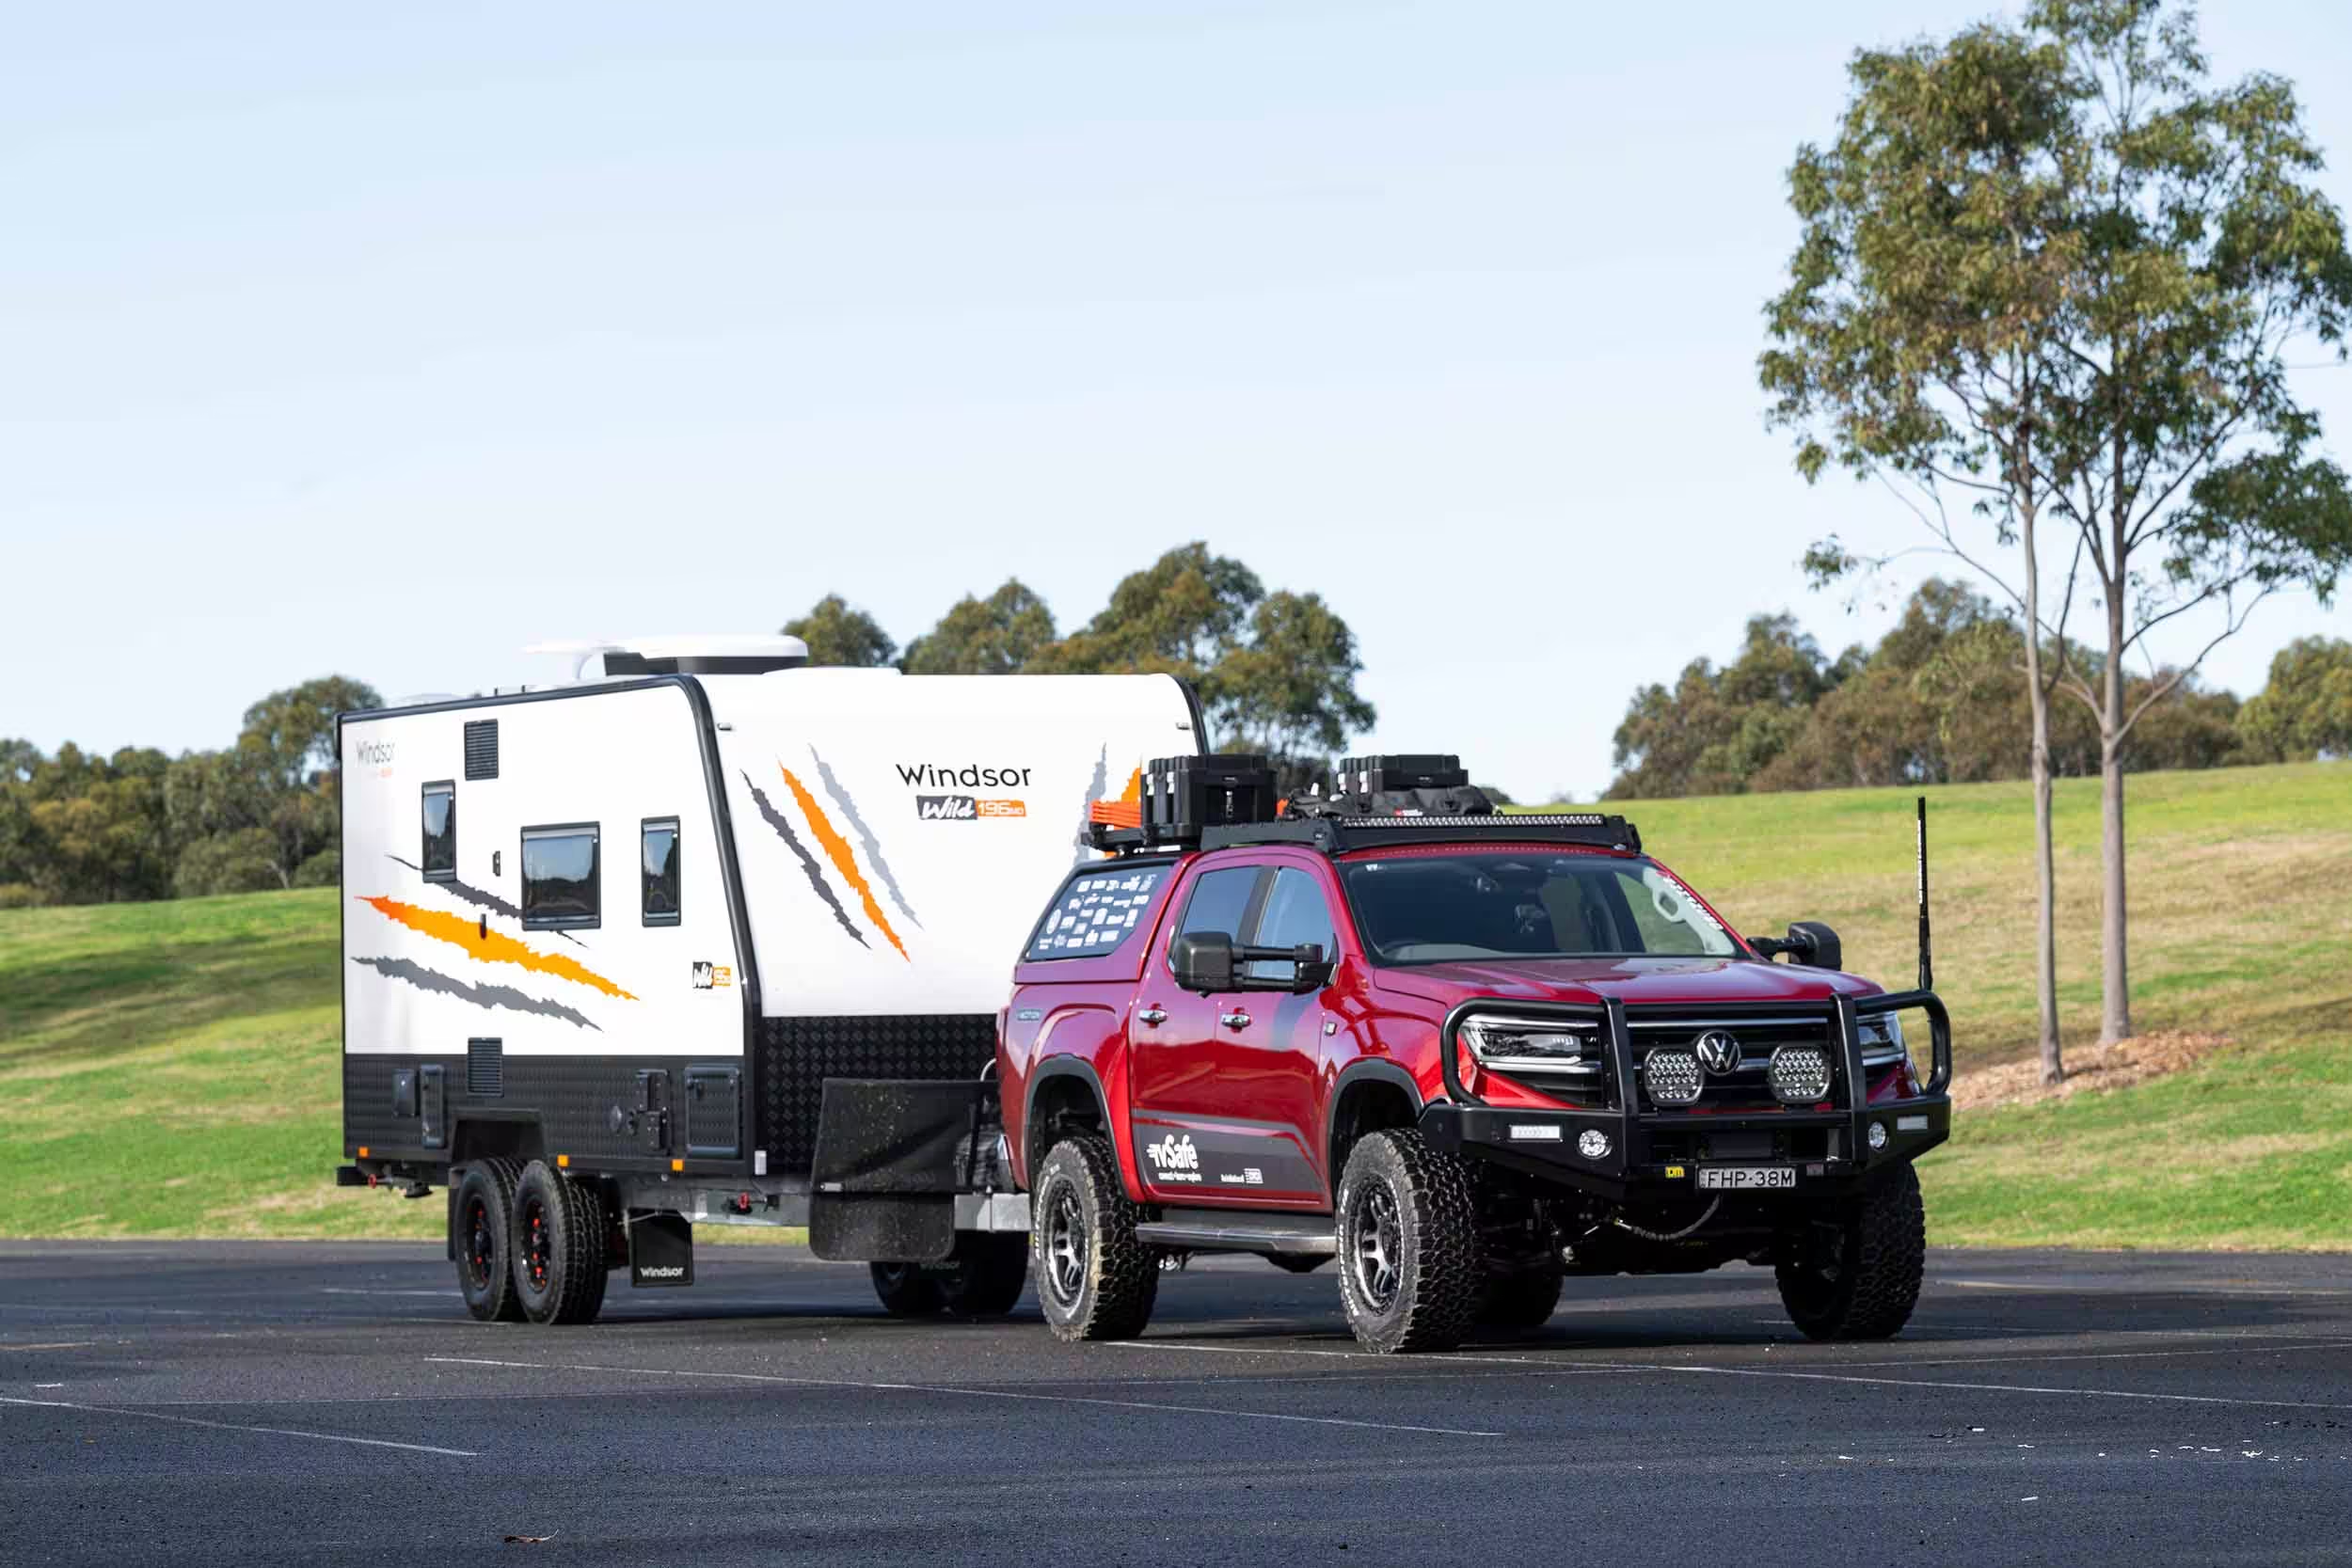
An incorrectly hitched caravan can become a three-tonne missile on the road if the unthinkable happens and it becomes detached from your tow vehicle. Imagine the damage – or worse – that a runaway trailer could cause if it rockets down the highway or through a populated area at speed.
To ensure your trailer is safely and securely coupled to your tow vehicle it’s crucial to have a regimented hitching system and stick to it – every time.
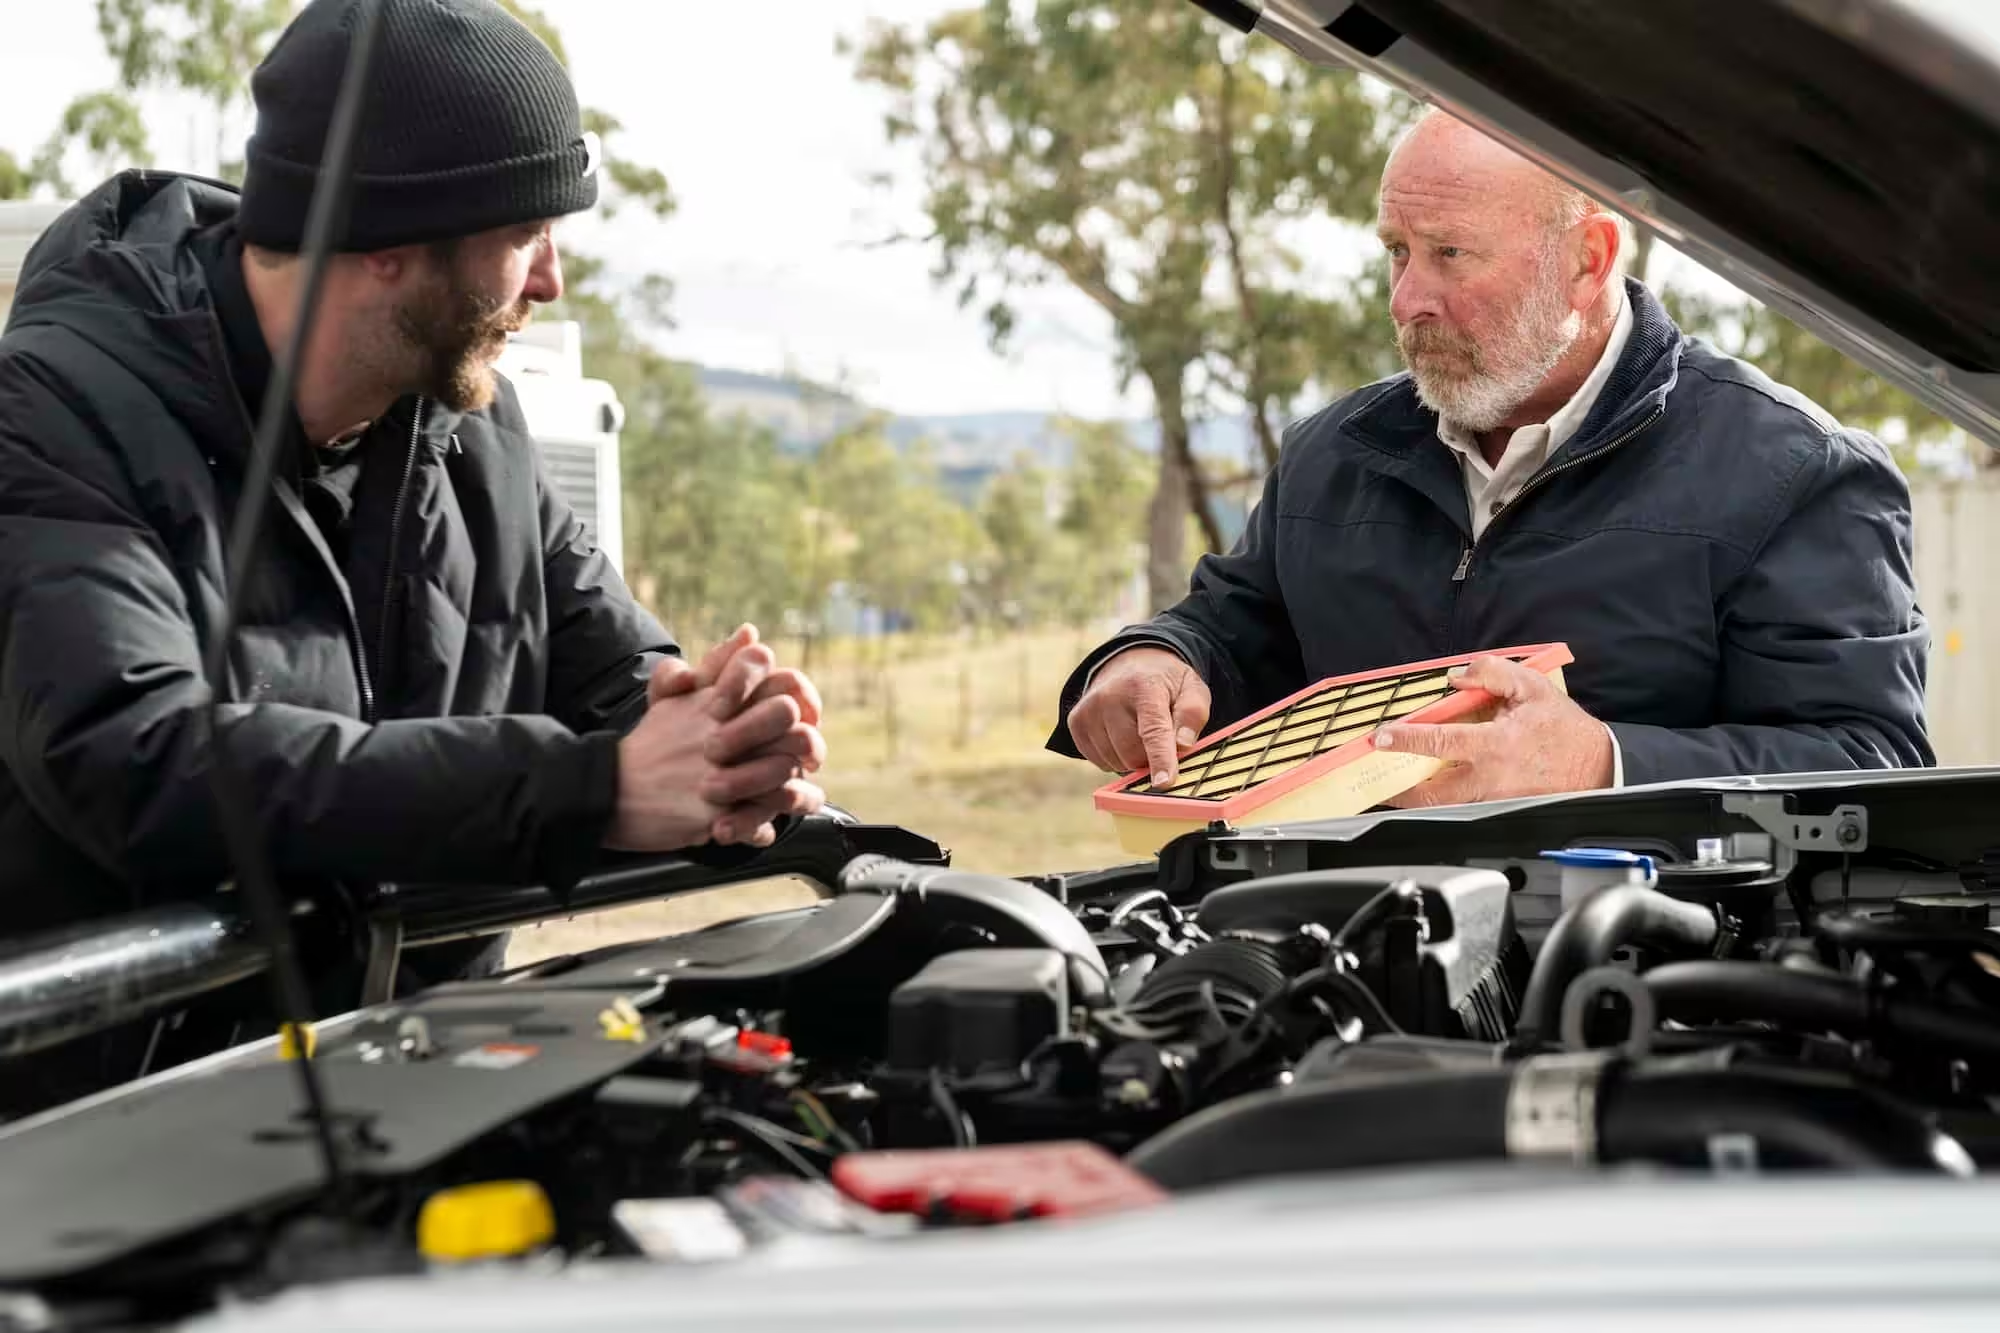
In Episode 7 of the Are You rvSafe? series, John Eggenhuizen, expert driver training instructor from Tow-Ed, says hitching correctly is the cornerstone of safe towing.
“One of the most critical aspects of the whole RV experience is hitching the trailer to the car. We need to get this right because it determines whether or not we travel safely for the rest of the day,” John says.
“It’s easy to be distracted when doing the hitch. You might be in a caravan park hitching up and someone comes along to have a chat [and] disturbs your process for hitching up, and when that happens you’ve kind of forgotten where you’re at.”
Follow a hitching system which, after consistent repetition, will become a routine part of your pre-departure checklist. Hitching starts at the back of the vehicle, working in a logical sequence through to the front of the trailer. Follow this process to ensure you (and your caravan) never come unstuck.
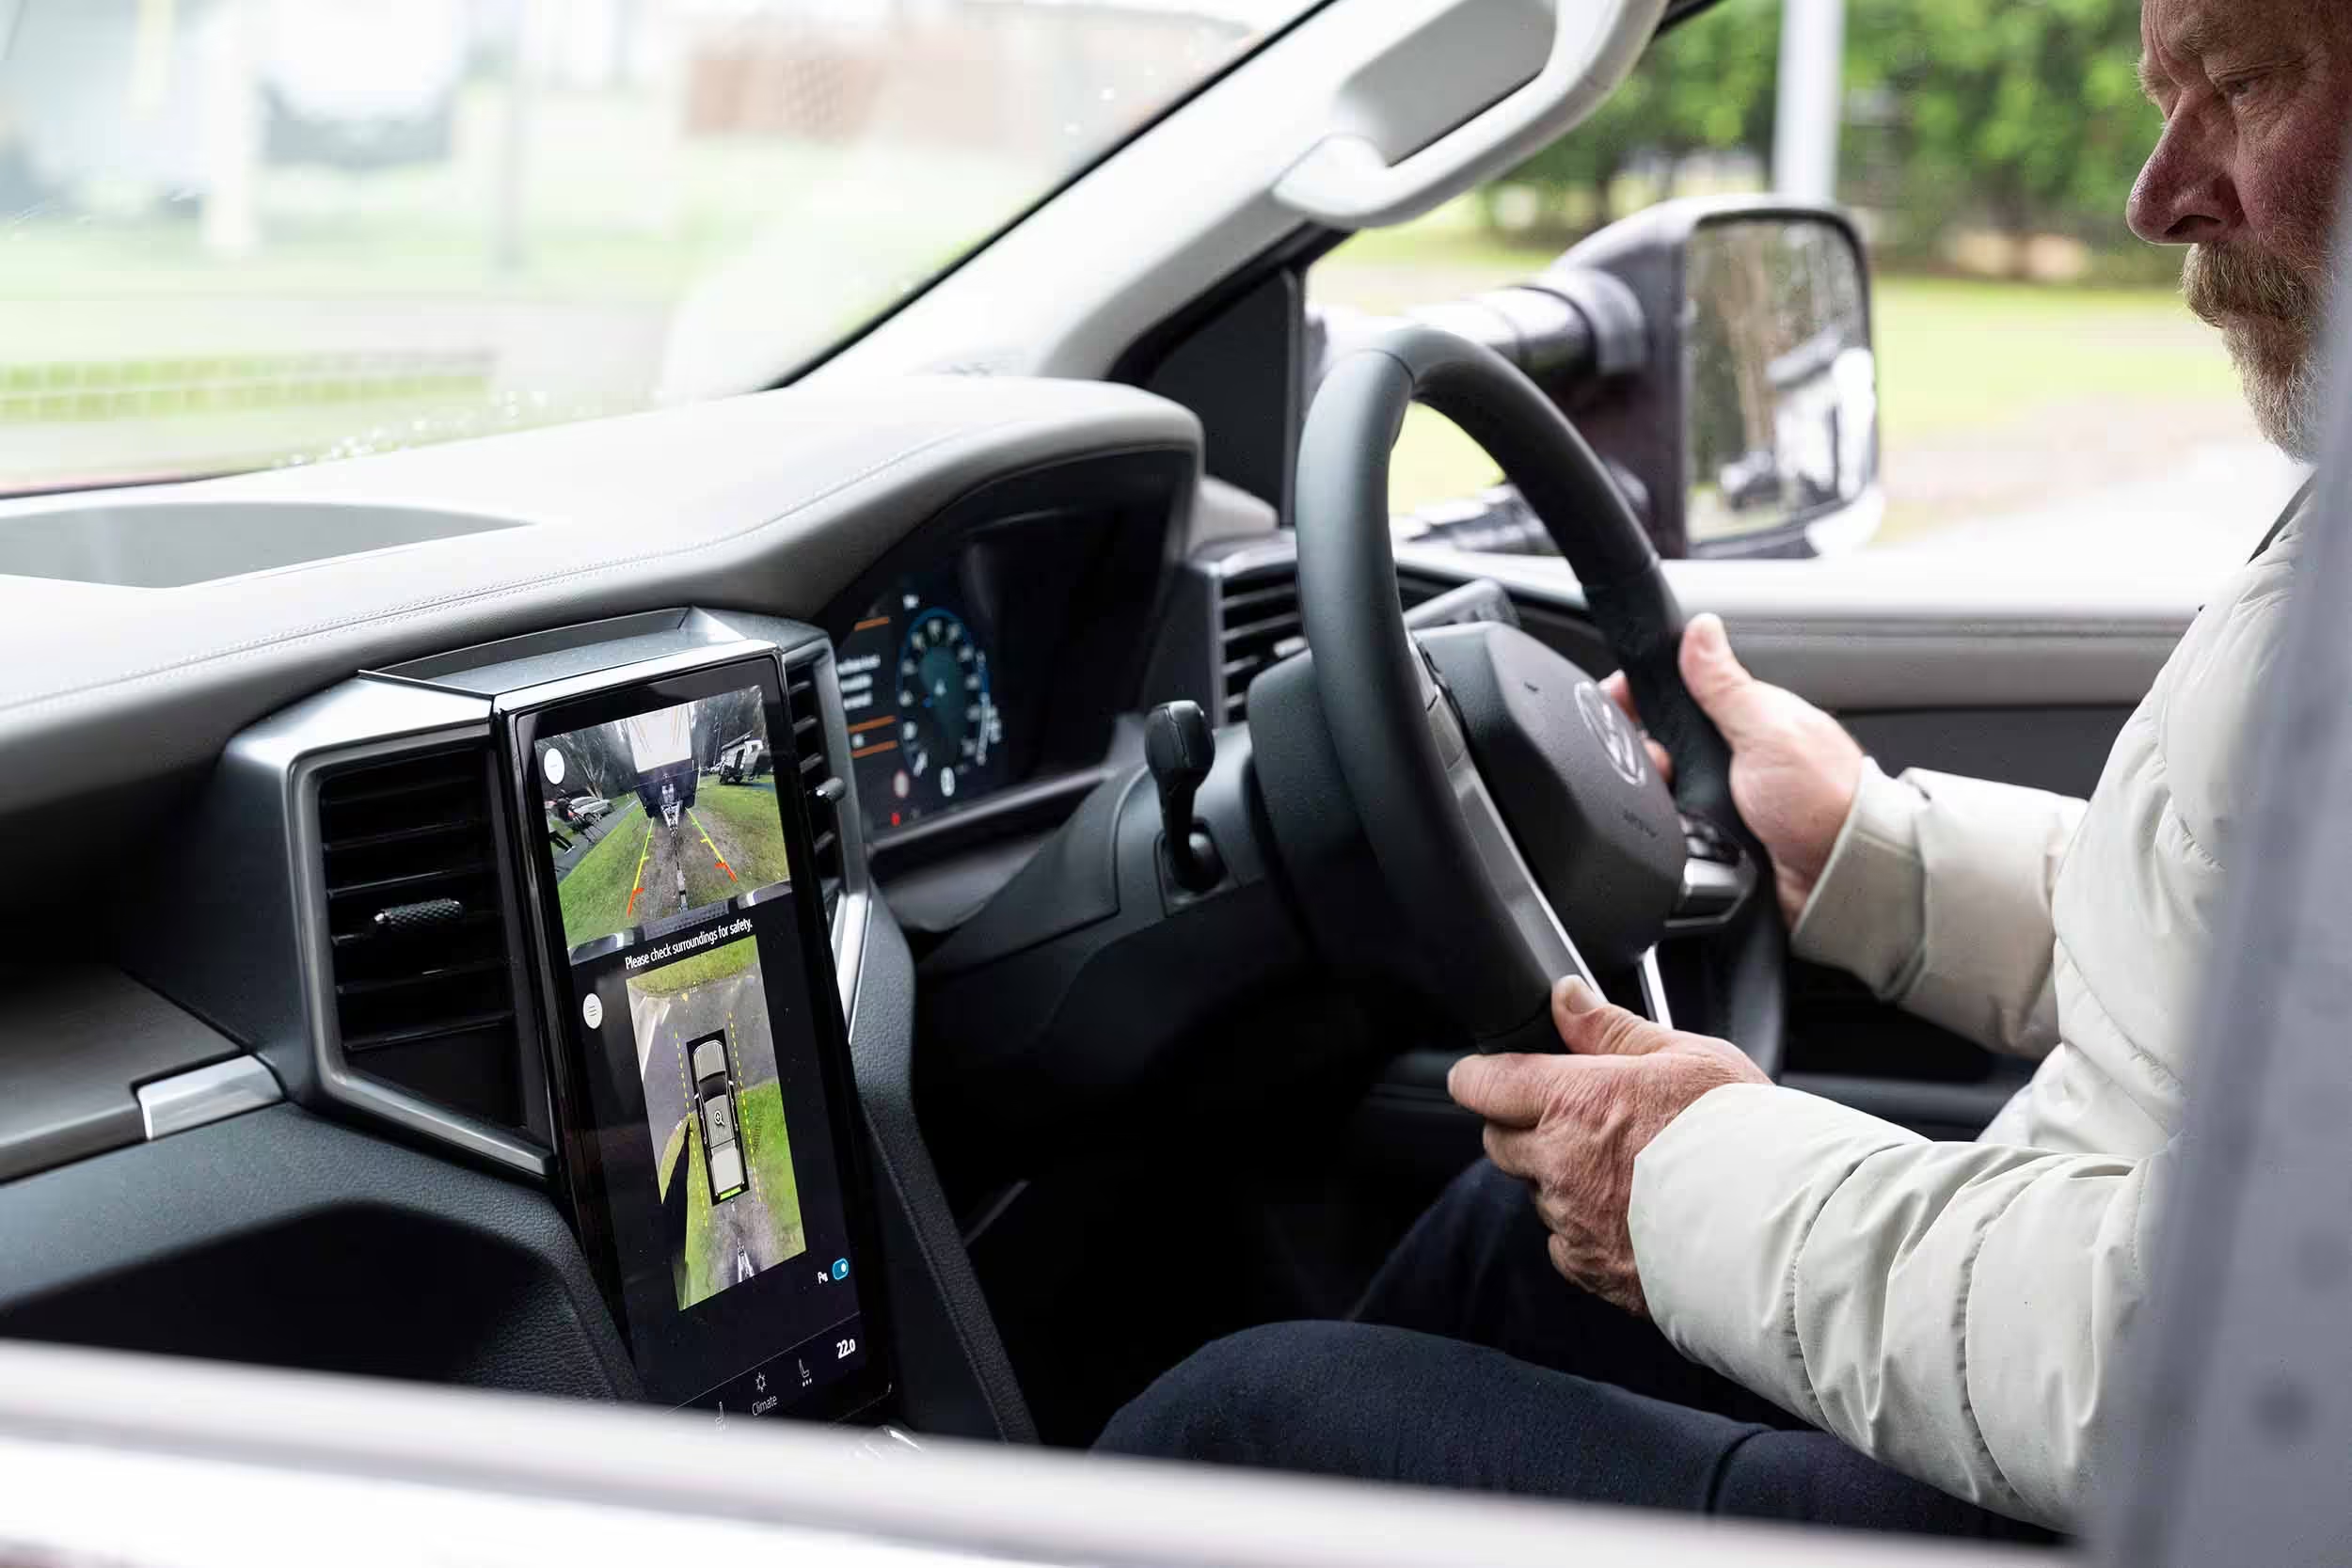
1. Get connected
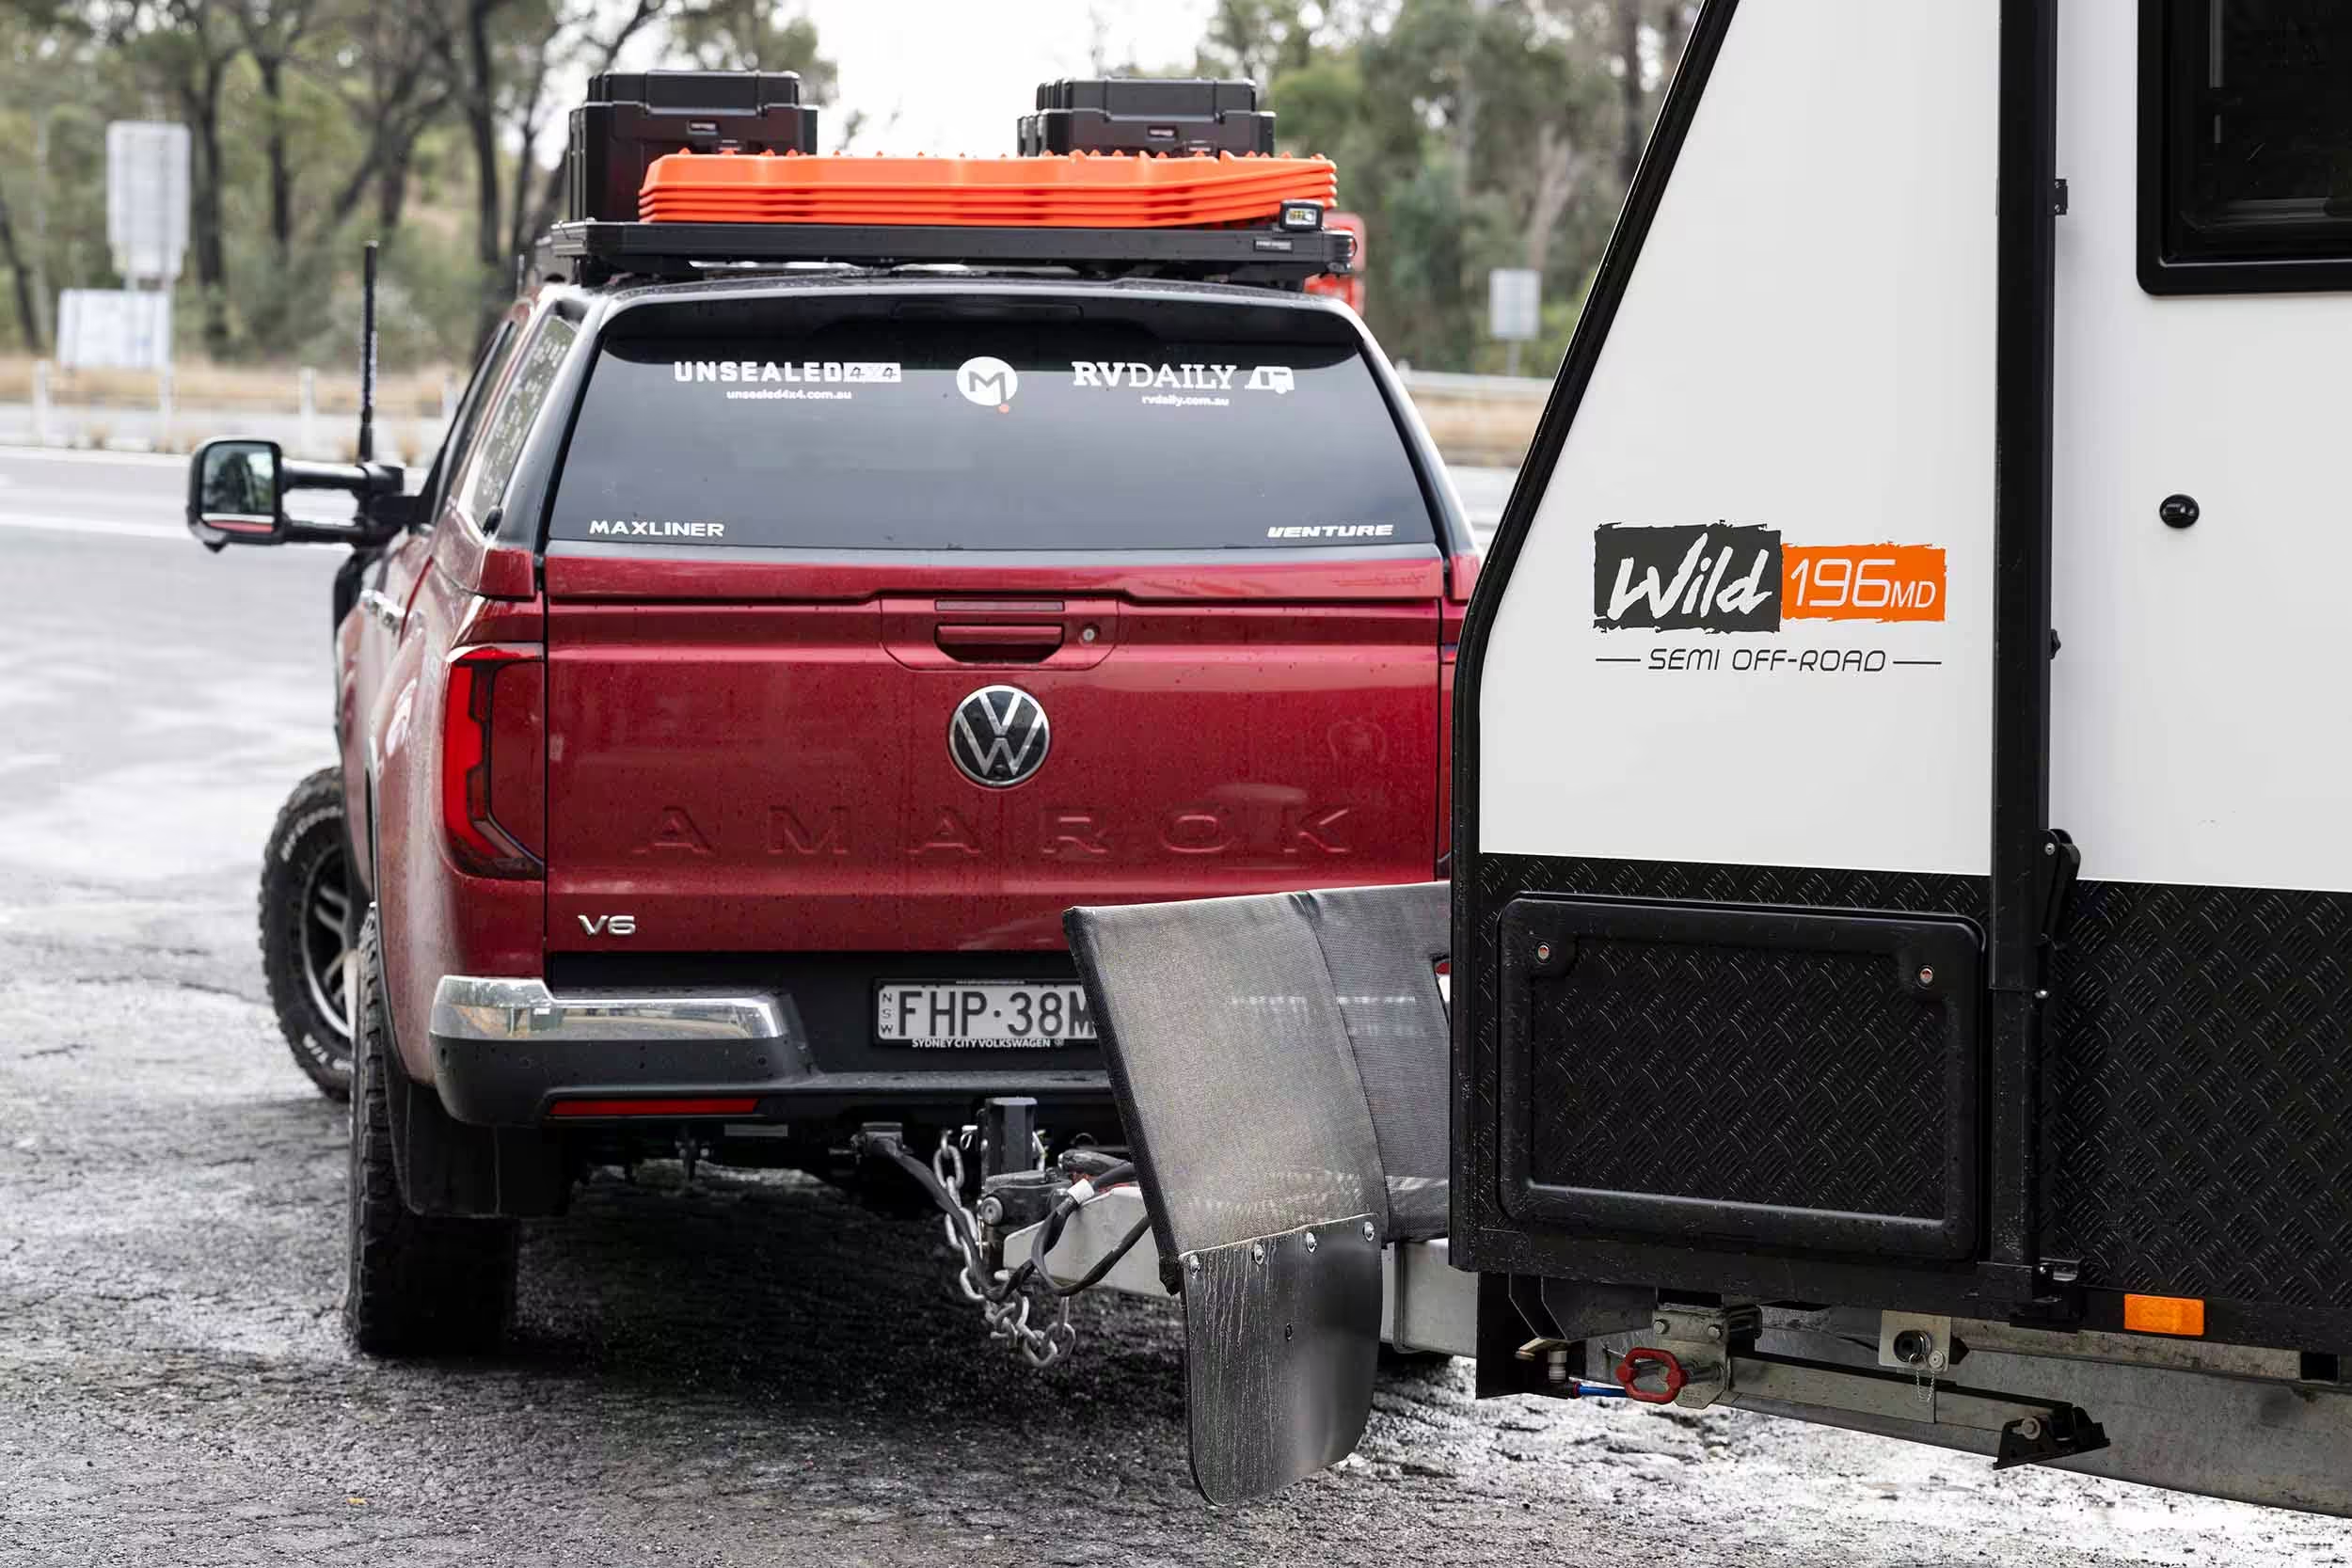
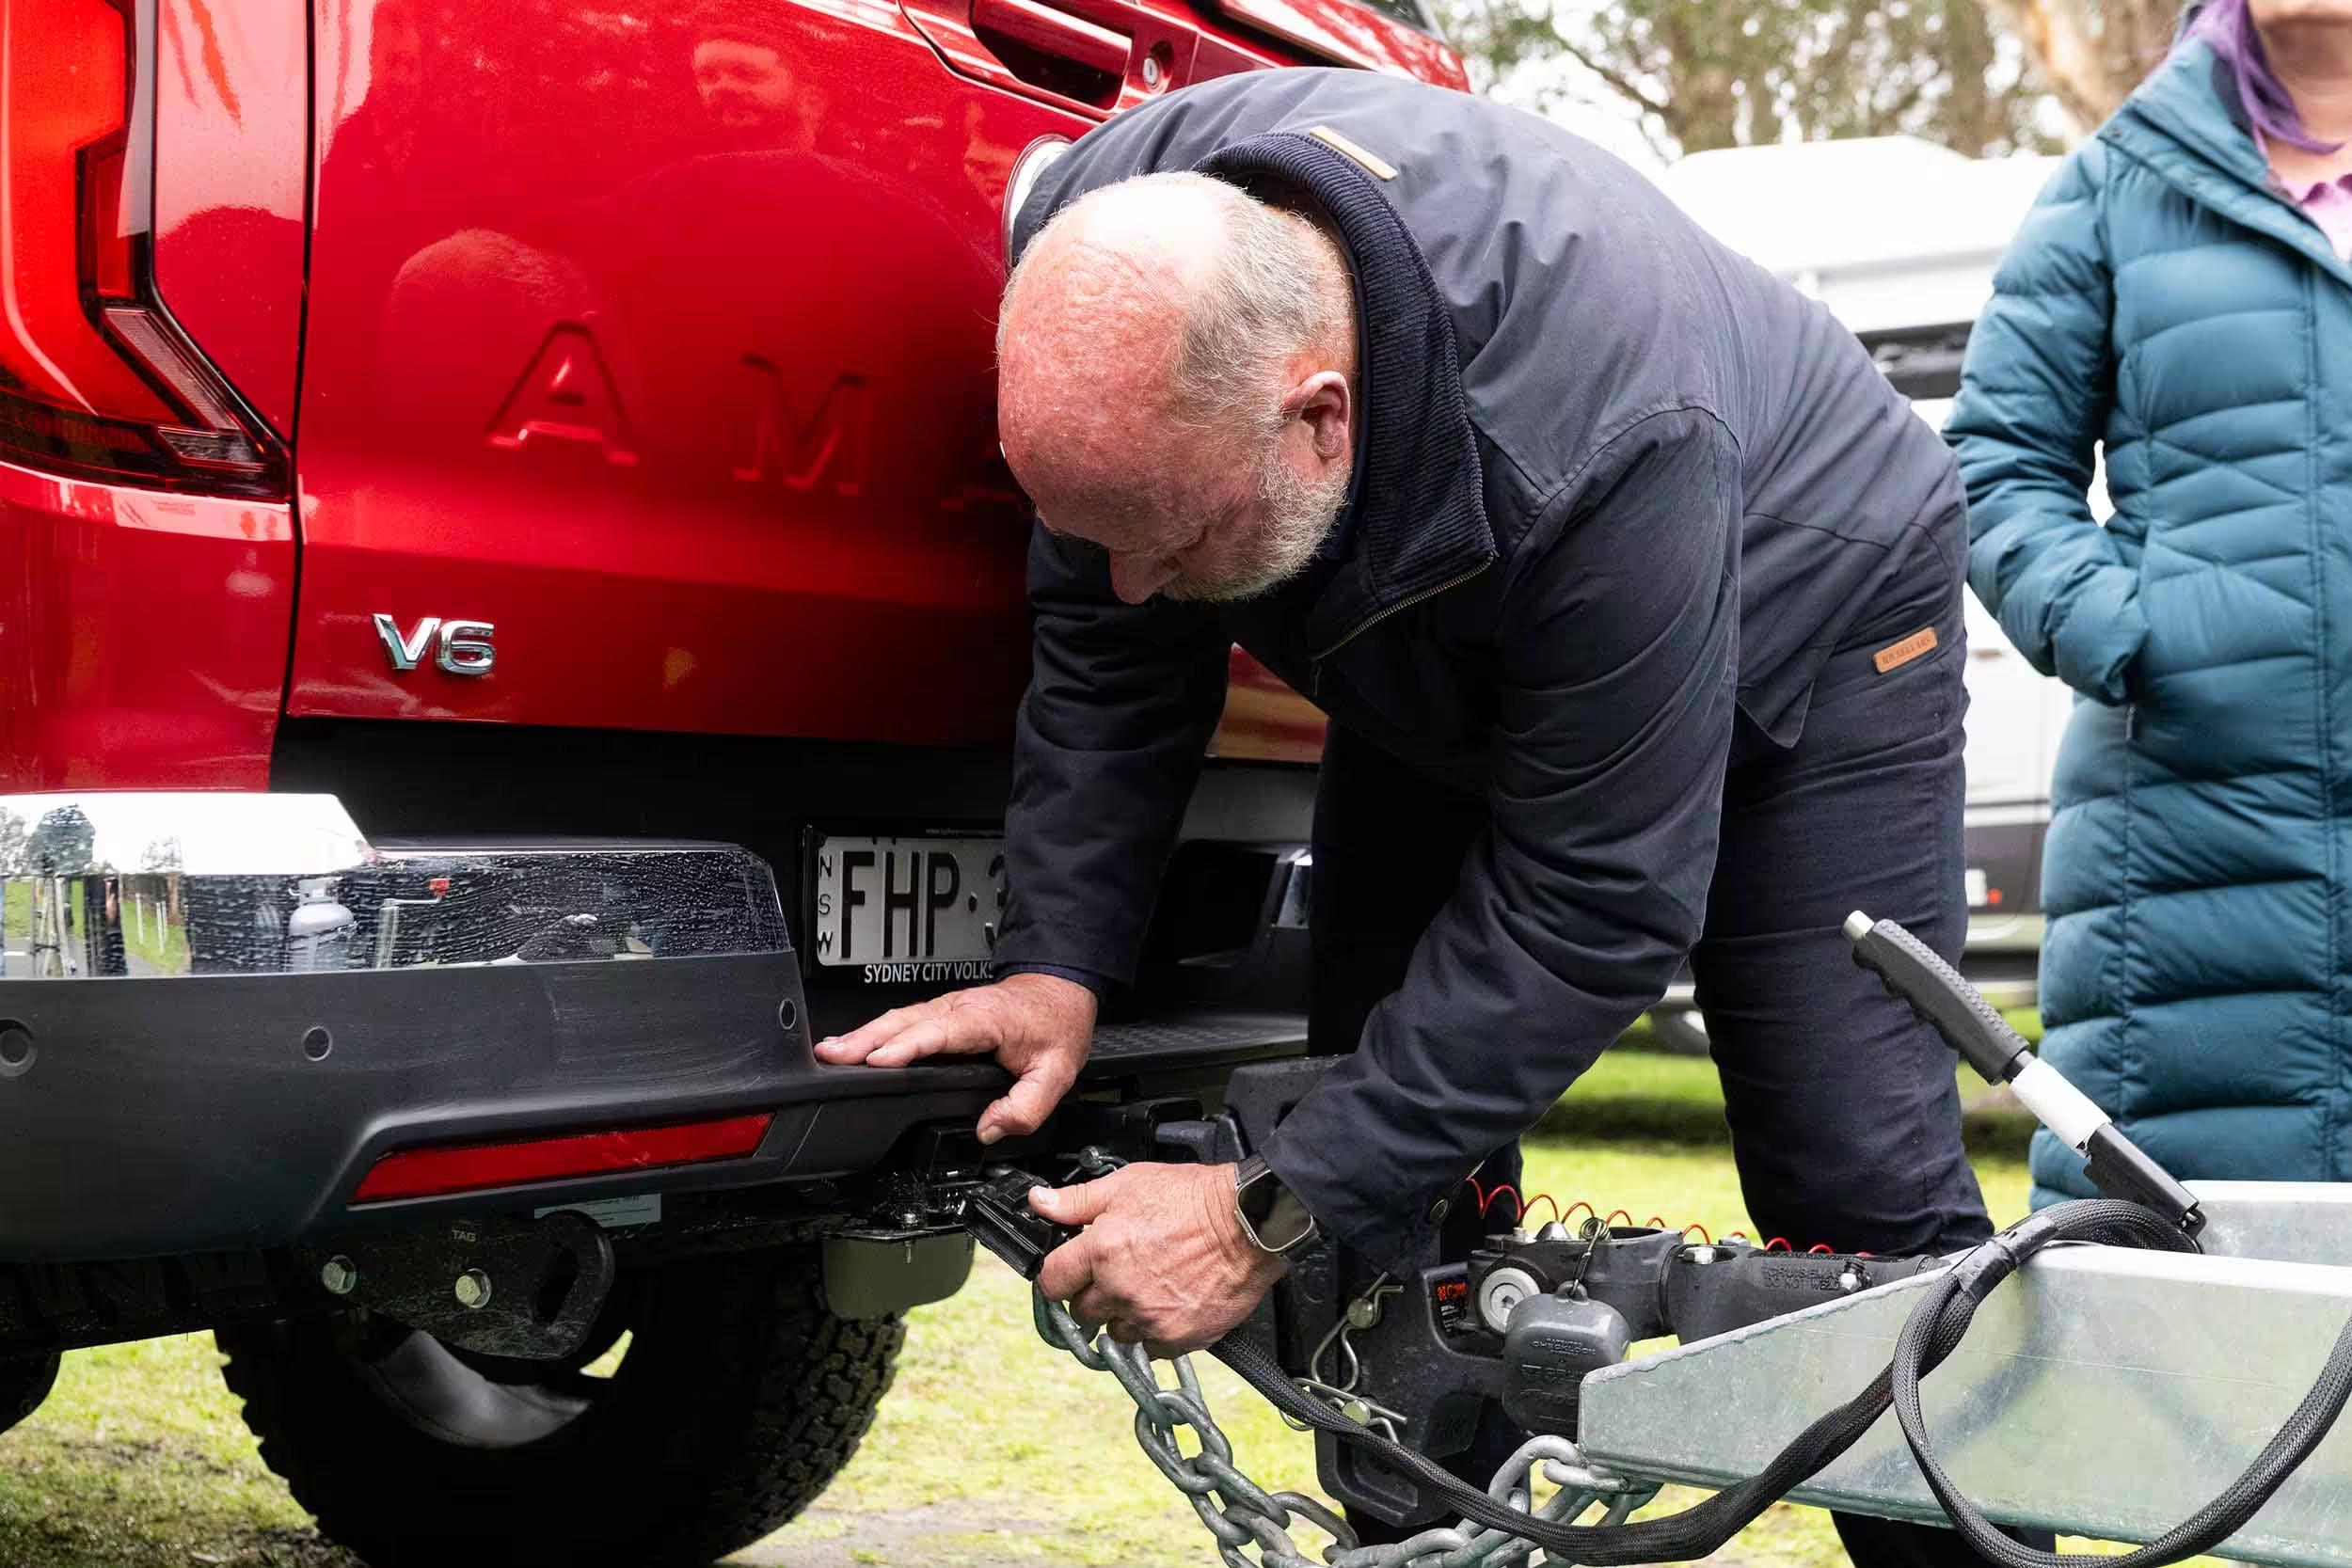
First up, you’ll need to reverse the car in line with the trailer. Zoom-in vehicle reversing cameras make this process easier than ever but you can also do it the old-fashioned way, with a UHF radio and hand signals from your co-pilot. Once in line, lower the jockey wheel to connect the coupling on the drawbar to the vehicle hitch. Engage and secure the coupling; this process will vary depending on the style of hitch you use. (For more on hitches, see our advice on hitch maintenance.)
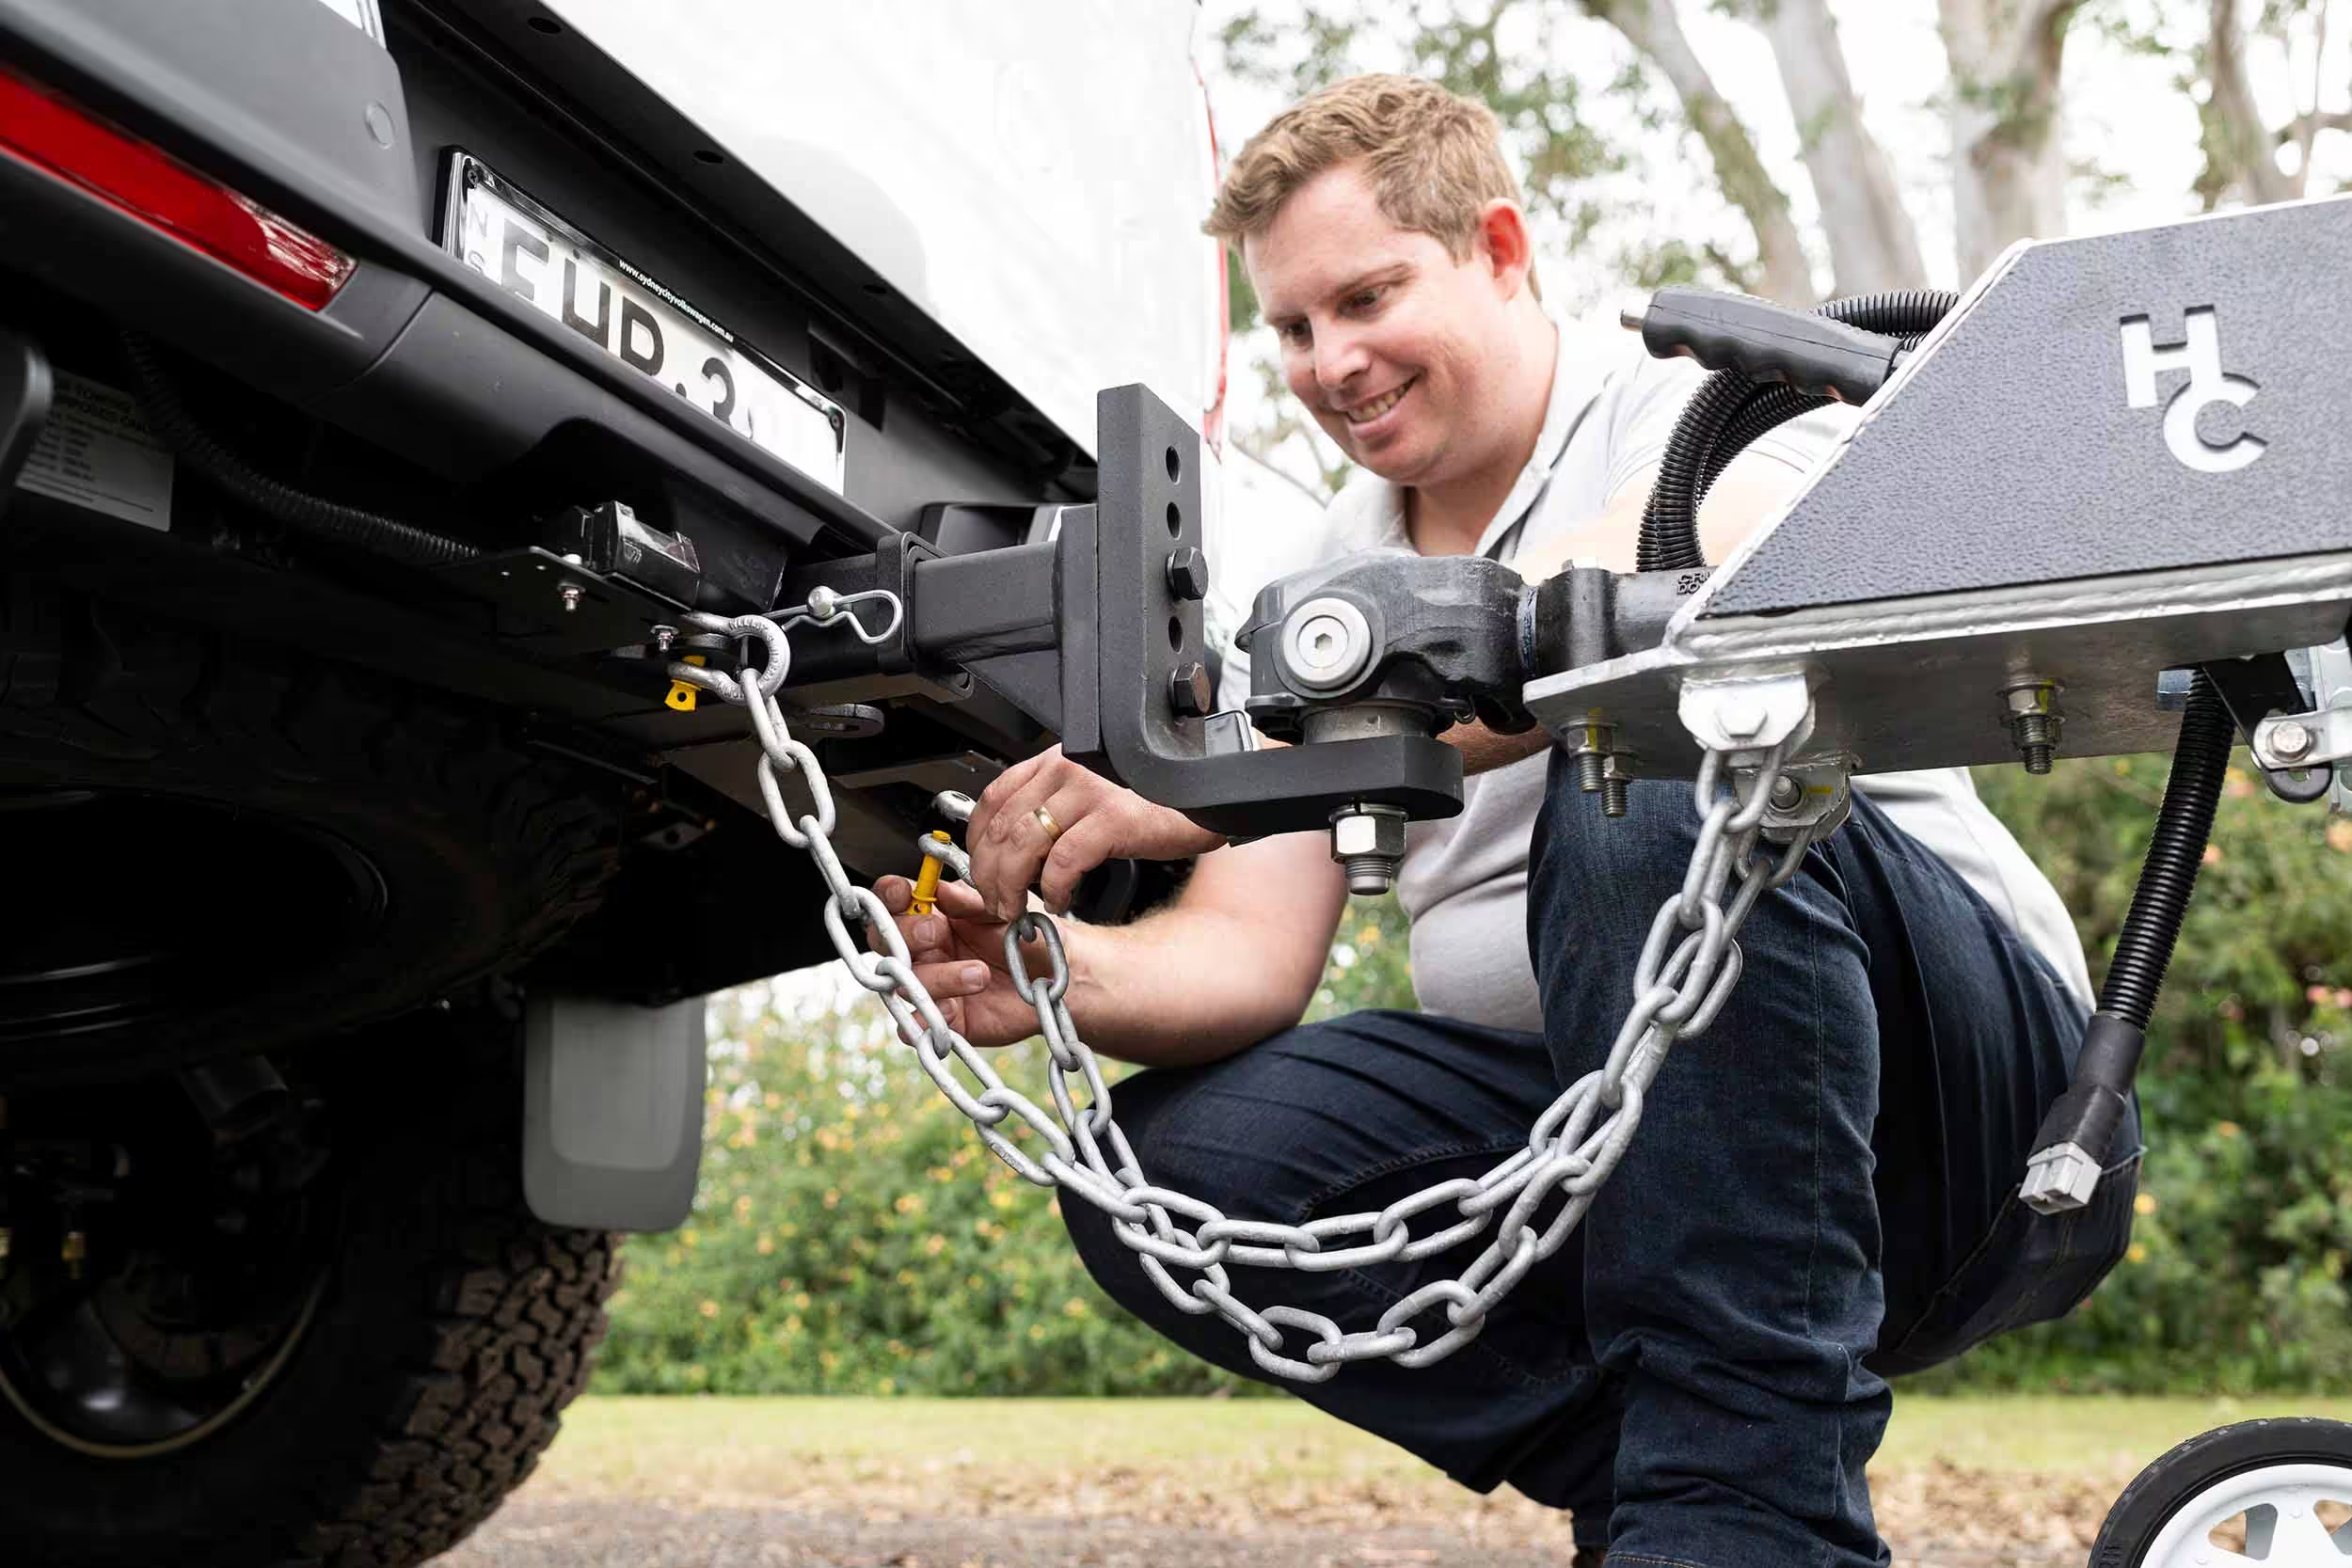
2. Chain her up
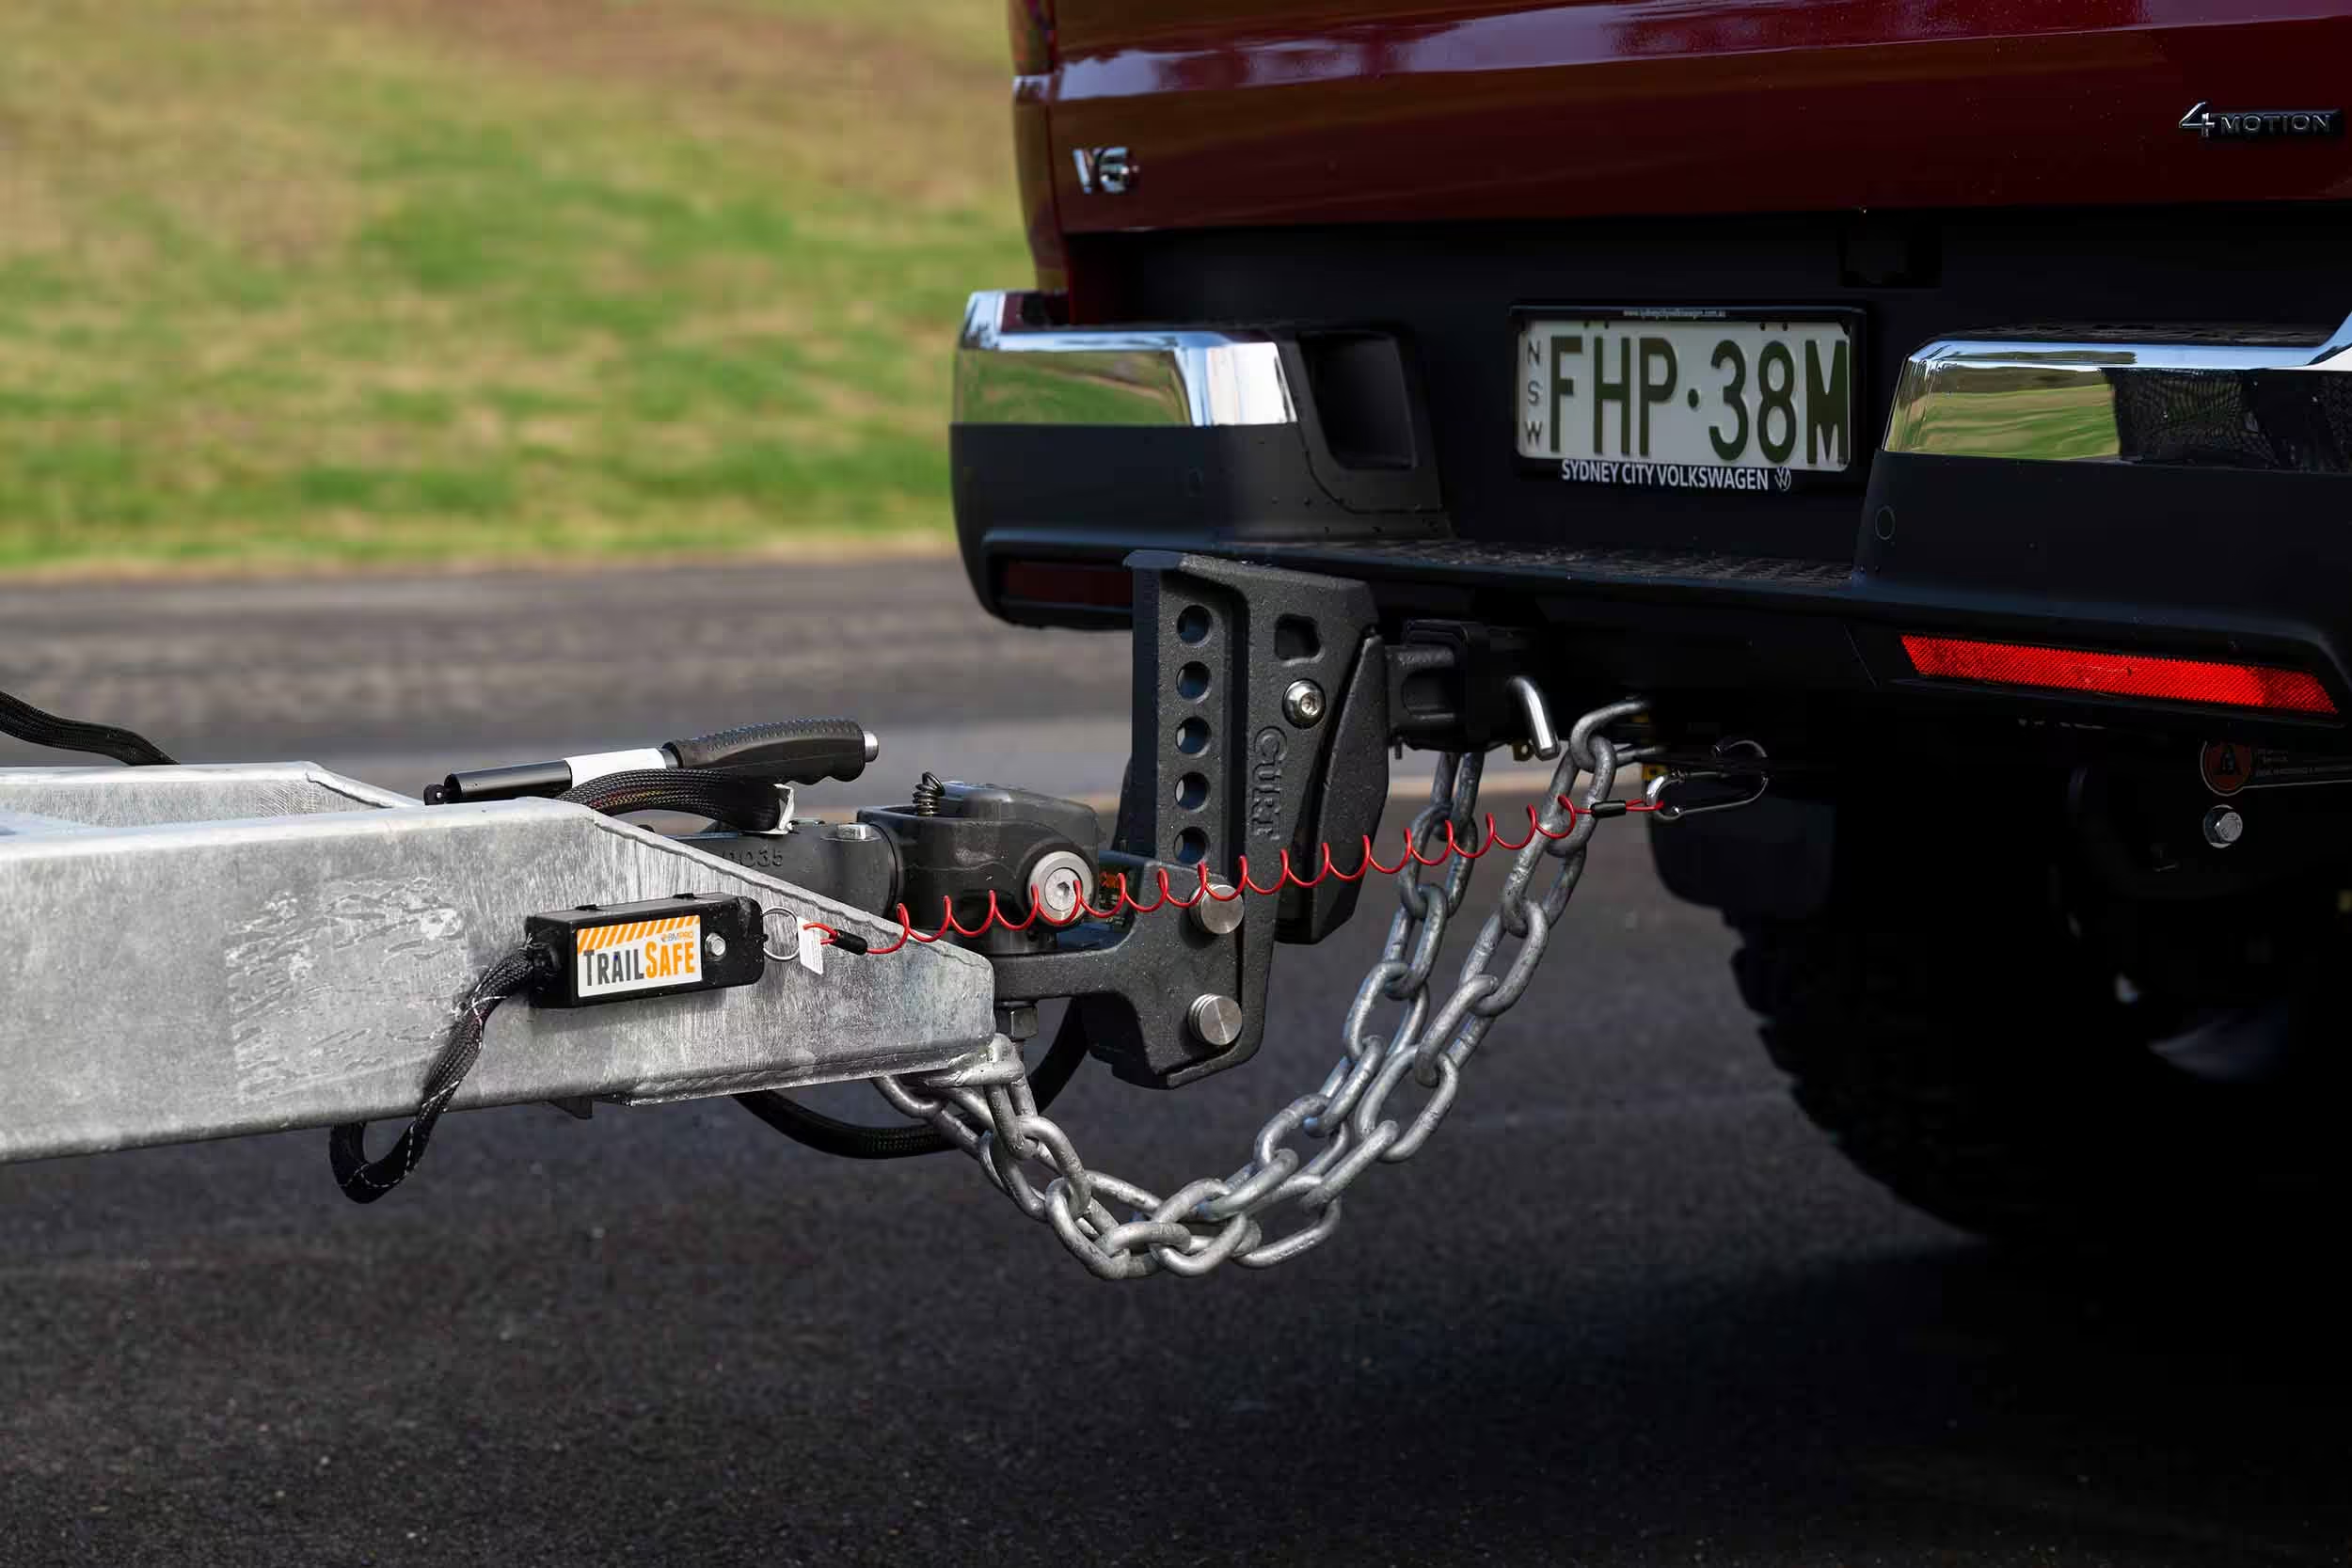
Connect the safety chains from the drawbar to the tow hitch. The chains provide a redundancy in case the hitching mechanism fails and the trailer detaches from the vehicle. It’s important to cross the two chains over so that they create a cradle to ‘catch’ the caravan if it breaks away. Use a D-shackle to secure the chains in place on the towbar, ensuring it is sufficiently rated for the weight of the trailer. The rating, known as the Working Load Limit (WLL) is printed on the body of the shackle. A shackle with a one-tonne limit (WLL 1T) will suffice as the rating isn’t pegged solely to the weight of the caravan, as John explains.
“Shackles are rated as lifting equipment, and when we’re towing we actually work on the breaking load limit of the shackle, and they generally have a six-to-one safety factor on them. So a one-tonne shackle shouldn’t break until it hits six tonnes; so two one-tonne shackles is far in excess [of what’s required] of a three tonne [or more] van.”
When connecting the chains, avoid chain drag by skipping a link or two when threading the pin through the shackle, ensuring you leave enough slack for the vehicle to make a hard turn in both directions.
3. Employ a back-up
If you’ve followed steps one and two to a tee you should never have to worry about your caravan or camper trailer decoupling mid journey. BUT, it’s important to be prepared for any eventuality, which is why trailers weighing more than 2000kg (gross trailer mass) must be fitted with an independent braking system with a breakaway cable, such as the BMPRO TrailSafe. This unit, fitted on the drawbar, has a cable that is clipped on to the vehicle. If the trailer detaches, the safety pin on the breakaway cable disengages, activating the trailer brakes. Make sure the cable is attached to the framework of the vehicle, NOT the towbar. This is important because if the towbar comes away from the vehicle with the trailer, the breakaway cable cannot activate.
4. Power up
Now that the heavy lifting is done, it’s time to attach the trailer’s electrical plugs to the vehicle. Depending on your rig, you may have up to four plugs to connect. These include a 7-pin or 12-pin plug (for trailer lights, electric brakes, breakaway battery monitor and auxiliary power), up to two Anderson plugs (to charge the trailer’s batteries, run large appliances like the fridge, and for Electronic Stability Control), and a plug for the caravan’s rear (and side) camera(s).
5. Brakes away!
Lastly, release the trailer parking brake (you’ll get where you’re going faster when the anchors are off!), stow the jockey wheel and get set to hit the road.

Now that you’re safely hitched up it’s important to carry out some final checks before you get moving.
Here’s a handy checklist to help see you safely to your next destination: