Don’t like a cold van floor? This DIY carpet job is for you!
Caravanning in the winter months has its ups and downs, but you’ll know how horrible a cold hard floor can be. If you don’t like a cold van floor in the morning, this DIY job is for you! Most van…
Caravanning in the winter months has its ups and downs, but you’ll know how horrible a cold hard floor can be. If you don’t like a cold van floor in the morning, this DIY job is for you!
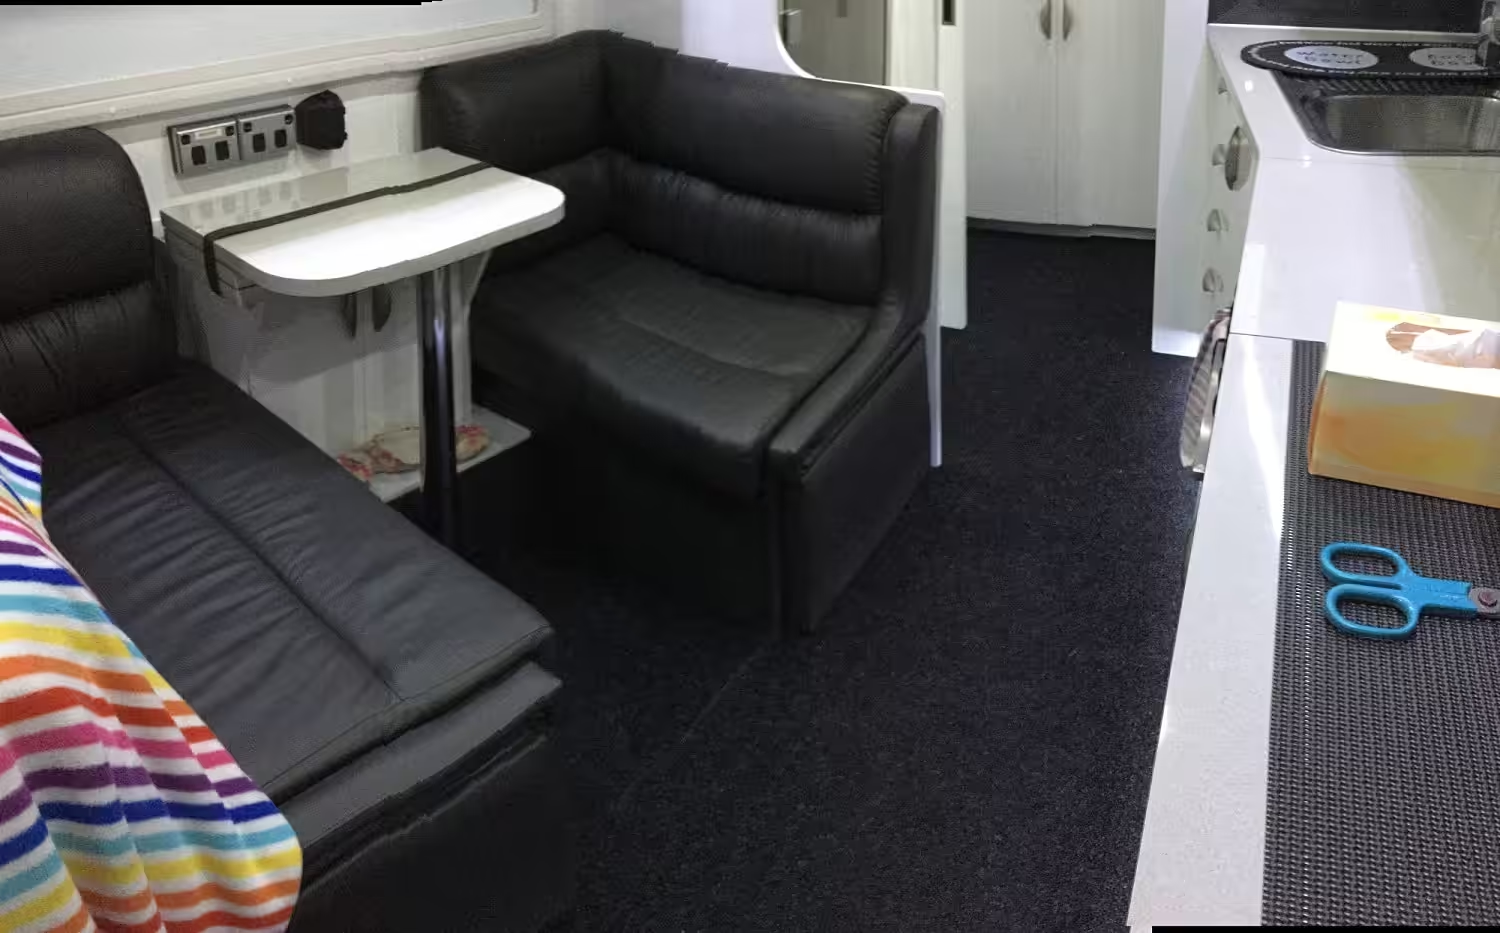
Most van flooring is made from some sort of hard-wearing, easy to clean material. That’s the ups! The downs, it can be quite cold, especially in the winter months. If you’re anything like us, getting up in the morning to a cold floor is not exactly compatible with the whole camping in comfort thing. Having some time ago trialled a rubber-backed marine carpet for a Victorian High Country trip in June, we thought we’d try another version in this van. Here’s how to do it.
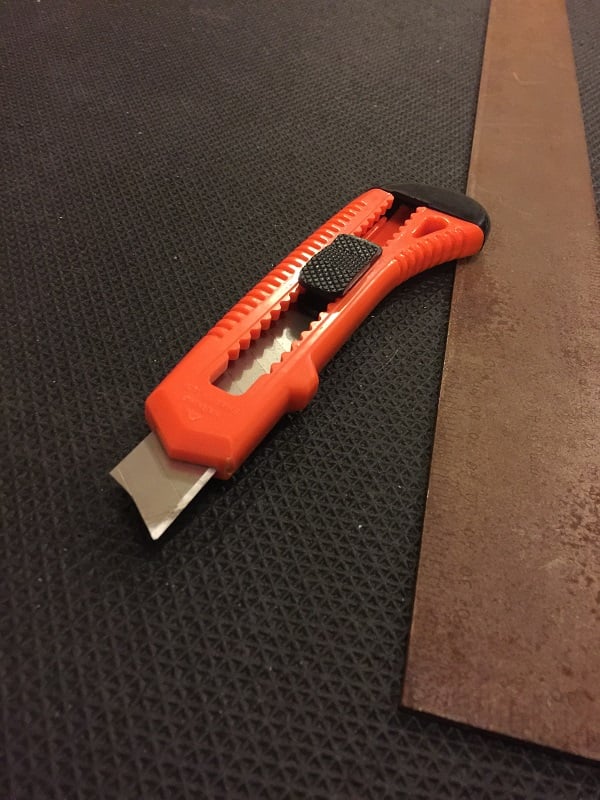
You need a few tools: A sharp, retractable knife, a large square ruler or straight edge, a tape measure and a carpenter’s pencil (and some A4 paper).
The first thing you need to do is to measure out the van to get an idea of how much carpet you will need. Our caravan is 20 feet long inside, which is about eight metres. Since the carpet is available in widths of about two metres, I guesstimated that six metres would allow me enough material leftover so that I could fix any mistakes. Or be used for other tasks.
I purchased rubber-backed marine carpet from Bunnings, but you could use just about any carpet material you like. The only real proviso is not to get anything that is too stiff because it will be difficult to remove and refit for cleaning. This type of marine carpet is hard-wearing, but also relatively flexible, plus the rubber also helps with insulation.
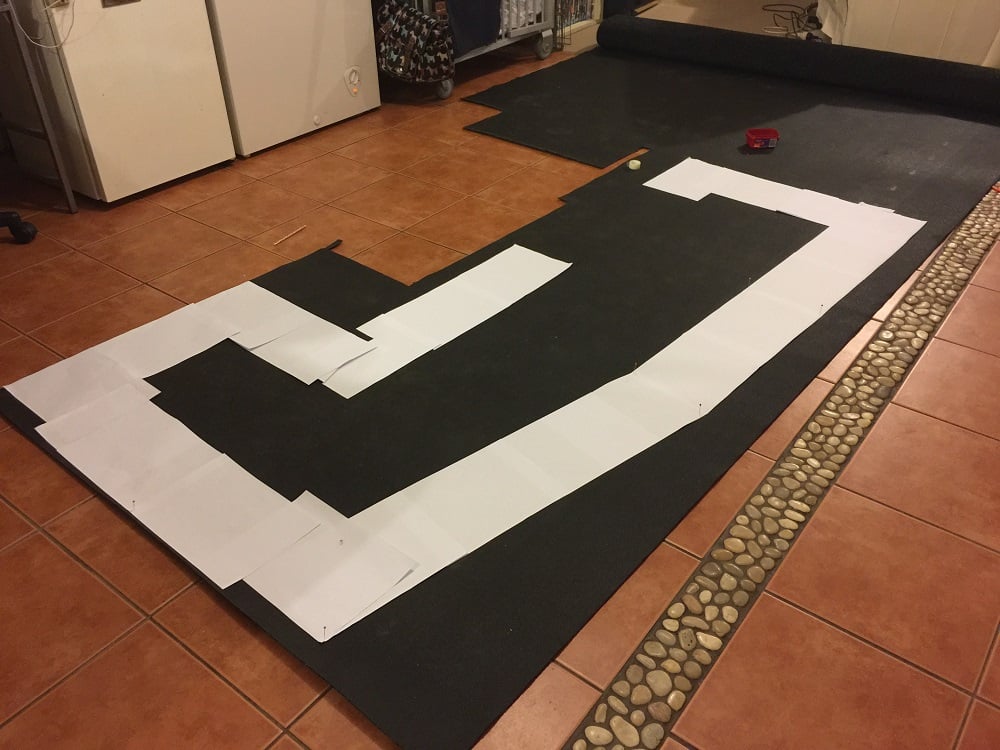
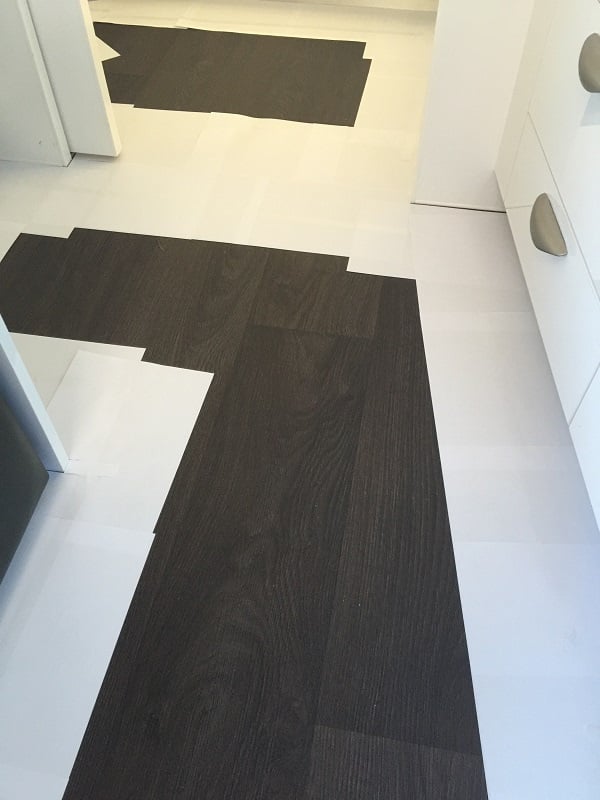
Once you have your carpet, you will need to make templates to customise the fit. If you look at your van floor, you’ll notice not everything is straight, square or sharp-angled. There might be sliders for the ensuite door, dividing walls and the seats will have small bumps at the corners.
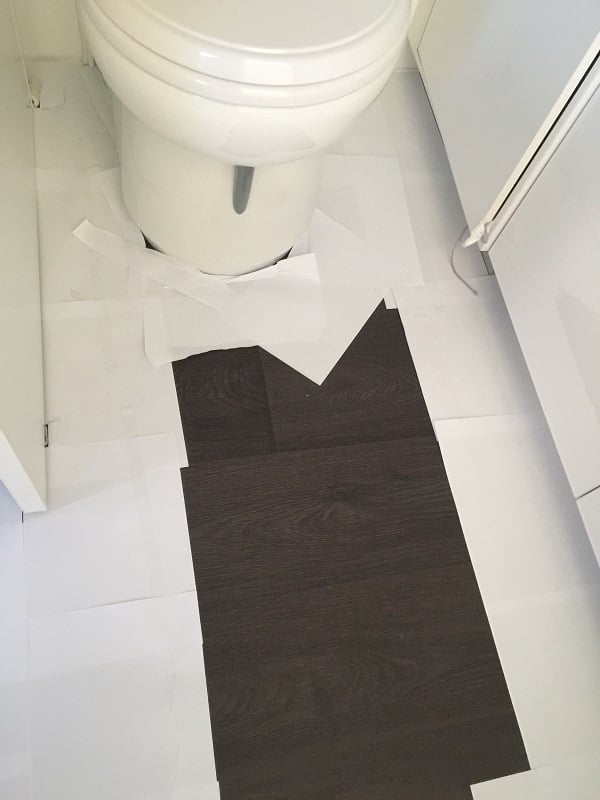
If you have a toilet, it is especially tricky to get this just right. I measured all the edges and noted them on a rough drawing of the floorplan. Then I used A4 paper sheets to mark out the outline and stuck them together with tape. While this plan works okay, it doesn’t hold its shape very well. Using the measurements I took of the floor, I was able to realign the template to match the original shape. Top tip? Use butcher’s paper or something similar (and larger) that holds the shape better. Another tip? Don’t try to make the carpet in one piece. Besides being extremely difficult to do, it will make it almost impossible to remove the carpet and fit it back. Divide it into smaller sections to make life easier. I did ours in six parts: The ensuite; the kitchen; the dinette; the doorway, and then the two small areas along either side of the bed.
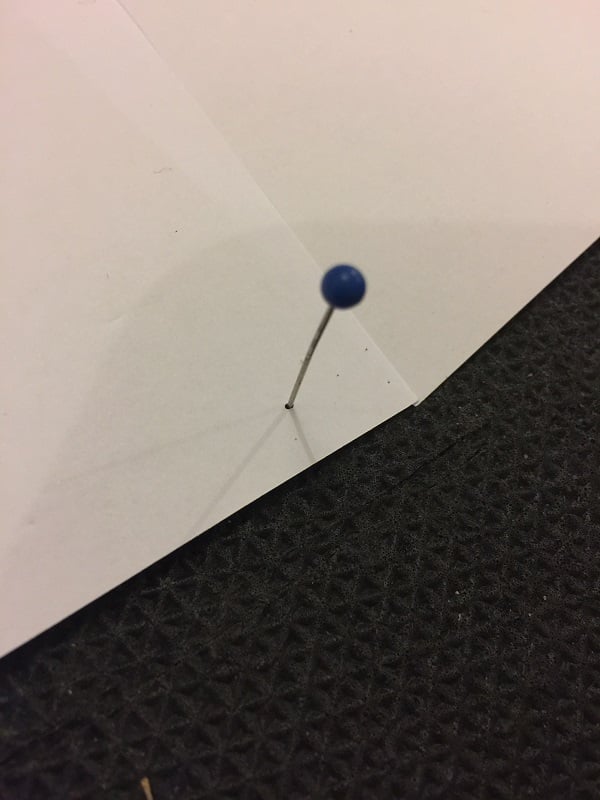
Remember the mantra? When you cut the carpet, always measure twice and cut once. And give yourself some extra at the edges so you can trim it to fit. Trust me, no matter how careful you are, unless you’re a carpet layer by trade, you’ll make a mistake somewhere. Also, use the straight edges of the carpet to get the template straight. You can square off here for a better fit. I turned the carpet over to make cutting it easier. If you follow this method, remember to reverse your template! I also found using drawing pins to secure the template helped, too.
Once you cut out a section, take it to the van and trim the edges to fit. You will need to be careful to trim the edges where each section meets another otherwise you end up with a trip hazard. I find the rubber-backed carpet settles pretty flat, but you may want to look at some way to keep the edges together if this bothers you or your carpet is a bit stiff.
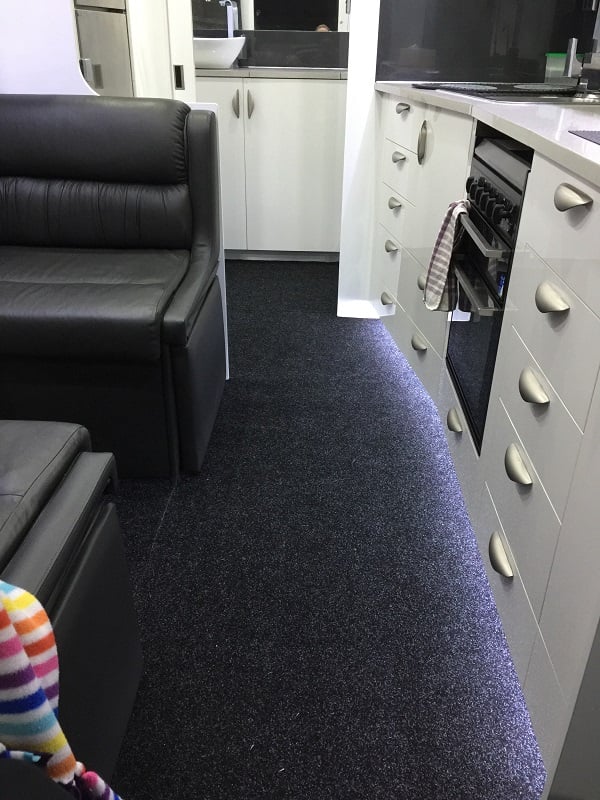
As I mentioned earlier, the ensuite is tricky if you want to fit the carpet around the base of the toilet. We also have an offset kitchen which had a slight angle on the longest edge, and this is where the templates come in handy.
I’m proud of the result. It not only looks (almost) factory, but it’s also cheap, does a superb job, and it’s not hard. So if you don’t like a cold van floor in the morning, this DIY job is for you!