Published on: 13 November 2025
Hands up if you’ve ever arrived at a campsite only to realise you’ve forgotten something essential? I reckon we’ve all been there. Over the years, I’ve made plenty of packing mistakes, from forgetting the corkscrew (nightmare scenario) to leaving the hammer at home for tent pegs. Hell, we probably made more mistakes in our first 10 trips before we finally found our rhythm.
Here’s the thing: having the right camping gear guide makes all the difference between a relaxing getaway and a frustrating exercise in problem-solving. This comprehensive camping gear guide covers everything Australian caravanners and RV travellers need. Whether you’re heading off in a caravan, camper trailer, or tent, this complete camping gear guide will help you pack smarter, not harder.
I’ve broken this camping gear guide down into the essential categories: kitchen and food preparation, tools and maintenance, comfort equipment, lighting solutions, and safety gear. Let’s get into it.
There’s nothing quite like coming back to camp after a big day outdoors to find a delicious meal ready to go. The reality is, preparing good food while camping requires the right equipment. After years of refining our camp kitchen setup, here’s what actually gets used trip after trip. This section of the camping gear guide covers all the kitchen essentials.
A portable BBQ is one of those pieces of camping gear that earns its keep every single trip. I reckon grilling snags or steaks over a compact BBQ is part of the camping experience. The Weber Go-Anywhere Charcoal Barbecue has been a staple in our setup for years.
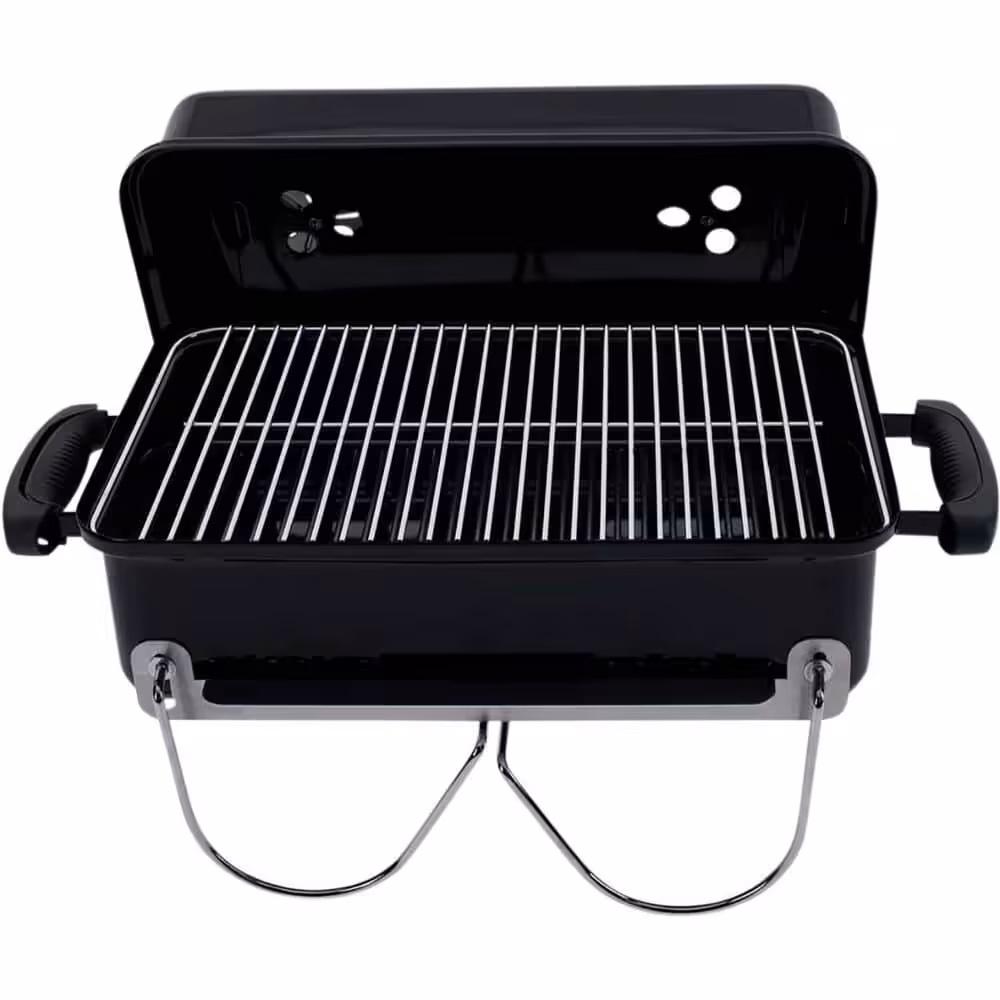
Its plated steel cooking grill retains heat beautifully, allowing for consistent and even cooking. The legs pivot to lock it into place while carrying, making it genuinely portable. This will set you back around $150, but it’ll last for years. I’ve been using ours for five years without any issues.
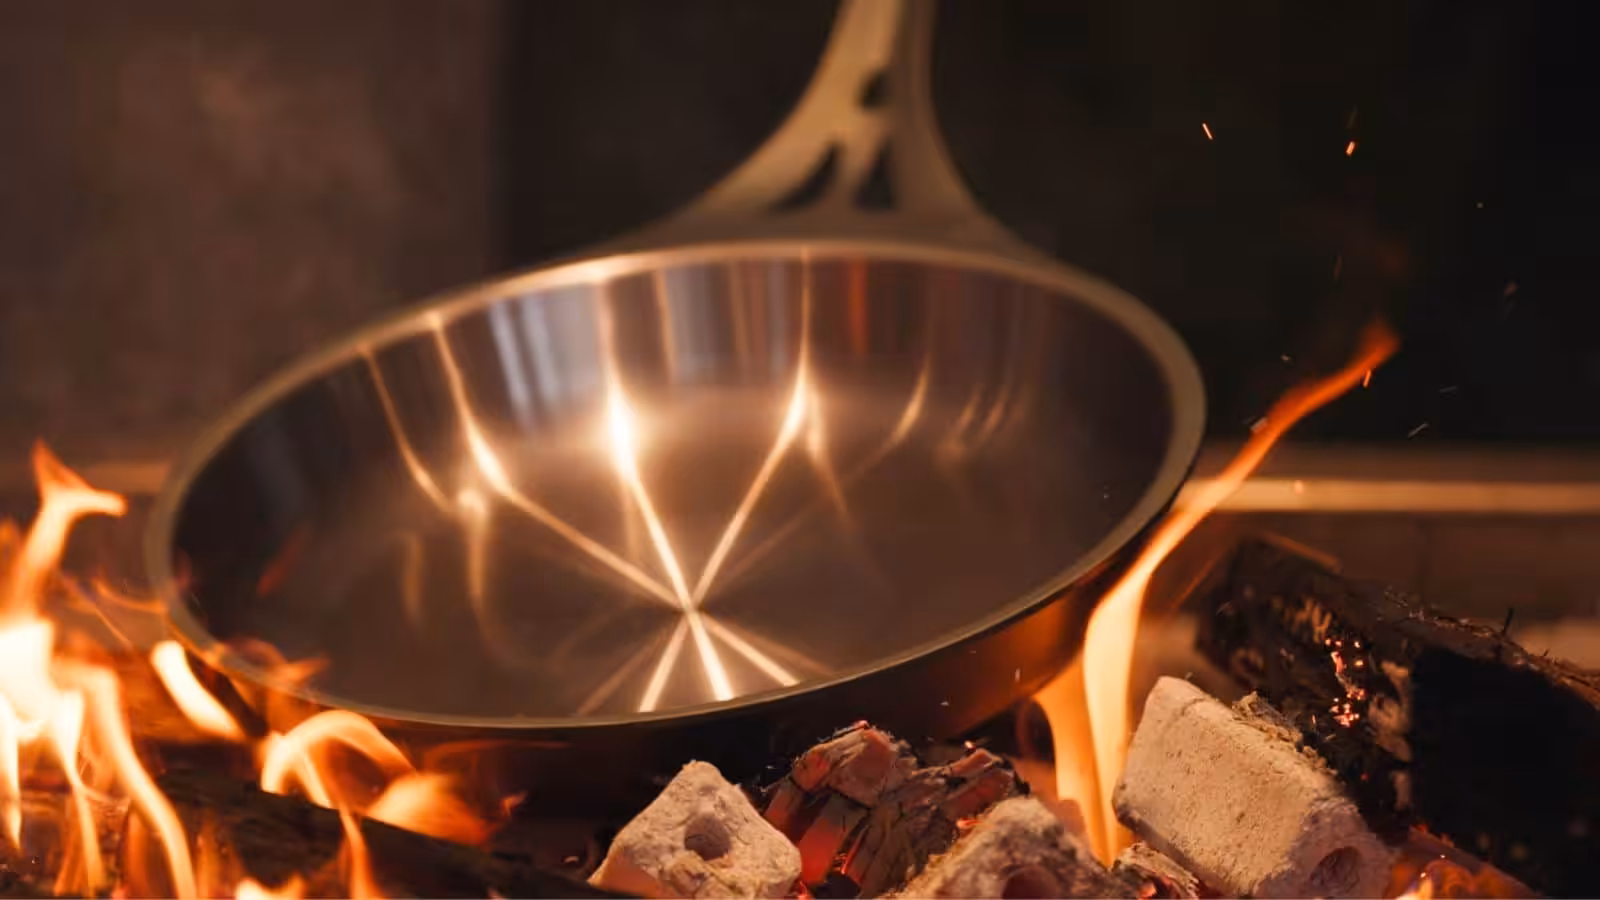
If you’re tired of replacing cheap camping cookware after every big trip, SolidTeknics AUS-ION pans are the ultimate upgrade for your camp kitchen. Made right here in Australia from a single piece of wrought iron, there are no rivets to rattle loose over corrugations or trap food grime.
They season just like cast iron to create a natural non-stick surface but are around half the weight, making them much easier to pack and handle. A standard skillet will set you back around $160, but with a multi-century warranty, it is literally the last pan you will ever need to buy.
A fridge is no longer a luxury when camping, it’s essential if you want to enjoy fresh food and cold drinks beyond day one. This means you’re not limited to just the non-perishables; you can have your gourmet ingredients and taste of home while on the road.
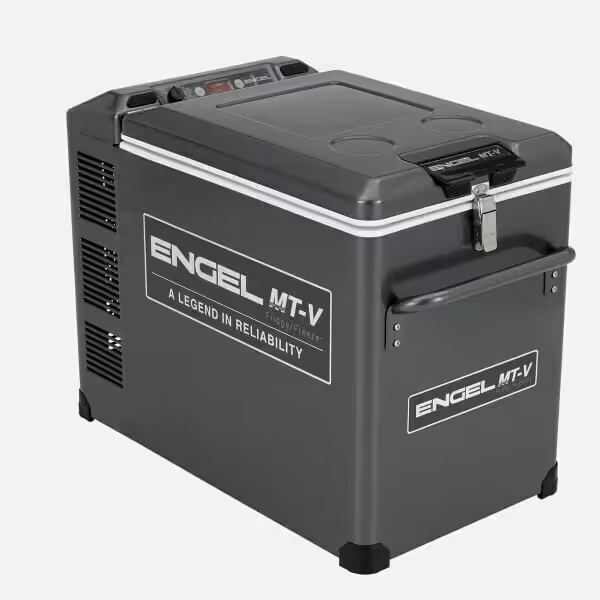
The Engel 40 Litre Fridge Freezer has impressed us with its app control and precision temperature management. Set the perfect temperature for beers and wines by simply tapping the Beer Control icon (it’s 3°C if you were wondering). The Fridge Lid Alarm will fire if the lid comes off, so your ingredients stay safe. Around $1,500, but worth it for extended trips.
To power your fridge while off-grid, you’ll need a reliable generator. Generators provide the power you need to stay off-grid for longer and bring along luxuries previously reserved for home. When you’re in a caravan or camper trailer, you can power a kettle, toaster, fan, small air conditioner, and a whole heap more.
The Yamaha 2.4 kVA EF2400iS Inverter Generator is a power-horse, producing 2400 watts of maximum power. It can handle caravan air conditioners even on those 40-degree days. Expect to pay around $3,000, but it’s both powerful and portable.
When it comes to cooking utensils, you’ll need the essentials: a pot, frying pan, spatula, tongs, and can opener. Don’t forget a chopping board and sharp knives for cutting and preparing food. I keep a dedicated camp cooking set in a storage crate so it’s always ready to go.
For tableware, disposable plates and utensils might be convenient, but they’re not eco-friendly. Consider packing reusable tableware including plates, bowls, cups, and utensils. These items can be washed and reused, reducing waste and minimising your environmental impact. It’s a rule of thumb to leave nothing behind but footprints.
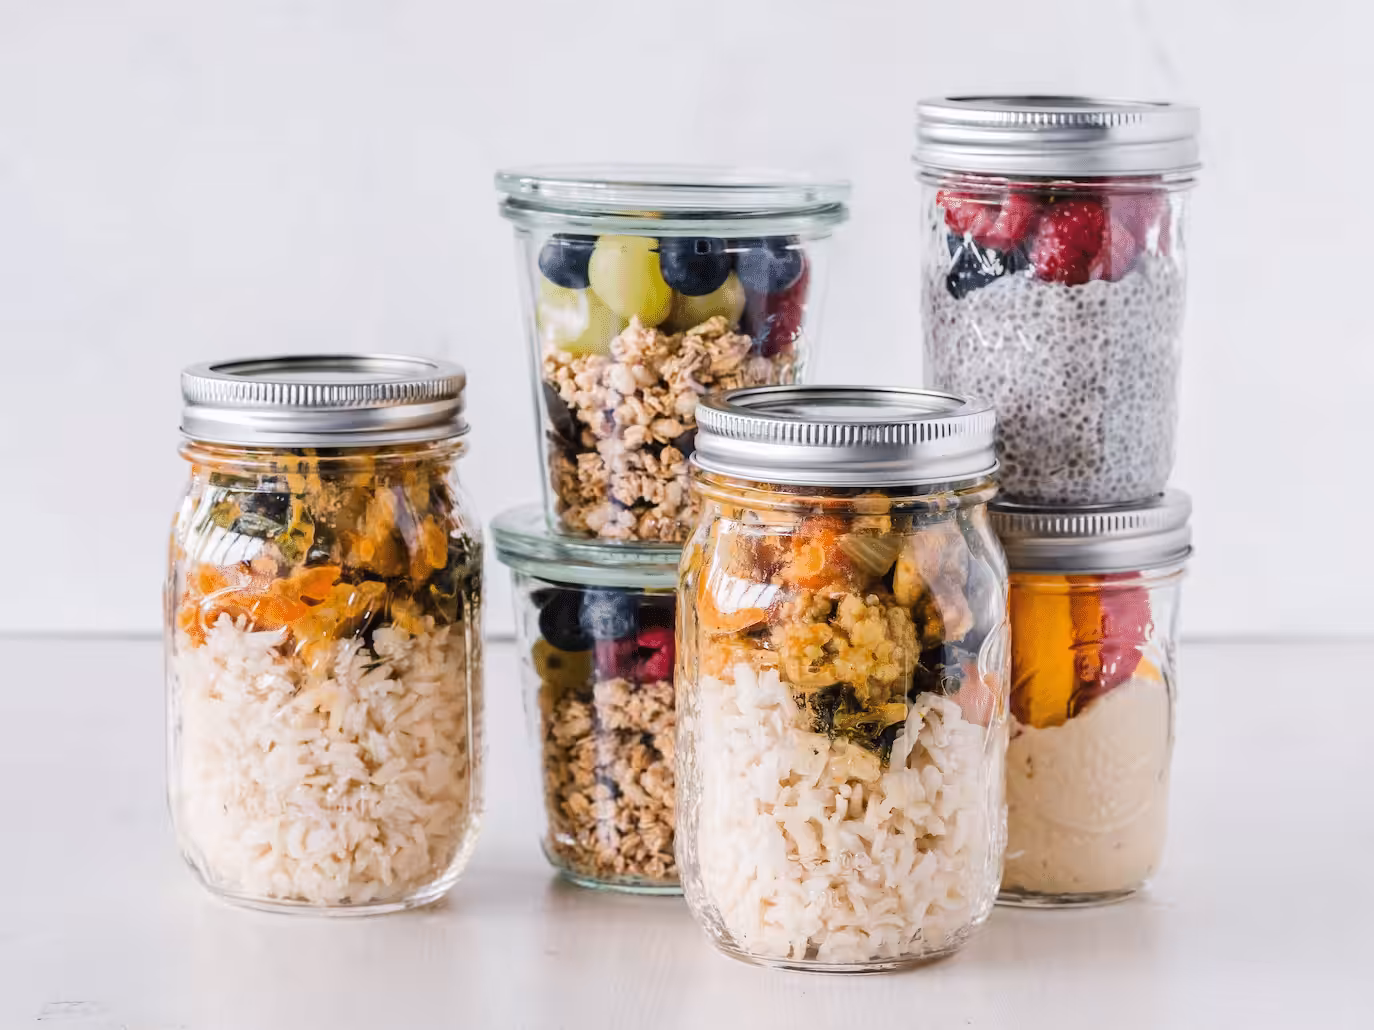
Food storage containers keep your food organised and fresh. You can go with plastic, metal, or glass containers depending on your taste. I prefer plastic for camping because they’re lighter and won’t shatter. Label your containers with the date and contents to ensure you’re using the freshest food first.
The Clearview Clip-On Tray has been brilliant for extra prep space. This table easily hangs off your Easy Slide or Drop Slide, providing a stable surface for meal prep. Each tray is supported by two fold-out legs holding up to 15kg. Ranging from $94-$129 depending on size. When you’re finished, fold up the legs and store beneath your slide.
Adding seasonings and spices to your meals makes them more flavourful and enjoyable. There’s no need to eat plain just because you’re on the road. Bring along a small container or labelled ziplock bags filled with your favourite seasonings like salt, pepper, garlic powder, and chilli flakes. I use a tackle box organiser to keep everything sorted.
Here’s where years of camping experience really pays off. Having the right tools on hand can get you out of sticky situations and keep your camping gear in working order. This part of the camping gear guide focuses on tools that have saved our bacon more times than I’d like to admit.
Treading lightly is important when driving off the beaten track, and deflating your tyres is good for both your vehicle and the environment. Lowering tyre air pressure gives you a safer ride on sand or dirt, prevents damage to tracks, and makes it easier for your vehicle to negotiate challenging terrain.
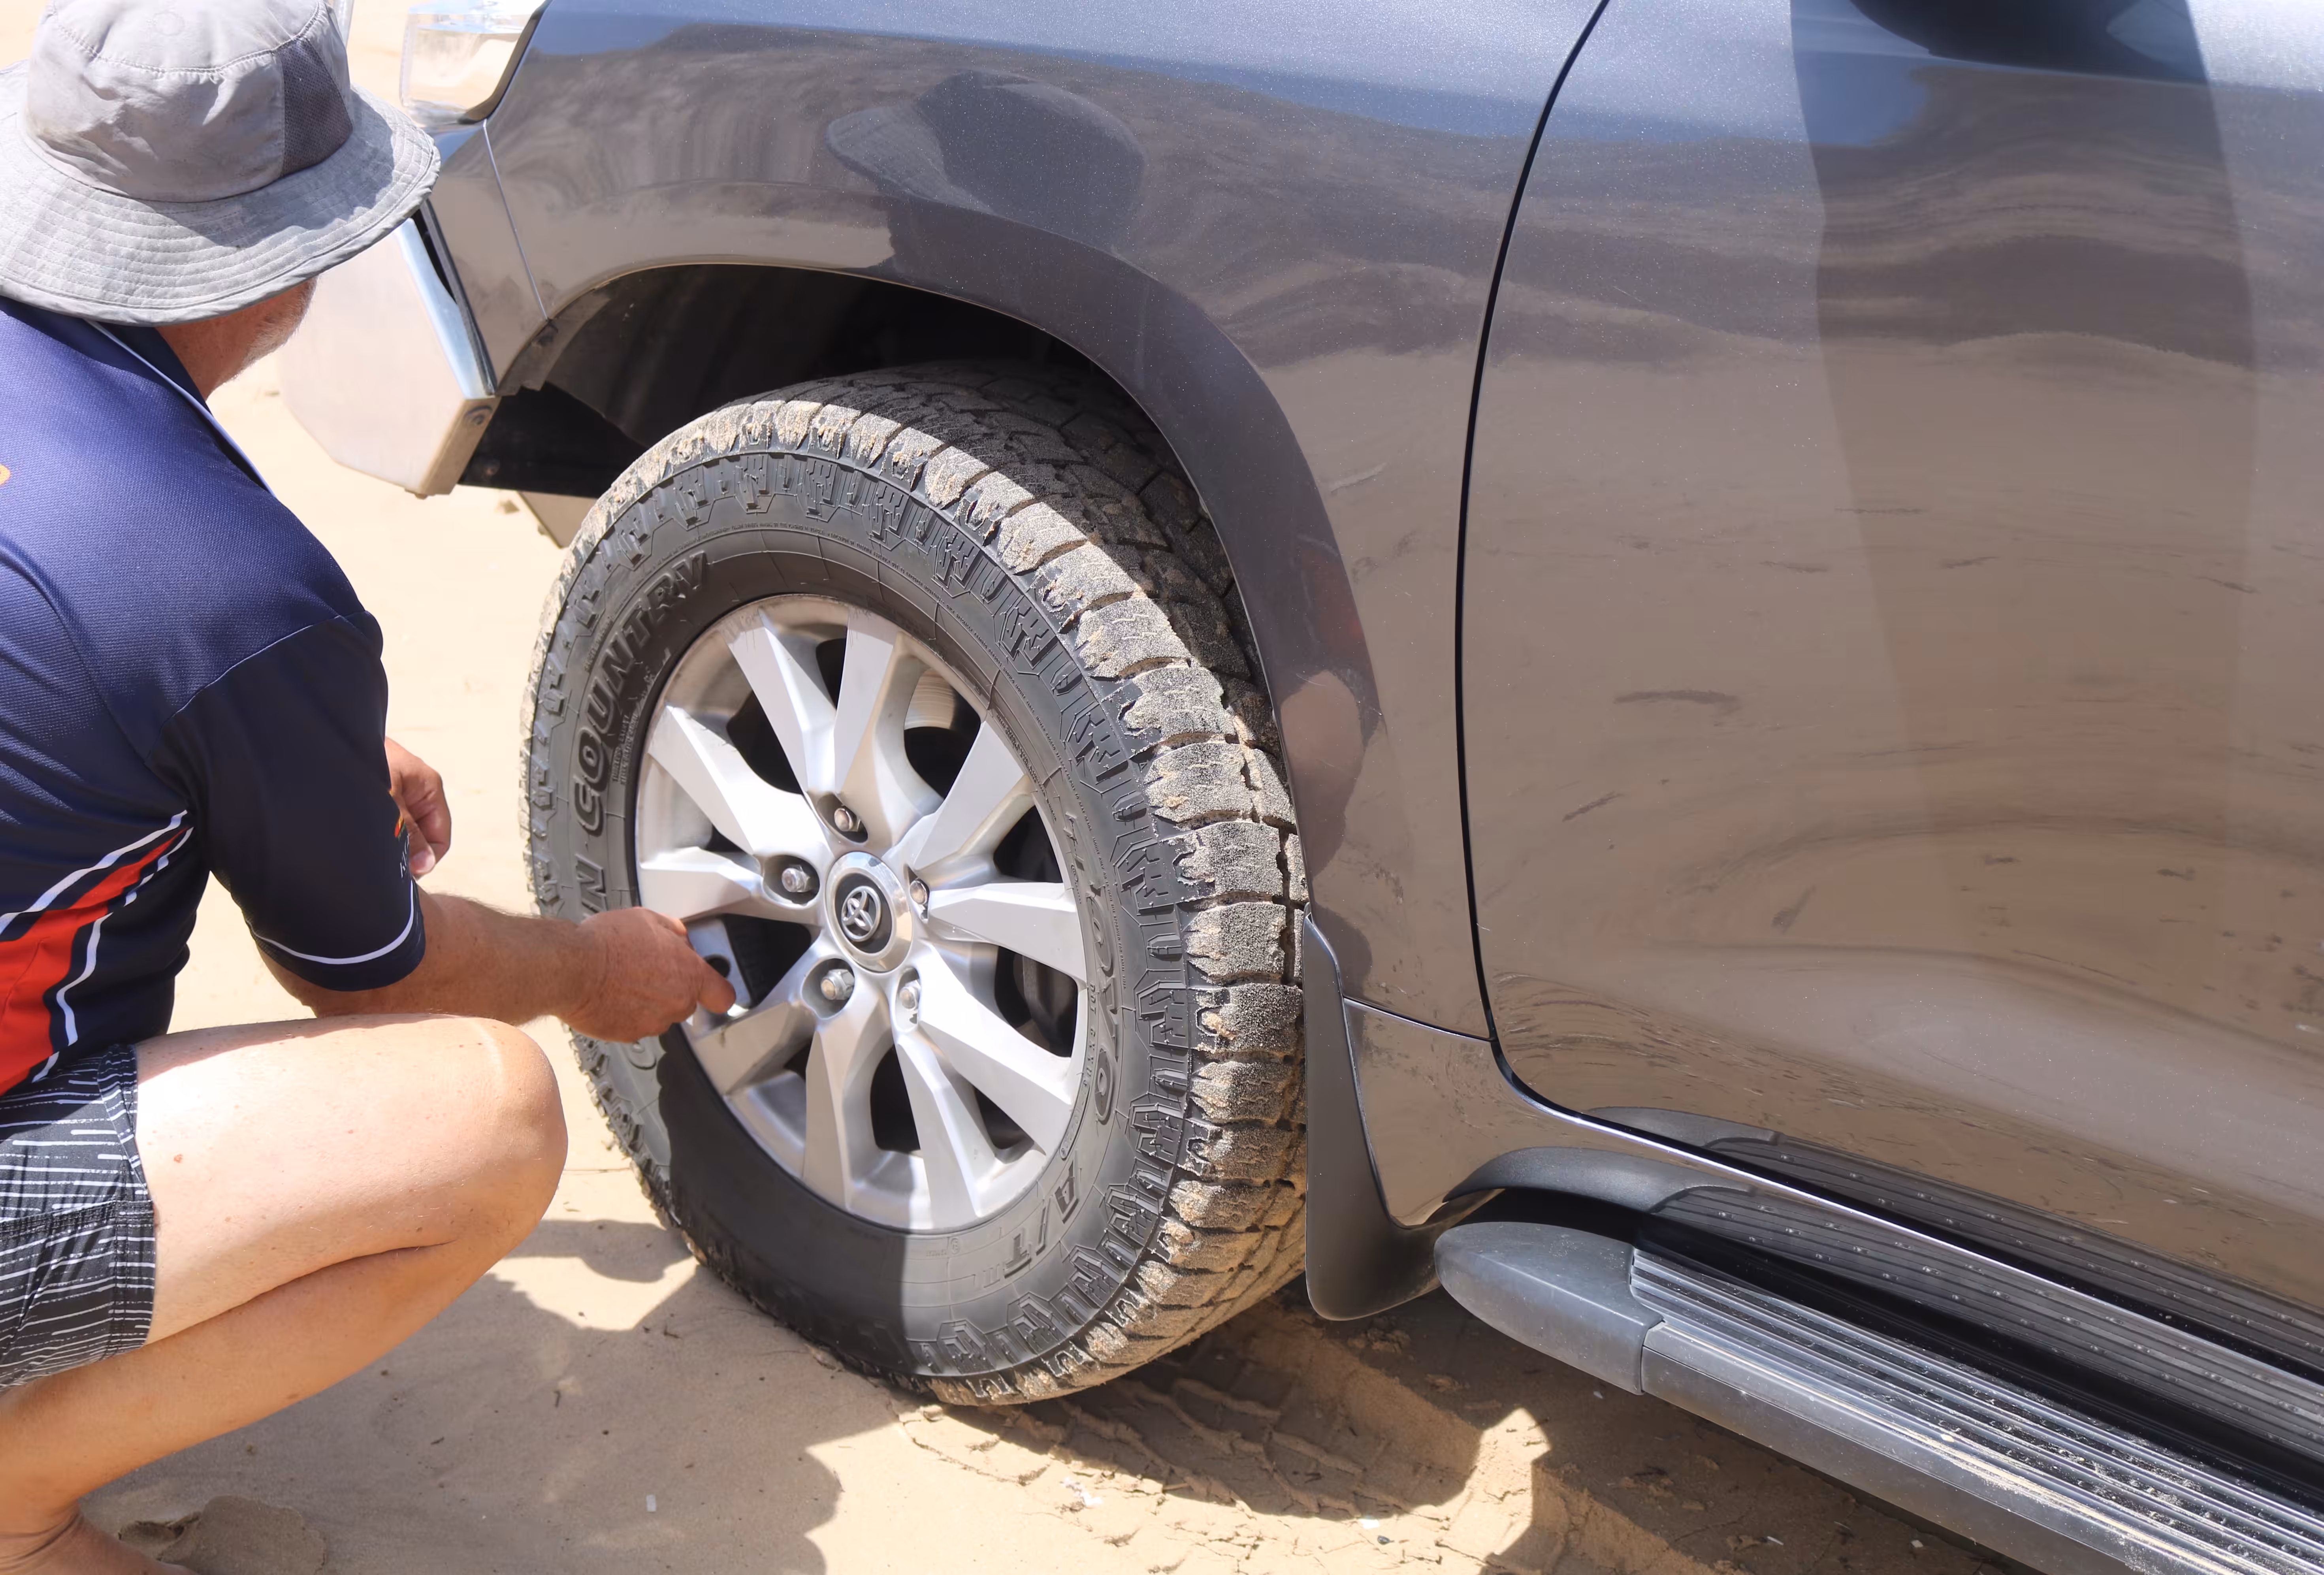
I reckon the Staun tyre deflators are brilliant. These preset to 18psi and simply screw into the tyre valve, stopping at the correct pressure automatically. No guesswork involved.
Another handy tool is a portable air compressor. The Rough Country air compressor enables you to reinflate your tyres to road pressure by attaching it to your car battery. Essential for heading back to sealed roads after beach or bush camping.
Travelling long distances can see parts rattle and shake loose on a caravan or camper trailer. This makes having a basic toolbox equipped with spanners and a socket set, screwdrivers, and pliers absolutely necessary. Don’t forget to carry a hammer for tent, awning, or shade structure pegs.
Our tool kit lives in a lockable aluminium toolbox that’s permanently mounted in the vehicle. This includes metric and imperial sockets (you never know what you’ll encounter), multiple screwdriver types, adjustable spanners, and a good quality multitool. A comprehensive tool set will cover most situations.
A long-handled spade, which you can transport on roof racks, is useful for many purposes. These include making a clearing for a campfire, moving coals for camp oven cooking, or digging yourself out of a bog. I’ve used ours more times than I can remember, and not just for getting unstuck.
Sound familiar? You thought the campsite would be firm, but your wheels have sunk. A decent spade and some recovery boards can save the day. Keep recovery gear accessible, not buried under everything else.
Carrying woven cloth tape and cable ties can get you out of sticky situations. Both of these items have helped us make temporary fixes, from annexe tears to securing caravan windows and doors when latches have become loose. Having these items on hand can hold things together until spare parts can be purchased.
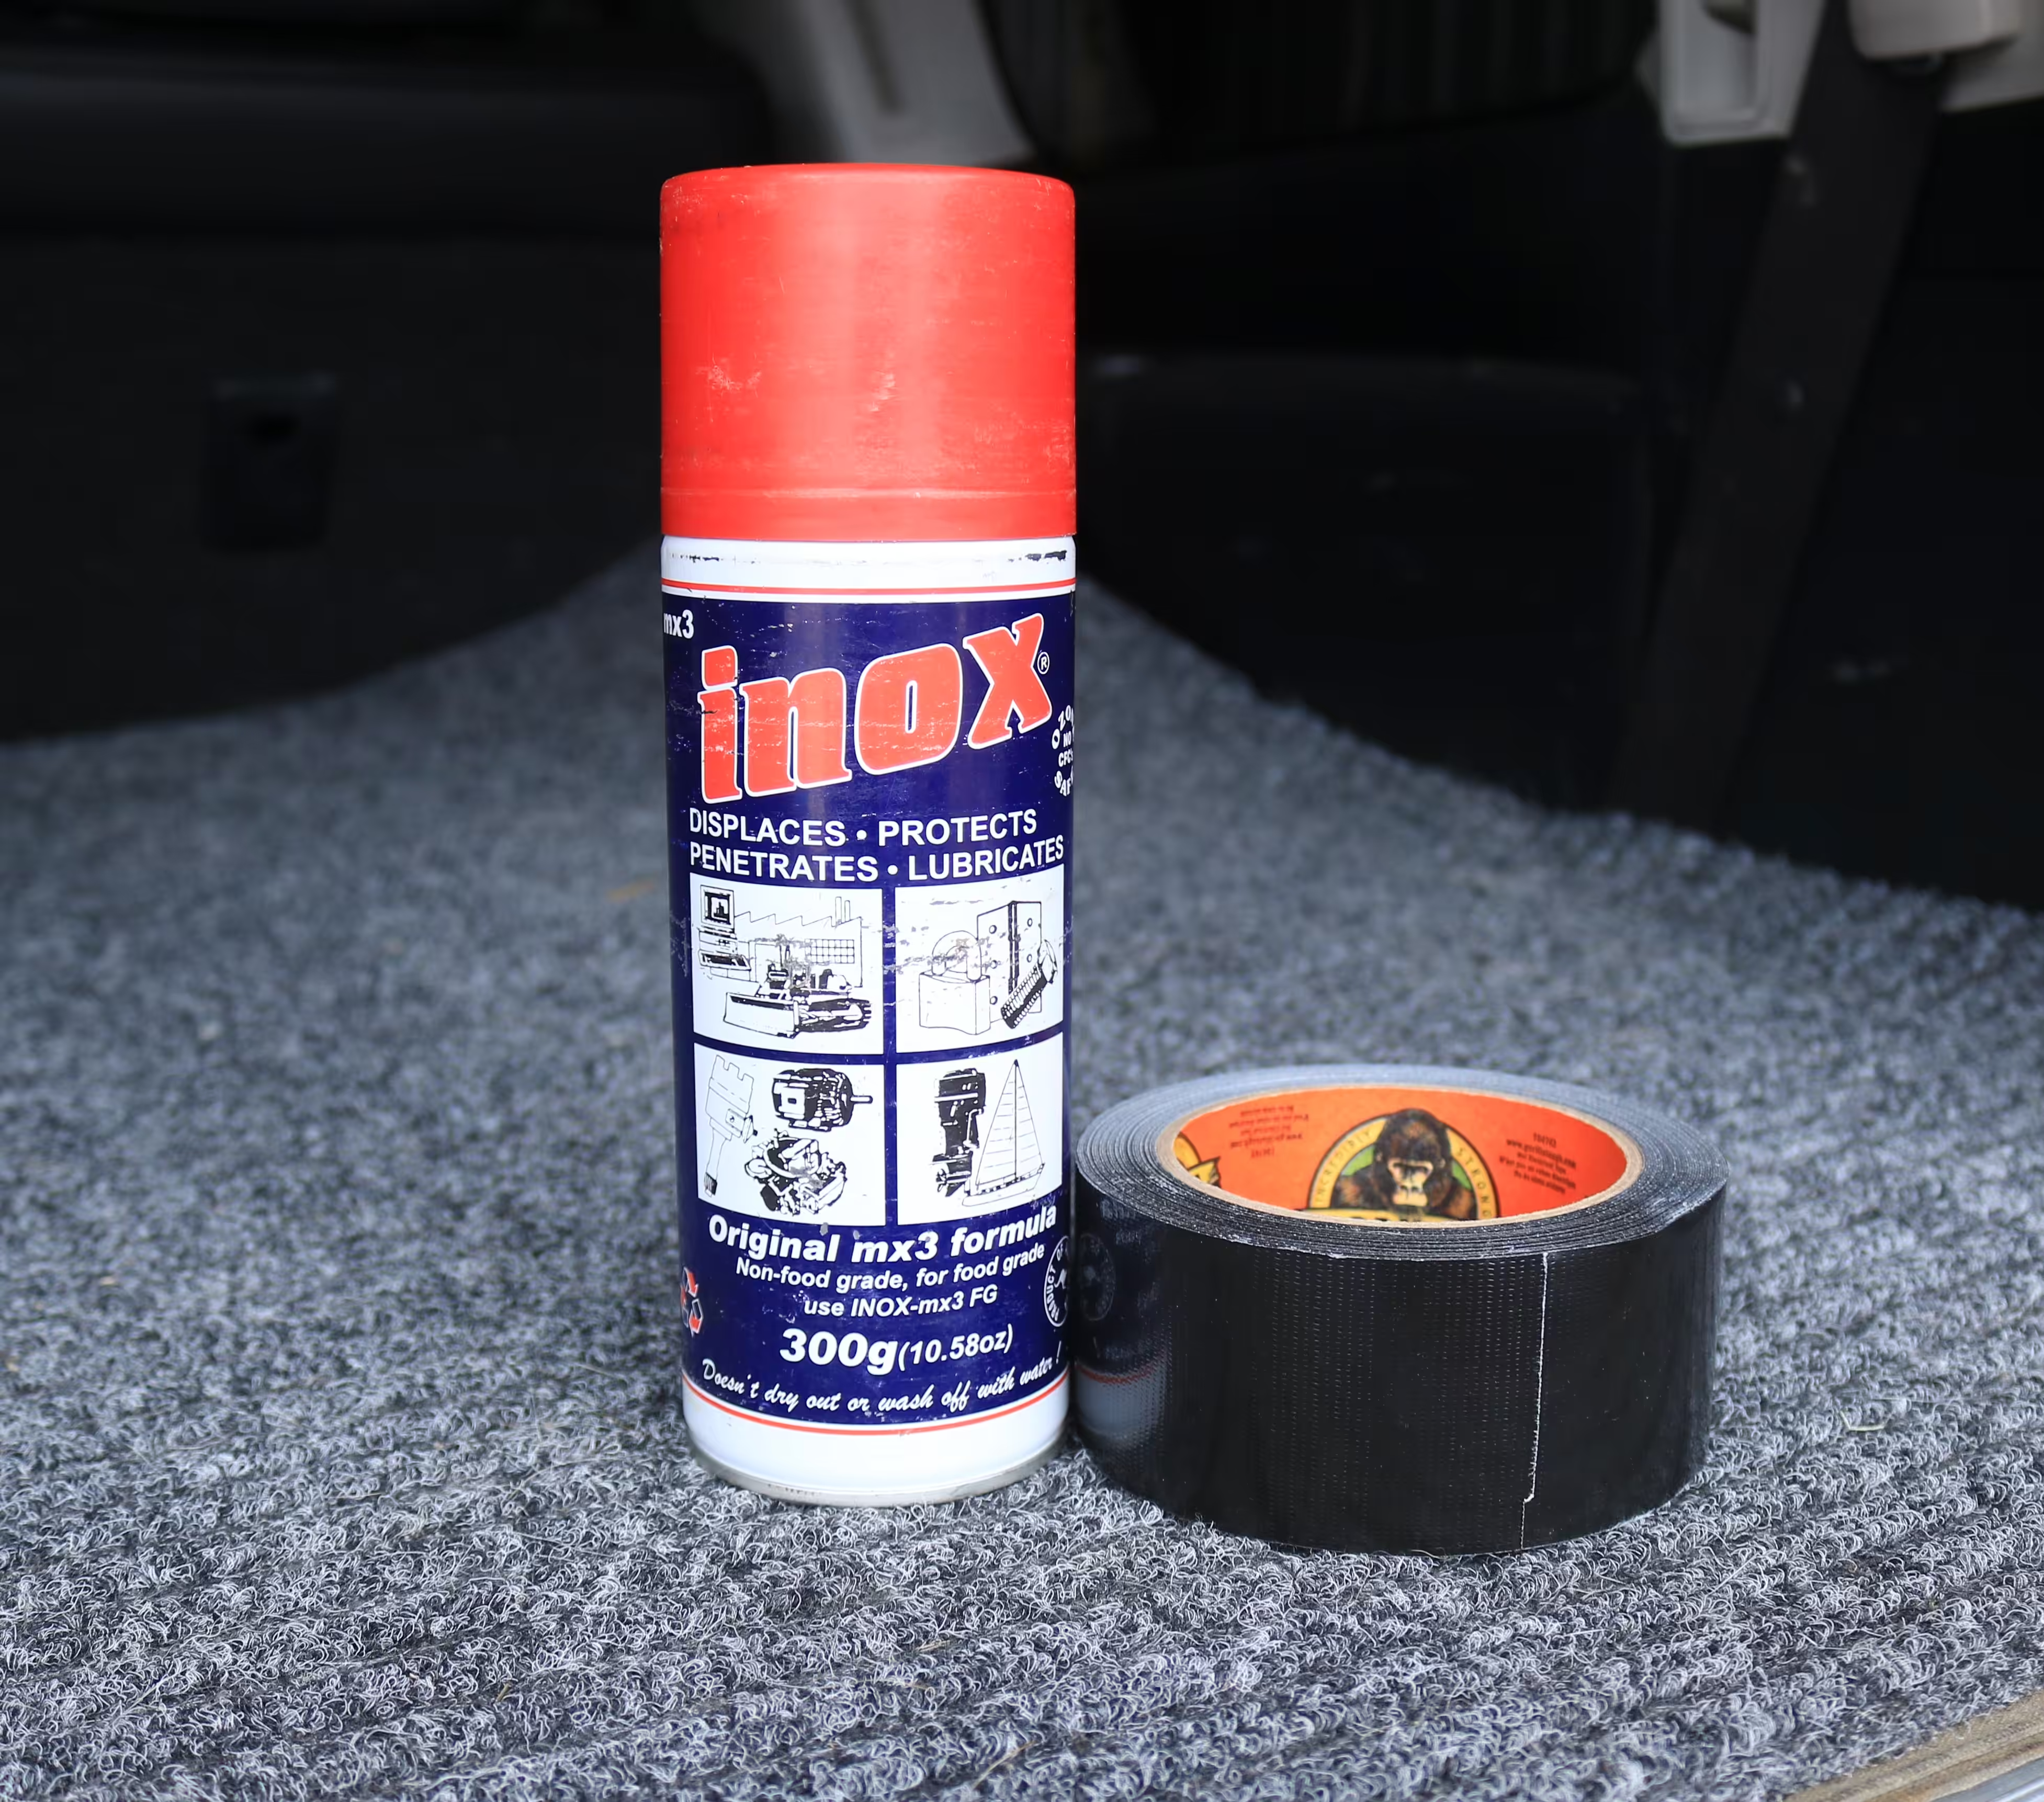
I always carry a roll of good quality duct tape, cable ties in multiple sizes, spare fuses, wire, and some basic plumbing fittings. You’d be surprised how creative you can get with these basics when something breaks at 9pm on a Saturday.
A lubricant spray like Inox has multiple uses when travelling. It’s our go-to for keeping hinges, doors, and all types of moving parts on a caravan and car operating freely and without squeaks. The spray also helps protect parts from corrosion and disperses water. A can of Inox lives in our tool kit permanently.
The difference between roughing it and comfortable camping often comes down to a few key pieces of equipment. This section of the camping gear guide shows what makes camp feel like a home away from home when you’re exploring Australia’s best free camping spots.
A half-folding table is one of those bits of camping gear that gets used every trip. This sturdy camping table is height adjustable, making it convenient for many uses around the campsite. The steel frame legs lock in tight when setting up and then fold and clip inside the table when it’s time to pack away. They come in different lengths with a carry handle. Expect to pay around $100-150 depending on size.
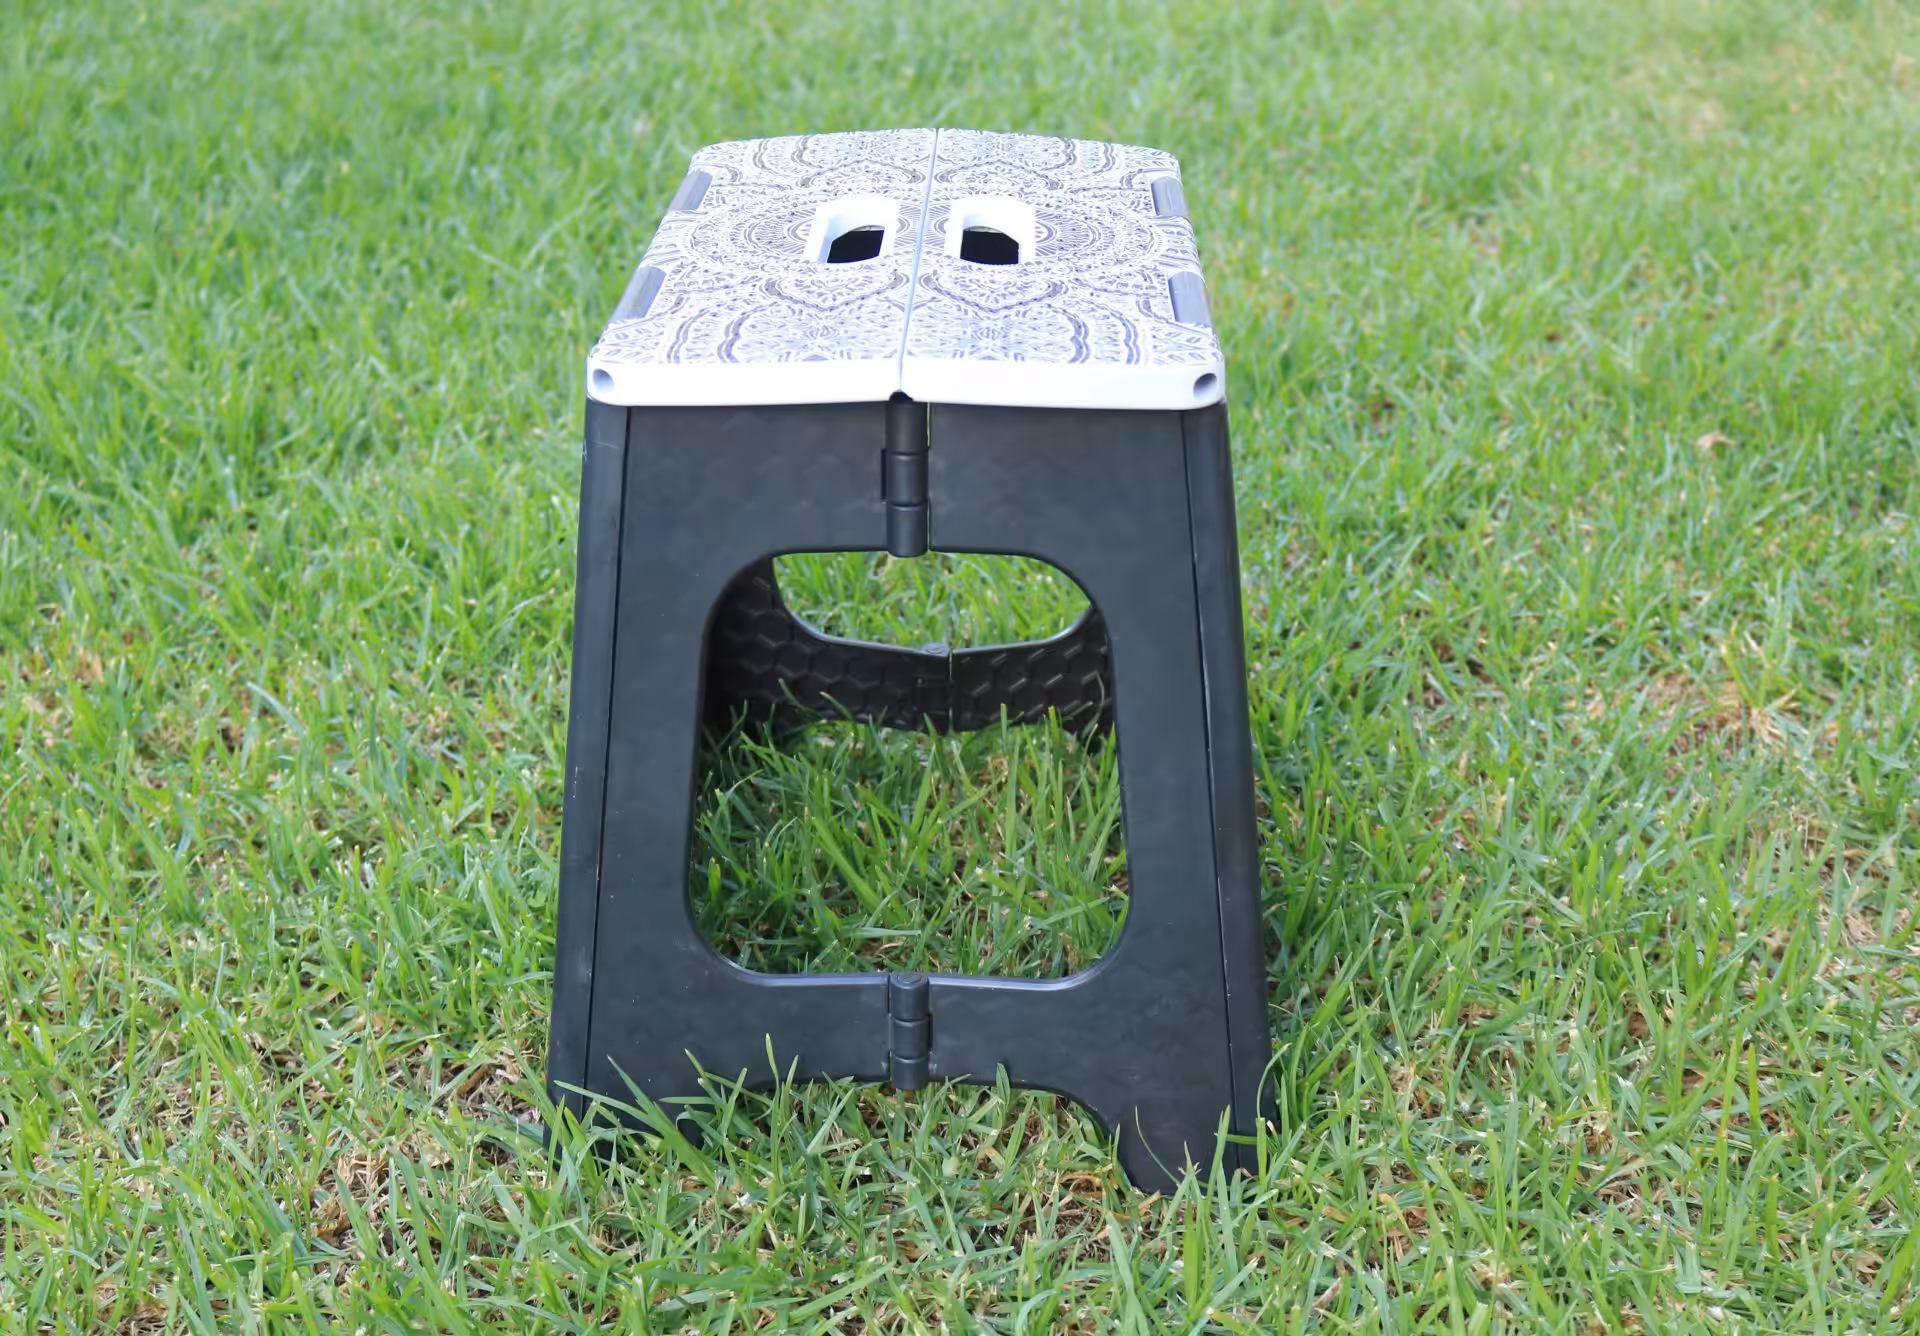
A foldable stool is handy lightweight equipment to use inside and out of the van. As well as a sturdy step that can carry up to 150kg, it doubles as a footrest and spare seat. For storage, it folds flat with a handle to carry it. Around $40 and worth every cent.
Coast to Coast screens not only provide privacy but also shade and wind protection. They attach easily to a caravan awning, sliding through a track or by velcro straps. The screens come in standard sizes to suit caravan lengths and are reversible to use at whichever end they’re needed. The screens have D rings and guy ropes attached, enabling them to be secured with steel pegs.
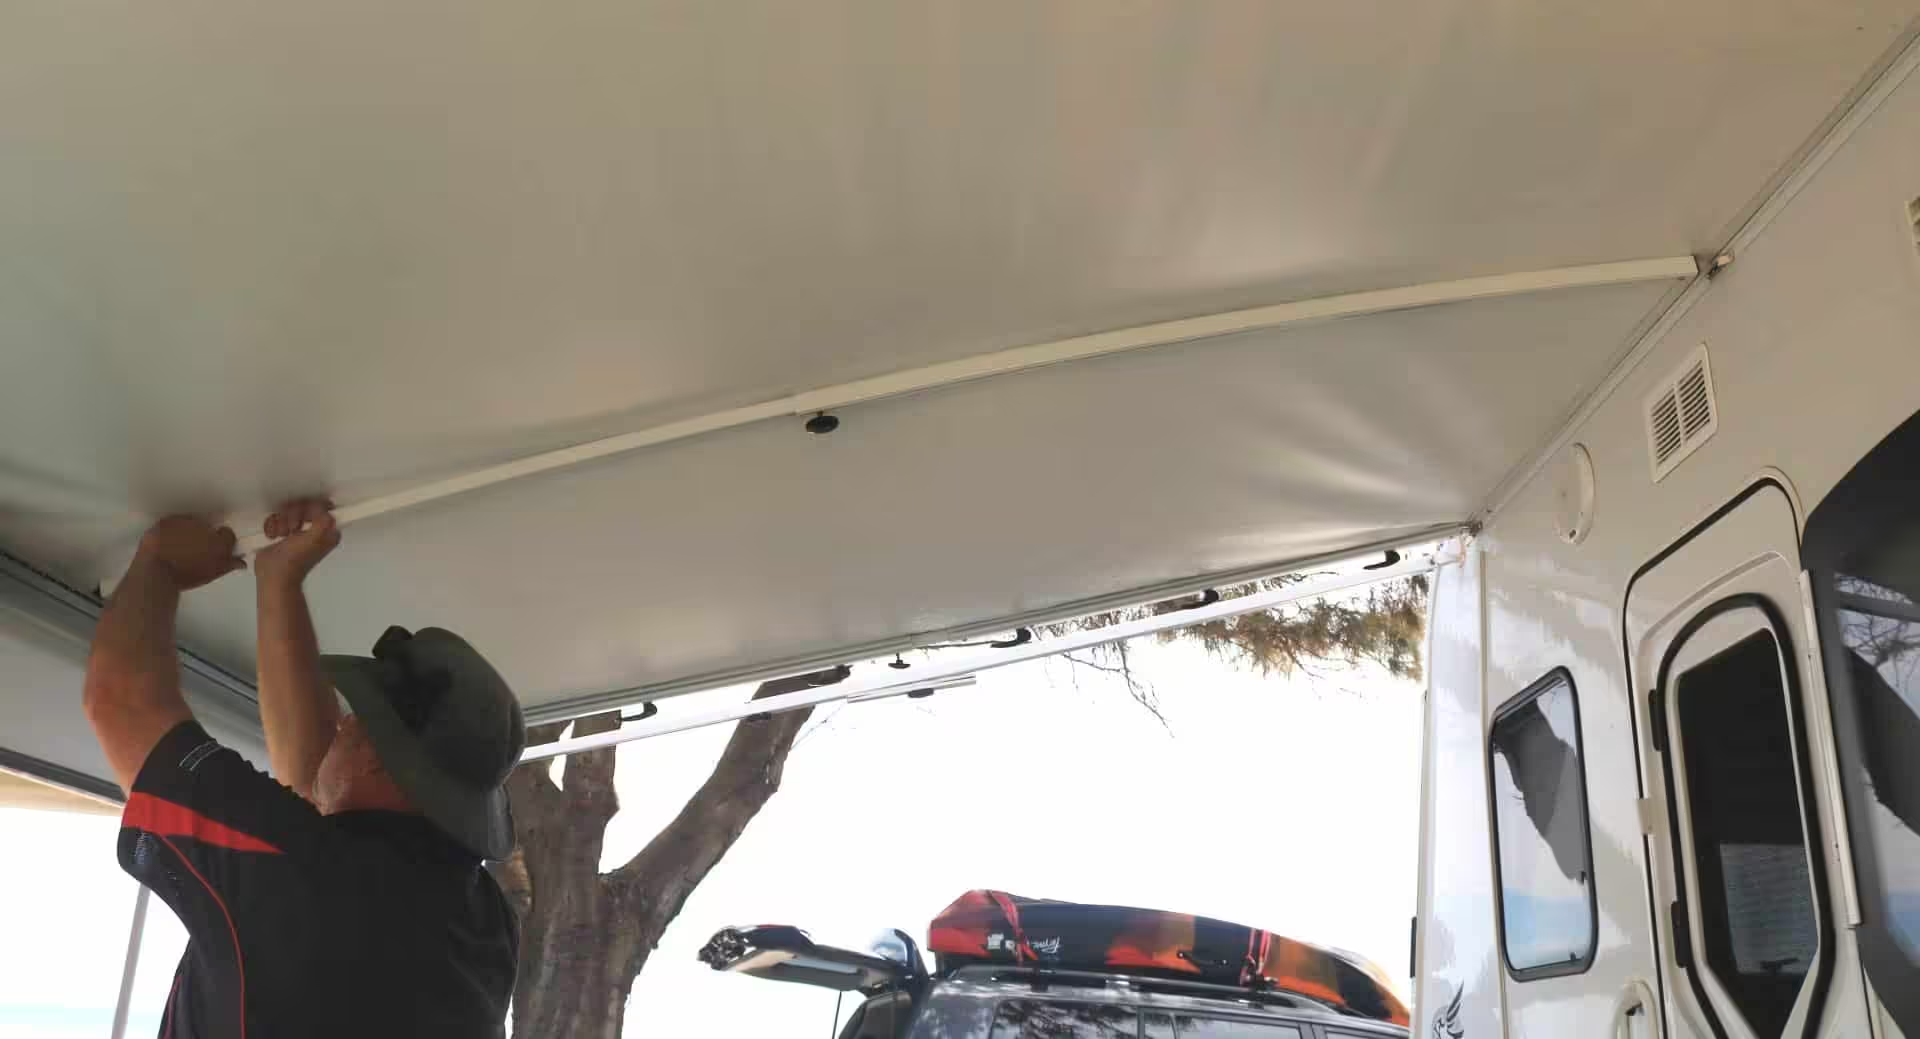
Aussie Traveller anti-flap bars and curved rafters add extra support to the caravan awning, keeping it taught while helping to prevent the wind from catching it. Adding extendable curved rafters also provides better water run-off in the rain, and they pack away in their own storage bag. These have saved our awning more than once in strong winds.
A 12V rechargeable fan is a necessity when camping off-grid during summer. Look for one that’s lightweight and portable with a carry handle, different fan speed settings, and an oscillating head. Many can have long run times before needing recharging. We’ve got a 12V fan that runs for 8-10 hours on a charge, making summer camping bearable.
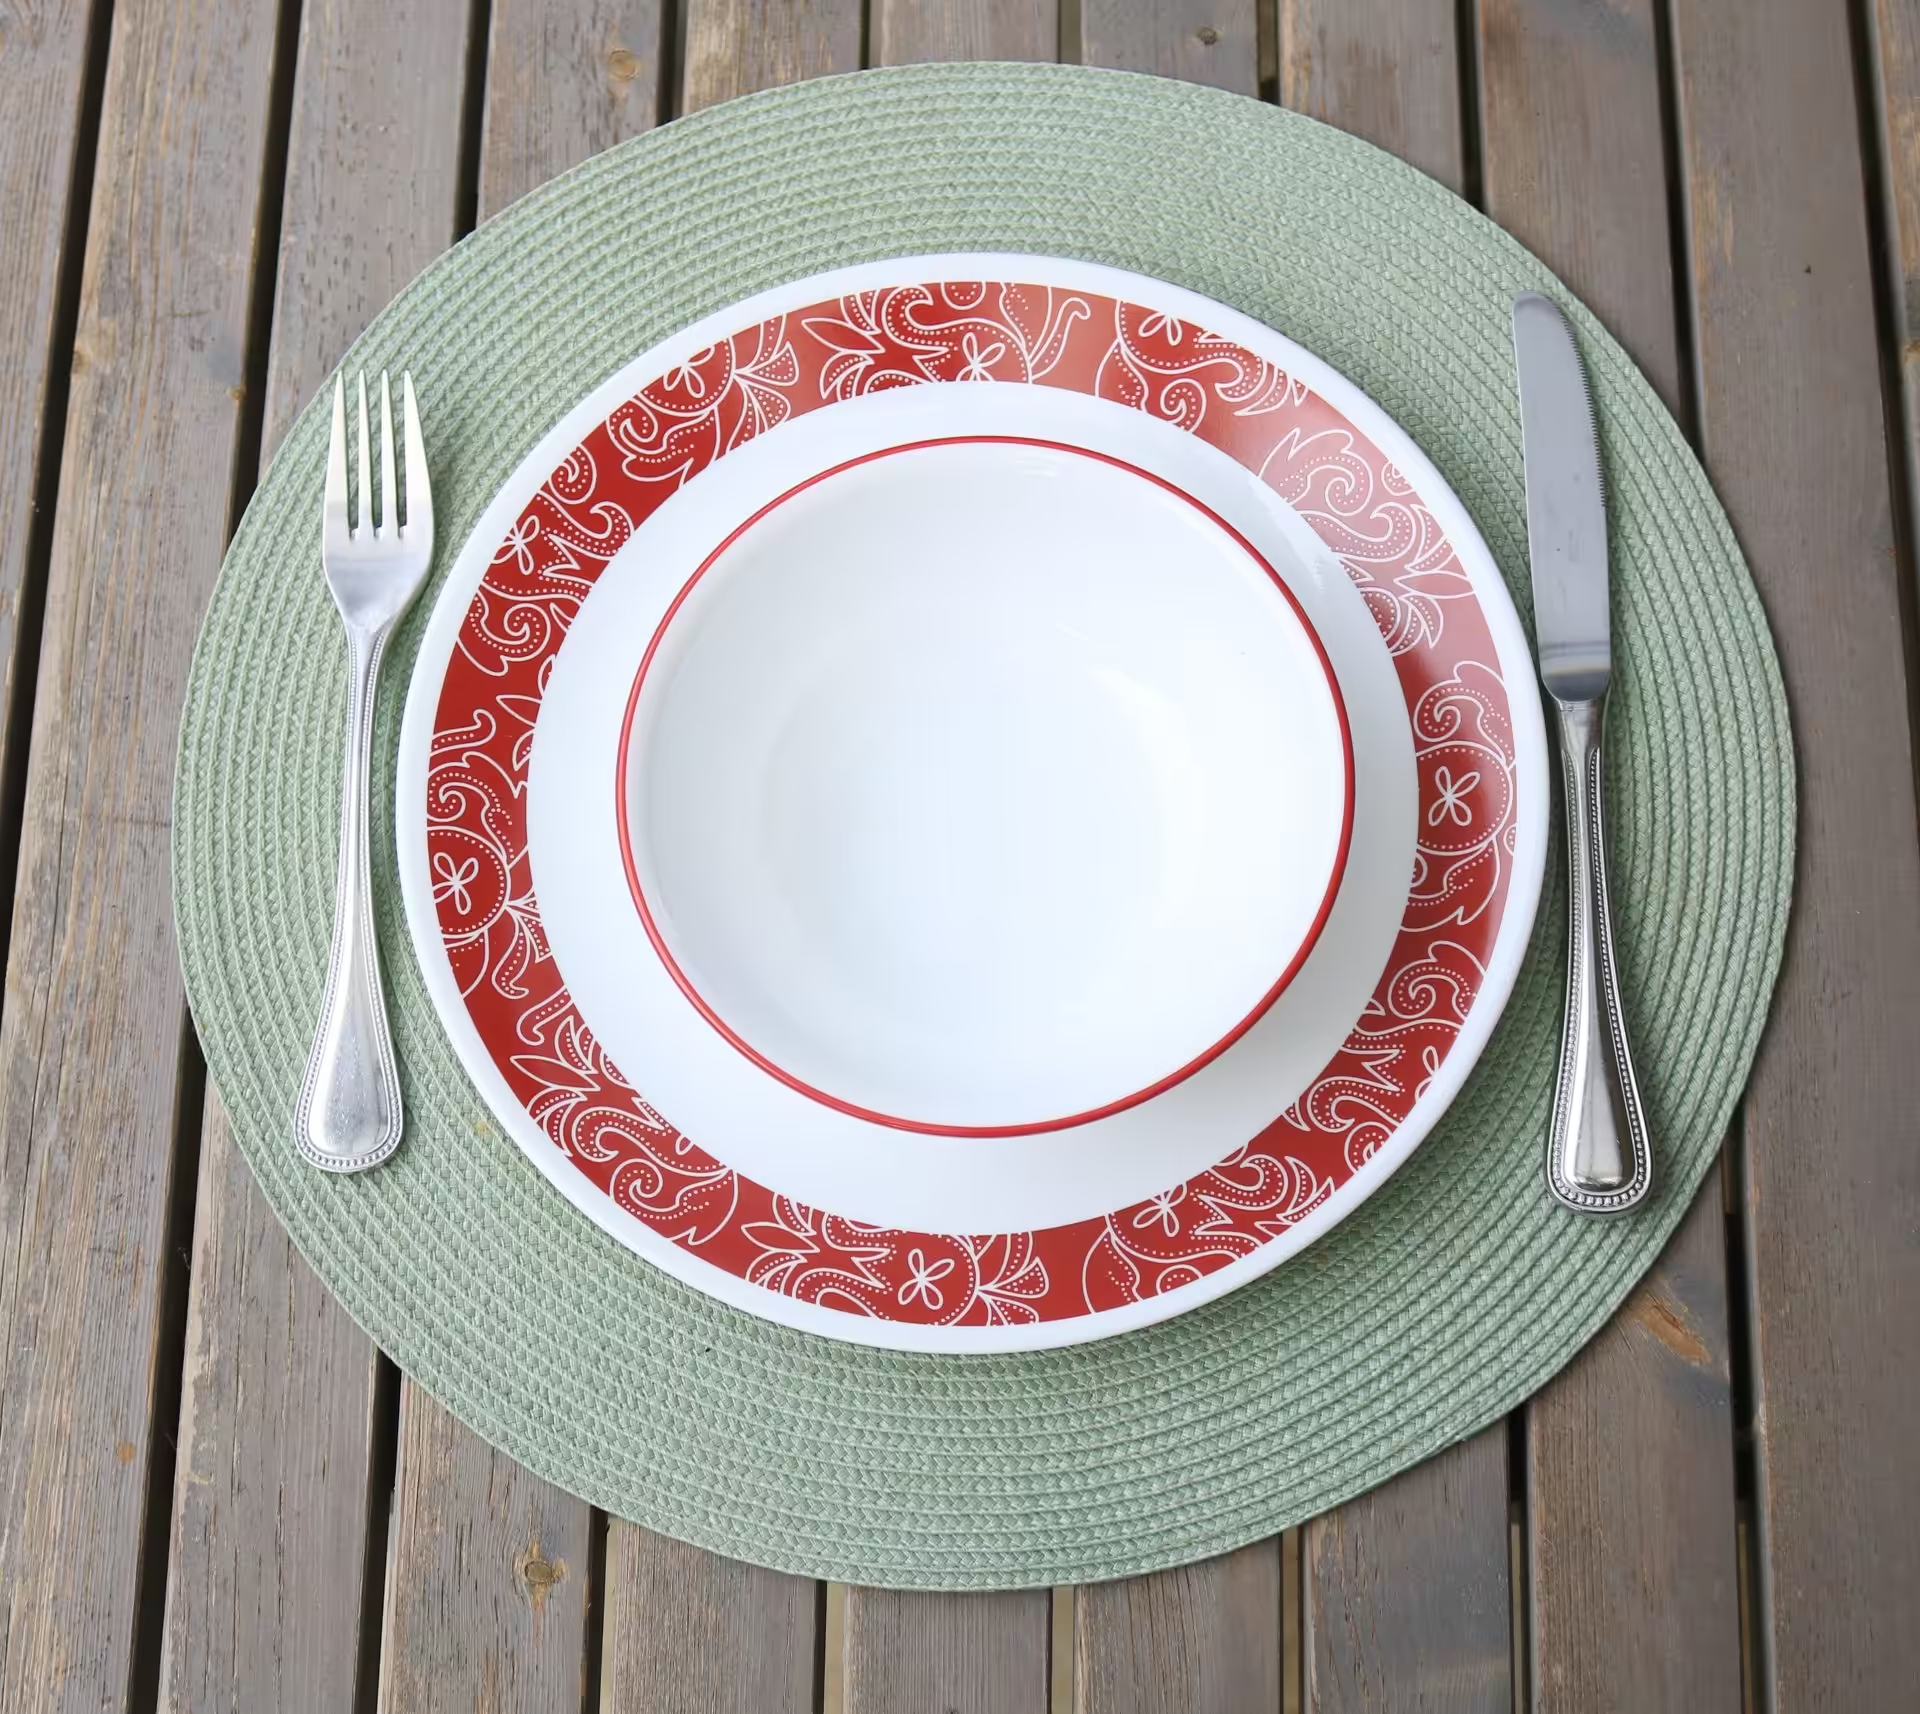
Our Corelle dinnerware has travelled more than halfway around Australia without any damage or loss. They’re made of heat-strengthened layers of laminated glass and are thin, lightweight, nonporous, and take up very little cupboard space. The dinnerware is microwave safe, and whole sets or individual pieces can be purchased from supermarkets and discount stores if replacements are needed. After years of camping, I reckon invest in good dinnerware once rather than replacing cheap melamine sets constantly.
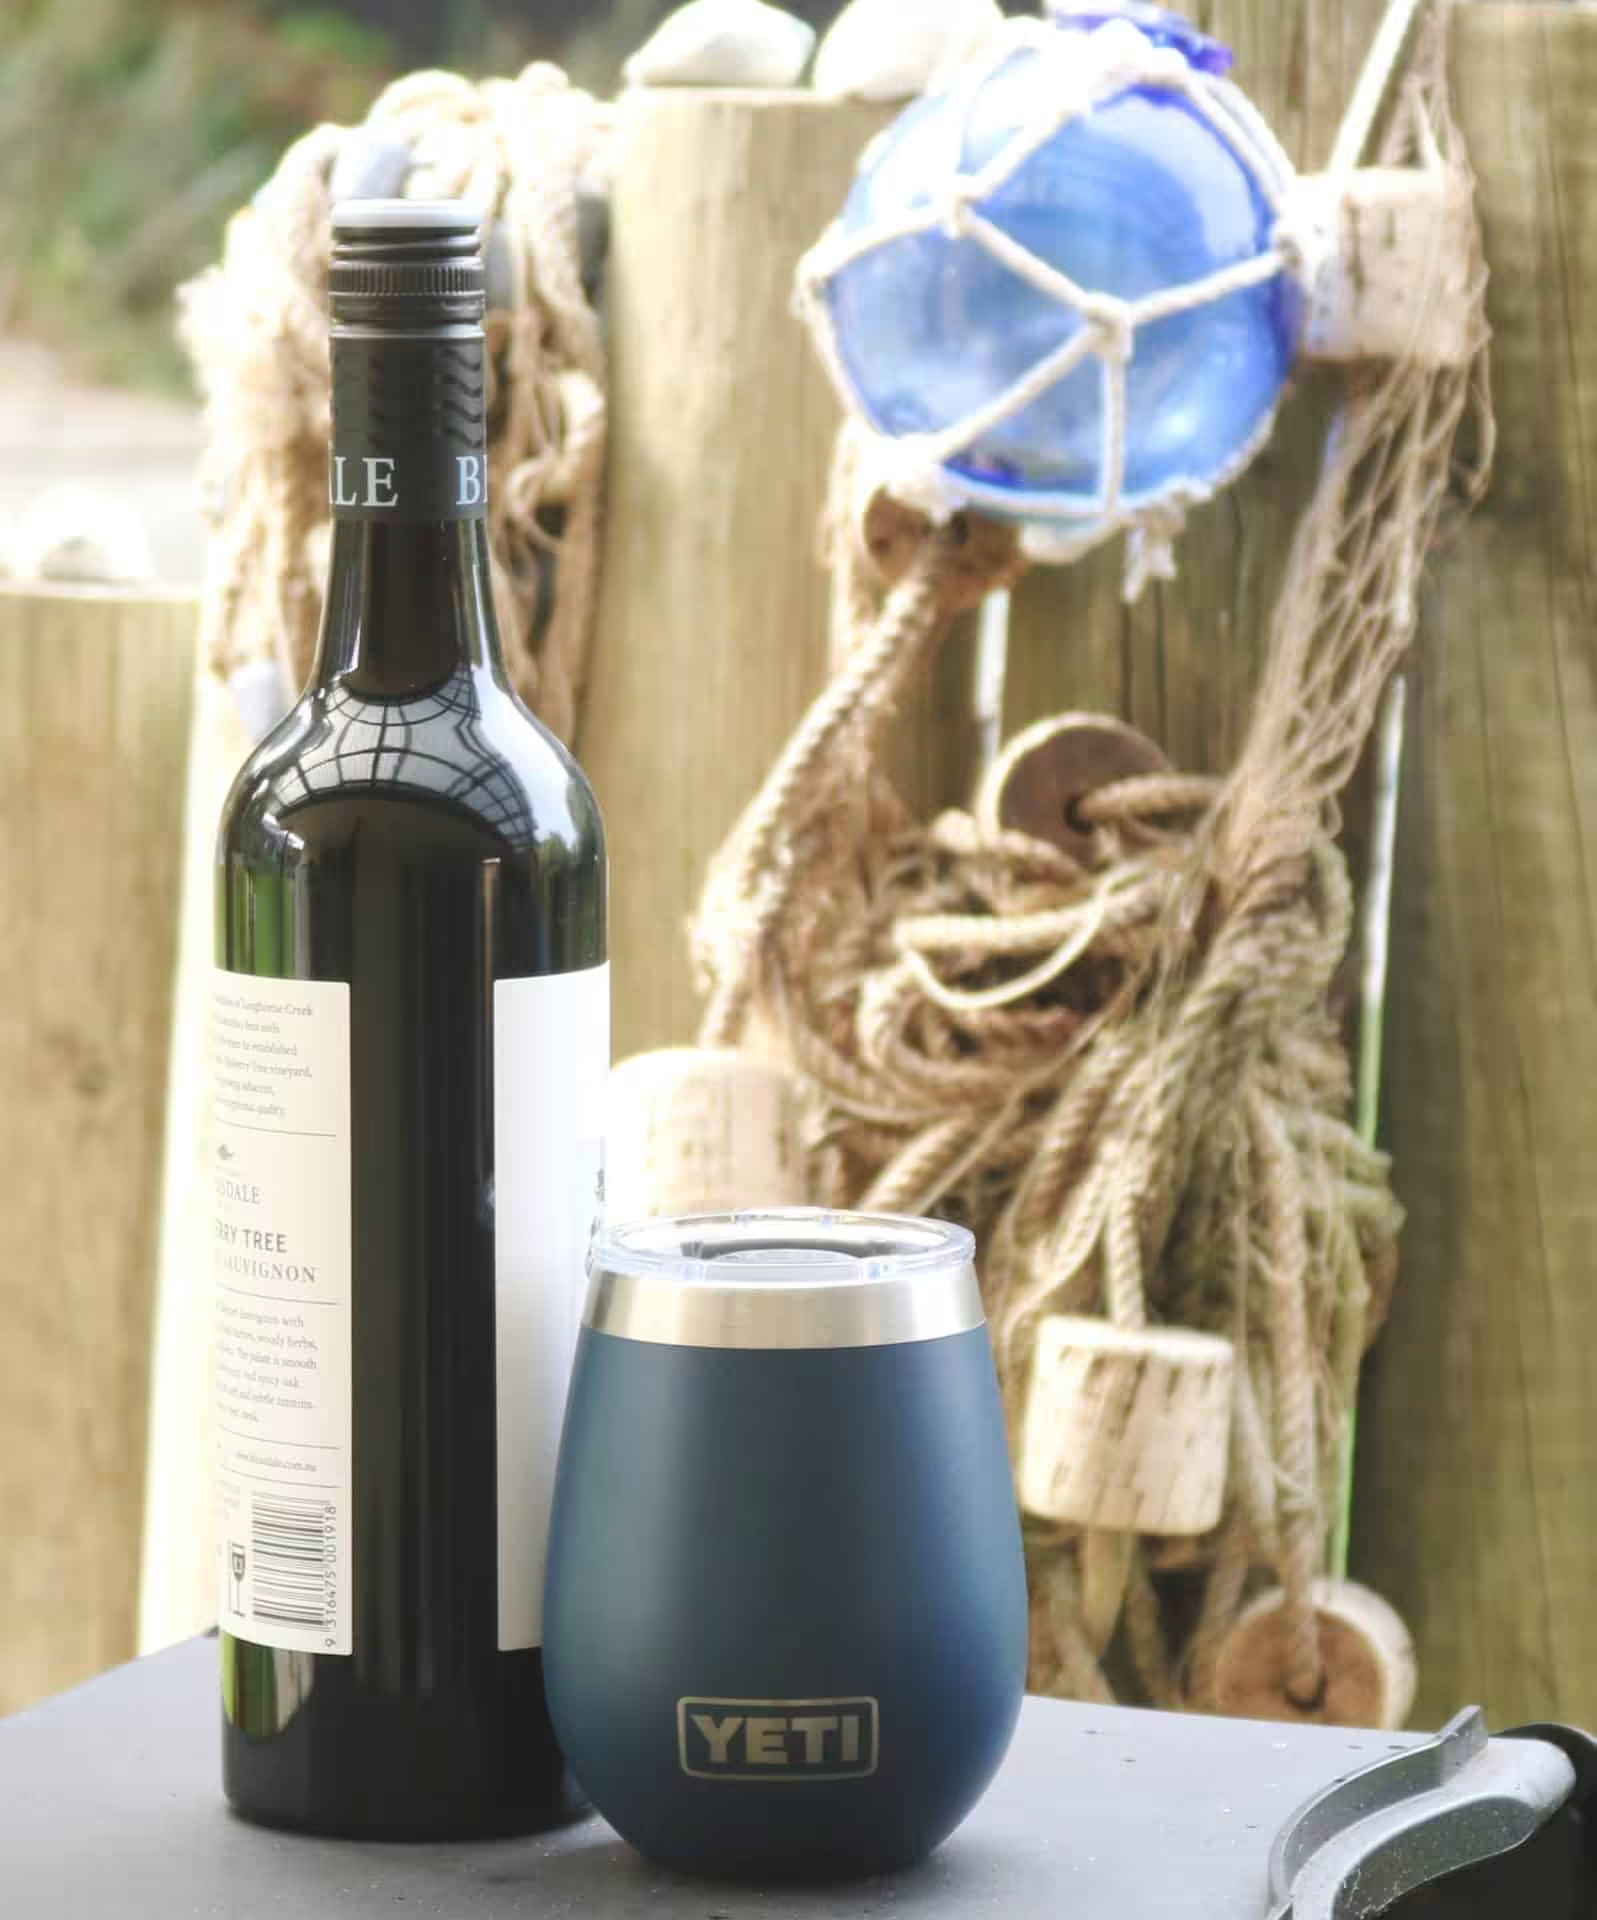
Made of stainless steel with double-walled vacuum insulation, a quality insulated tumbler keeps beverages as hot or cold as they went in. Having an insulated wine tumbler will stop the contents warming up unintentionally by your hands. It also comes with a lid to help keep bugs out. Around $20-40 depending on brand, but worth it for keeping your drinks at the right temperature in Australian conditions.
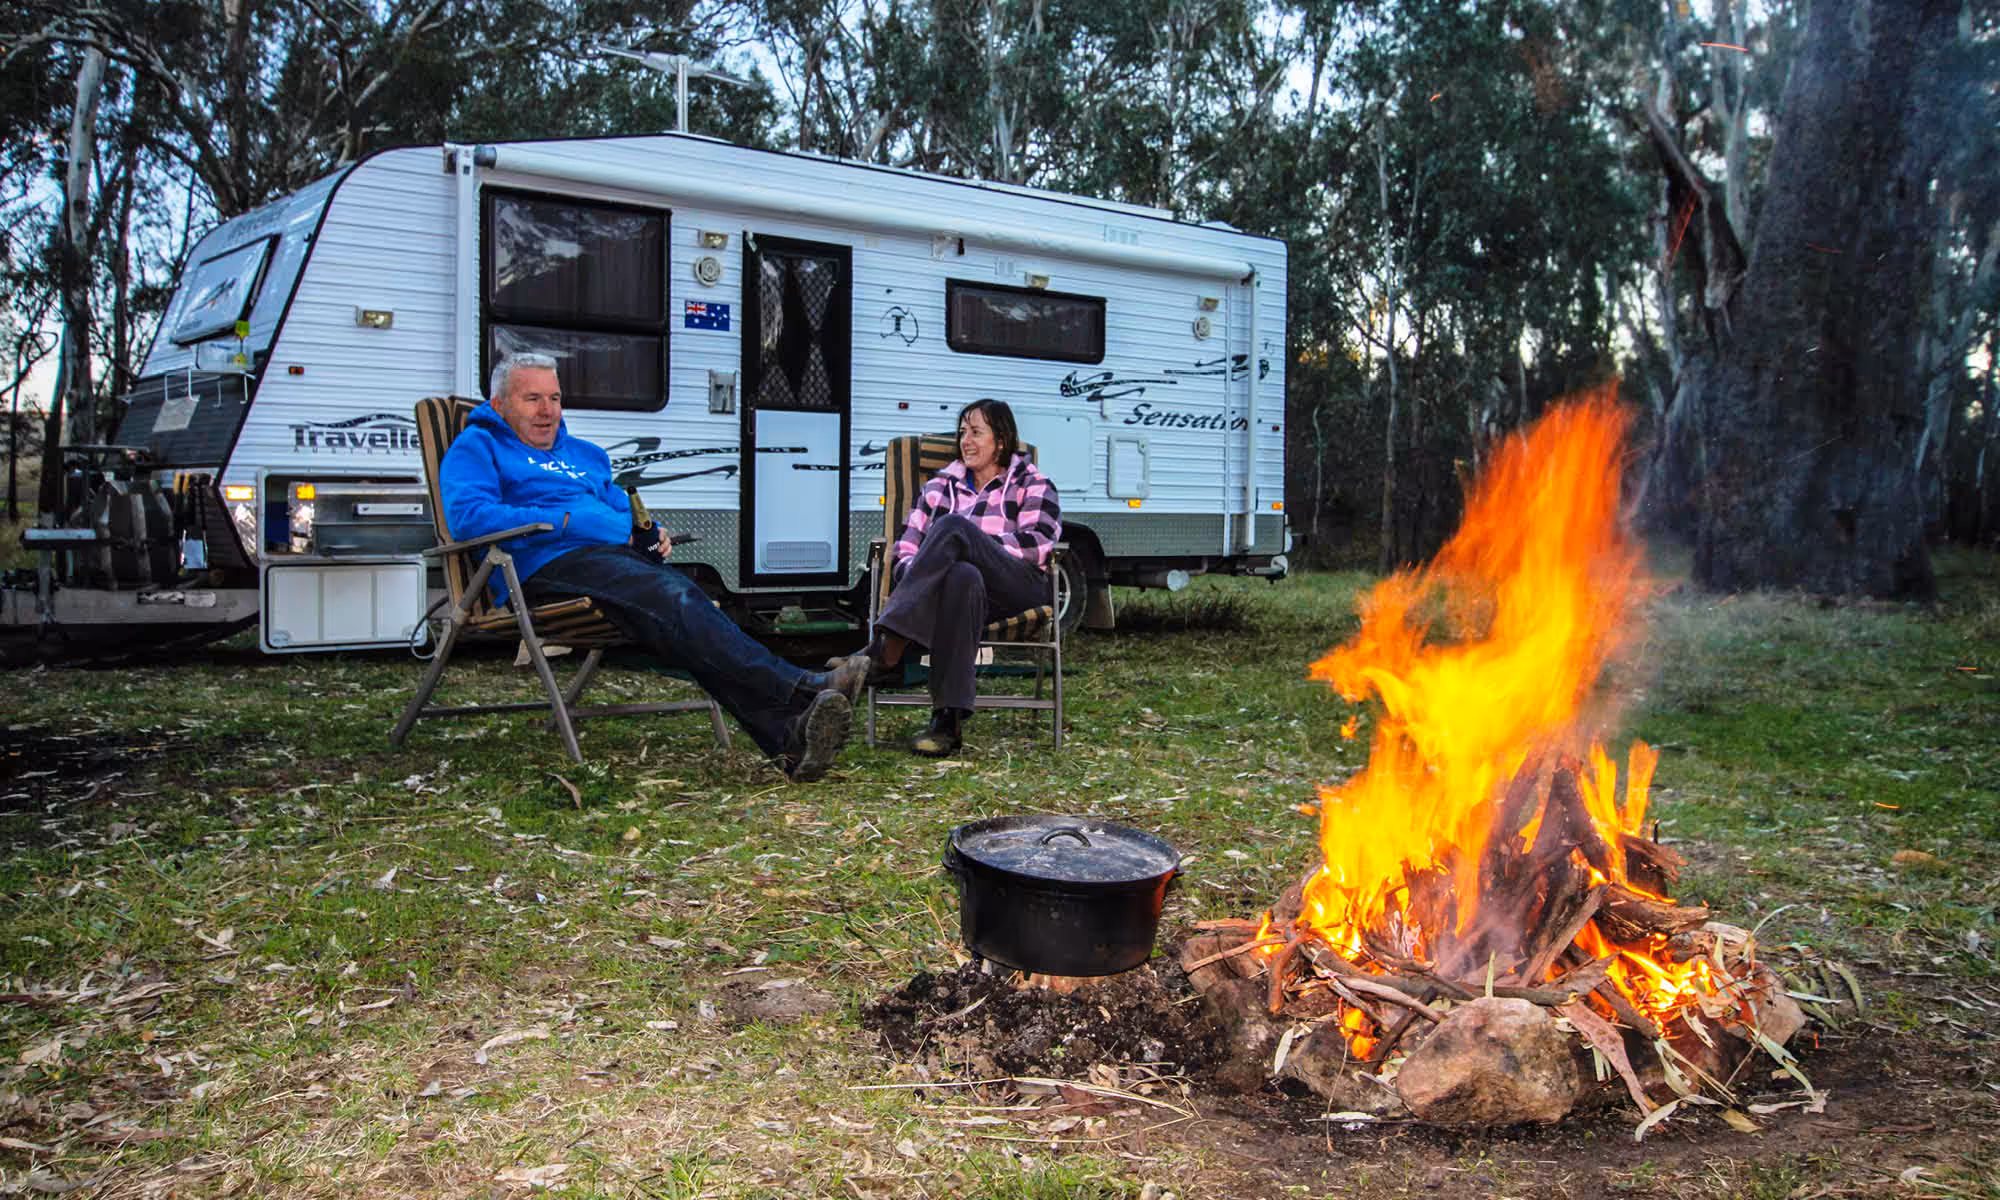
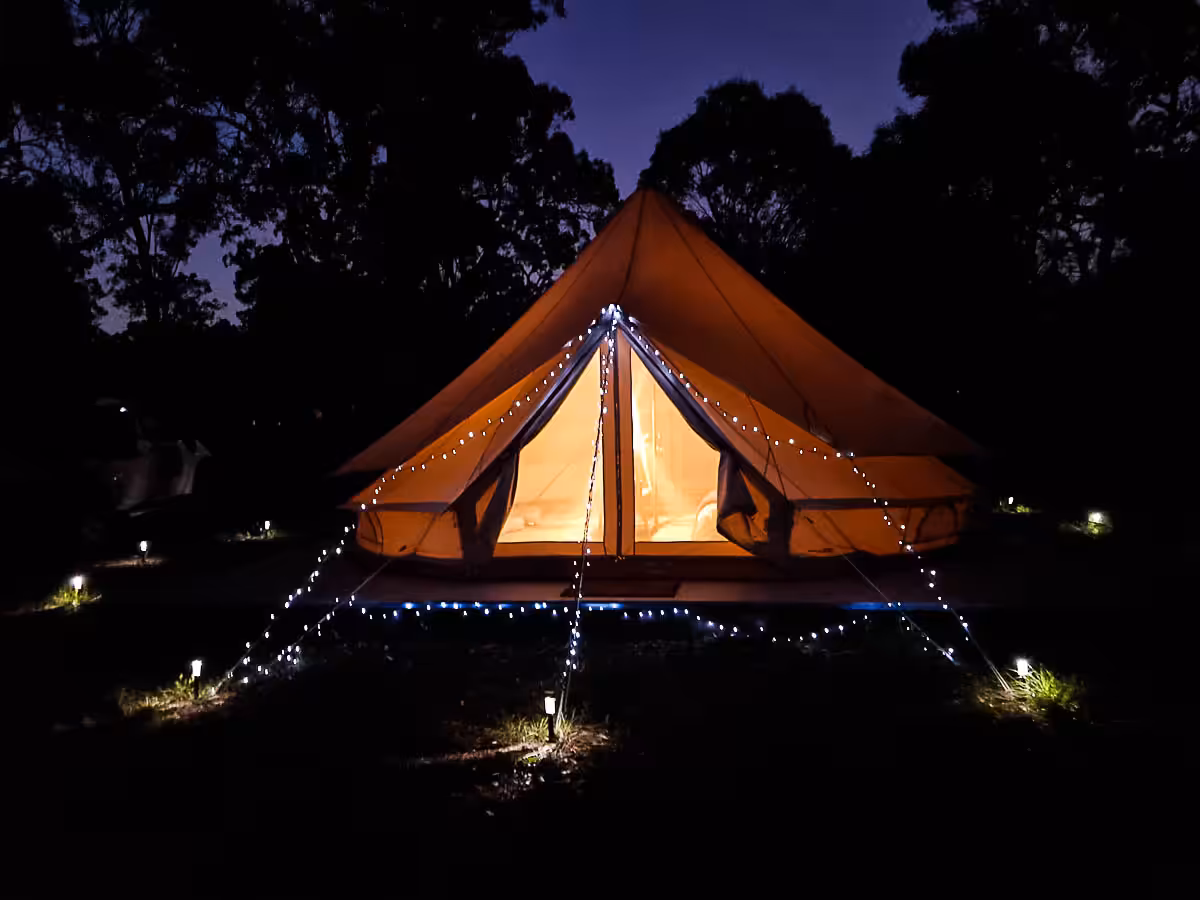
Sitting around the campfire under the stars is one of the best things about camping. However, the campfire only lights up a small area, and you’re still going to need light for finding the toilet, walking around, and ensuring there aren’t any spiders or snakes lurking. This part of the camping gear guide makes lighting up your campsite easy once you know what you need.
Before choosing lights, think about how you’ll power them. Each option has trade-offs.
Battery-powered lights can be either single-use or rechargeable. Rechargeable lights will save you money as batteries aren’t cheap. However, you’ll need access to power to charge them once depleted. Don’t let this put you off; charging doesn’t have to come from a household powerpoint. You can recharge via solar power, a dual battery setup in your vehicle, or even a charging bank you pre-charged before leaving.
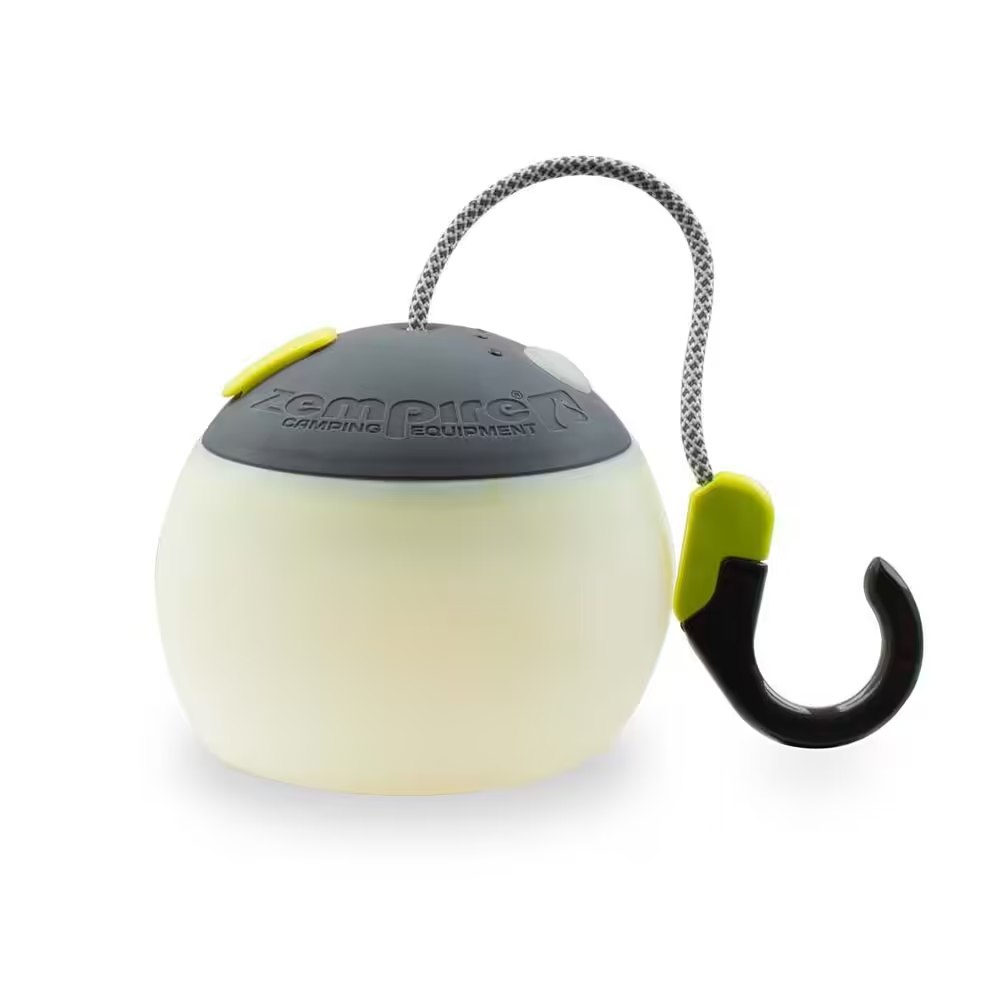
I got a you-beaut Zempire rechargeable light a few months ago, and I absolutely love it. It has a few brightness settings allowing you to conserve the battery, and you can even use it to charge your mobile phone.
Solar lights are always a good, environmentally friendly option. Wind-up lights are pretty cool too; just crank a handle on the side and start generating power. I recommend having one of these in an emergency or for when solar just isn’t cutting it.
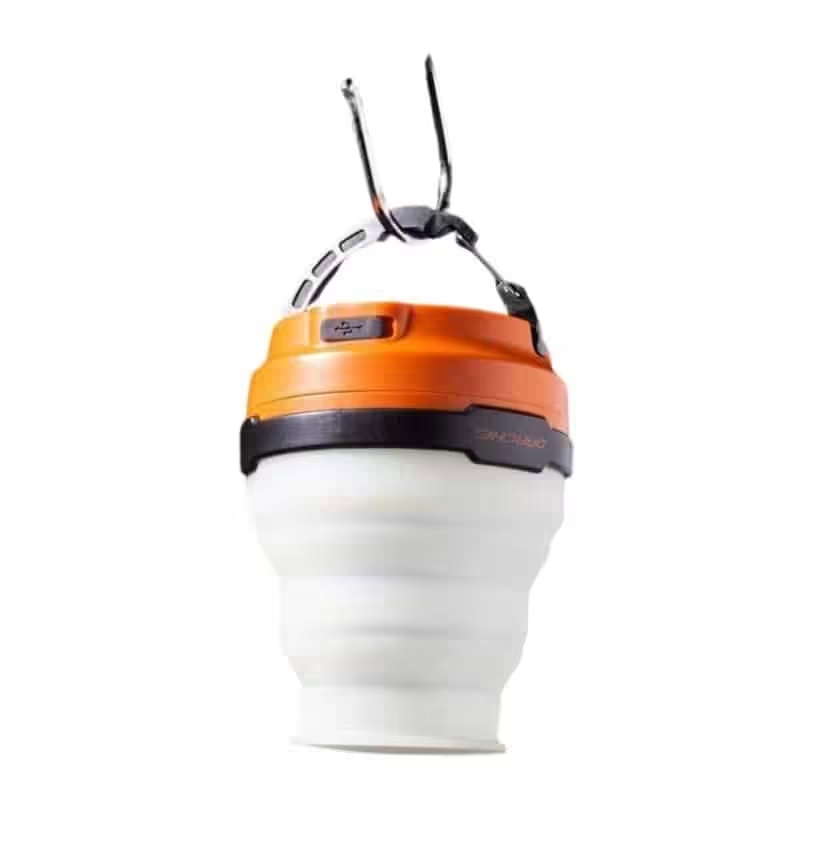
Darche makes an awesome solar lantern with a few different light settings that can also be charged via USB. It’s the best of both worlds.
If you’ve already set up your vehicle with a dual battery system, your options for camp lighting are endless. Your second battery will charge while you’re driving (or from solar if you’ve set it up), and you’ll be able to run any compatible 12V lighting from your second battery without the risk of flattening your vehicle’s usual battery. LED strip lighting and bar lights are popular options for 12V lighting around your campsite.
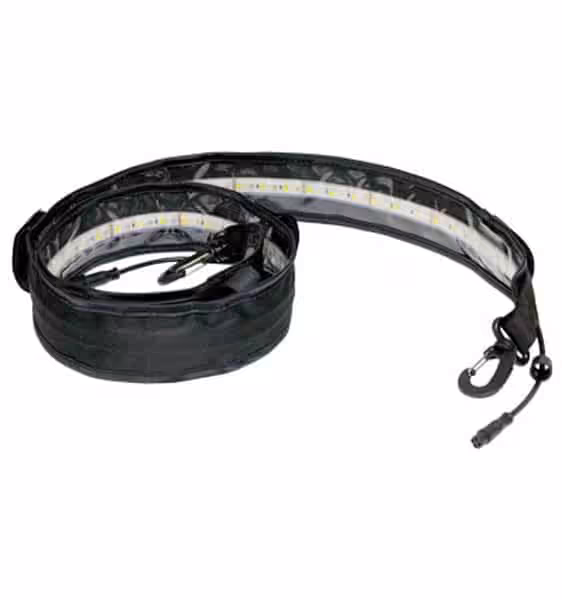
I like to use strip lighting around the campsite as it’s flexible and can be hung virtually anywhere. LED strip lights from Caravan RV Camping are available in various lengths.
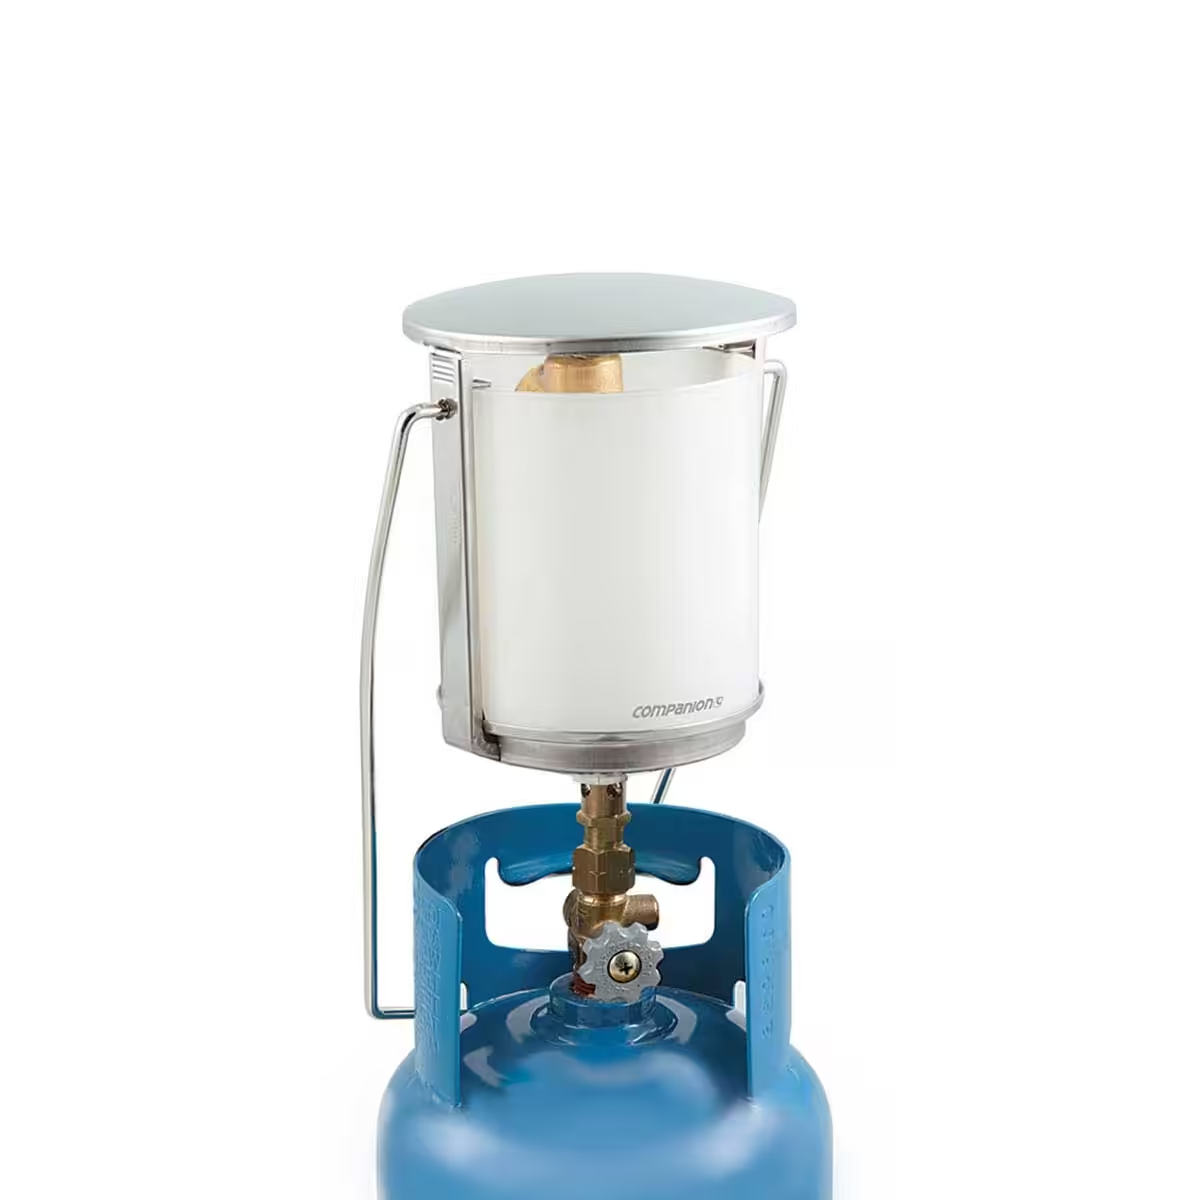
If you like to keep it old school, there’s always the option of a kero, citronella, or gas lamp. Burning citronella has long been used to ward off mosquitoes around the campsite, and gas lamps work well if you don’t mind carting a small bottle of gas around.

Hurricane lamps are great for that old-school camping feel.
Gas lanterns provide serious light when you need it.
There’s no point buying an expensive spotlight if you just need a little light to read a book. Likewise, if you don’t have a 12V setup, there’s little point investing in a floodlight that will bathe the whole campsite.
Lanterns are great for lighting up the whole campsite. They produce 360 degrees of light and can be easily moved around. Modern LED lamps use plastic lenses rather than glass, so they don’t shatter dangerously if dropped. A 12V Coleman lantern can provide many hours of light, and it’s rechargeable, meaning you won’t have to rely on carrying batteries.
LED strip lights are amazing if you have 12V power to run them. The lights can be hardback or flexible and can be set up anywhere around the campsite. Rechargeable LED lights for workshops are brilliant for the campsite too. With a magnetic base, you can usually stick them to the side of a vehicle. They don’t spread the light as much as a lantern, but they’re super convenient and often really bright.
Solar fairy lights are a cost-effective option, particularly at Bunnings after Christmas, if you plan to camp in the same spot for a few days. String them around your awning, on the trees, or at the front of your tent.
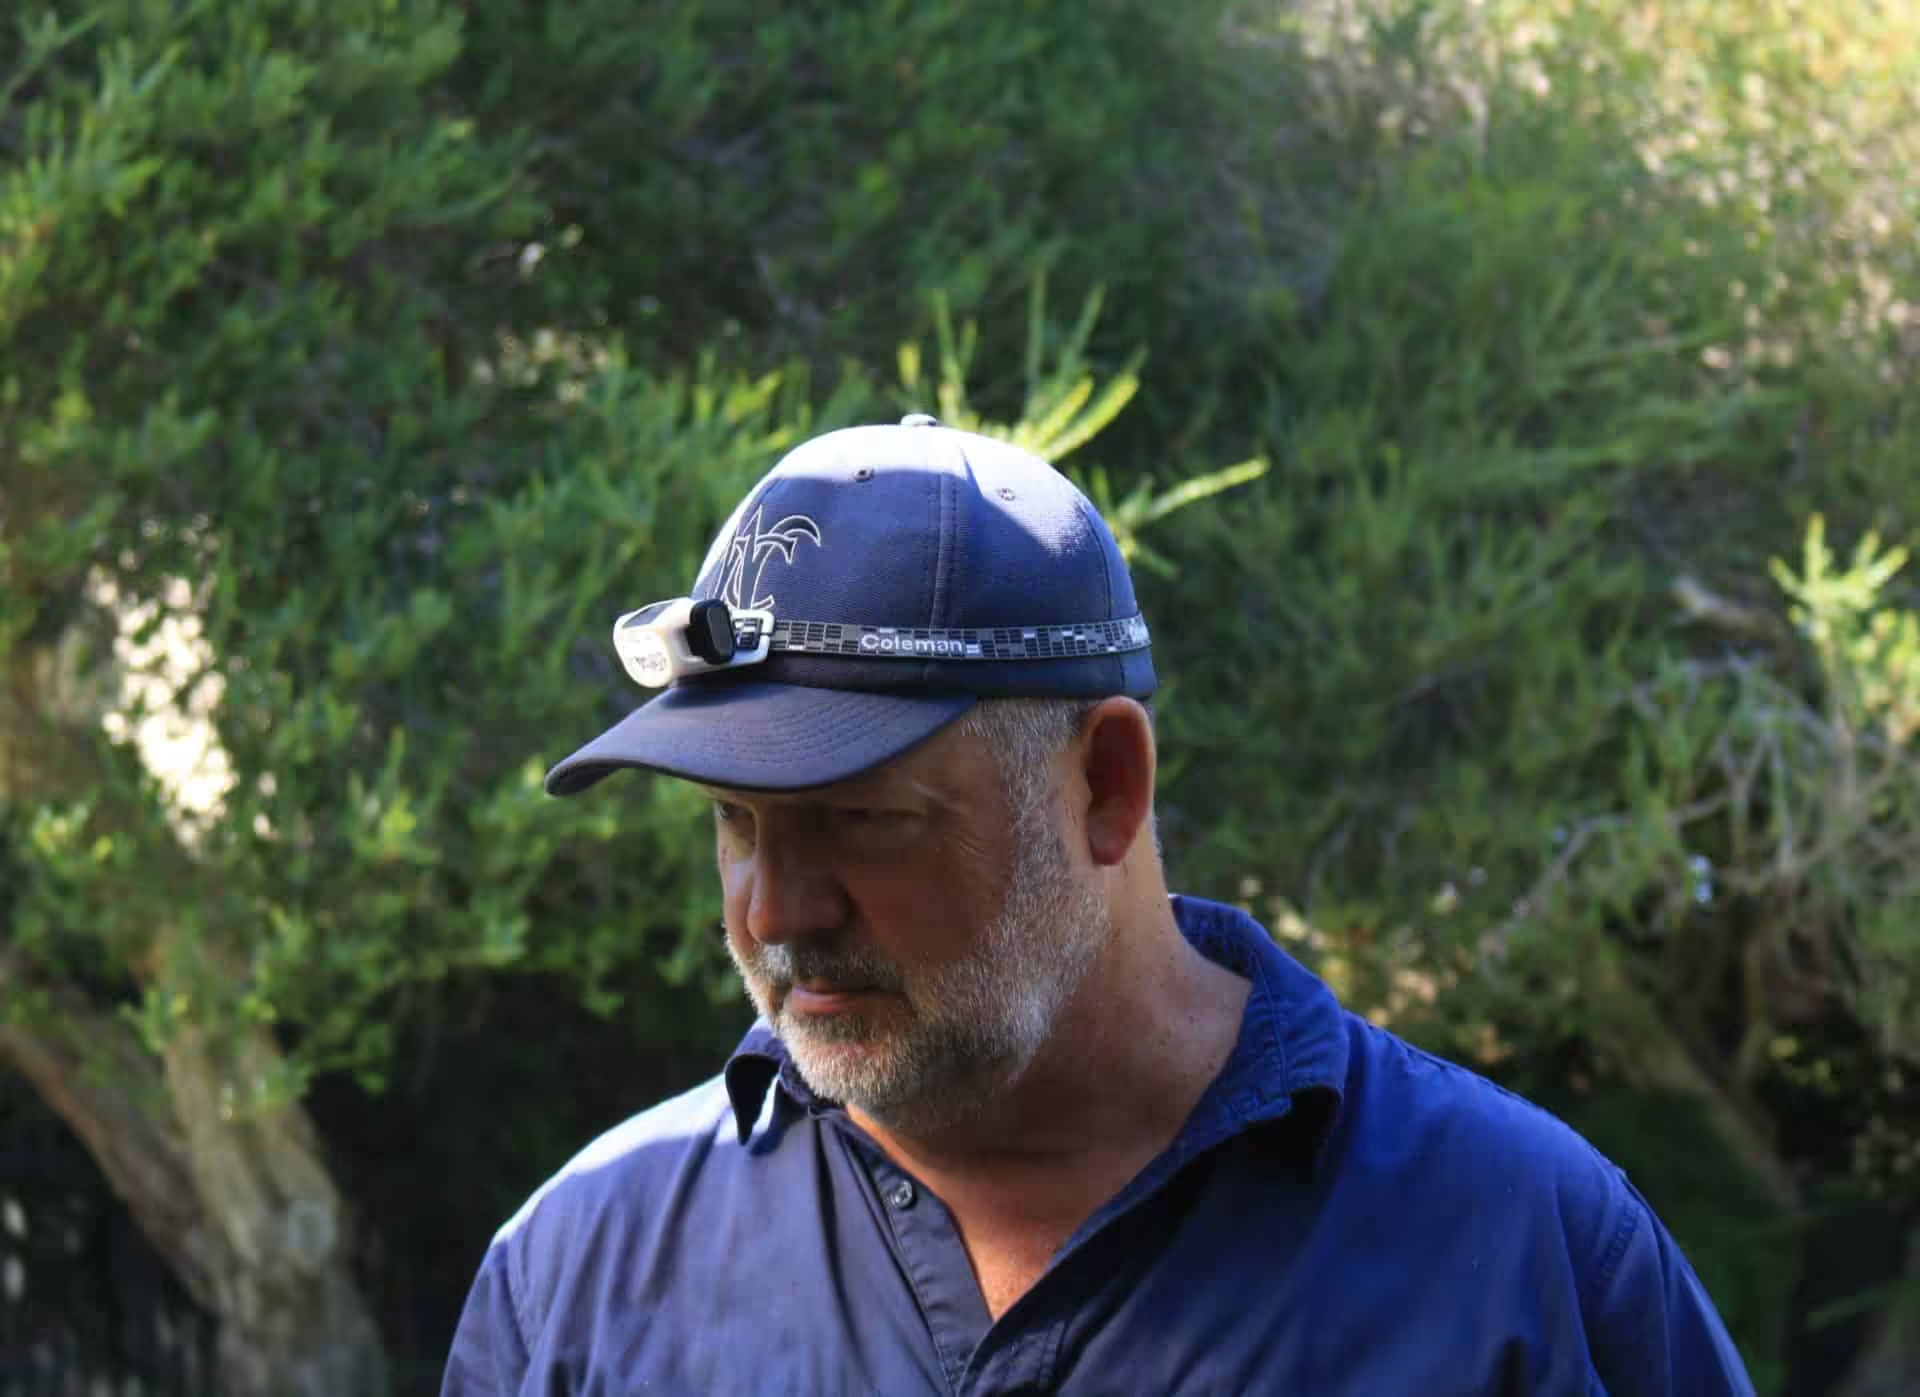
Headlamps and torches are your best bet for a directional light, like when you need to light up the path in front of you on the way to the toilet, spotting wildlife, or if you need to find something in the dark. I would choose a head torch over a hand torch each and every time. Once you get the angle right, it leaves both of your hands free.
A head torch is useful camping gear, enabling you to do everything hands-free while illuminating what you need to see. They have an adjustable head strap, different light modes, and run for hours with replaceable batteries. Around $20-50 depending on brightness and features.
The higher the lumens advertised on your new lighting source, the brighter it will be. Lumens are a measurement of the amount of visible light, so a lower lumen rating will be dimmer. When it comes to camping though, a subdued light can be kind of nice. For reference, 100-300 lumens is good for general campsite lighting, while 500+ lumens is better for task lighting or walking.
LED lights are known to have a significantly longer lifespan than standard fluorescent lights and are also more efficient to run. If possible, choose LED over any other type. Most quality LED lights are rated for 50,000+ hours of use.
After years of refining our camping setup, here are my top tips for keeping gear organised and accessible. These camping gear guide tips will save you time and frustration on every trip.
Hot tip 1: Create dedicated storage crates for different categories. We have one for kitchen gear, one for tools, one for lighting, and one for miscellaneous. This means when you need something, you know exactly which crate to grab. Label them clearly on multiple sides.
Hot tip 2: Keep a running checklist on your phone or in a notebook of everything you pack. After each trip, update it based on what you used and what you forgot. This becomes your master packing list. I’ve refined ours over five years, and it’s saved us from countless “oh no, we forgot the…” moments.
Hot tip 3: Pack items in reverse order of when you’ll need them. Things you need immediately upon arrival (chairs, table, lights) should be most accessible. Items you won’t need until later (tools, spare batteries) can be packed deeper. This saves you from unpacking everything to get to one thing.
Hot tip 4: Reducing the number of times you have to open the fridge lessens the amount of work it has to do to keep contents cold. Use a small compressor fridge or esky to store food and drinks you need constant access to, minimising the strain on the main fridge. Small car fridges can cope much better with being opened more often as their compressors only have to cool a small compartment.
Hot tip 5: Keep emergency and safety gear in the same place every trip. Tools, first aid kit, torch, and fire extinguisher should have designated spots. When something goes wrong, you don’t want to be searching through crates in the dark or in the rain.
Hot tip 6: Invest in quality camping gear that’ll last rather than cheap equipment that needs replacing. Over the years, I’ve learned that spending more upfront on items like a good fridge, quality lights, and proper tools saves money in the long run. Plus, reliable gear means fewer headaches on the road. This camping gear guide focuses on quality recommendations that Australian caravanners trust.
Packing the right camping gear doesn’t have to be overwhelming. This camping gear guide shows you can start with the essentials in each category: kitchen and food prep, tools and maintenance, comfort equipment, and lighting, then add items based on your specific needs and camping style.
The reality is, your perfect camping setup will evolve over time as you learn what works for your family and your camping style. Don’t feel like you need to buy everything at once. Start with the basics in this camping gear guide, and add to your kit as you identify gaps. Keep that running list, refine it after each trip, and before you know it, you’ll have a camping gear setup that works perfectly for you.
Sound familiar? You’ll arrive at camp, know exactly where everything is, set up efficiently, and spend more time enjoying the outdoors rather than fossicking around looking for that one thing you know you packed. That’s what proper camping gear organisation and selection gets you, and that’s what this complete camping gear guide is all about.
Now get out there and make some memories. The camping gear is just the means to the end, and that end is quality time in the Australian outdoors with the people you care about.
When you buy through these links, RV Daily may earn a small commission. It doesn’t change the price you pay, and it helps us keep producing practical tips, guides, and inspiration for RV travellers at no cost to you.
10 Essential items for free camping off-grid in your RV
Top 10 camping meals to make on your next trip