We take a look at what the options are, and how best to spend your money when it’s time to talk about brake upgrades Brake upgrades aren’t just for performance cars and track days. Pulling up the tow rig in…
We take a look at what the options are, and how best to spend your money when it’s time to talk about brake upgrades
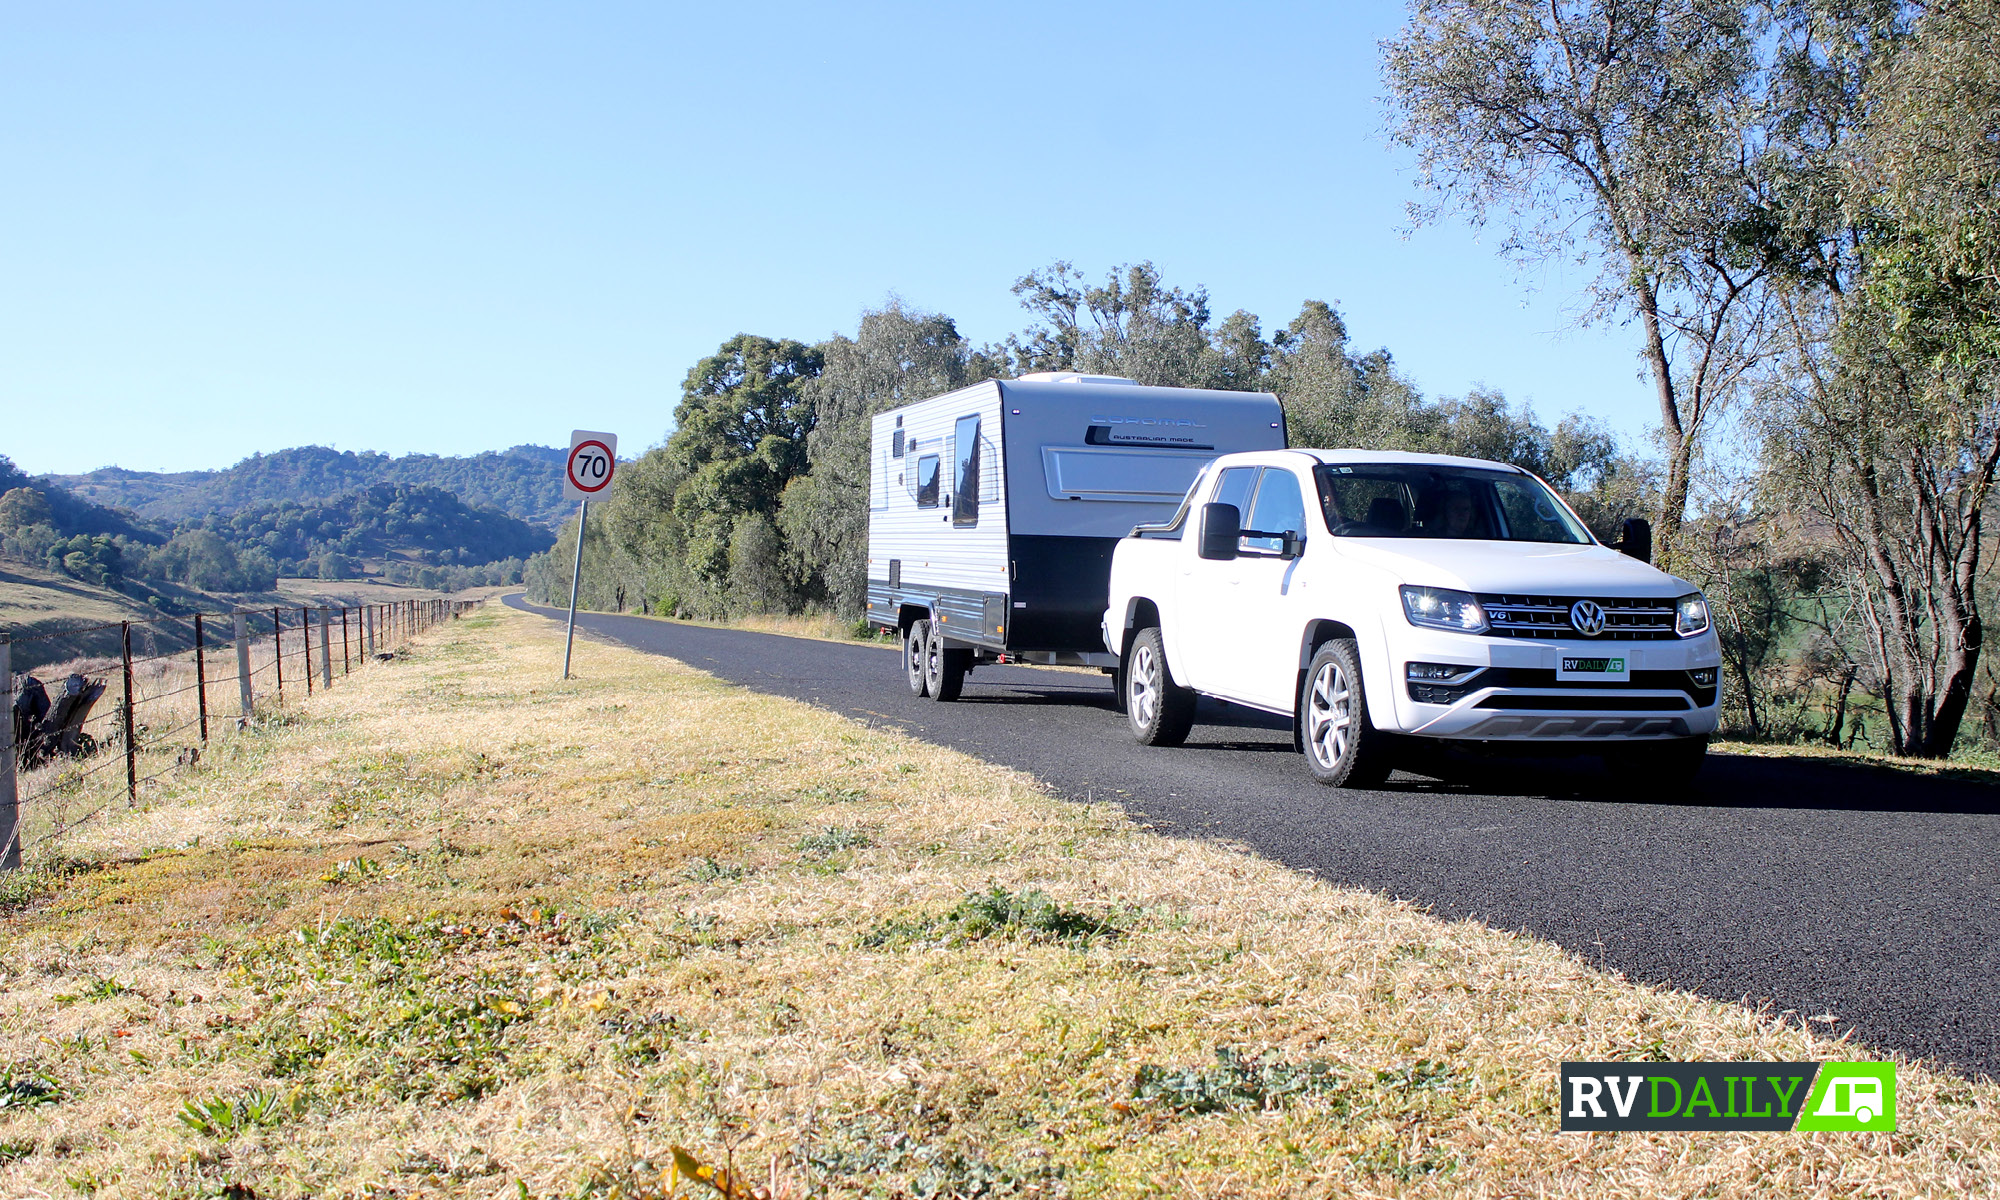
Brake upgrades aren’t just for performance cars and track days. Pulling up the tow rig in an emergency, or towing in demanding conditions, will put your braking components through about as much hell as the typical performance car will see on a few hot laps. So looking to upgrade your brakes inline with other performance modifications you’ve made to your tow rig is not something you want to overlook.
Upgraded, aftermarket braking components from a quality manufacturer (read: not eBay spec) will stop your vehicle better and quicker than the factory components. This is especially true when you’ve added a heap of weight to your tow rig, upped the GVM, or are hauling three-plus tonnes behind it.
Vehicle manufacturers want to minimise costs to the consumers, so they use components that are a compromise between cost and stopping power. Don’t get us wrong, the OEM components are quite sufficient for stopping the vehicle at typical driving weight, however, once you’ve added a bunch of gear including the kitchen sink, your brakes will need a bit of beefing up.
Ever wondered why the HSV Colorado SportsCat costs a fair whack more than your average Holden Colorado? Aside from the suspension and other upgrades, they come with AP Racing brakes – quite a bit more expensive than the standard Holden equipment, but also much better braking performance.
So if you’ve made substantial changes to your vehicle’s weight, or started towing a lot more (in weight and frequency) then an upgrade is a good idea. And, you know what, if the OEM rotors are finished, take the opportunity to increase your stopping capacity. Let’s talk about the options you have with brake upgrades, and how they fair in pricing and efficiency compared to their OEM counterparts.
Brake check your stopping distance (where safe)
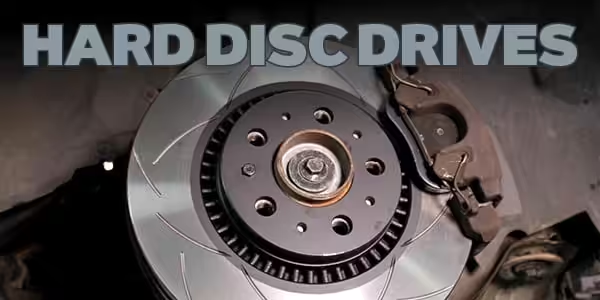
BRAKE PADS
Probably the most obvious place to start is brake pads. They’re the fastest-wearing component of your braking system, so the most often replaced, and they are the most susceptible component to ‘brake fade’.
Brake fade is caused by heating up of the brake pad and rotor, which in turn greatly reduces the friction coefficient of the pad to rotor. Should you be standing on the brakes for a prolonged period of time, say down Mooney Mooney hill on the M1 in NSW, the brakes will not slow you down as well as they were doing at the top. Where this gets concerning, is should you need to brake hard at the bottom due to an accident, you’ll have a nice firm pedal, but your vehicle won’t come to a stop.
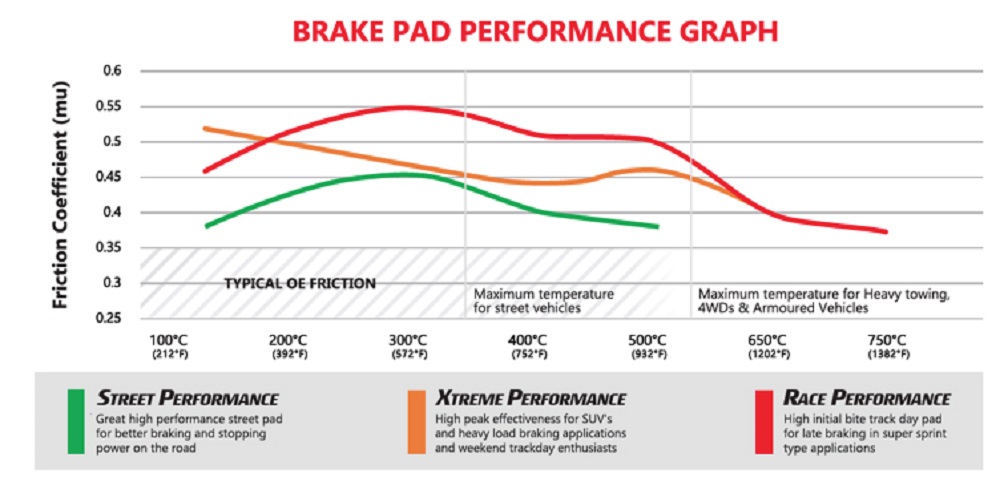
For an upgrade, you’re going to want good quality pads that will last more than 20,000km yet pull you up quickly and safely. Longevity and stopping ability aren’t mutually exclusive, however, it is quite the balancing act to get the best of both worlds. As an example, have a look at the graph below from Disc Brakes Australia (DBA).
Typical factory pads will give you a friction coefficient of around 0.35 mu (dependent on the manufacturer) and reduce from there based on heat. An upgraded set of pads, let’s say the Xtreme Performance (Orange) pads from DBA, offers up an initial friction coefficient of 0.525 mu. Despite much better stopping power when cold, once they’ve heated up, they’re still well above OEM friction rates – so there is no compromise upgrading to these pads from OEM ones.
The DBA Orange pads (XP – Extreme Performance) are what I would suggest for just about every vehicle on the road. You’re increasing your friction coefficient by nearly double (depending on OEM gear), and you’re sacrificing nothing. There is no downside to running better brake pads.
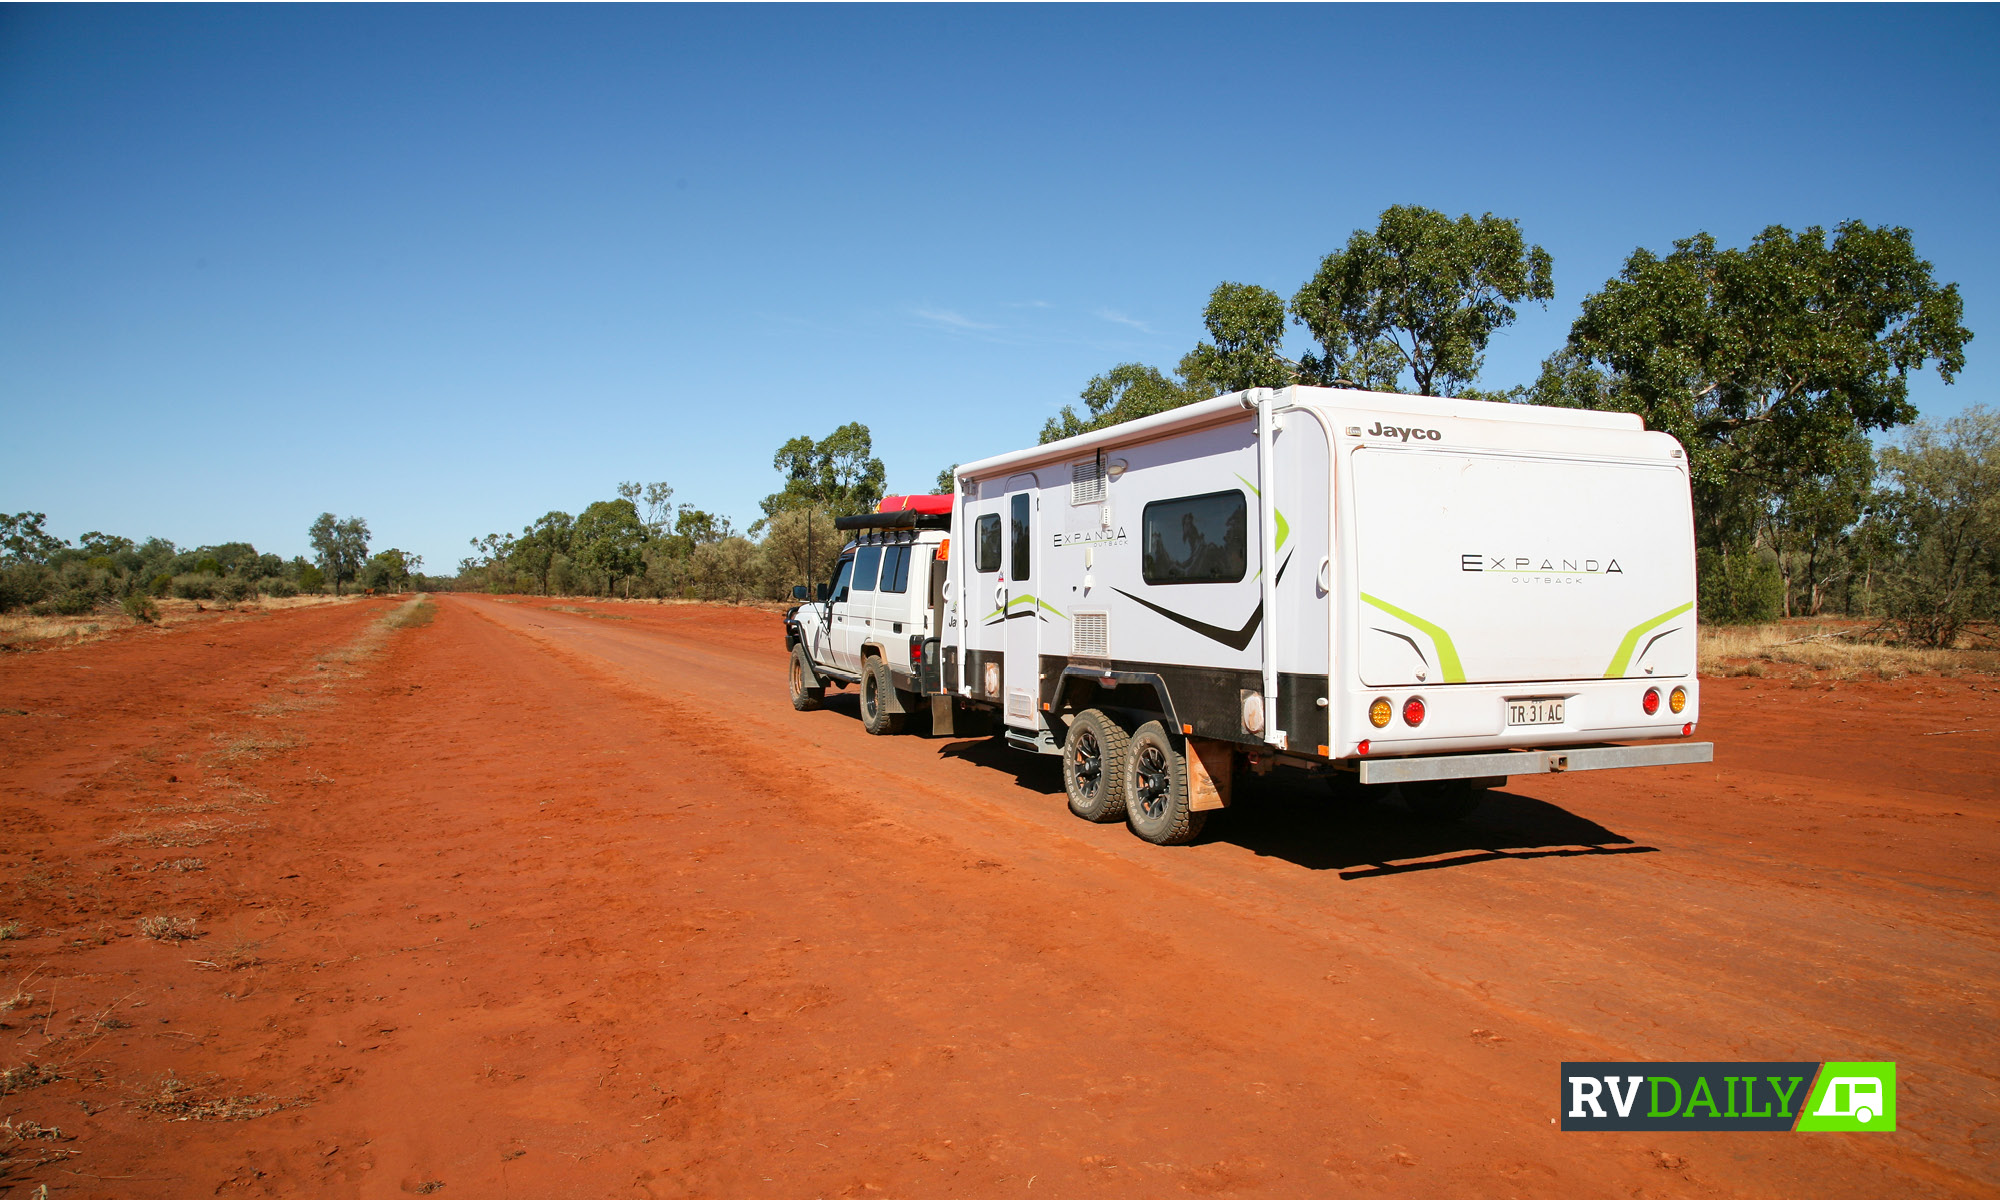
And then with your van on the back; see the difference in stopping force required
BRAKE ROTORS
The next logical step in the brake upgrade process is rotors (or discs). It’s not likely you’ll find non-vented rotors these days, so we’ll leave the vented vs non-vented benefits alone. Interestingly, the DBA rotors feature what it calls a ‘Kangaroo Paw’ design inside the vents, which increases surface area, and improves their cooling ability. Most standard rotors you will buy are going to be flat/smooth, and this is what should come to mind when you think ‘disc rotor’. There are some more ‘high-tech’ options out there, namely dimpled/cross-drilled and slotted as well.
SMOOTH ROTORS
Smooth rotors will provide more than enough stopping power under normal driving conditions, with your average weight load in the vehicle. They provide the maximum contact surface area while minimising pad wear. It’s the industry standard, and what you will find on the majority of vehicles from factory. These rotors, when mated with a set of performance brake pads, should cover most vehicles, even with a decent payload or towing.
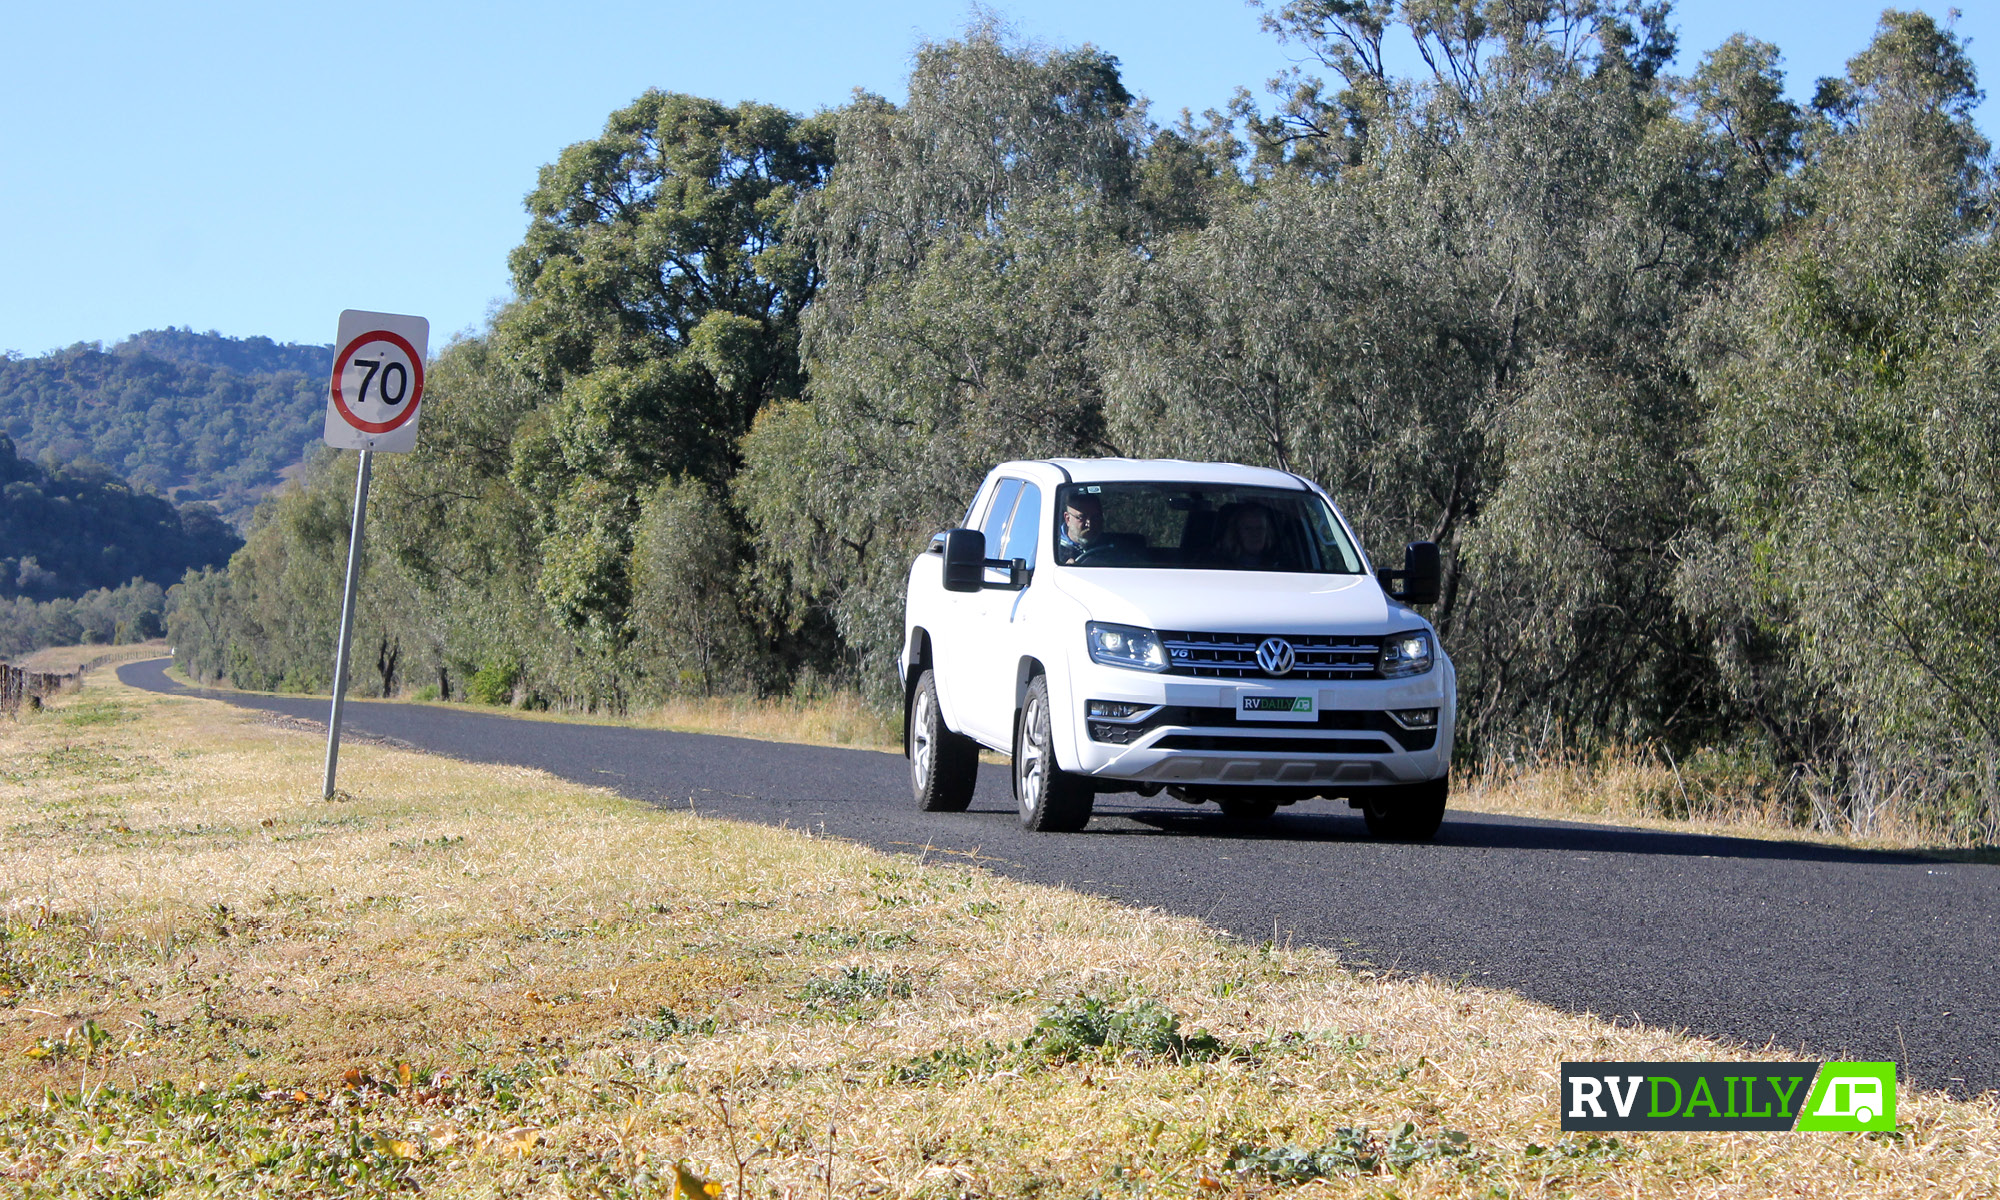
Loaded up means your OEM brakes will be too
SLOTTED ROTORS
Slotted rotors have slots, or grooves, cut along the braking face of the rotor. They allow the pad and rotor to cool quicker and give room for dust and gas to escape when under hard braking. Plus, more of the pad can bite against the rotor, instead of being impeded by the dust and gas generated by the transfer of material caused by friction. Worth noting, is that with the increase of material technology with new brake pads (not your old asbestos-based pads from yesteryear), there is not nearly as much gas and dust generated.
DIMPLED/CROSS-DRILLED
Cross-drilled rotors look great, however, they were initially designed to help with the extraction of braking gases. As stated above, gases generated are decreasing with material technology improvements so cross-drilling is perhaps a touch of overkill for what we do with our vehicles, although dimpling of the rotors assists in the same way that slots do. The issue with cross-drilled rotors is the loss of structural integrity due to the rapid heating and cooling, where dimples maintain a lot of the strength, yet still allow dust and gas to escape.
BRAKE FLUIDS
Brake fluids are classified into DOT numbers, with the higher the number, the higher the boiling point of the fluid (it is also made from different chemicals – DOT2 was made from castor oil where DOT3 is made from glycol ether). As an example, DOT 3 has a boiling point of 205°C dry, and 140°C wet. DOT4, however, has a boiling point of 230°C dry, and 155°C wet. But why do they have a ‘wet and dry’ boiling point, you may ask?
All brake fluids are hydroscopic, meaning they will absorb moisture or water. Any water ingress into the brake fluid, reduces the temperature at which it boils, due to water’s boiling point being 100°C. The ‘dry’ temperature given above, is based for brand-new fluid. The ‘wet’ temperature is with just 3.7 percent water in the fluid (by volume). So every time you pull the lid off your brake fluid reservoir to check it or top it up, you’re letting humid air into the reservoir, in which the fluid will suck the moisture into the brake fluid.
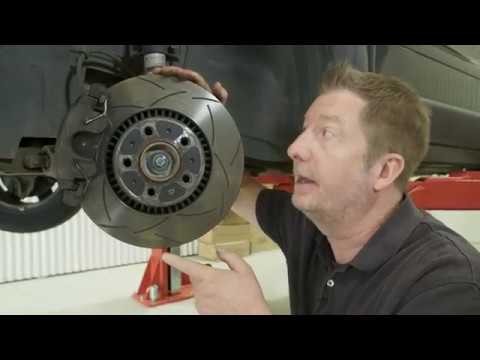
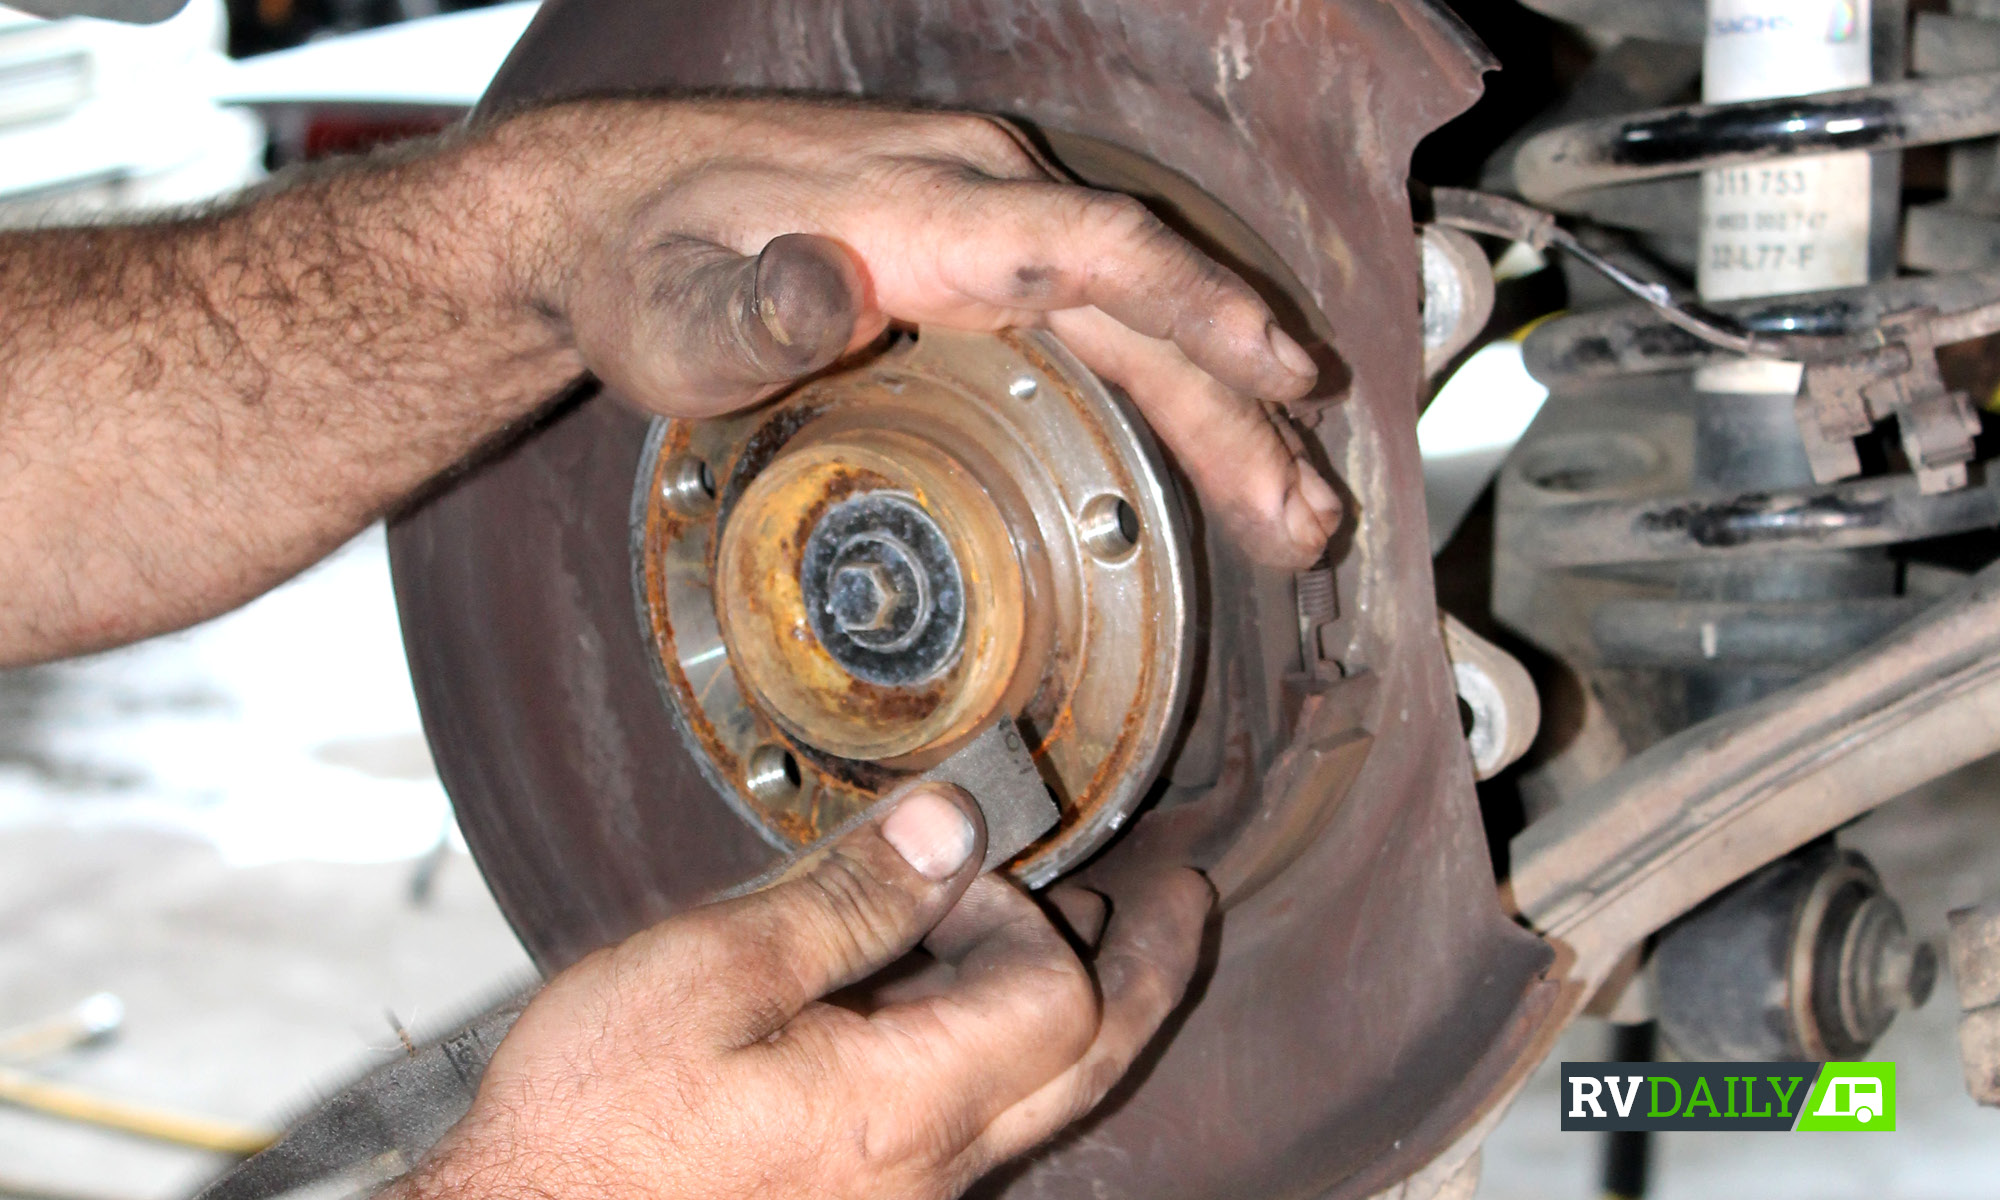
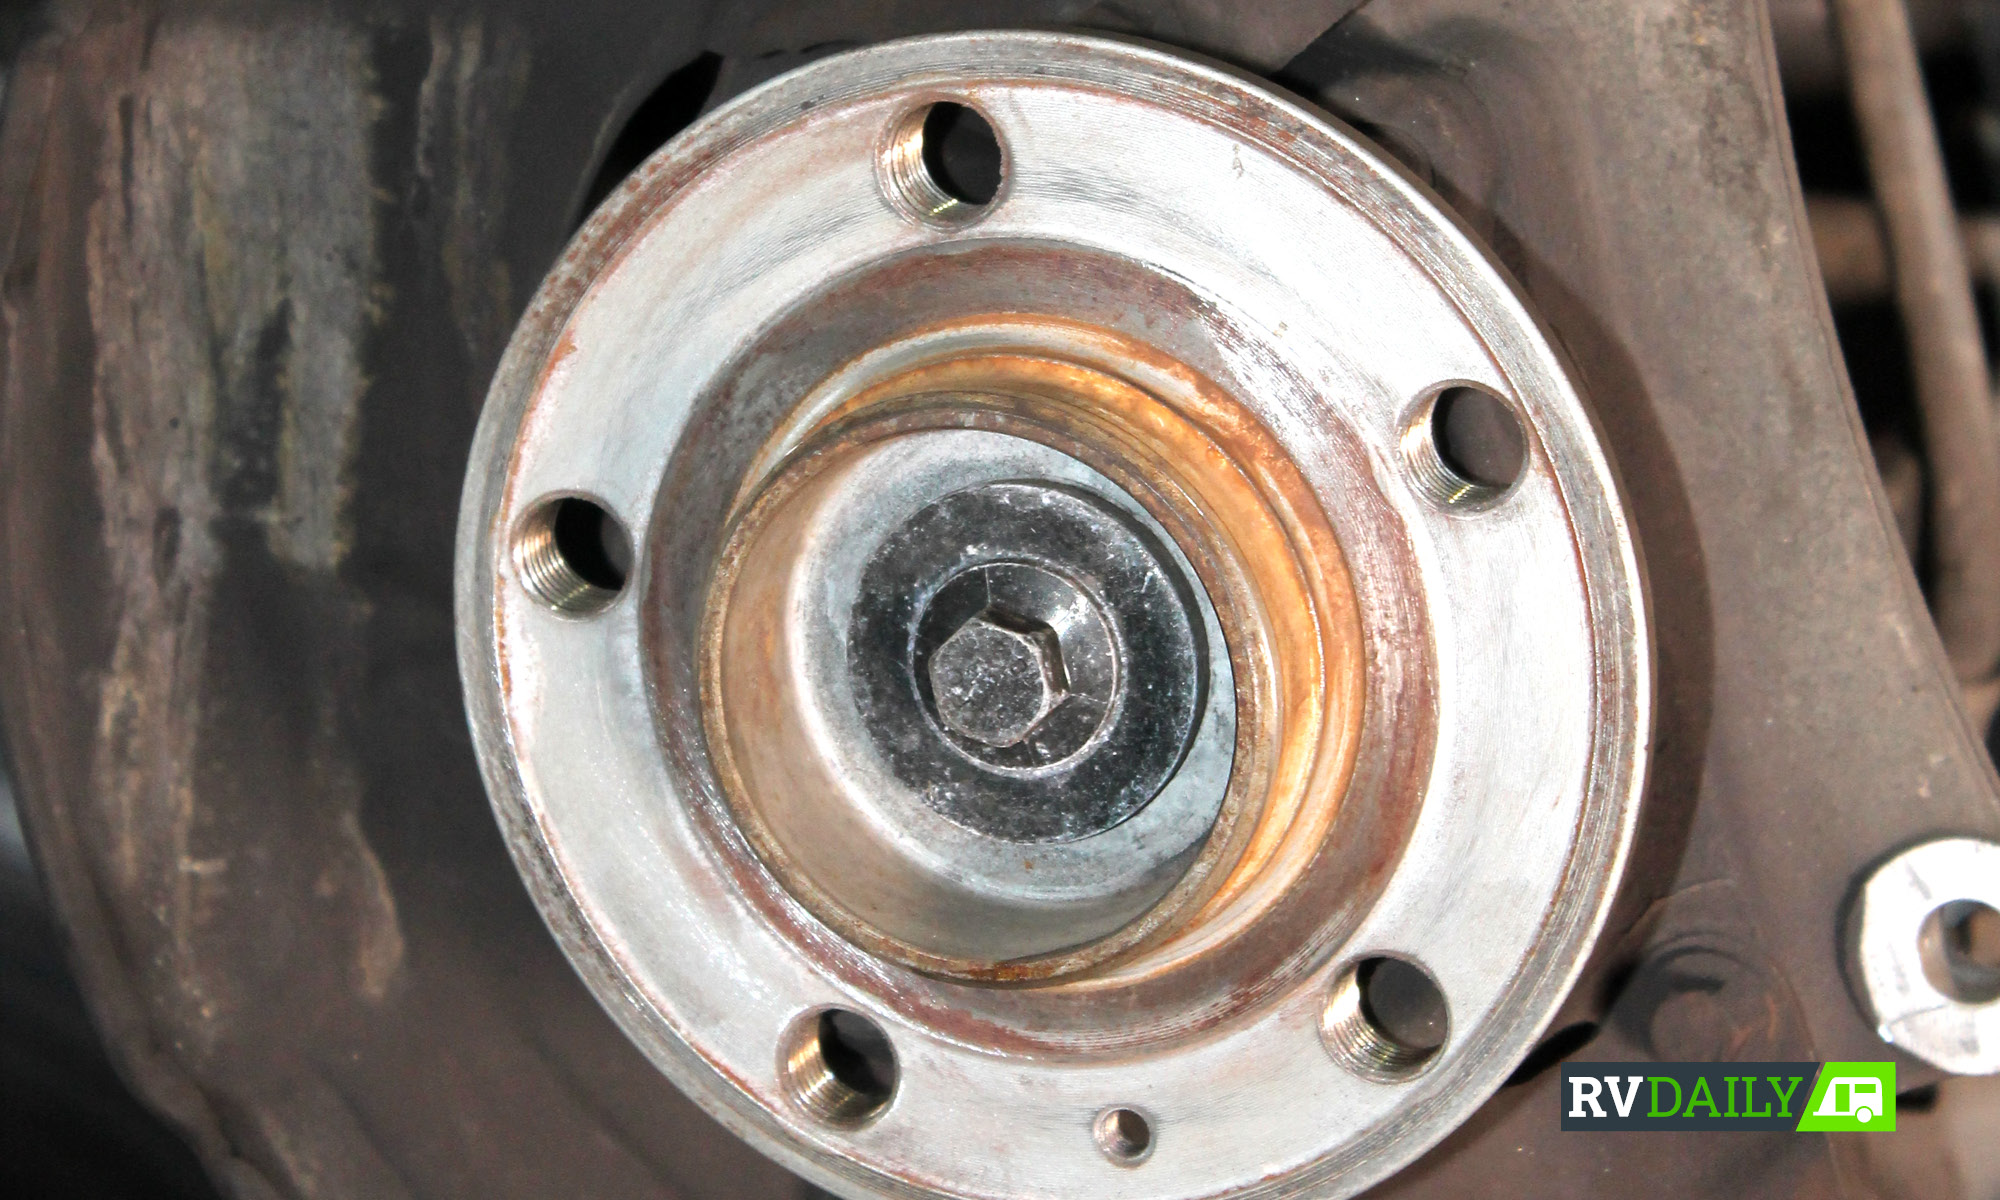
Cleaning off the mating face on the hub to remove surface rust and dirt
Brakes work by transfer of incompressible fluid being pushed from your brake master cylinder, down your brake lines to your brake calipers. Should you get water into your brakes and heat up the calipers and therefore the fluid in the calipers past the boiling point, you will get vapour/steam in your brake lines.
Since vapour compresses rather easily, when you put your foot on the brake, it’s the vapour compressing, not the fluid pushing your pads onto your rotors; simply, your brake pedal goes further toward the floor and you lose a lot of your braking capacity as the vapour is compressed.
If you’re outside your ‘standard servicing intervals’, make sure your mechanic flushes your brake fluid every so often. There are testers that some mechanics will have to check the water content in your fluid, however, for the 30 minutes and $20 worth of fluid, it is often easier and more beneficial to just have it changed out every two years.
THE COST ARGUMENT
It may be swings and roundabouts in terms of OEM costs, depending on your manufacturer’s pricing policy. If you’re looking to upgrade, then it’s obvious that you’re not shopping to buy what you’ve taken off so with the bargaining power of the aftermarket suppliers it’s likely that you will win to replace the OEM in any event.
Many popular vehicle models have much more in the range available to them from basic discs right up to race-spec. Our example on the Volvo XC70 for four OEM rotors and pads was $1316.75, whereas we shaved off $500 for the DBA slotted Street Series T2 rotor sets and Wagner pads. That’s quite a saving and for vastly improved braking performance. Plus, further savings can be made depending on pricing at your retail outlet.
WHICH IS BEST FOR YOU?
Choosing which pad, rotor, fluid and brake line combination is best for you will come down to the punishment you intend putting your brakes through. If you tow a reasonable-size van twice a year, three hours up the Pacific Highway, chances are a premium set of smooth rotors with decent pads will suffice.
If you’re towing a bigger van more often and pull it through mountain ranges, a set of slotted rotors with high-quality pads will pull you up better and quicker with less chance of brake fade.
If you’re like me and have a 27-year-old four-wheel-drive nudging GVM, and tow anything the boss tells you to drag around for a tow test and photoshoot, you’re going to want just about the best you can get. The braking ability increase going to quality rotors and pads from the standard gear I was getting at the local parts store was mind-boggling in my old Cruiser.
I now run a set of slotted rotors on my 80 Series, with DBA Orange pads and fresh DOT4 fluid, and the old Cruiser pulls up twice as well as it did with OEM parts. I’ve not had brake fade yet, despite nudging the Cruiser’s GVM and lobbing it off the top of the Toowoomba plateau every other month.