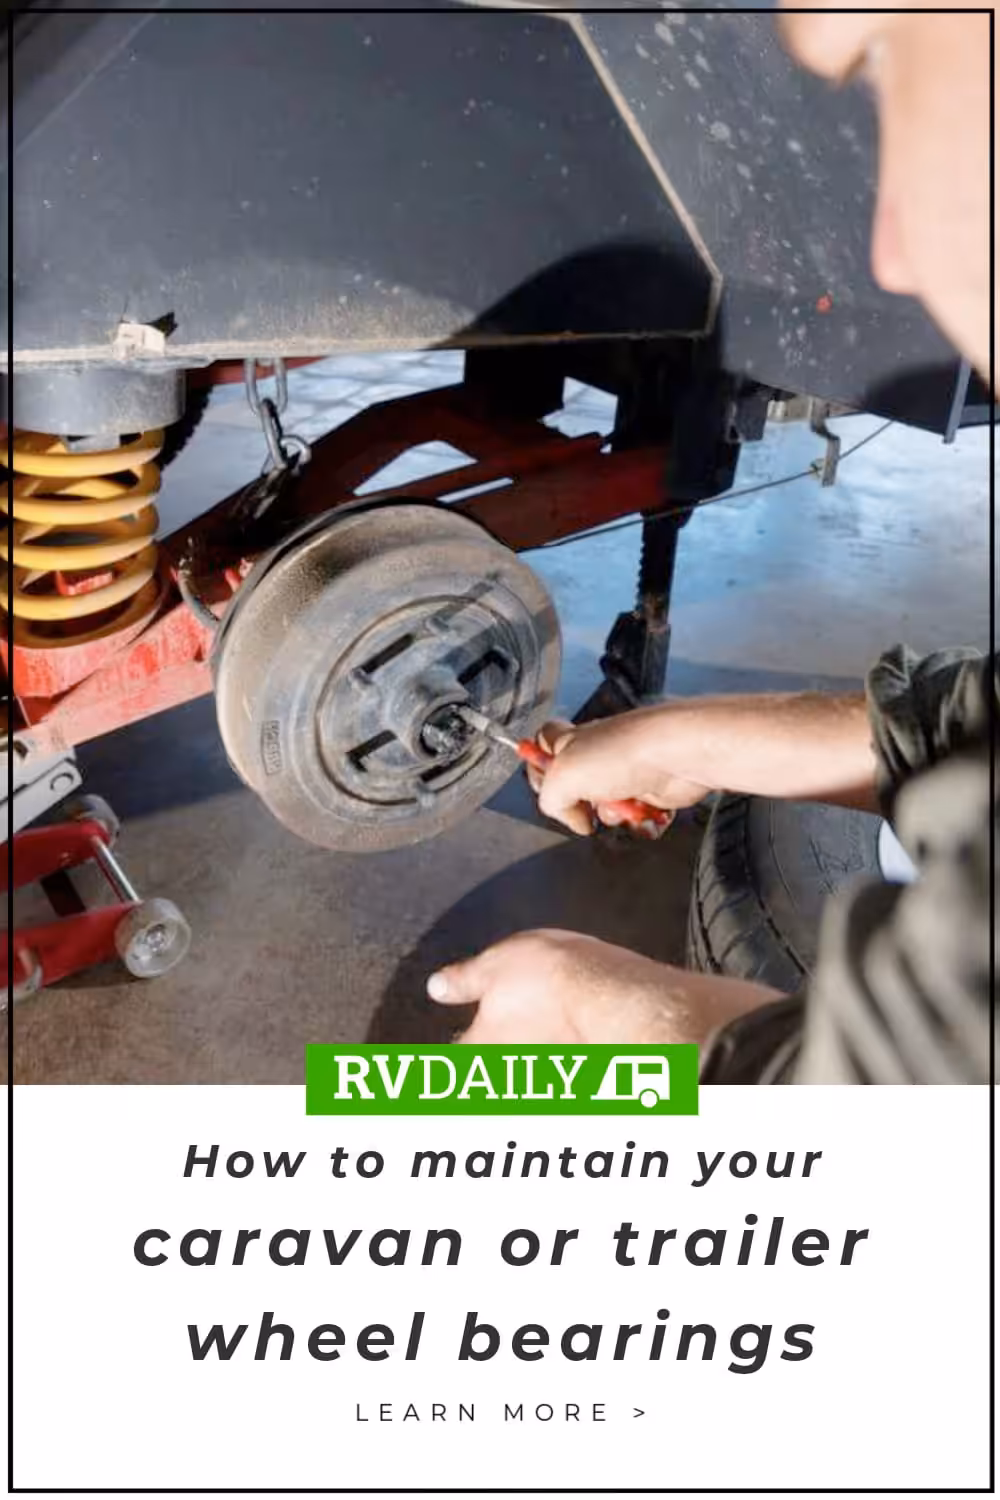
How to maintain the wheel bearings on your caravan or camper trailer
We take a deep dive into your caravan and trailer wheel bearings and show you how to keep them in tip-top condition. Learn more here.
Published on: 2 August 2024
Here’s the thing about caravan and trailer wheel bearings: not only do almost none of us ever give them much thought, most of us also don’t really know what they’re even there for. Yeah, they allow the trailer’s wheel to turn, but they’re also an essential suspension component. As in, if they fail or one comes apart, say goodbye to your wheel, and possibly your trip. Worst case is your entire caravan.
Luckily, this doesn’t happen that often, and with a little care, it won’t ever happen to you. But you need to know how to inspect, maintain and swap them out if they do happen to need replacing. They’re a wearable part, after all. With that in mind, we thought we’d take a bit of a deep dive into your caravan and trailer wheel bearings and show you how to keep them in top condition.
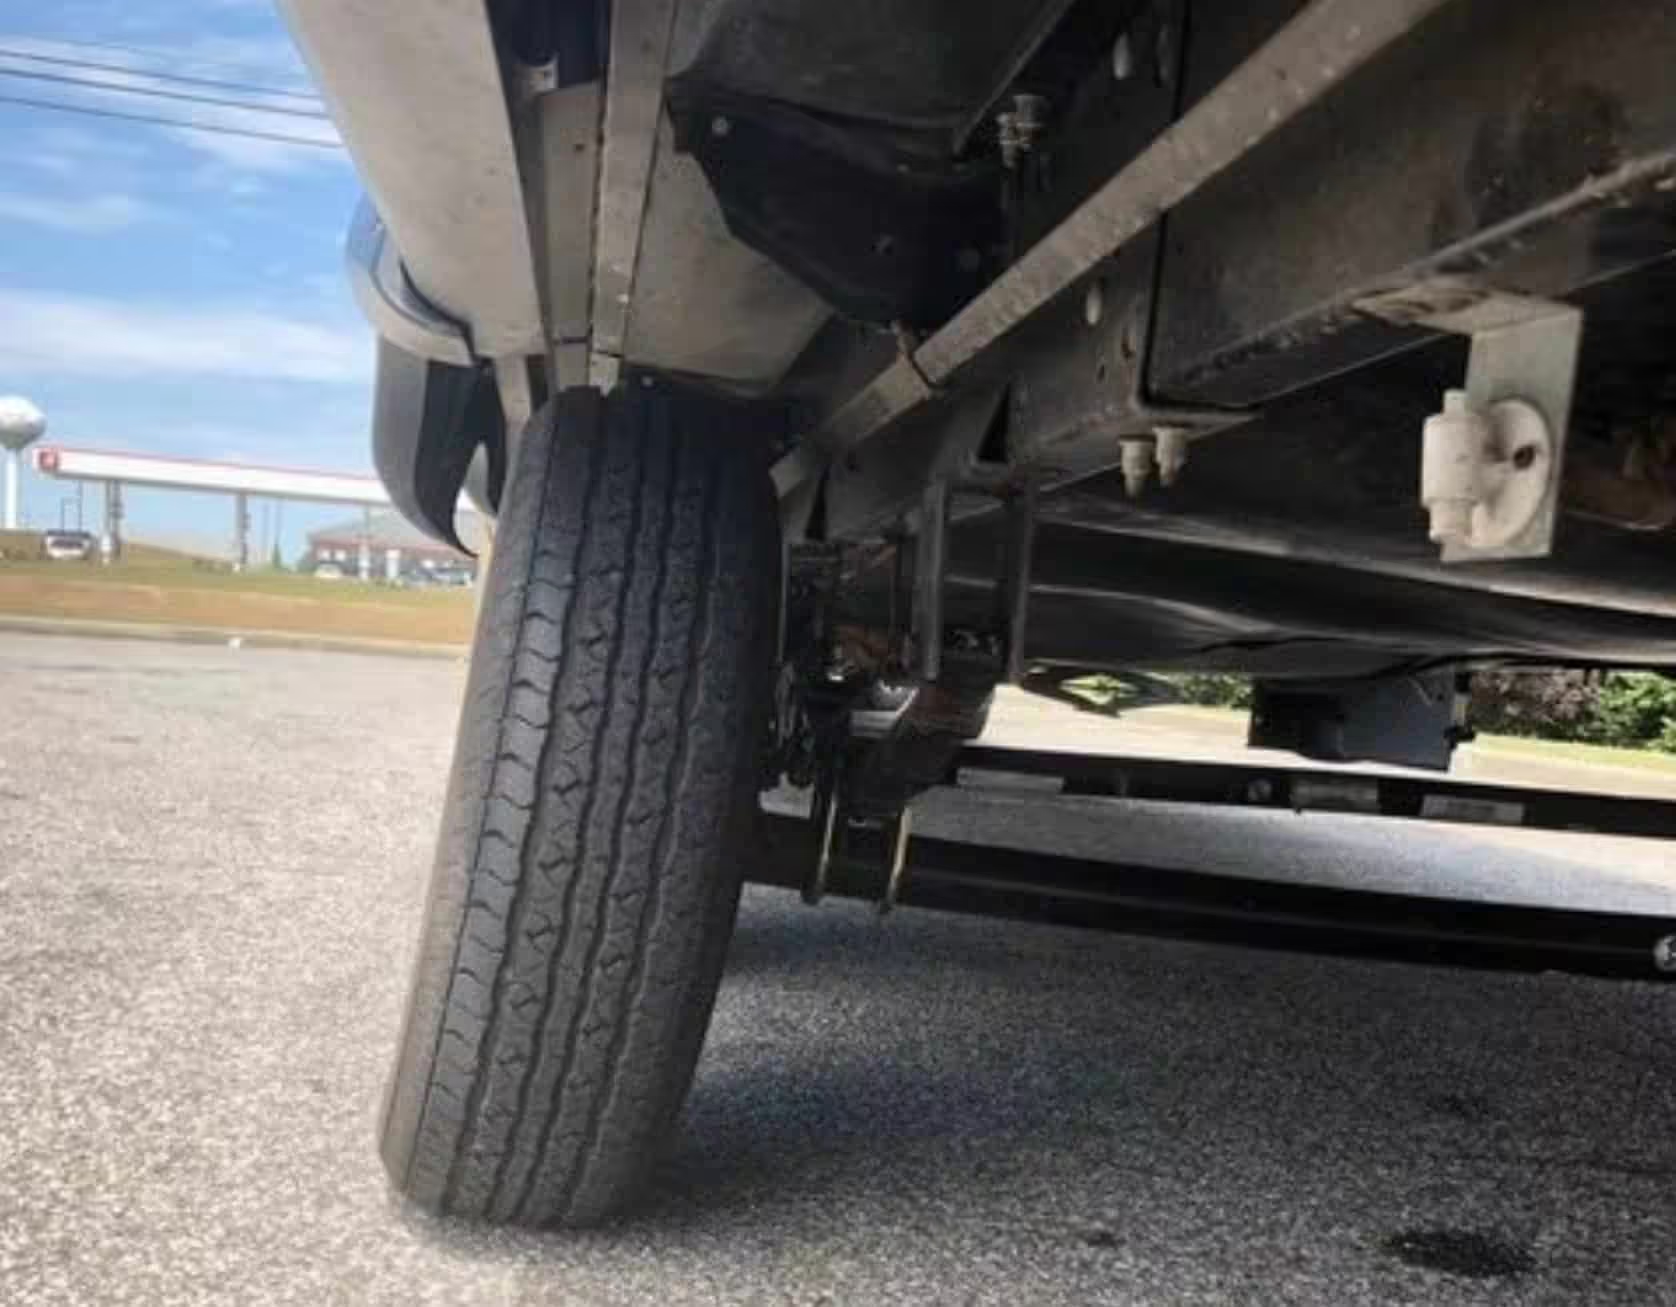
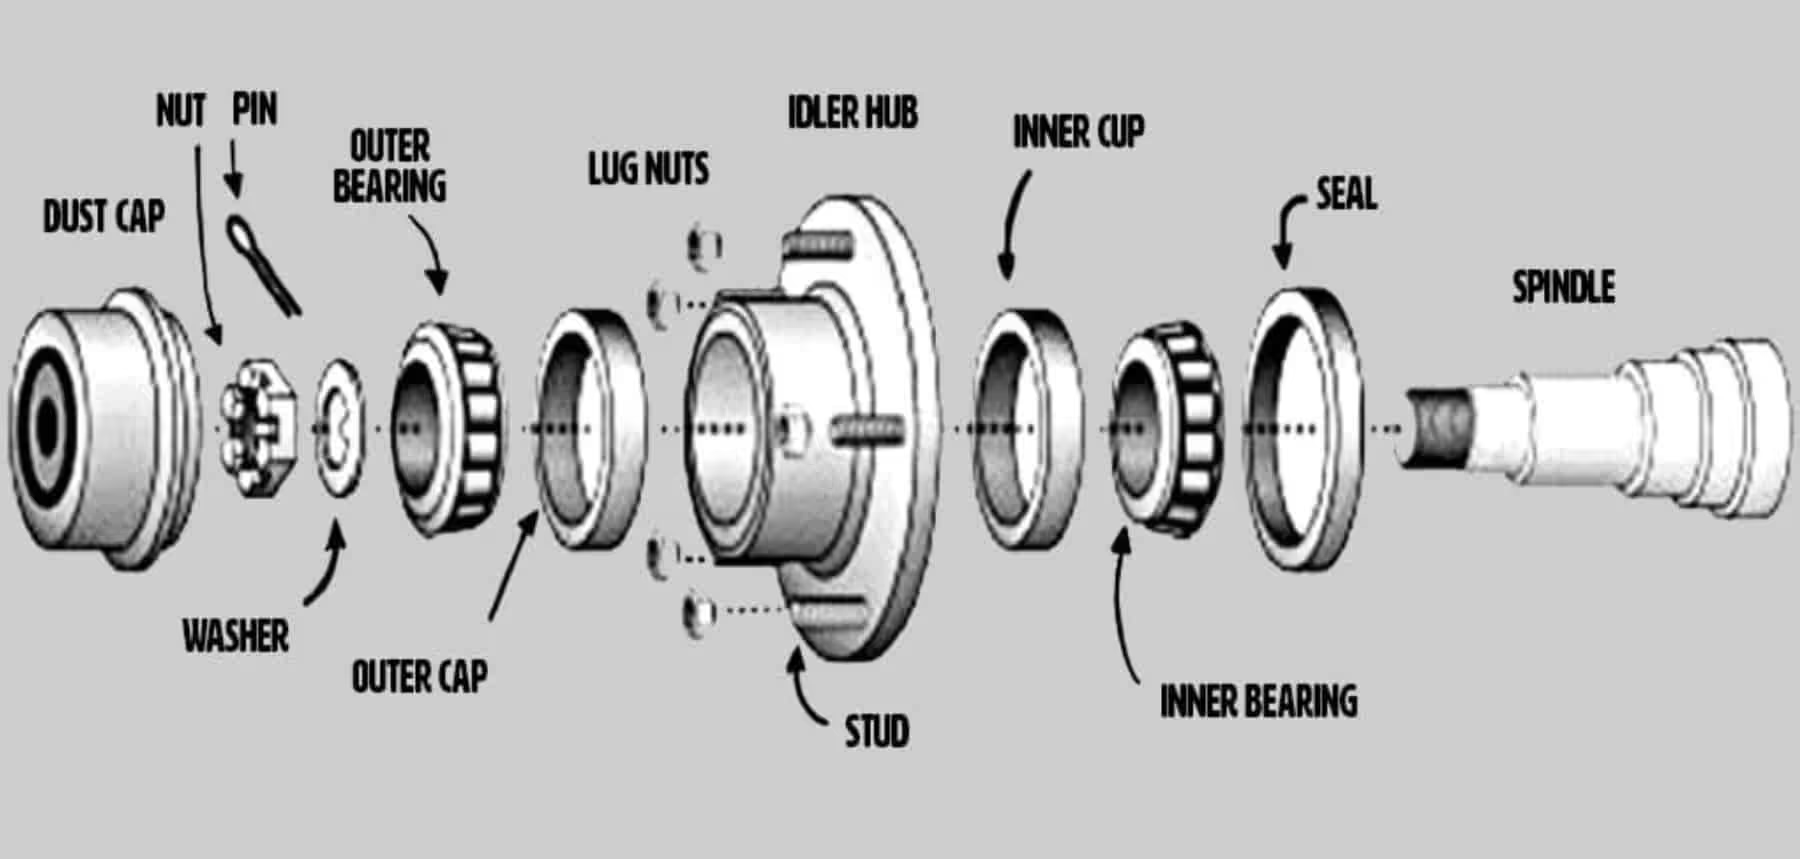
As the name suggests, a wheel bearing holds up the entire weight of your trailer while allowing the wheel and tyre to rotate around it. They are fitted around an inner race on the ends of the axle (on solid axle suspension) or on the spindle of the stub-axles (on independent suspension), while the outer race is pressed into the hub of the wheel. They most commonly have balls or rollers between the inner and outer races, which allow the wheel to turn while providing support for the mass above the axle (aka the rest of your van or camper). Usually, there are two bearings per wheel – an inner and outer – which sit at either end of the spindle.
Put simply, caravan and trailer wheel bearings crash and burn when they’re neglected. Kind of like anything mechanical… or a teenager. Off-road trailers that regularly see big kays in dusty or muddy conditions or trailers that get dragged through water crossings (or are used to launch boats) are particularly susceptible to foreign matter getting into the wheel bearings and flogging them out. Overloaded trailers will also place a lot more wear and tear on the bearings leading to premature failure. In a lot of cases, bearings simply let go from a lack of maintenance over the years. Especially if the trailer does not see regular use. The grease loses its lubricity and cooling ability, friction increases, the metal parts become worn and pitted, and things basically just fall apart, leaving you high and dry.
The larger the trip, the deeper your inspection should be. But the quick and easy way is to jack up each wheel, grab the tyre at 12 and 6 and give it a shake back and forth. A little bit of play is ok, but if the top or bottom of the wheel moves more than a centimetre or so, then it’s time to take a closer look at things.
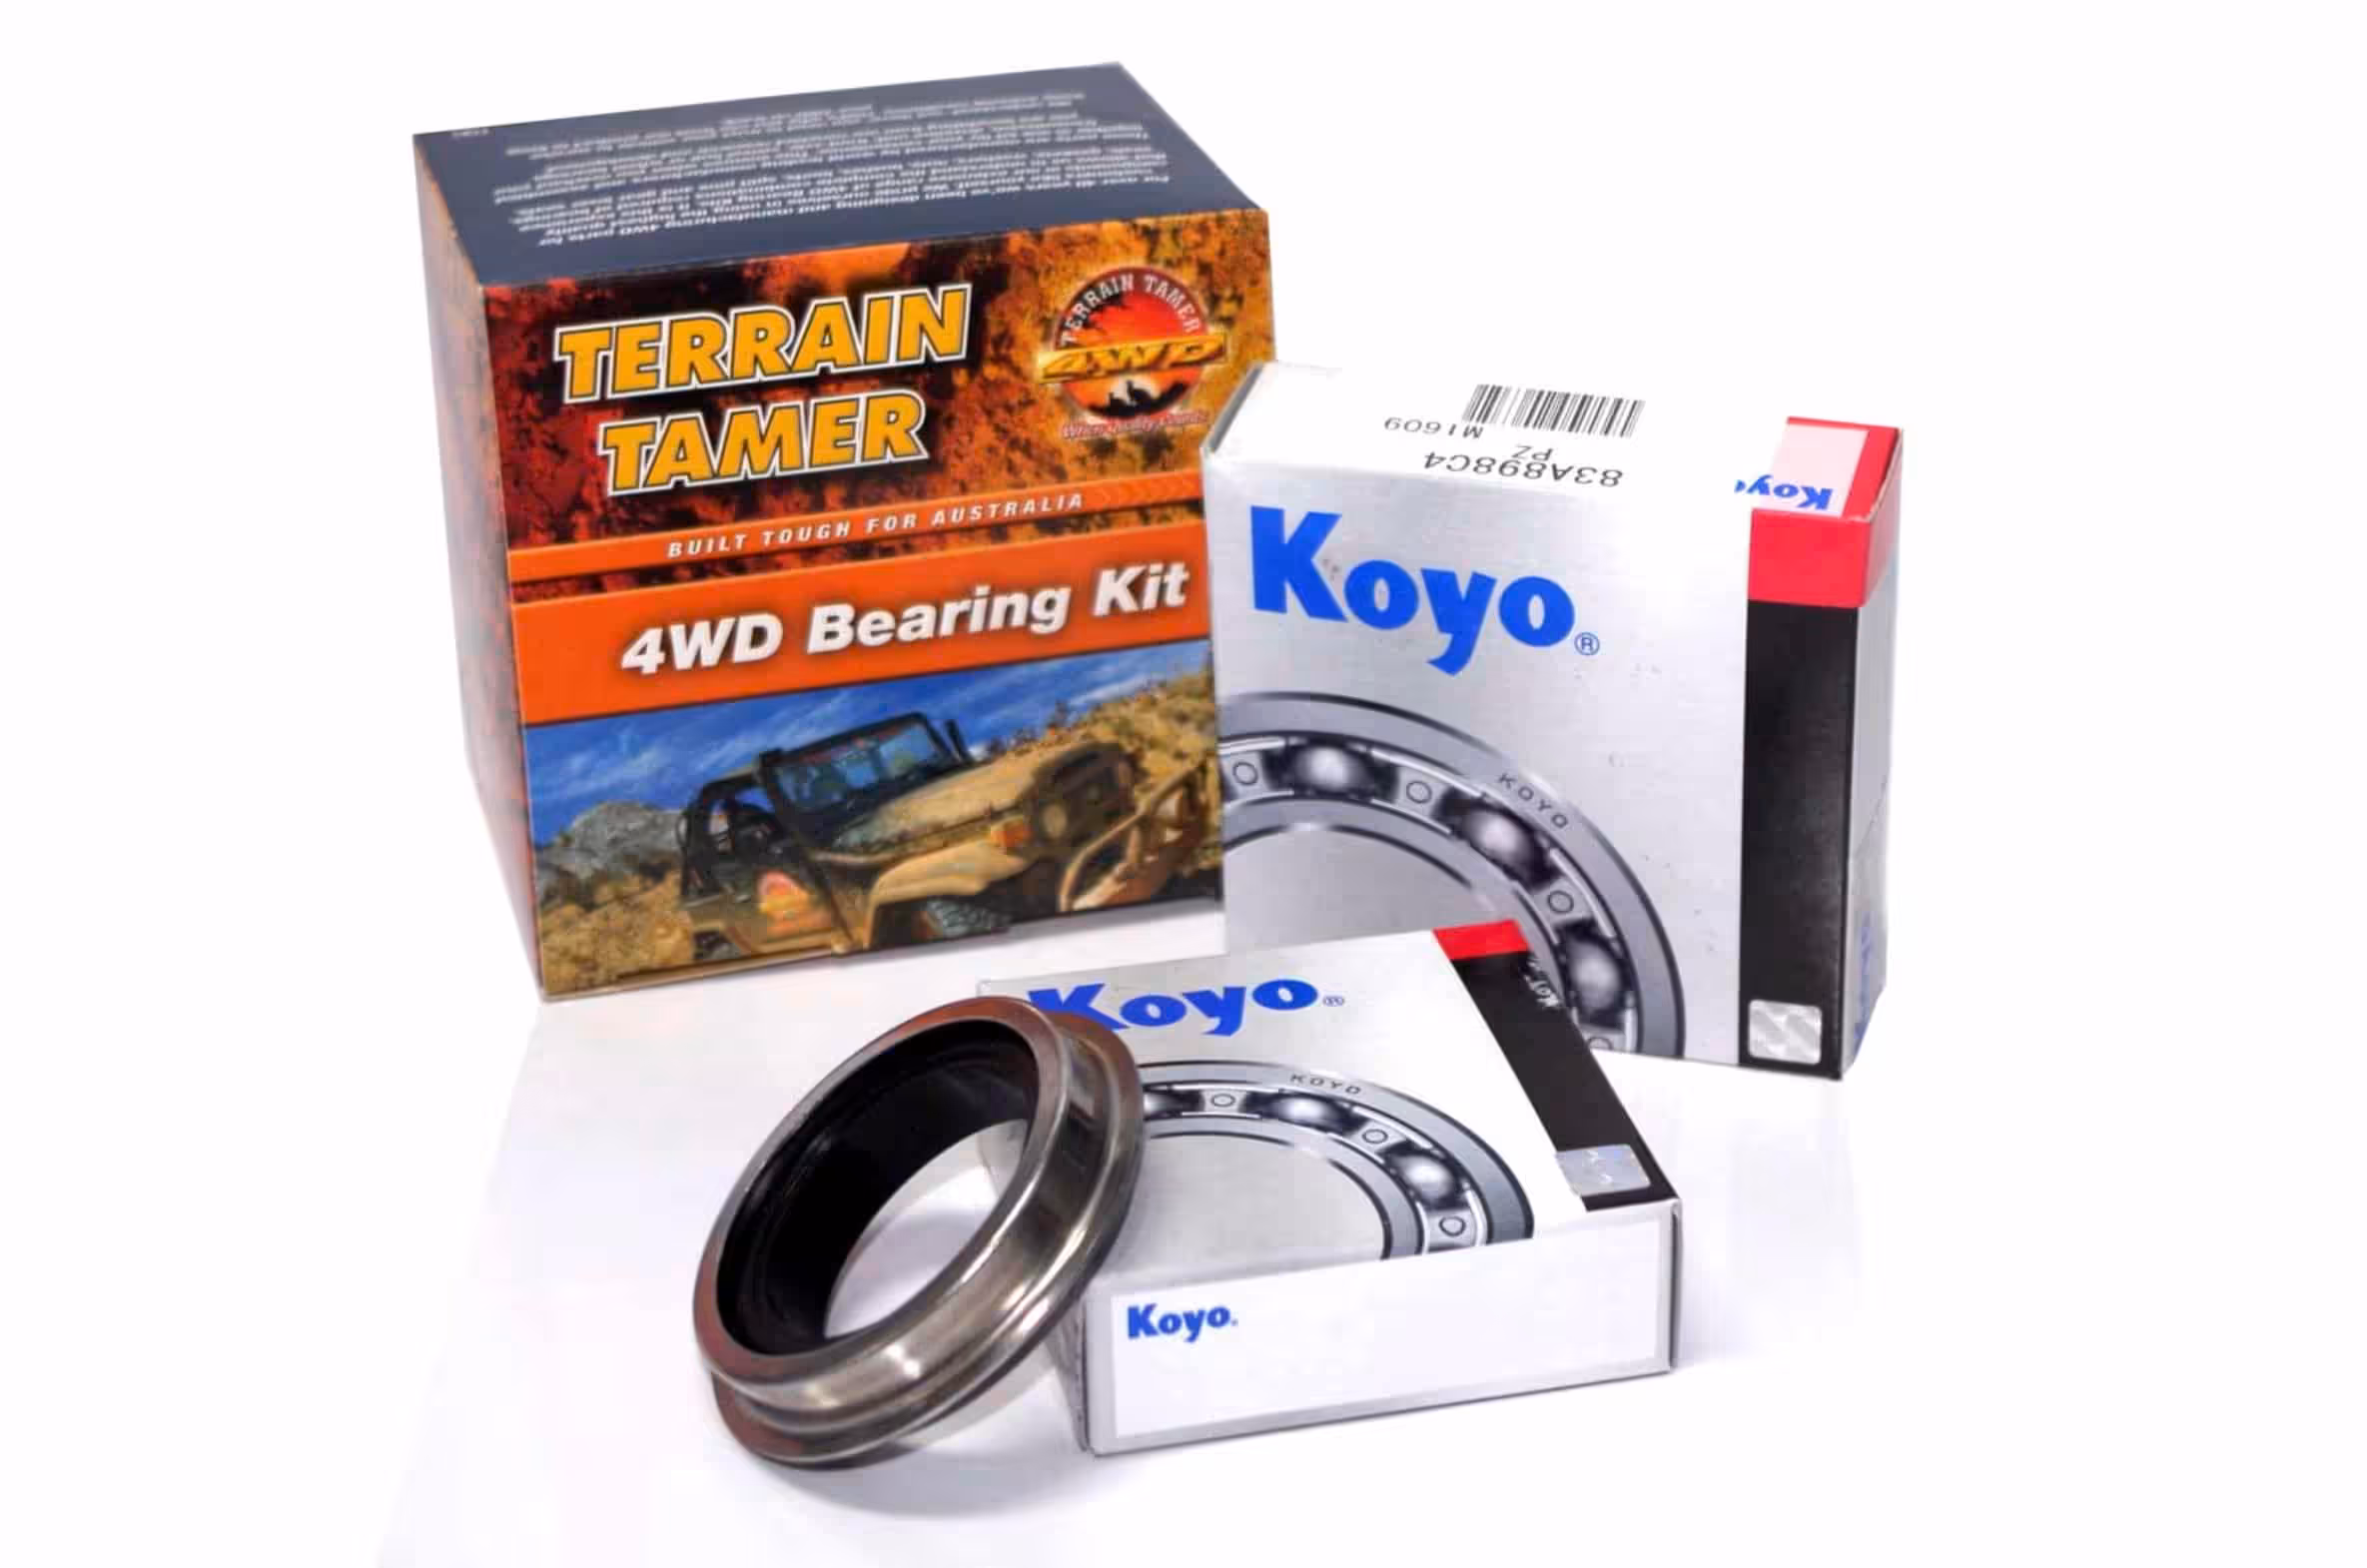
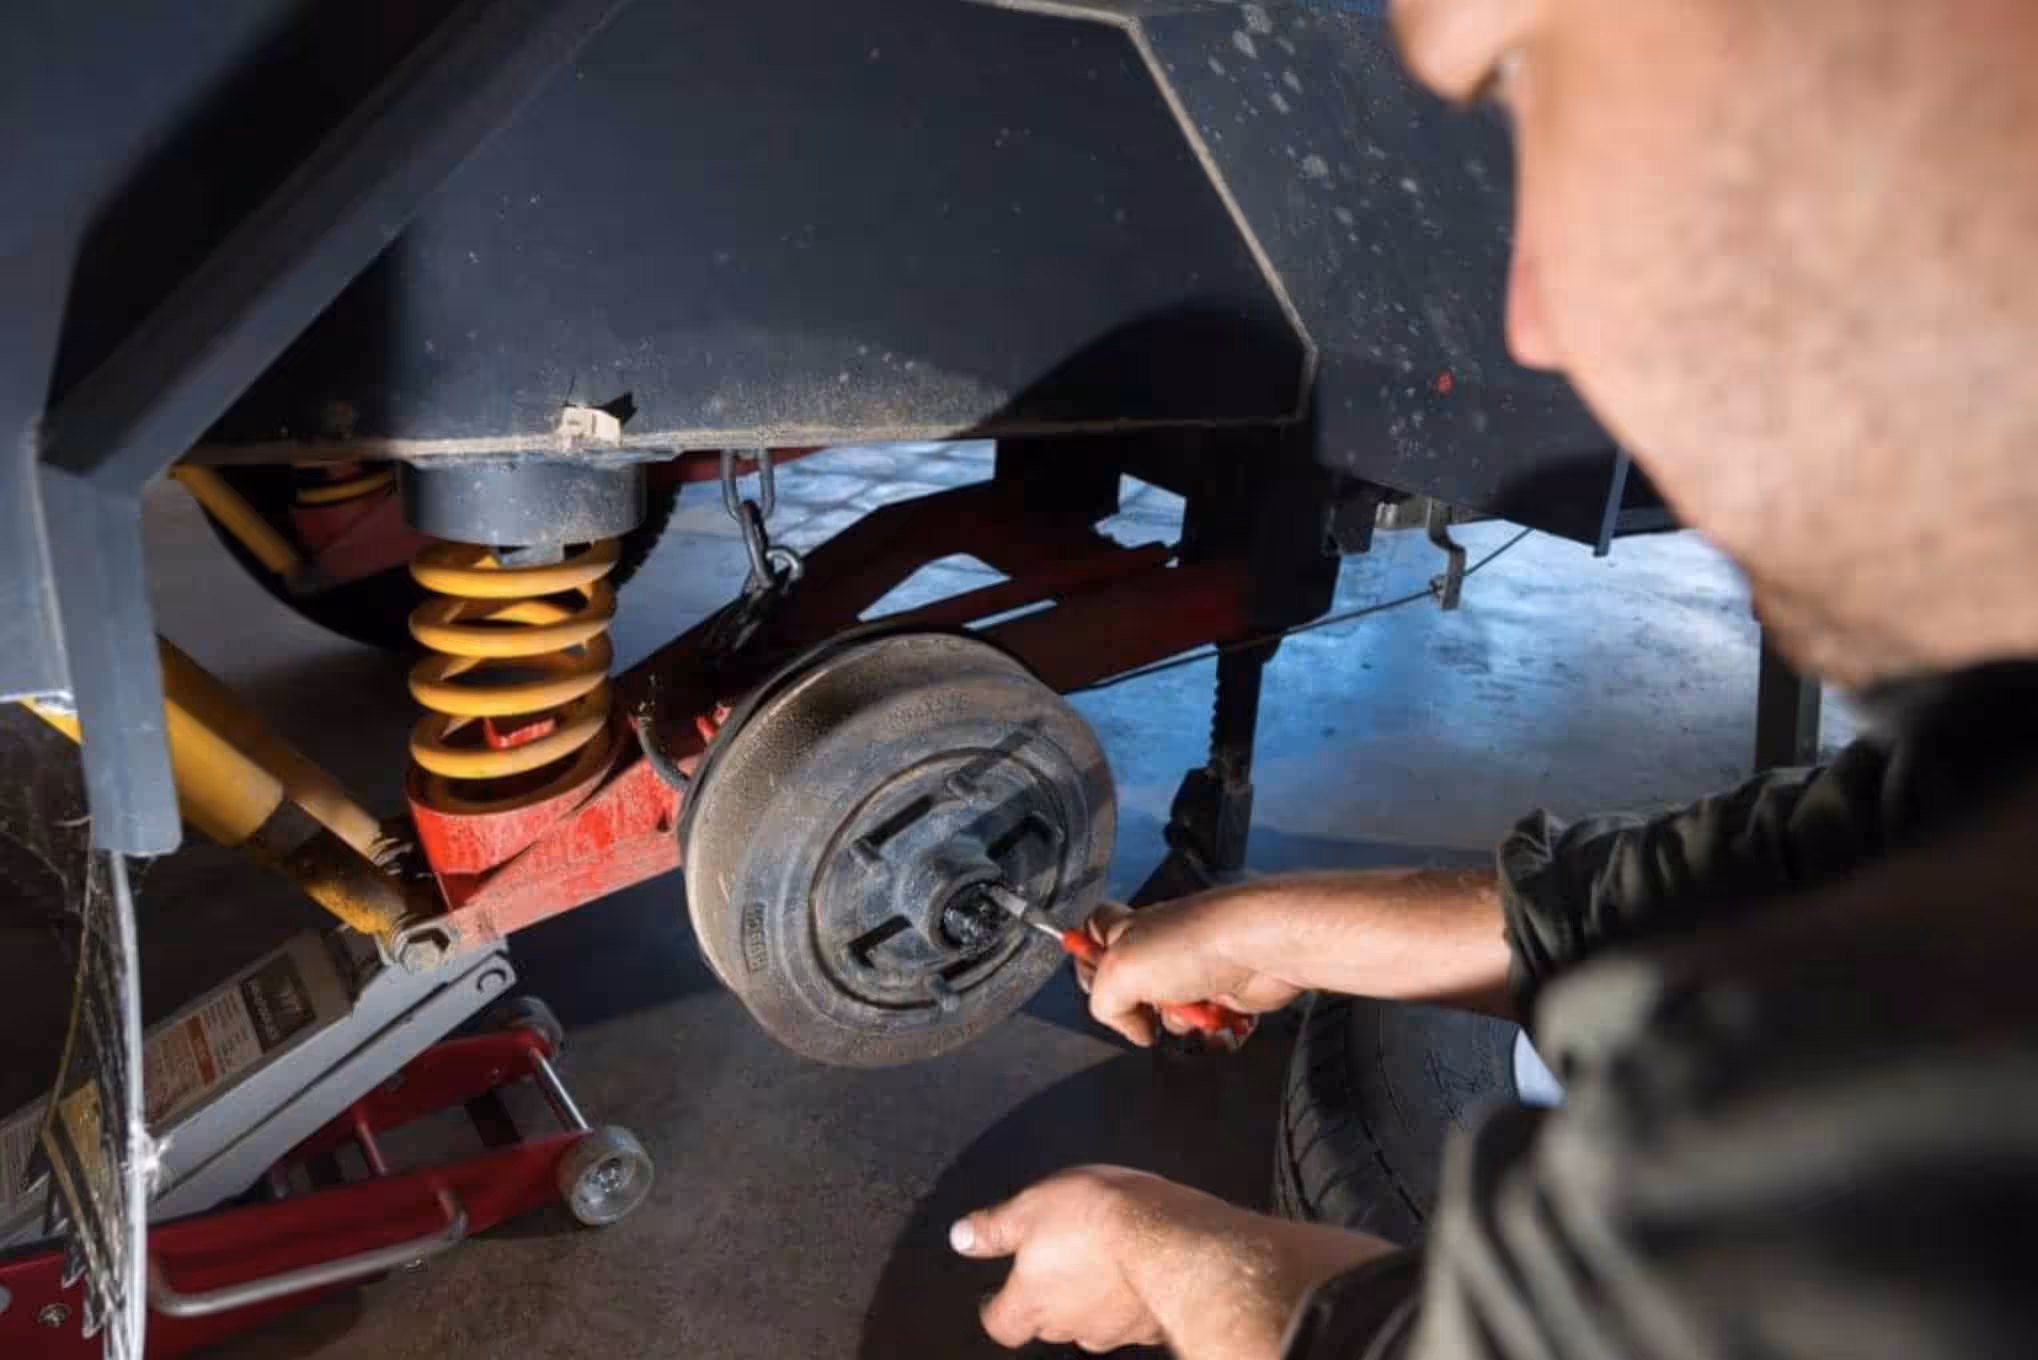
Pry the dust cap away to reveal the outer bearing. There should be plenty of grease covering all surfaces inside the hub and there’s no obvious dirt or water damage. Give the wheel another shake and see where the movement is coming from. Hopefully, the retaining nut just needs to be nipped up, especially if the trailer wheel bearings are fairly new. If not, it’s time to order yourself a replacement bearing kit (we like the ones from Terrain Tamer) and break out the tools. Alternatively, you could book your trailer in at your local specialist and get them to knock it over for you.
Maintaining caravan or trailer wheel bearings is fairly quick and easy and should be done once a year or so. Maybe twice a year if you do a lot of heavy towing or off-road driving. To do this, you’ll need a means of removing the wheel, a pry bar or screwdriver for the dust cap, pliers for the cotter pin and a socket for the retaining nut. Although to be honest, it shouldn’t be too tight, so the pliers may well get the job done. You’ll also need a grease gun and, if you hate gunk under your nails, a bearing packing tool. Although this is hardly a must.
The process involves whipping the wheel off, moving brake drums or calipers out of the way (if fitted), getting the dust cap off, removing the cotter pin, undoing the retaining nut (which shouldn’t be tight), removing the washer and outer bearing (again, they should be loose), pulling the hub off (might need some gentle persuasion with a rubber mallet, but nothing more than that) and inspecting the spindle, hub seal and inner bearing for damage. Just FYI, you’ll have to remove the rear hub seal to gain access to the inner bearing.
Wipe all the old grease out with a rag and clean the trailer wheel bearings with brake cleaner. Now, if you’re reusing the old bearings, pack them up with fresh grease and throw it back together. If you’re changing the bearings out (which many folks consider cheap insurance), now’s the time to reassemble everything with the new stuff. As mentioned, we like the Terrain Tamer kits as they use genuine Koyo bearings, which are top quality and proper Japanese-made seals.
There are two ways to do this, with a packing tool or by hand. Neither is really better or worse than the other, but the bearing tool makes it a slightly less messy affair. If doing it by hand, dump about a tablespoon of grease (we like marine grease, but any high-temp waterproof bearing grease will do) into your palm and use the bearing to scrape the grease under the front and rear edges so that it fills the cavity the rollers/balls are in. When there’s grease coming out from behind the rollers, you’re good to go. Note that some spindles are greasable, where you simply install your bearings and attach the grease gun onto the zerk fitting on the end of the spindle. So, if you have one fitted, happy days.
Place the inner bearing in the hub and tap the new seal into place with a hammer. Fit the hub back onto your spindle and install the outer bearing, washer and retaining nut. There are a bunch of different opinions on how tight to do the nut up, but the way I was shown (by Terrain Tamer legend, Allan Gray) is to do the nut up tight enough that the hub just starts to offer resistance to turning, then replace the tyre and wheel. Give the trailer tyre a decent kick or hit with a sledgehammer to seat the bearings, then back the nut off by a quarter of a turn so the wheel can spin freely. Lastly, replace any brake components, the cotter pin and dust cap. Congratulations, your trailer bearings are done and dusted for the next 12 months or so!
Read next: