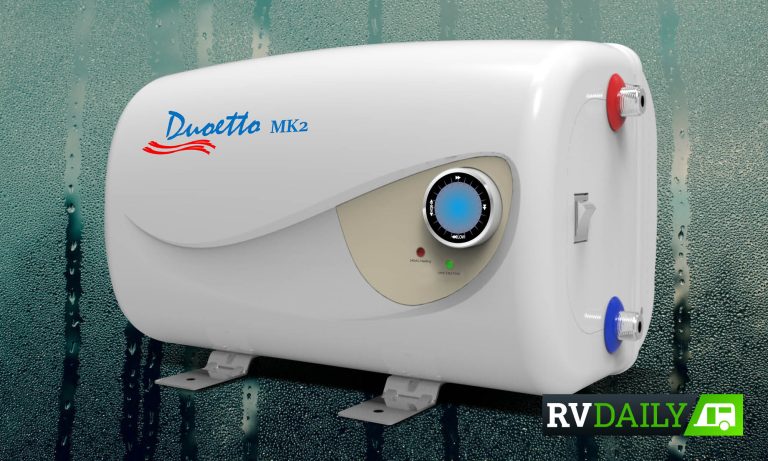
Getting Into Hot Water
A hot water service doesn’t last forever. Here’s how you replace a 12V/240V RV system It’s fair to say that an RV’s hot water service isn’t going to last forever. The tank can begin to leak after years of service…


A hot water service doesn’t last forever. Here’s how you replace a 12V/240V RV system
It’s fair to say that an RV’s hot water service isn’t going to last forever. The tank can begin to leak after years of service or the high-pressure valve may fail and, depending on the unit, it will need to be repaired or replaced.
For the hot water service in this caravan, like many, it was more cost effective to replace it with a new one than to repair it or replace the suspected leaking tank. While the leaking water has been mopped up, you can see the evidence of water staining on the base plate.
We were replacing a 240V plug-in hot water service (HWS) with another 12V/240V plug HWS, so there was no gas or 240V electrical work required. Given that the unit has a high current draw running on 12V, it was decided here to run only 240V. Given that this van was not going to be used for bush camping, the popular gas/electric option wasn’t needed.
We start the job by disconnecting the old unit’s water connections and drain outlet. As the only electrical connection is the plug fitted to a standard power pole, disconnecting the power was simply a matter of switching off power and pulling the plug.
Then, the unit’s retaining straps were removed, and the unit itself removed from the van.
The old hot water service was glued to the base, so we had to clean up the old glue to allow the new unit to sit flush on the base.
The mounting plates were fitted to the new hot water service and silicone applied to the fitting threads after which the fittings are secured to the unit itself.
With both inlet and outlet fittings now attached to the unit, it could be placed in position in the van.
Then it was a matter of securing the new unit to the old mounting board with self-tapping screws.
The new hot water service we’ve fitted here had all its connections in a different spot compared with the old one. So, for starters, it needed the inlet and outlet water pipes extended with additional lengths so that they could reach the connections on the new HWS unit. New pipes were connected and cut to length.
A new drain hole was also necessary so, after checking the underside first for any pipework, chassis rails or other obstructions, a new exit hole was drilled in the van and the pipe fitted to the pressure relief valve and then routed through the drain hole.
The water pipes are secured to the timber baseplate and because we’re not hooking up to 12V power here, these wires are tucked up out of the way.
Finally, the unit was plugged into the 240V socket and turned on and tested to see that it was producing hot water.
You don’t need to be a licenced electrician to do this job, in this case it’s simply plug and play straight into a 240V power point. You’ll need about two hours to install a hot water service like this, when access is pretty straight forward. Some HWS installations can be very hard to dig out, so inspect carefully before you commit to pulling out the old system and measure the replacement (if a different unit) to make sure it will fit in your van.