If you object to spending money on something you could make yourself, we give you the ultimate tightarse DIY mudflaps for your tow vehicle
Keeping the track debris away from your trailer is important to maintain its appearance and value. Of course, there are off-the-shelf items you can use but if you want to spend big on physical protection that’s bolted to the trailer drawbar then this is an ideal way to save money to put towards that.
There are many ways to make your own mudflaps, but this couldn’t be simpler or cheaper (unless you know better, of course). The example is on a Subaru Impreza for rally use, but these steps are a fairly universal-fit.
WHAT YOU NEED
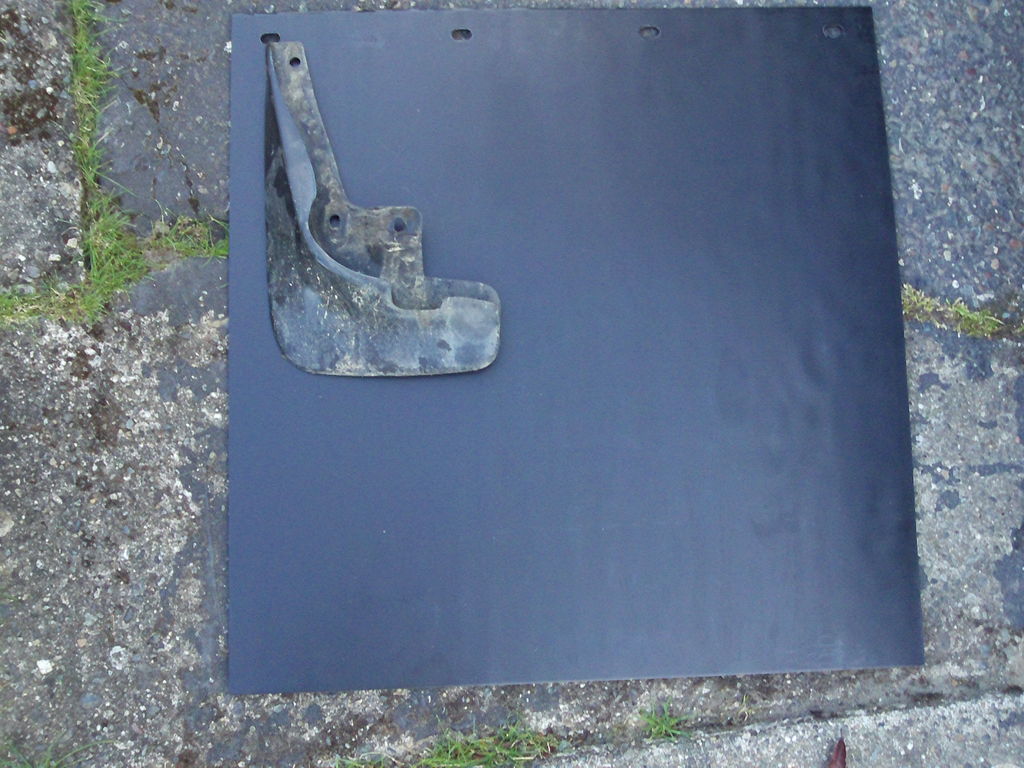
Two thick plastic semi-trailer mudflaps from a truck parts shop or anything you think is tough enough for the job
T-square and a ruler
Ratchet and socket set
Skill saw or rotary Dremel-style tool
Drill
Pencil or pen to mark your lines
Optional: Can of spray paint or similar (for finishing off the edges)
STEP 1
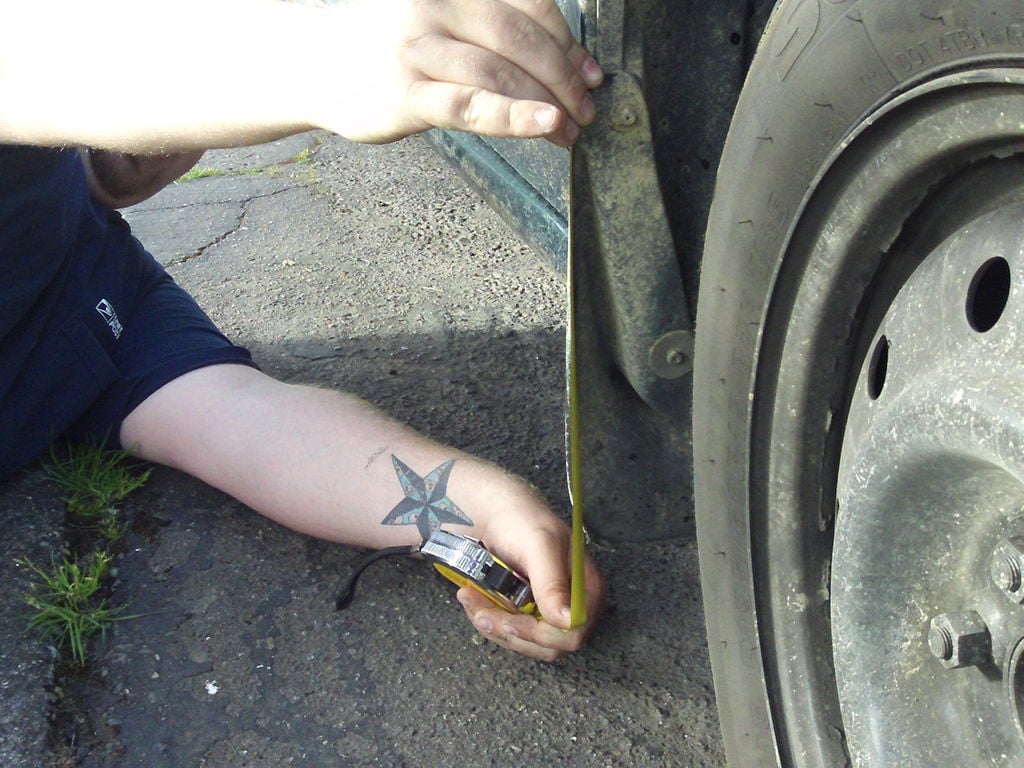
Measure your mudflaps on the car so you can determine how far you want yours to stick out. In this example, we decided on the front to be an inch (2.5cm) wider and longer, and on the rear, we opted for 1.5 inches (3.8cm) both wider and longer. You can decide what might work for you best depending on what you drive and the look you want.
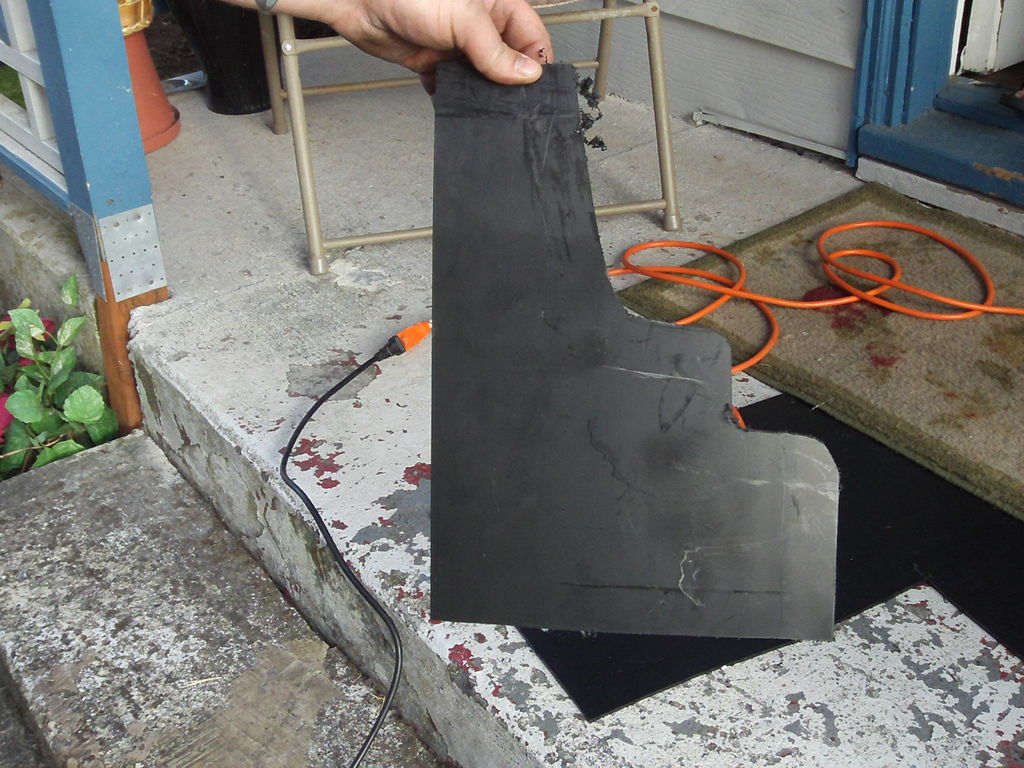
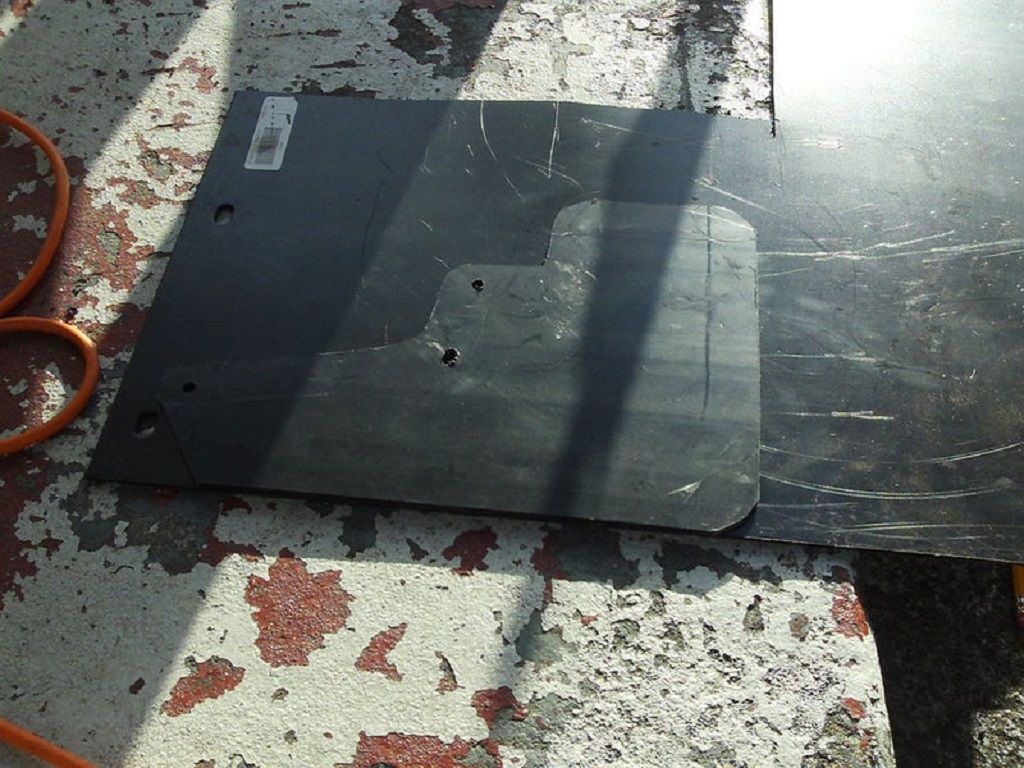
First, remove the front mudflap and put it on top of the semi-trailer flap (or whatever you’re using). Ensure the flat side is facing down.
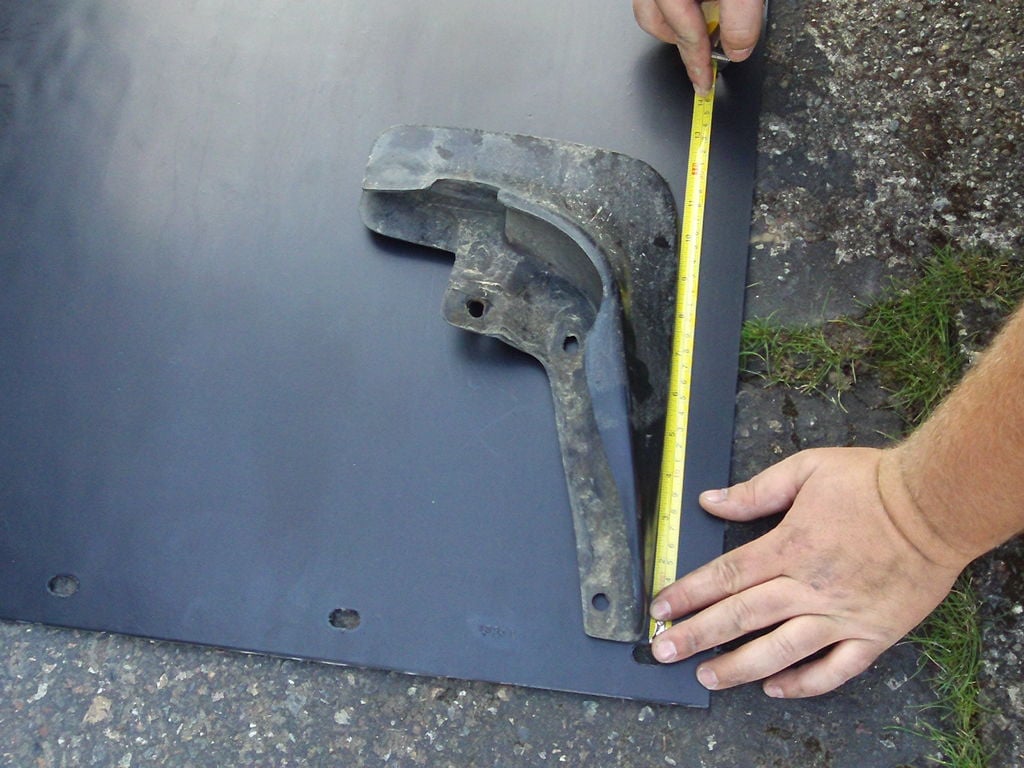
Measure how much extra length you want and put the outside edge of your stock mudflap on that line, so you have the extra inch of material. Then mark your lines and trace the outline of the mudflap: this is where the T-square comes in handy.
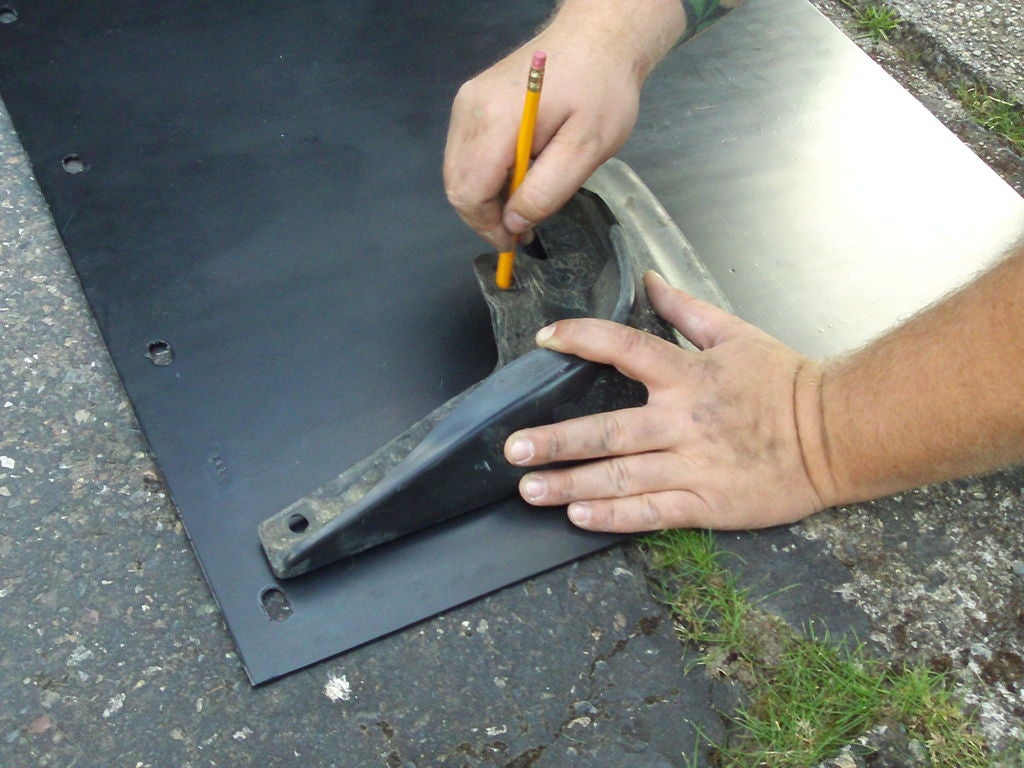
Don’t forget to mark the mounting holes from the original mudflap.
STEP 2
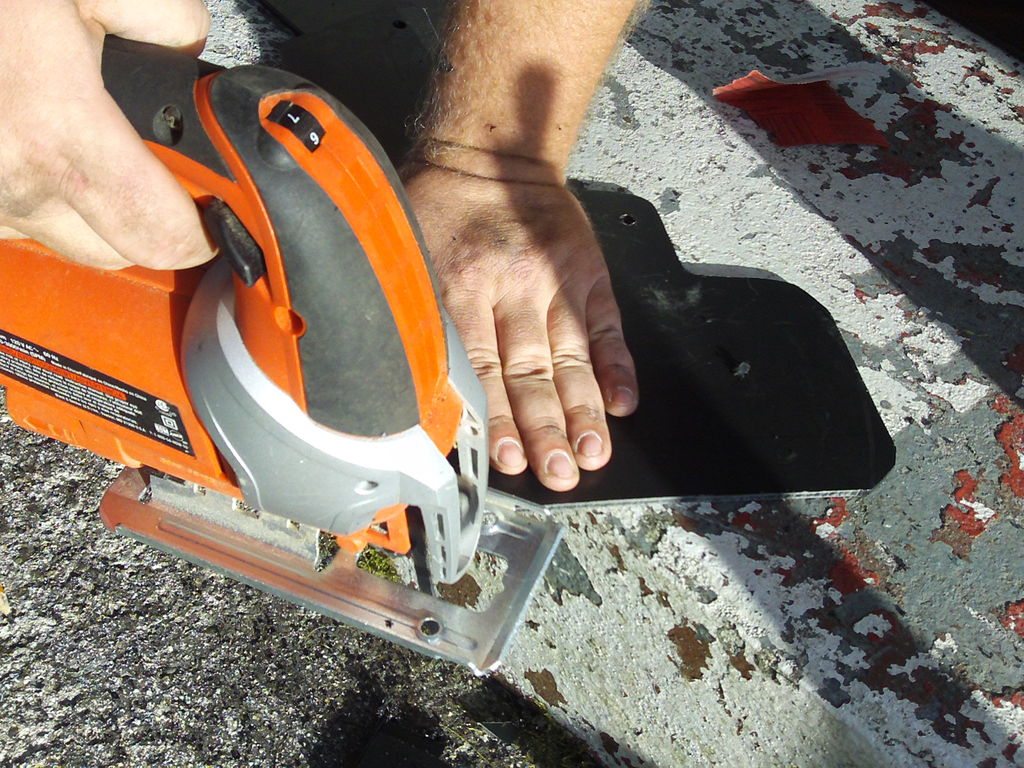
Once your lines are all traced on the truck mud flap it’s time to cut. Take your time with this step! We left a little extra material on the edge so we could sand it down to look smooth. When you’ve finished cutting it, lay the original mudflap on top of the new one to make sure your cuts and measurements are accurate.
STEP 3
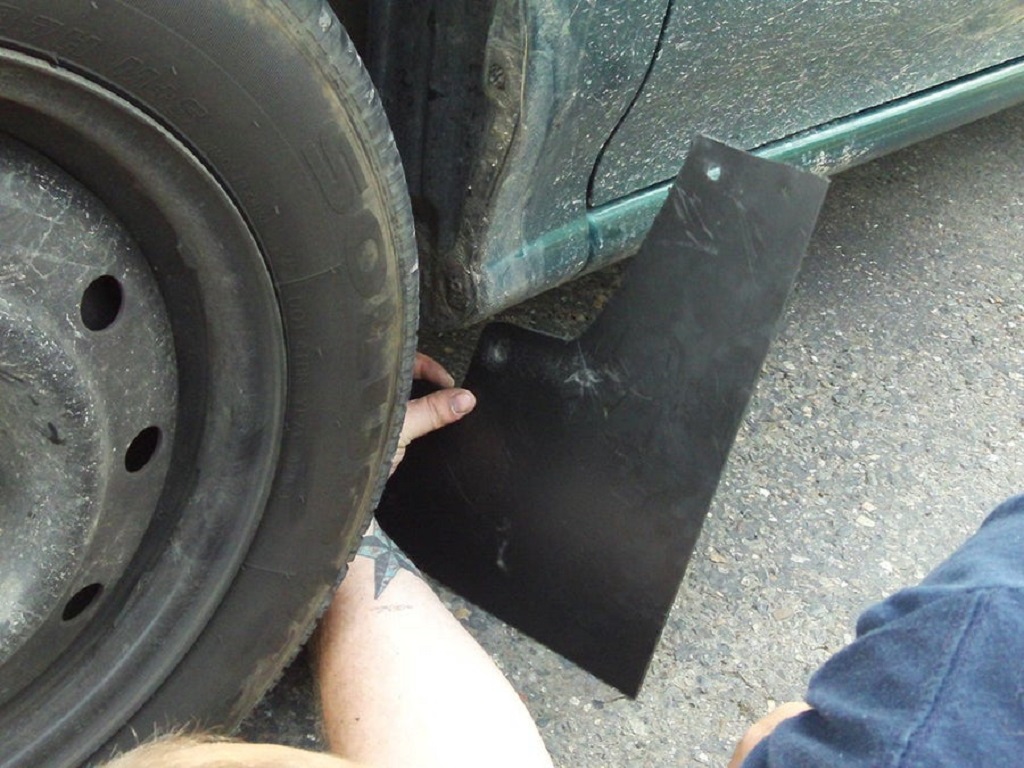
Once you have cut it out roughly, mount it on your car to see how it will look, and decide if you want to make it smaller.
STEP 4
Now that the mudflap has been test fitted, remove it from the car. Use a can of spray paint to mark the bottom edges to round them off for a better look. Then cut the top edge off.
STEP 5
Once you have finished the cutting, fit the mudflap onto your car one last time to check if everything is to your liking. At this point, fix anything you don’t like and then use the sandpaper to smooth the edges.
FOOTNOTE
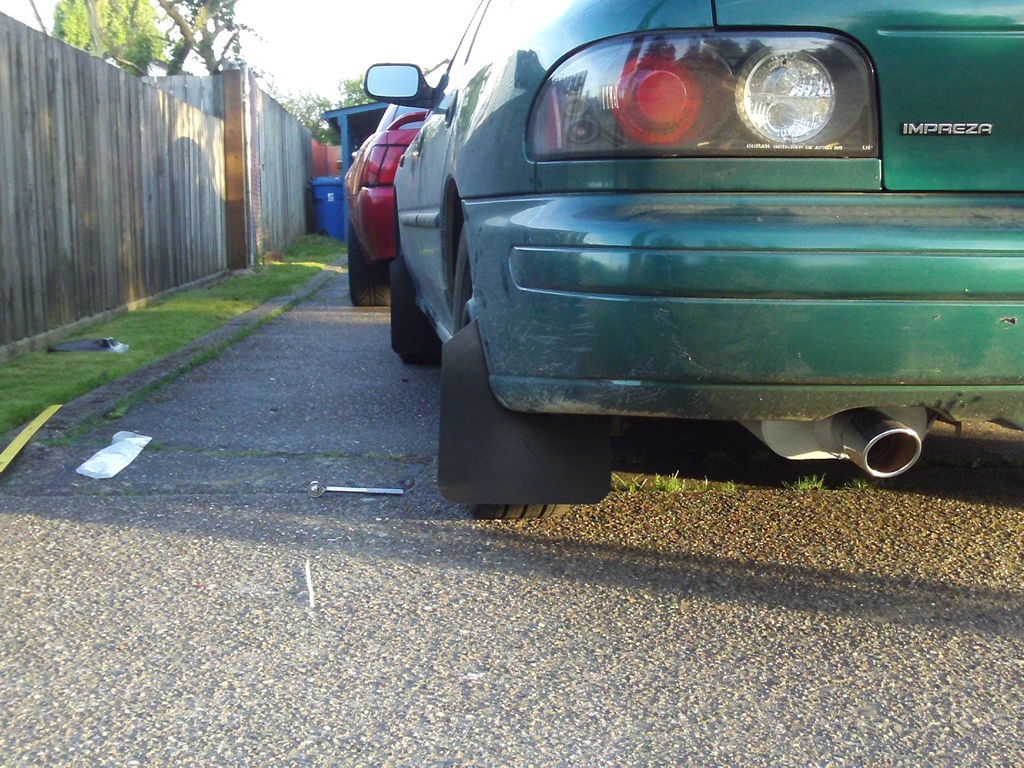
Once you have finished the front mudflaps, put it on top of the truck mudflap and trace it out, cut, sand and finish it off for the other side. Repeat these steps for the rear mudflaps. Cheap and cheerful is the aim, and in under an hour and for minimal spend you have tightarse DIY mudflaps for your tow vehicle.
Thanks to theinstructables.com for the inspiration and contributor Jussin for the work.